Arduino Quick Start
2. Devices & Examples
3. M5Unified
4. M5GFX
5. Extensions
Unit
Base
Cap
IoT
Accessories
Fire microSD
APIs and sample programs for Fire microSD card usage.
Sample Program
Compilation Requirements
- M5Stack Board Manager version >= 3.2.2
- Board option = M5Fire
- M5Unified library version >= 0.2.8
- M5GFX library version >= 0.2.11
#include <SPI.h>
#include <SD.h>
#include <M5Unified.h>

#define SD_SPI_CS_PIN    4
#define SD_SPI_SCK_PIN  18
#define SD_SPI_MISO_PIN 19
#define SD_SPI_MOSI_PIN 23

void setup() {
  M5.begin();

  M5.Display.setFont(&fonts::FreeMono12pt7b);
  M5.Display.clear();

  // SD Card Init
  SPI.begin(SD_SPI_SCK_PIN, SD_SPI_MISO_PIN, SD_SPI_MOSI_PIN, SD_SPI_CS_PIN);
  if (!SD.begin(SD_SPI_CS_PIN, SPI, 25000000)) {
    // Print a message if SD card init failed or if the SD card does not exist.
    M5.Display.println("SD card not detected");
    while (1)
      ;
  } else {
    M5.Display.println("SD card detected");
  }
  delay(1000);

  // Write TXT file
  M5.Display.println("SD card write test...");
  auto file = SD.open("/WriteTest.txt", FILE_WRITE, true);
  if (file) {
    file.print("Hello, world! \nSD card write success! \n");
    file.close();
    M5.Display.println("SD card write success");
  } else {
    M5.Display.println("Failed to create TXT file");
  }
  delay(1000);

  M5.Display.println("SD card read test...");
  if (SD.open("/TestPicture01.png", FILE_READ, false)) {
    M5.Display.println("PNG file 01 detected");
  } else {
    M5.Display.println("PNG file 01 not detected");
  }
  if (SD.open("/TestPicture02.png", FILE_READ, false)) {
    M5.Display.println("PNG file 02 detected");
  } else {
    M5.Display.println("PNG file 02 not detected");
  }
  delay(1000);
}

void loop() {
  // Read PNG file and draw picture
  M5.Display.drawPngFile(SD, "/TestPicture01.png");
  delay(500);
  M5.Display.drawPngFile(SD, "/TestPicture02.png");
  delay(500);
}Prepare a microSD card, format it to FAT32, and place two PNG images with a resolution of 320*240 in the root directory. Name them TestPicture01.png and TestPicture02.png. (You can also directly download Sample Image 1 and Sample Image 2. If the images are not 320*240, the program will decide how to display them based on presets, which may result in display issues.)
Insert the SD card into the Fire, ensuring that the SD card contacts face the same direction as the Fire screen. Copy the code above into Arduino IDE, compile, and upload it to the Fire.
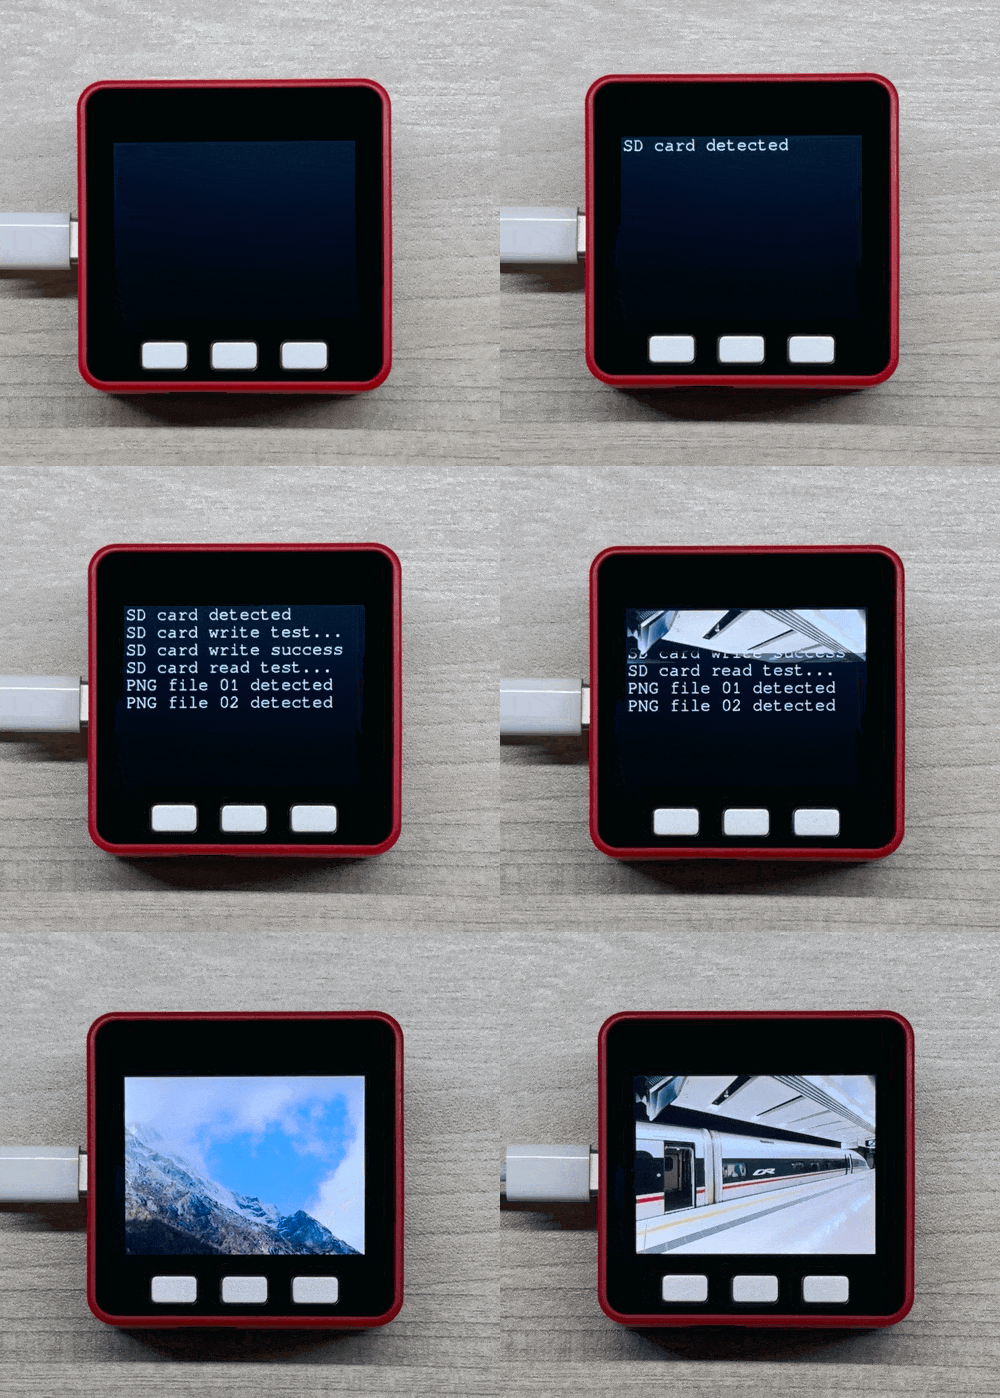
The program will create a text file WriteTest.txt on the SD card and write a piece of text into it, then loop through the two PNG images on the SD card.

API
The Fire microSD card feature uses the built-in Arduino SD library and the drawPngFile function from the M5GFX library. For more related APIs, please refer to the following documentation: