Arduino Quick Start
2. Devices & Examples
3. M5Unified
4. M5GFX
5. Extensions
Unit
Atomic
Tab5
IoT
Accessories
Unit Mini OLED Arduino Tutorial
1. Preparation
- Environment Setup: Follow the Arduino IDE Getting Started Guide to complete the IDE installation, and install the necessary board manager and required driver libraries based on the development board you are using.
- Libraries Used:
- Hardware Products Used:


2. Example
Example Explanation
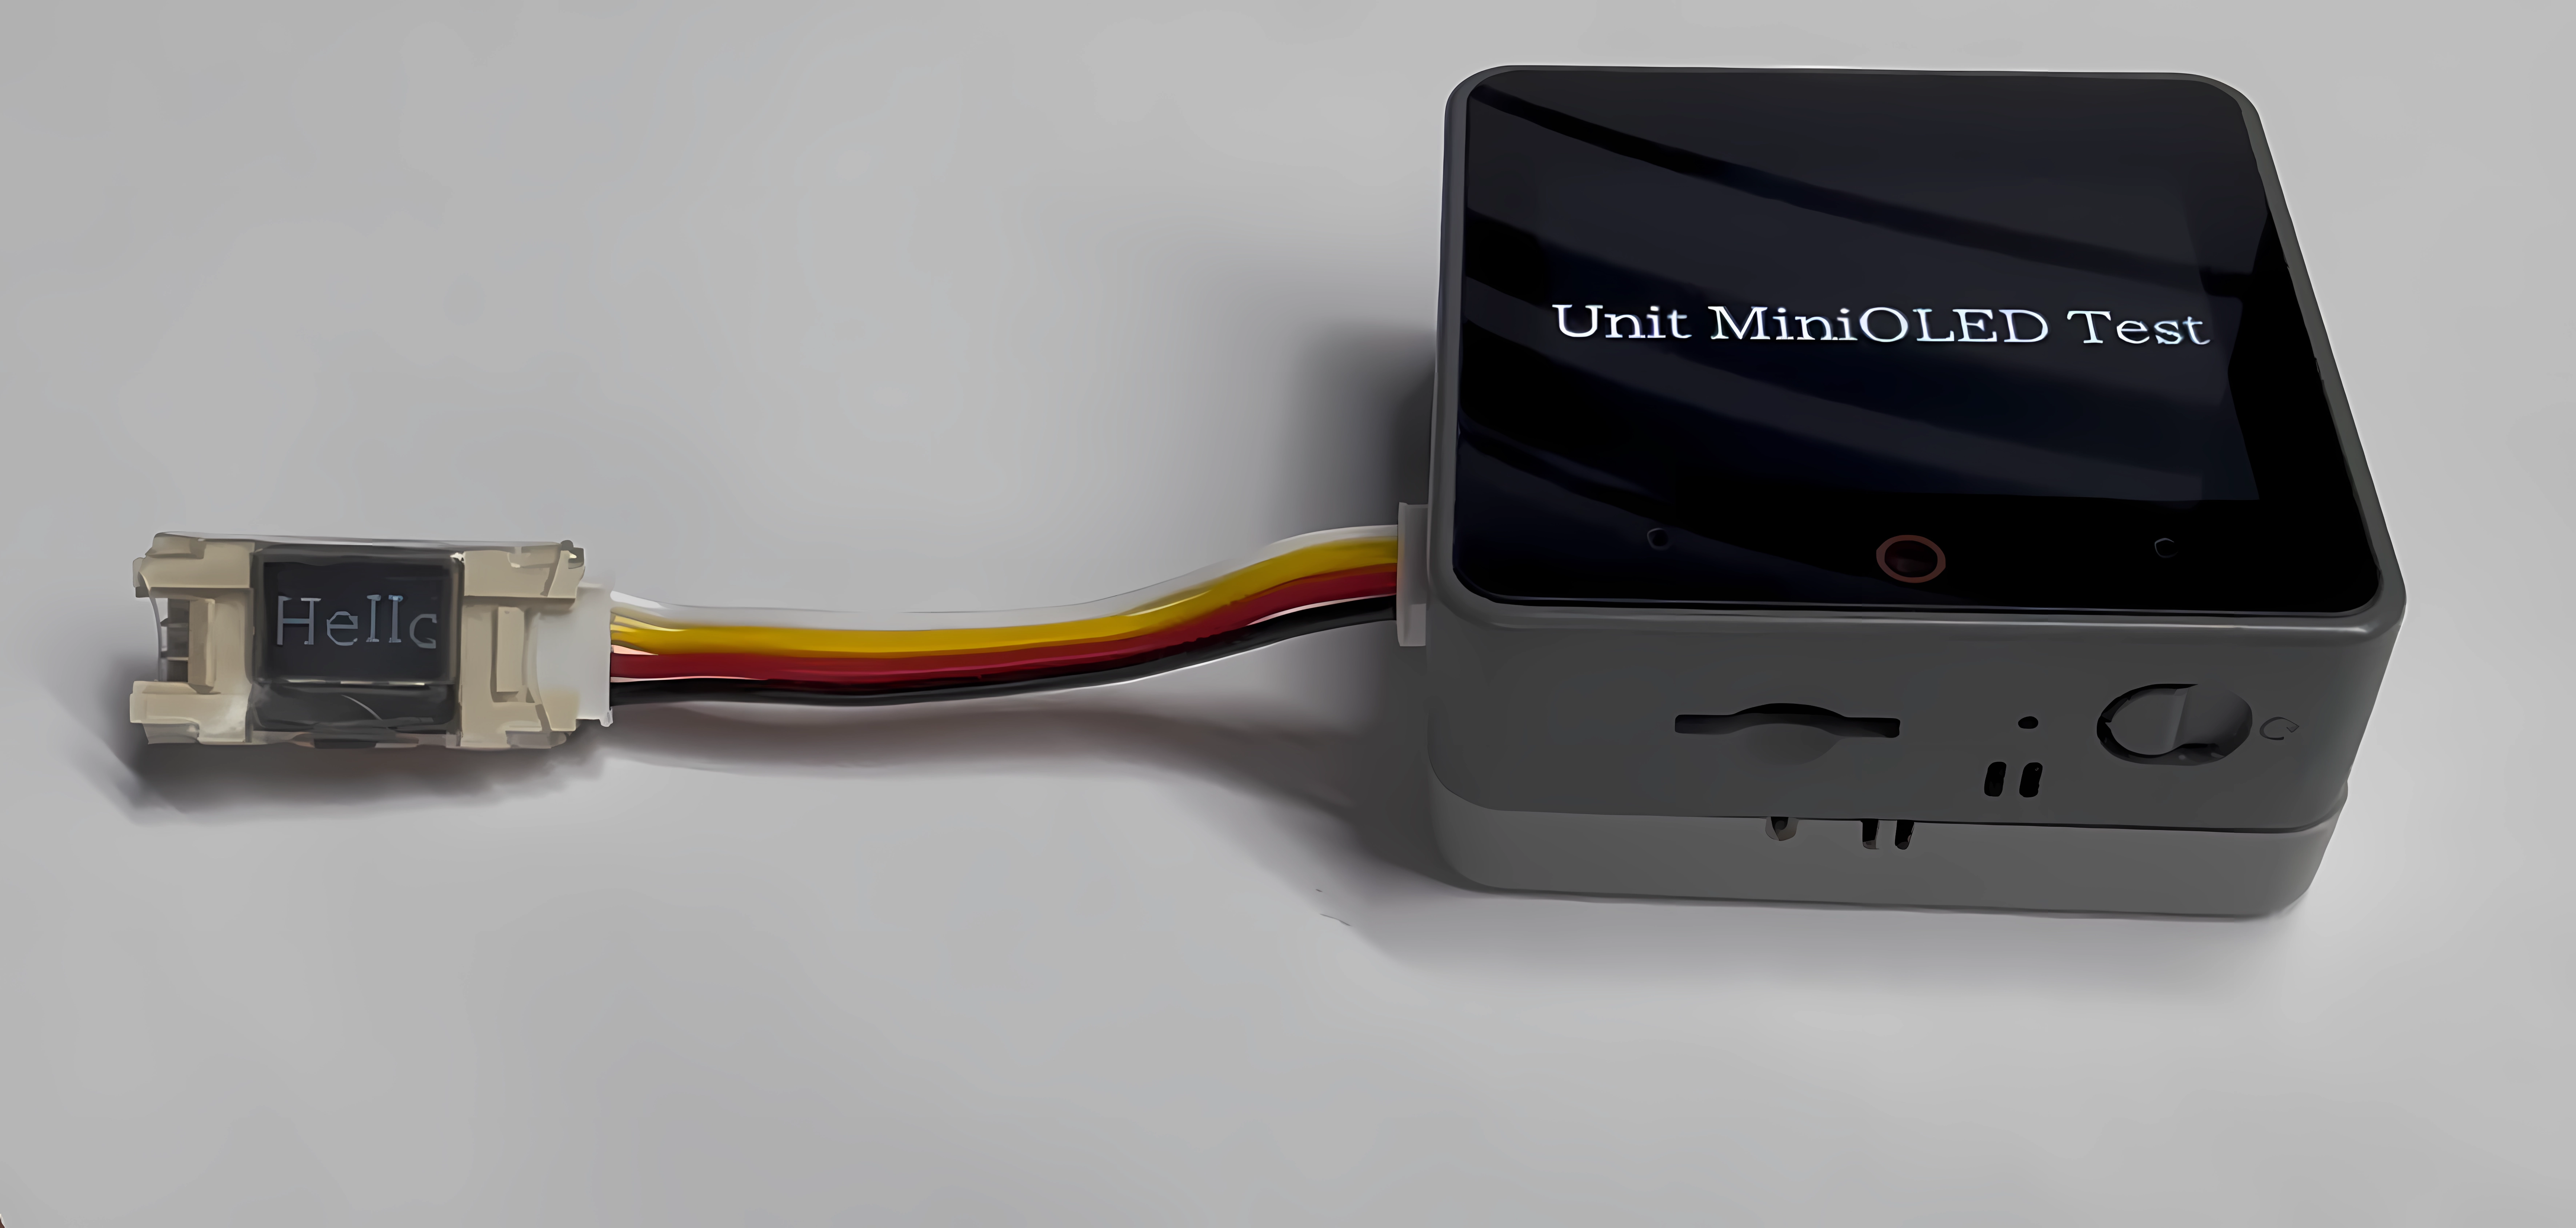
The Unit Mini OLED is a 0.42-inch OLED expansion screen unit. In this example, the CoreS3 main controller will use the PORT.A expansion interface to control and implement scrolling text display. Other M5Stack controllers can adapt by modifying the
SDA, SCL pin configuration when creating the M5UnitOLED display(2, 1, 400000); instance.cpp
1 2 3 4 5 6 7 8 9 10 11 12 13 14 15 16 17 18 19 20 21 22 23 24 25 26 27 28 29 30 31 32 33 34 35 36 37 38 39 40 41 42 43 44 45 46
#include <M5Unified.h>
#include <M5GFX.h>
#include <M5UnitMiniOLED.h>

M5UnitMiniOLED display(2, 1, 400000);  // SDA, SCL, FREQ

M5Canvas canvas(&display);

static constexpr char text[]    = "Hello world ! Hello Unit Mini OLED ! ";
static constexpr size_t textlen = sizeof(text) / sizeof(text[0]);
int textpos                     = 0;
int scrollstep                  = 2;

void setup(void)
{
    M5.begin();
    M5.Display.setFont(&fonts::lgfxJapanMinchoP_32);
    M5.Display.setTextDatum(middle_center);
    M5.Display.drawString("Unit Mini OLED Test", M5.Display.width() / 2, M5.Display.height() / 2);

    display.init();
    display.setRotation(1);
    canvas.setColorDepth(1);  // mono color
    canvas.setFont(&fonts::lgfxJapanMinchoP_16);
    canvas.setTextWrap(false);
    canvas.setTextSize(2);
    canvas.createSprite(display.width() + 64, 72);
}

void loop(void)
{
    int32_t cursor_x = canvas.getCursorX() - scrollstep;
    if (cursor_x <= 0) {
        textpos  = 0;
        cursor_x = display.width();
    }

    canvas.setCursor(cursor_x, 20);
    canvas.scroll(-scrollstep, 0);
    while (textpos < textlen && cursor_x <= display.width()) {
        canvas.print(text[textpos++]);
        cursor_x = canvas.getCursorX();
    }
    display.waitDisplay();
    canvas.pushSprite(&display, 0, (display.height() - canvas.height()) >> 1);
}3. Compile and Upload
- Download Mode: Different devices may require entering download mode before programming. The steps for this may vary depending on the main control device. For more details, refer to the Arduino IDE Getting Started Guide, which includes specific download tutorial lists for each device.
For CoreS3, press and hold the reset button (for about 2 seconds) until the internal green LED lights up, and then release it. This indicates the device is in download mode and ready for programming.
.gif)
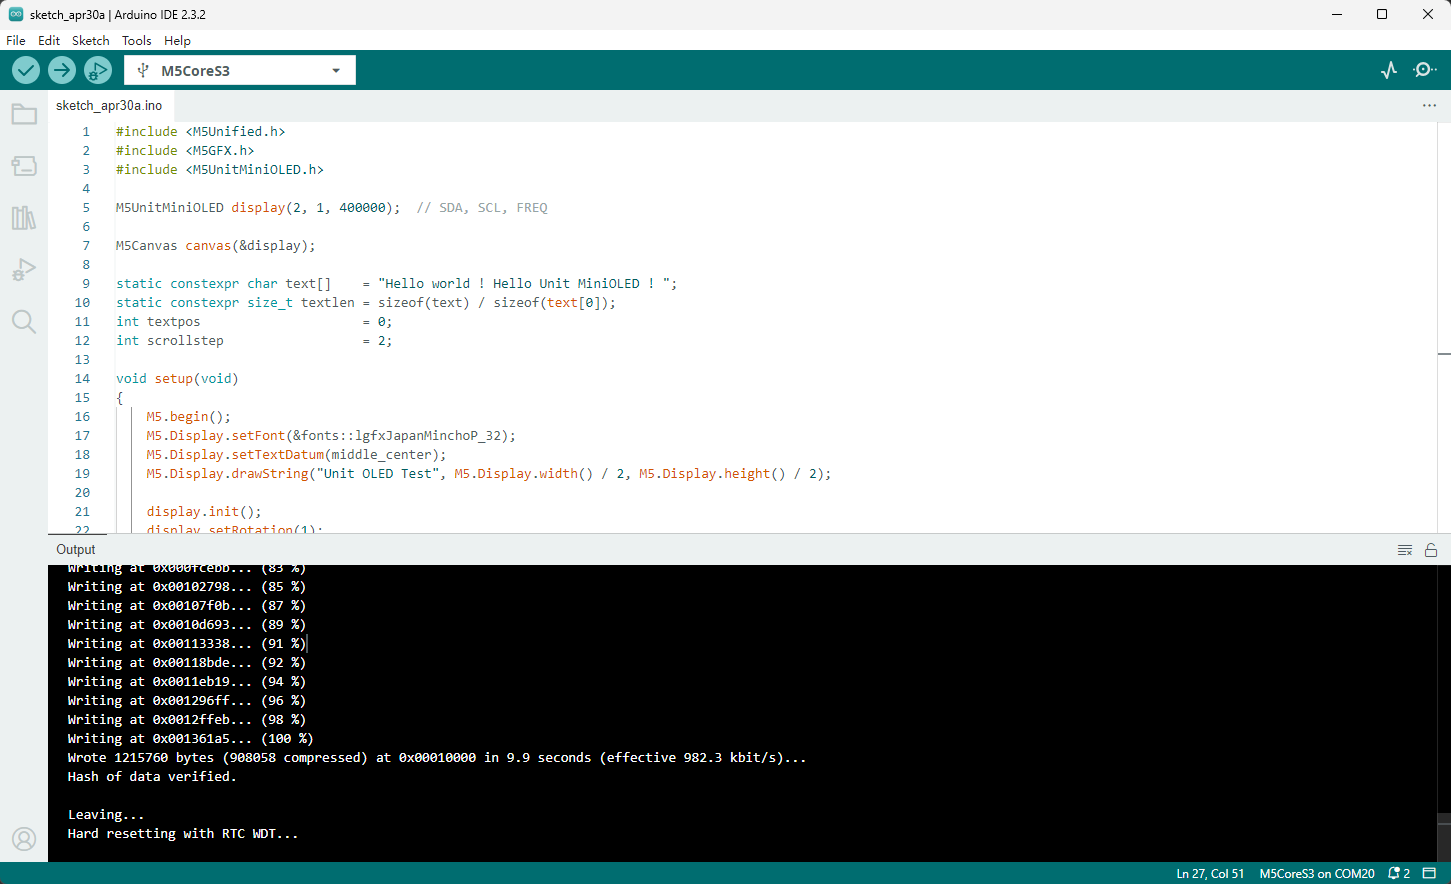
- Select the device port and click the compile and upload button in the top left corner of Arduino IDE, then wait for the program to compile and upload to the device.
4. Hello World
Use the CoreS3's PORT.A to control the Unit Mini OLED and display scrolling text.