Arduino Quick Start
2. Devices & Examples
3. M5Unified
4. M5GFX
5. Extensions
Unit
Atomic
Tab5
IoT
Accessories
Atomic Display Base Arduino Tutorial
1.Preparation
1.Environment setup: Refer to the Getting Started with Arduino IDE to complete the IDE installation. Install the appropriate board packages and required libraries based on the development board you are using.
2.Required libraries:
3.Required hardware:


2.Example Program
Refer to the Displays example in the M5Unified library. Based on the devices used in this tutorial, the relevant configuration options in the example have been modified. You can change lines 13 and 14 in the code according to the resolution of your external display.
#include <Arduino.h>
#include <M5AtomDisplay.h>
#include <M5Unified.h>

void setup() {
  auto cfg = M5.config();

  // external display setting. (Pre-include required)
  cfg.external_display.atom_display = true;  // default=true. use AtomDisplay

  // Set individual parameters for external displays.
  // (※ Use only the items you wish to change. Basically, it can be omitted.)
  cfg.atom_display.logical_width = 1920;
  cfg.atom_display.logical_height = 1200;
  // cfg.atom_display.output_width   = 1920;
  // cfg.atom_display.output_height  = 1080;
  // cfg.atom_display.refresh_rate   = 60;
  // cfg.atom_display.scale_w        = 2;
  // cfg.atom_display.scale_h        = 2;
  // cfg.atom_display.pixel_clock    = 74250000;

  // begin M5Unified.
  M5.begin(cfg);

  // Get the number of available displays
  int display_count = M5.getDisplayCount();

  for (int i = 0; i < display_count; ++i) {
    // All displays are available in M5.Displays.
    // ※ Note that the order of which displays are numbered is the order in which they are detected, so the order may change.

    M5.Displays(i).clear();
    int textsize = M5.Displays(i).height() / 120;
    if (textsize < 5) { textsize = 3; }
    M5.Displays(i).setTextSize(textsize);
    M5.Displays(i).printf("\n\nNo.%d\n\n", i);
  }

  // If an external display is to be used as the main display, it can be listed in order of priority.
  M5.setPrimaryDisplayType({
    m5::board_t::board_M5AtomDisplay,
    // m5::board_t::board_M5ModuleDisplay,
  });

  // The primary display can be used with M5.Display.
  M5.Display.print("primary display\n\n");

  // Examine the indexes of a given type of display
  int index_atom_display = M5.getDisplayIndex(m5::board_t::board_M5AtomDisplay);

  if (index_atom_display >= 0) {
    M5.Displays(index_atom_display).print("This is Atom Display\n");
  }

  M5.delay(2500);
}

void loop() {
  M5.delay(100);

  int x = rand() % M5.Displays(0).width();
  int y = rand() % M5.Displays(0).height();
  int r = (M5.Displays(0).width() >> 2) + 2;
  uint16_t c = rand();
  M5.Displays(0).fillCircle(x, y, r, c);

  draw_function(&M5.Displays(1));
}

// When creating a function for drawing, it can be used universally by accepting a LovyanGFX type as an argument.
void draw_function(LovyanGFX* gfx) {
  int x = rand() % gfx->width();
  int y = rand() % gfx->height();
  int r = (gfx->width() >> 6) + 2;
  uint16_t c = rand();
  gfx->fillRect(x - r, y - r, r * 2, r * 2, c);
}3.Compile and Upload
1.Download Mode: Before uploading the program to the main controller, it needs to enter download mode. The method may vary depending on the specific device. For more information, refer to the device-specific upload instructions at the bottom of the Getting Started with Arduino IDE page.
For AtomS3R, press and hold the reset button for about 2 seconds until the internal green LED lights up. Then release the button — the device is now in download mode and ready for uploading.

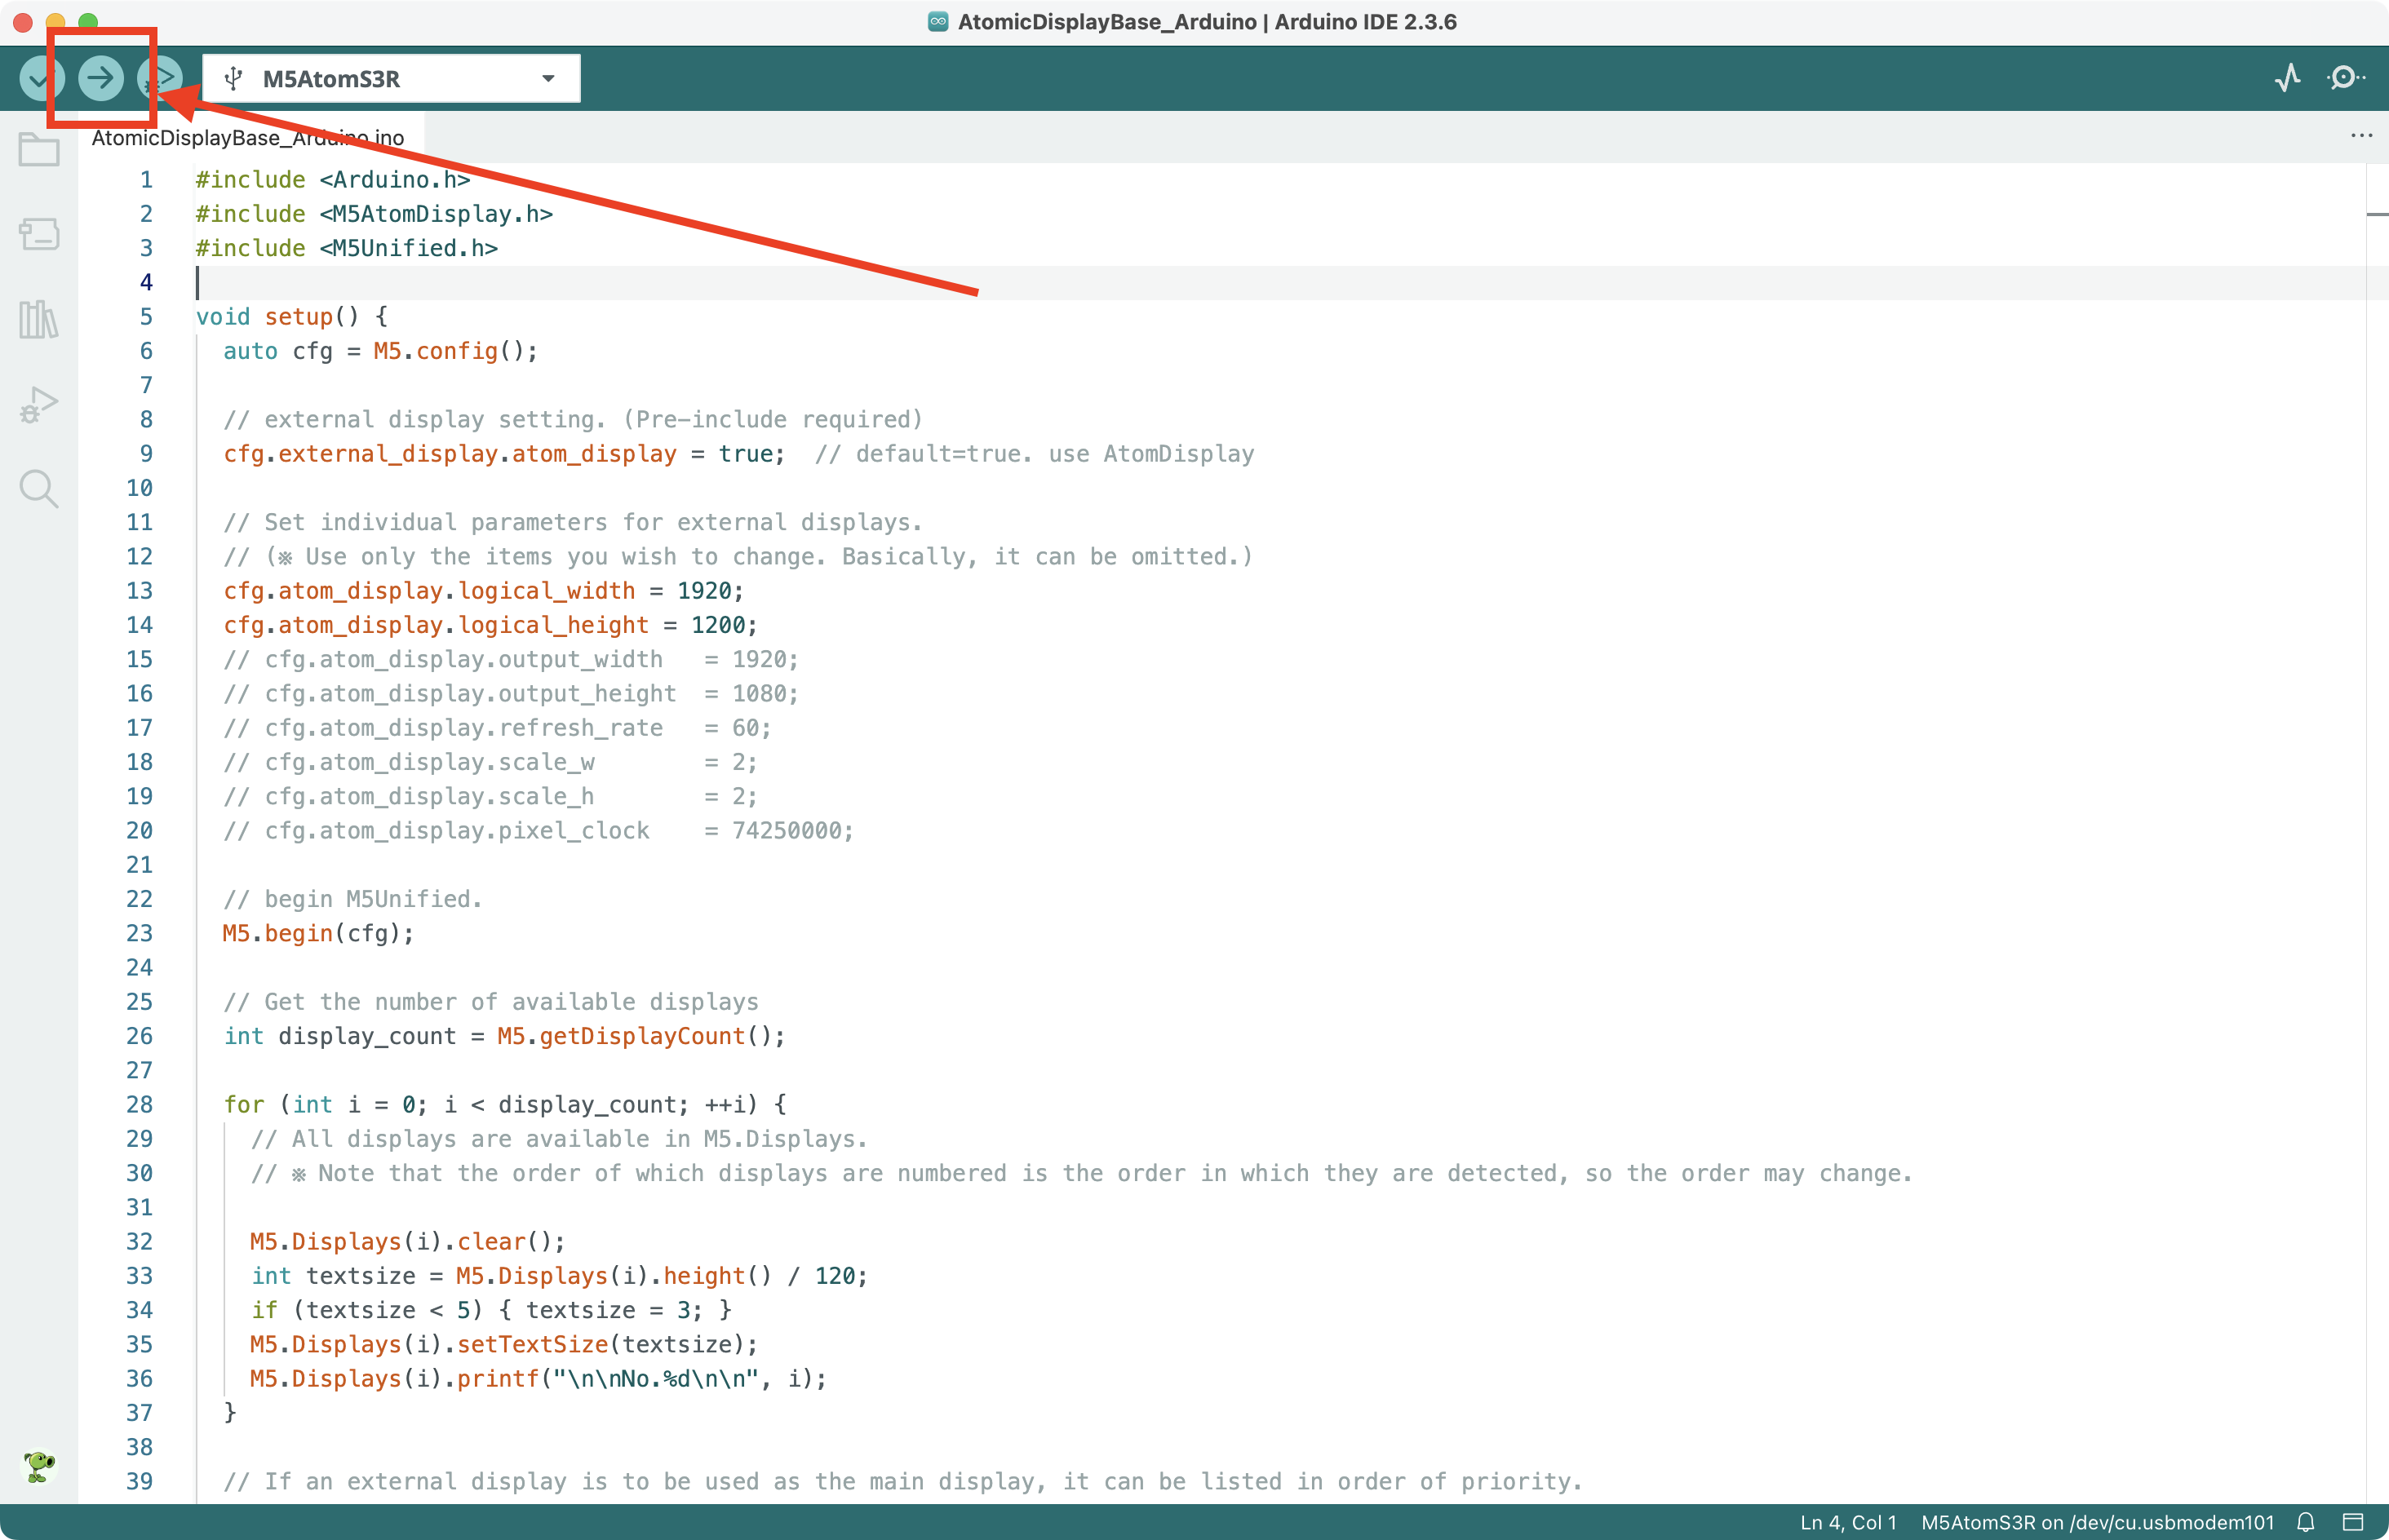
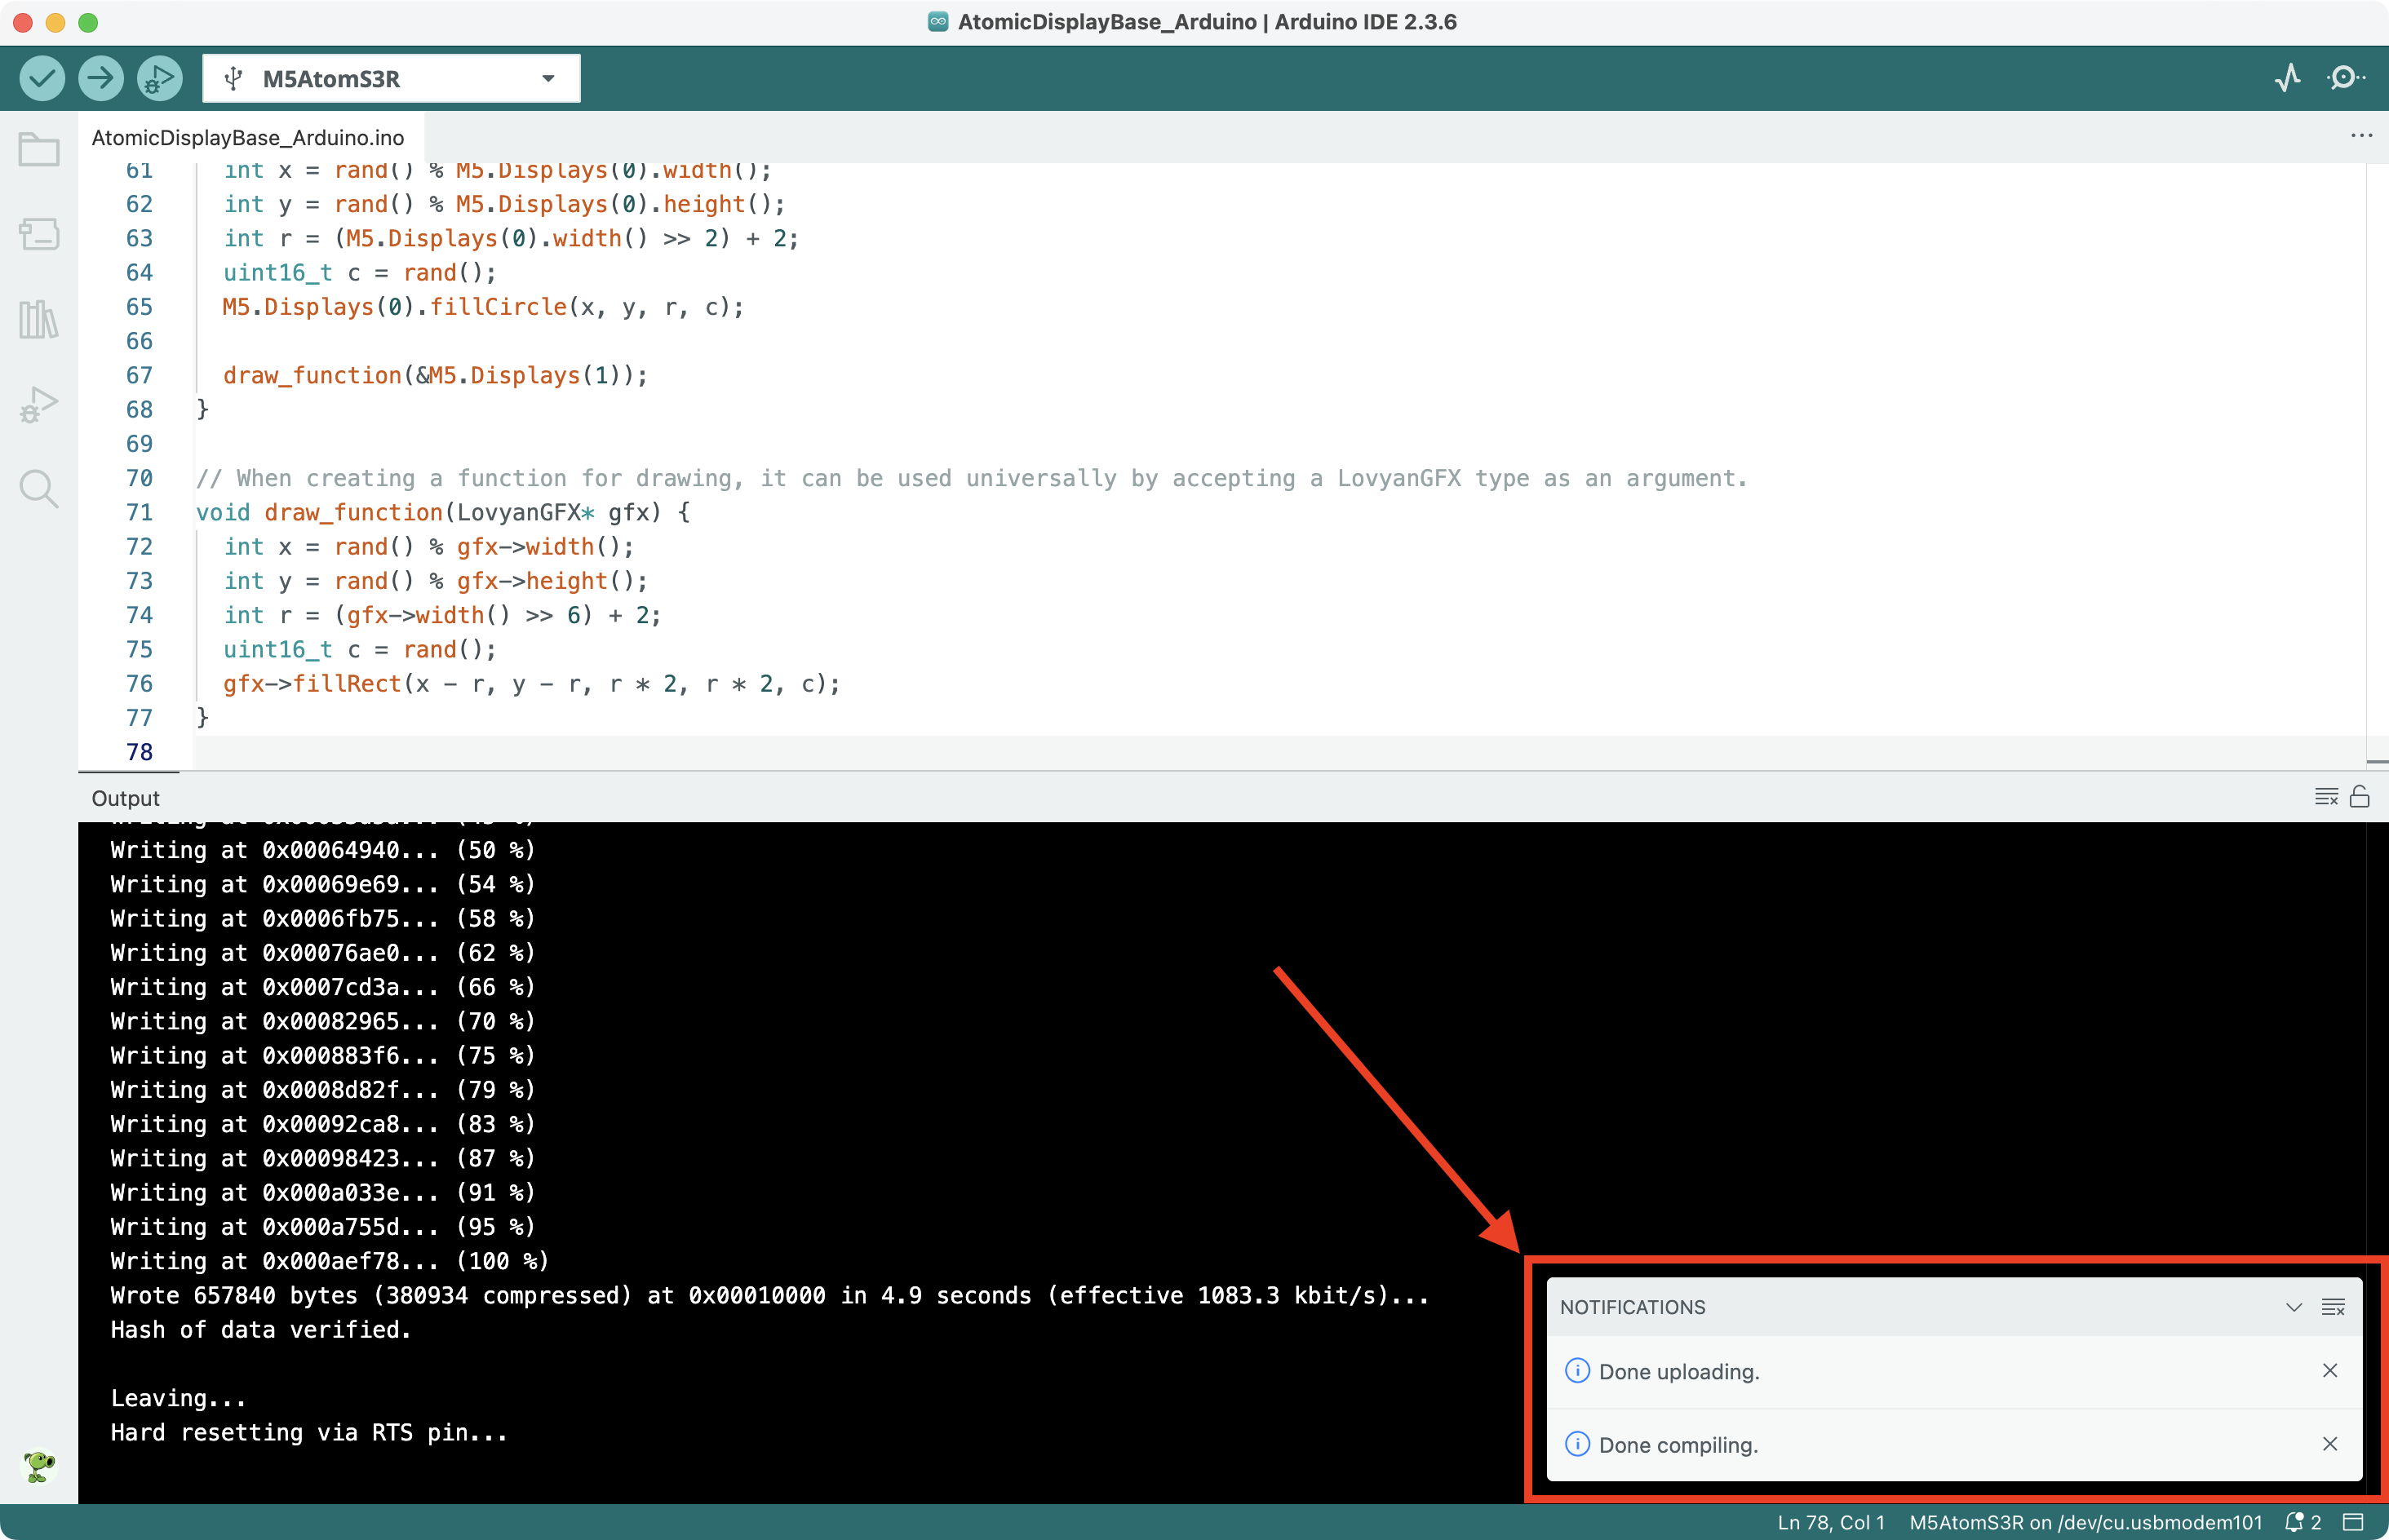
- 2.Select the correct device port and click the compile/upload button in the top-left corner of the Arduino IDE. Wait for the compilation and upload process to complete.
4.Start Running
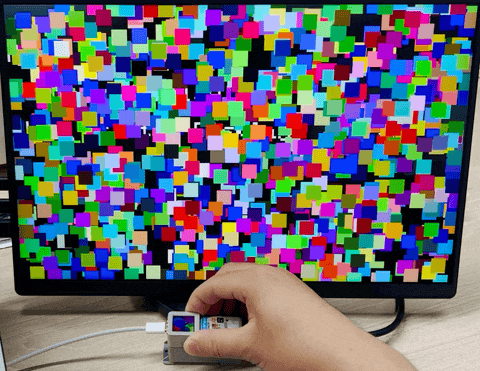
After assembling the AtomS3R with the Atomic Display Base and connecting it to a monitor via the high‑definition multimedia interface, briefly press the reset button once. A large number of colored circles will appear on the built‑in screen of the AtomS3R, while many colored squares will appear on the external display. The effect is shown below: