Arduino Quick Start
2. Devices & Examples
3. M5Unified
4. M5GFX
5. Extensions
Unit
Atomic
Tab5
IoT
Accessories
Unit AudioPlayer Arduino Tutorial
1. Preparation
1.Environment setup: Follow the Arduino IDE Getting Started Tutorial to install the IDE, and install the corresponding board manager and required libraries for your development board.
2.Required libraries:
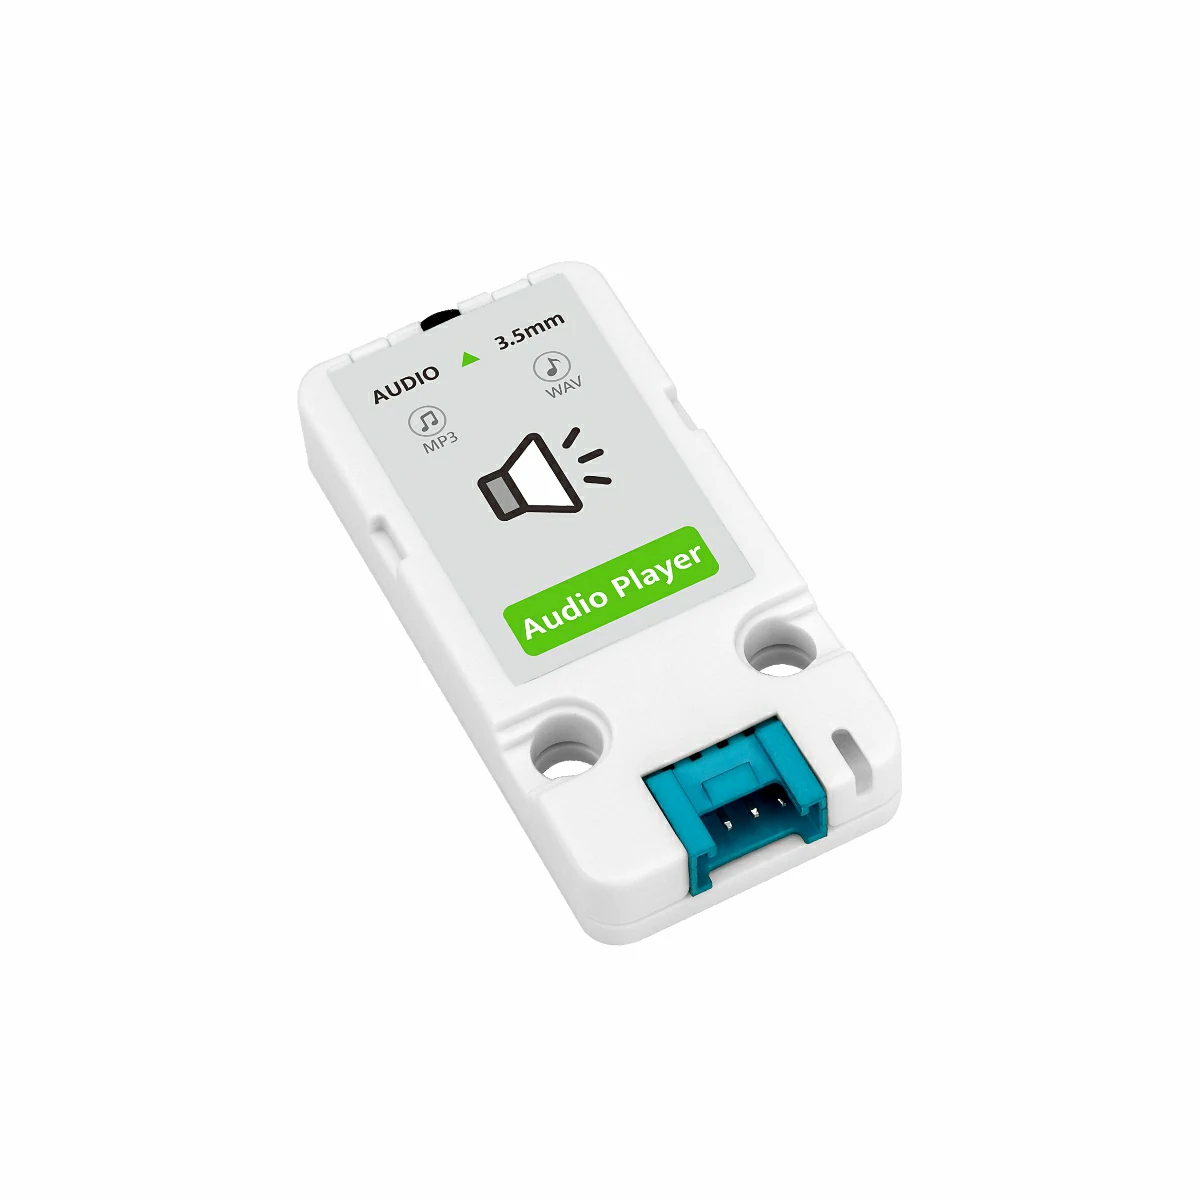
3.Hardware used:

2.Play Basic Settings
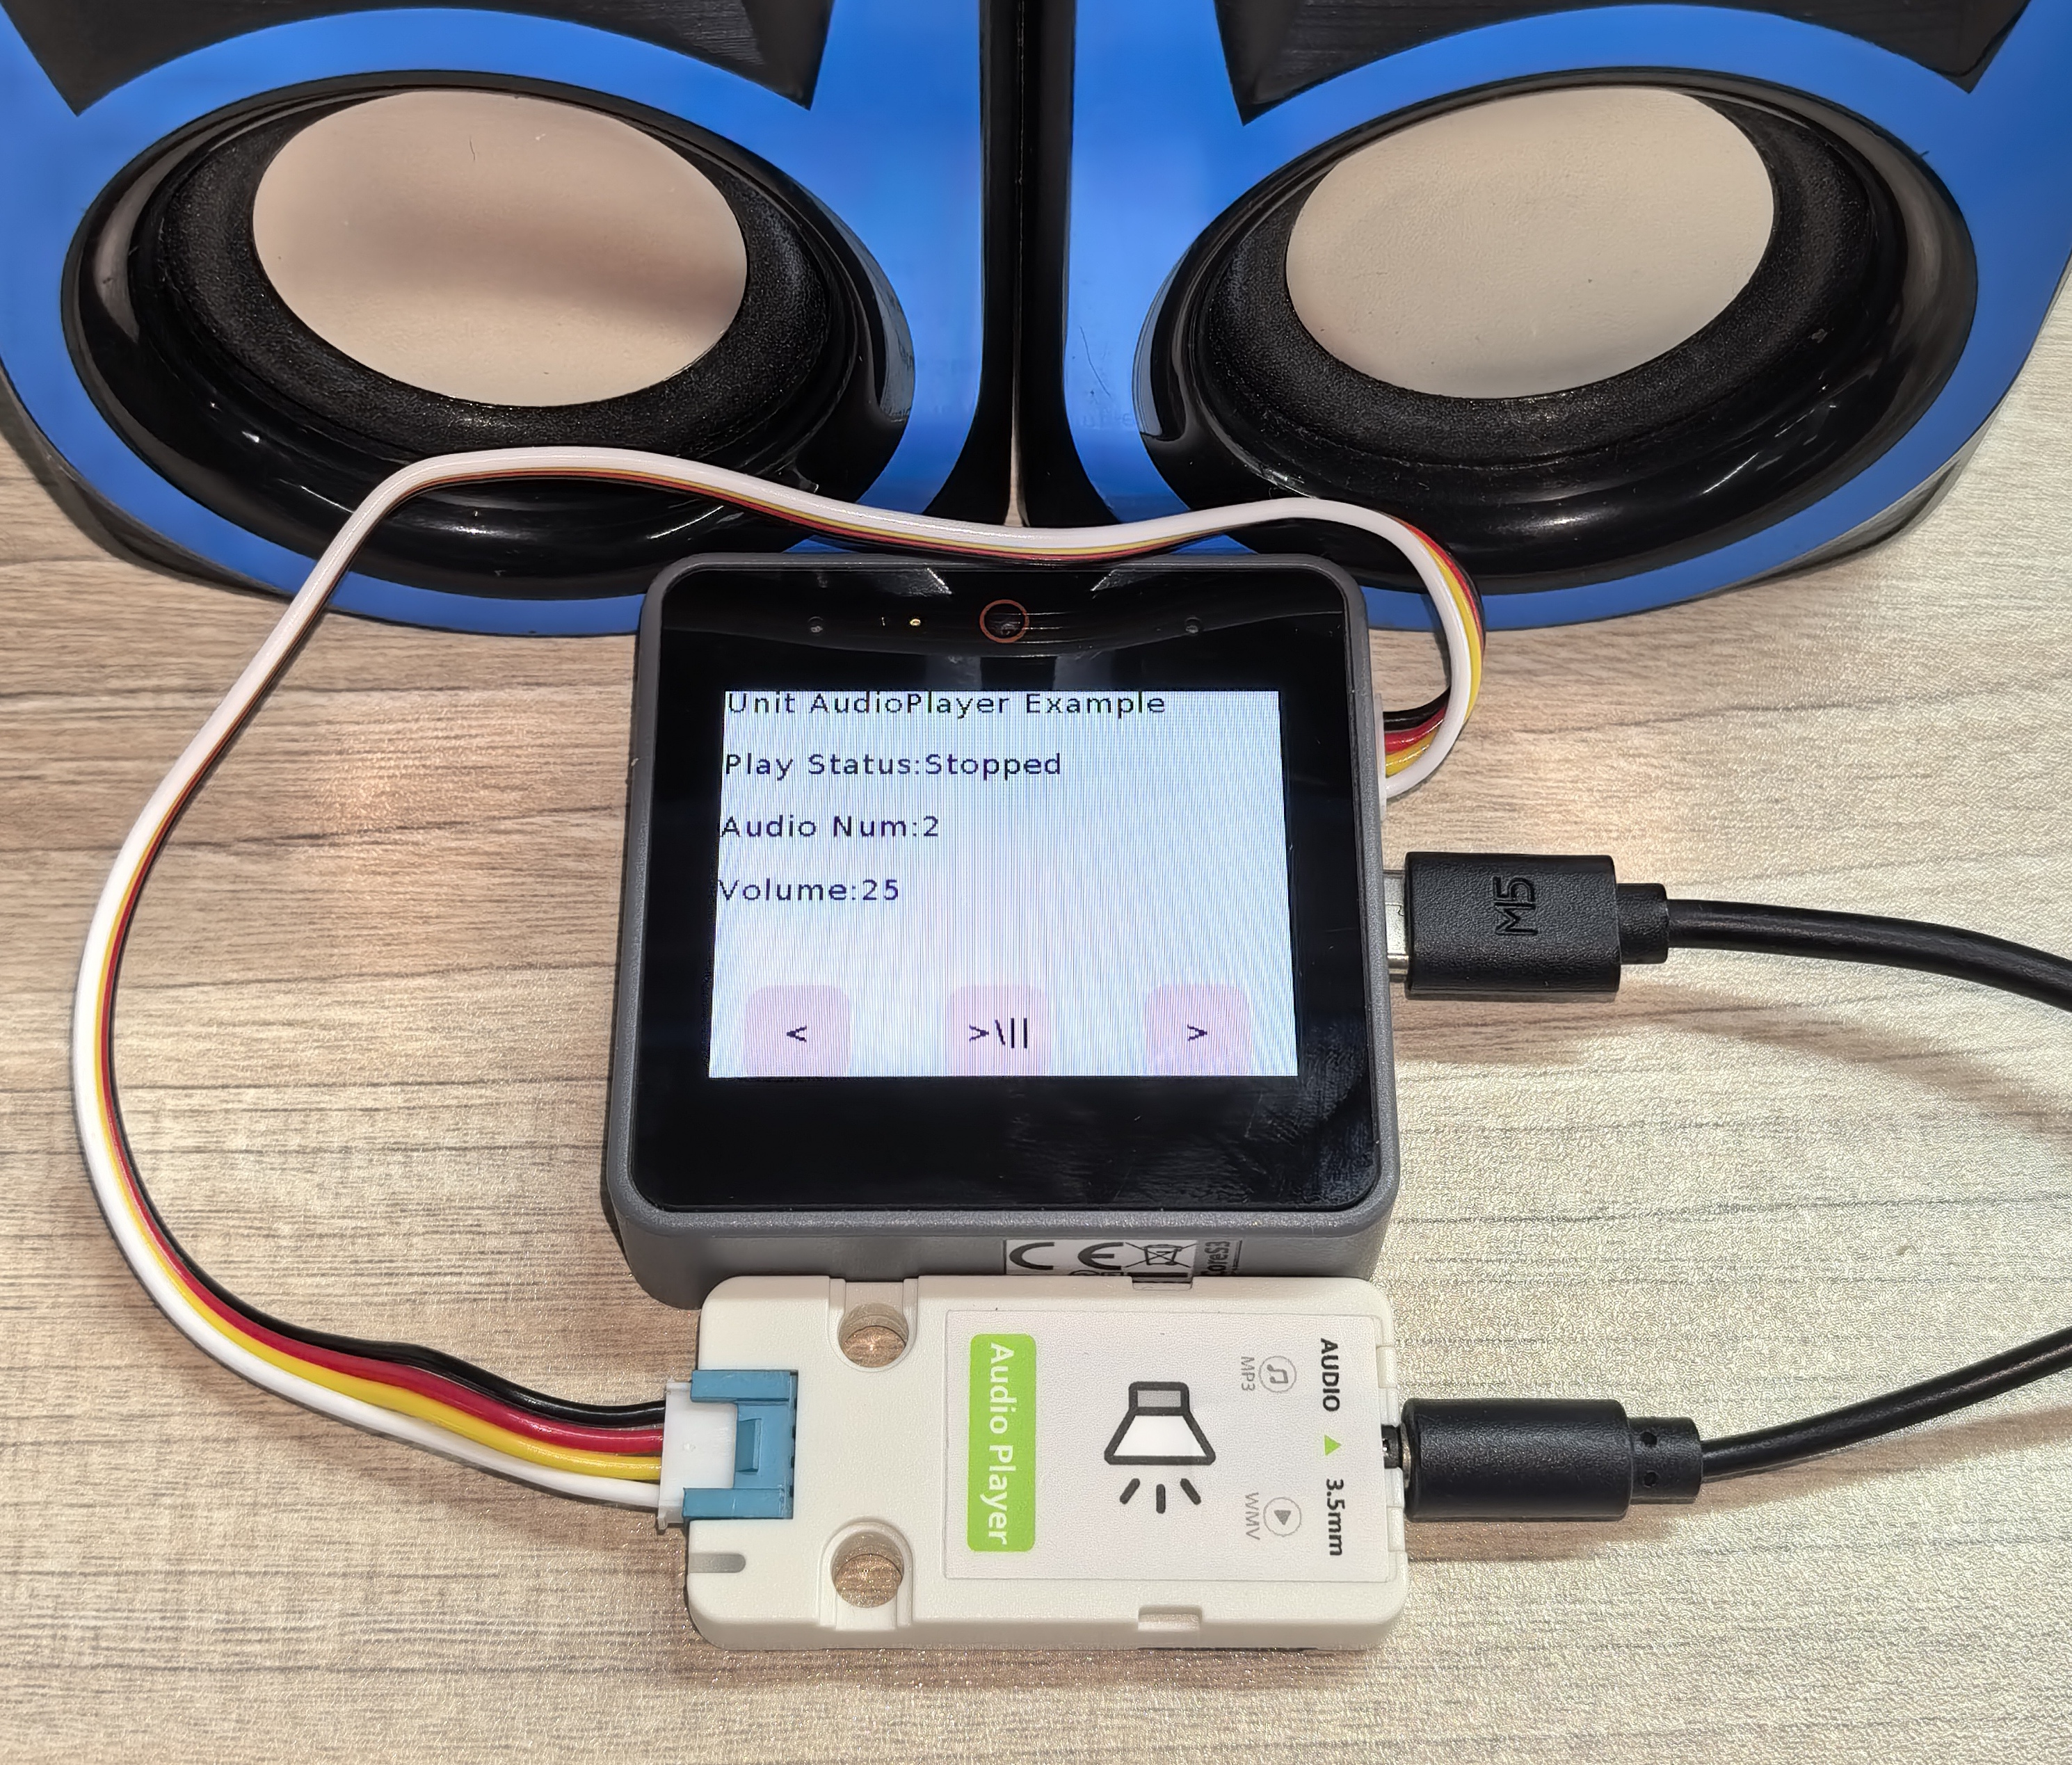
Unit AudioPlayer realizes the audio playback function by receiving instructions. The signal is output through a 3.5mm socket, providing clear audio output and supporting loop playback and combined playback. It also returns the information corresponding to the current instruction's operation through the serial port. By using the Unit AudioPlayer, we can achieve audio playback and flexible control.
Initialization and Playback Mode
1.Initialization
Use
audioplayer.begin()to set the serial port for connecting the host with the Unit AudioPlayer and initialize the return status flag. The parameters to be passed in are in sequence: serial port number, signal receiving pin number, and signal sending pin number.2.Play Mode
Using
audioplayer.setPlayMode()allows you to set the song playback mode. The Unit AudioPlayer supports 7 playback modes, and the detailed information is as follows in the table:
| Mode | description | value |
|---|---|---|
| AUDIO_PLAYER_MODE_ALL_LOOP | Play all the songs in sequence in a loop | 00 |
| AUDIO_PLAYER_MODE_SINGLE_LOOP | Loop the current song repeatedly | 01 |
| AUDIO_PLAYER_MODE_FOLDER_LOOP | Play all the songs in the current folder in sequence and in a loop | 02 |
| AUDIO_PLAYER_MODE_RANDOM | Randomly play the songs on the current disc | 03 |
| AUDIO_PLAYER_MODE_SINGLE_STOP | Play the current song once | 04 |
| AUDIO_PLAYER_MODE_ALL_ONCE | Play all songs one by one in sequence | 05 |
| AUDIO_PLAYER_MODE_FOLDER_ONCE | Play all songs in the current folder once | 06 |
Song Index Number
Using audioplayer.selectAudioNum() allows you to switch to playing the specified song. Currently, Unit AudioPlayer only supports selecting songs by index number.
the time when the song was saved to the SD card. The later the saving time, the larger the index number, not exactly based on the song file name.Example:
#include <M5Unified.h>
#include <M5GFX.h>
#include <unit_audioplayer.hpp>

AudioPlayerUnit audioplayer;
m5::touch_detail_t touchDetail;
LGFX_Button button_pre, button_play, button_next;

void setup()
{
    auto cfg            = M5.config();
    cfg.serial_baudrate = 115200;
    M5.begin(cfg);
    M5.Power.setExtOutput(true);
    M5.Lcd.fillScreen(WHITE);
    M5.Lcd.setTextFont(&fonts::DejaVu18);
    M5.Lcd.setTextColor(TFT_BLACK);
    M5.Display.drawString("Unit AudioPlayer Example", 0, 0);

    int8_t port_a_pin1 = -1, port_a_pin2 = -1;
    port_a_pin1 = M5.getPin(m5::pin_name_t::port_a_pin1);
    port_a_pin2 = M5.getPin(m5::pin_name_t::port_a_pin2);
    Serial.printf("getPin: RX:%d TX:%d\n", port_a_pin1, port_a_pin2);
    //To change the serial port, please modify this section.
    while (!audioplayer.begin(&Serial1, port_a_pin1, port_a_pin2)) {//Default UART Num: 1,
        delay(1000);
    }
    Serial.println("Unit AudioPlayer is ready");
    audioplayer.setPlayMode(AUDIO_PLAYER_MODE_SINGLE_STOP);//Default Play Mode: single stop
    audioplayer.playAudio();
    audioplayer.selectAudioNum(1);//Default Audio Num: 1
    M5.Display.drawString("Audio Num:1", 0, 80);
    audioplayer.setVolume(25);

    button_pre.initButton(&M5.Lcd, 47, 215, 60, 60, TFT_WHITE, TFT_PINK, TFT_BLACK, "<", 1, 1);
    button_pre.drawButton();
    button_play.initButton(&M5.Lcd, 157, 215, 60, 60, TFT_WHITE, TFT_PINK, TFT_BLACK, ">\\||", 1, 1);
    button_play.drawButton();
    button_next.initButton(&M5.Lcd, 267, 215, 60, 60, TFT_WHITE, TFT_PINK, TFT_BLACK, ">", 1, 1);
    button_next.drawButton();
}

void loop()
{
    static uint8_t lastPlayStatus = 255;
    static uint8_t lastAudioNum = 0, lastVolume = 0;
    static bool refreshAudioNum = false;

    uint8_t playStatus = audioplayer.checkPlayStatus();
    uint8_t volume     = audioplayer.getVolume();
    uint8_t audioNum   = 0;

    if (refreshAudioNum) {
        audioNum        = audioplayer.getCurrentAudioNumber();
        refreshAudioNum = false;
    } else {
        audioNum = lastAudioNum;
    }

    if (playStatus != lastPlayStatus) {
        static String playStatusStr;
        if (playStatus == AUDIO_PLAYER_STATUS_PAUSED) {
            playStatusStr = "Paused";
        } else if (playStatus == AUDIO_PLAYER_STATUS_STOPPED) {
            playStatusStr = "Stopped";
        } else if (playStatus == AUDIO_PLAYER_STATUS_PLAYING) {
            playStatusStr = "Playing";
        }

        M5.Display.fillRect(0, 40, 320, 20, WHITE);
        M5.Display.drawString("Play Status:" + playStatusStr, 0, 40);

        lastPlayStatus = playStatus;
    }

    if (volume != lastVolume) {
        M5.Display.fillRect(0, 120, 320, 20, WHITE);
        M5.Display.drawString("Volume:" + String(volume), 0, 120);
        lastVolume = volume;
    }

    if (audioNum != lastAudioNum && audioNum != AUDIO_PLAYER_STATUS_ERROR) {
        M5.Display.fillRect(0, 80, 320, 20, WHITE);
        M5.Display.drawString("Audio Num:" + String(audioNum), 0, 80);
        lastAudioNum = audioNum;
    }

    M5.update();
    touchDetail = M5.Touch.getDetail();

    if (touchDetail.isPressed()) {
        if(button_pre.contains(touchDetail.x, touchDetail.y)){
            Serial.println("Btn_pre pressed");
            audioplayer.previousAudio();
            refreshAudioNum = true;
        }
        else if(button_play.contains(touchDetail.x, touchDetail.y)){
            Serial.println("Btn_play pressed");
            if (playStatus == AUDIO_PLAYER_STATUS_PLAYING) {
                audioplayer.pauseAudio();
                Serial.println("pause_audio");
            } else {
                audioplayer.playAudio();
                Serial.println("play_audio");
            }
        }
        else if(button_next.contains(touchDetail.x, touchDetail.y)){
            Serial.println("Btn_next pressed");
            audioplayer.nextAudio();
            refreshAudioNum = true;
        }
    }
}3. Compile and Upload
1.Download Mode: Before burning the program into different devices, they need to enter download mode. This step may vary depending on the main control device. Please refer to the Arduino IDE Getting Started Tutorial page for a list of specific device download tutorials and steps.
For CoreS3, press and hold the reset button (for about 2 seconds) until the internal green LED lights up, then release it. The device will enter download mode, waiting for the firmware to be burned.
.gif)
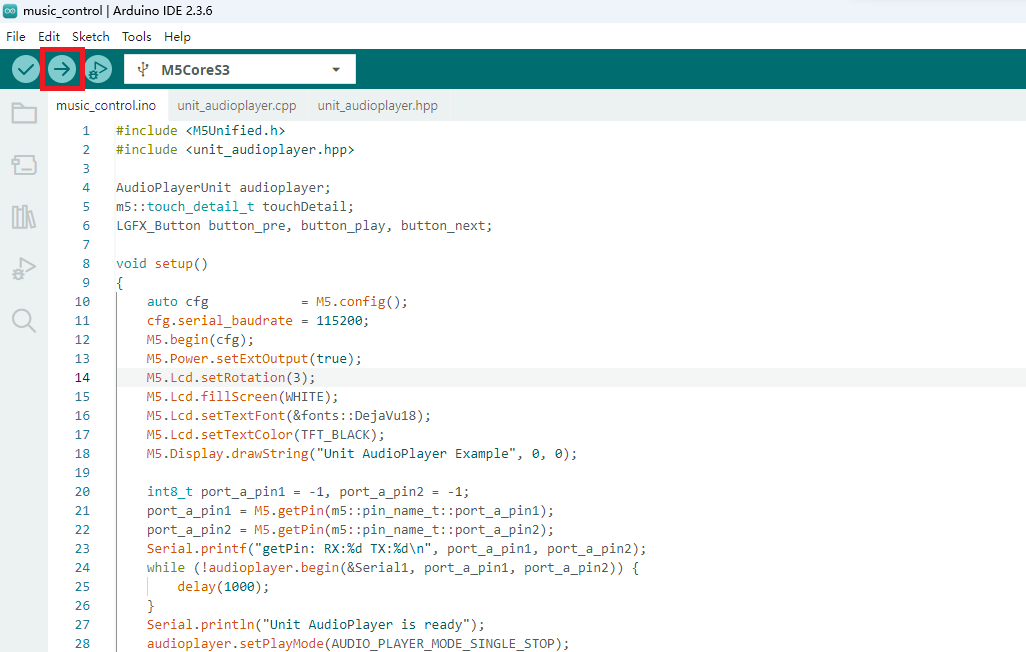
- 2.Select the device port, click the compile and upload button in the upper-left corner of the Arduino IDE, and wait for the program to finish compiling and uploading to the device.
4.Simple Music Player