Arduino 上手教程
2. 设备开发 & 案例程序
3. M5Unified
4. M5GFX
5. 拓展模块
Unit
Base
IoT
Unit Finger Arduino 使用教程
1. 准备工作
- 环境配置: 参考 Arduino IDE 上手教程完成 IDE 安装,并根据实际使用的开发板安装对应的板管理,与需要的驱动库。
- 使用到的驱动库:
注意
需要在 GitHub 上下载最新的库版本,库地址: M5-FPC1020A - M5Stack GitHub,请勿在 Arduino Library 中下载。(如有疑问,请参考此教程)
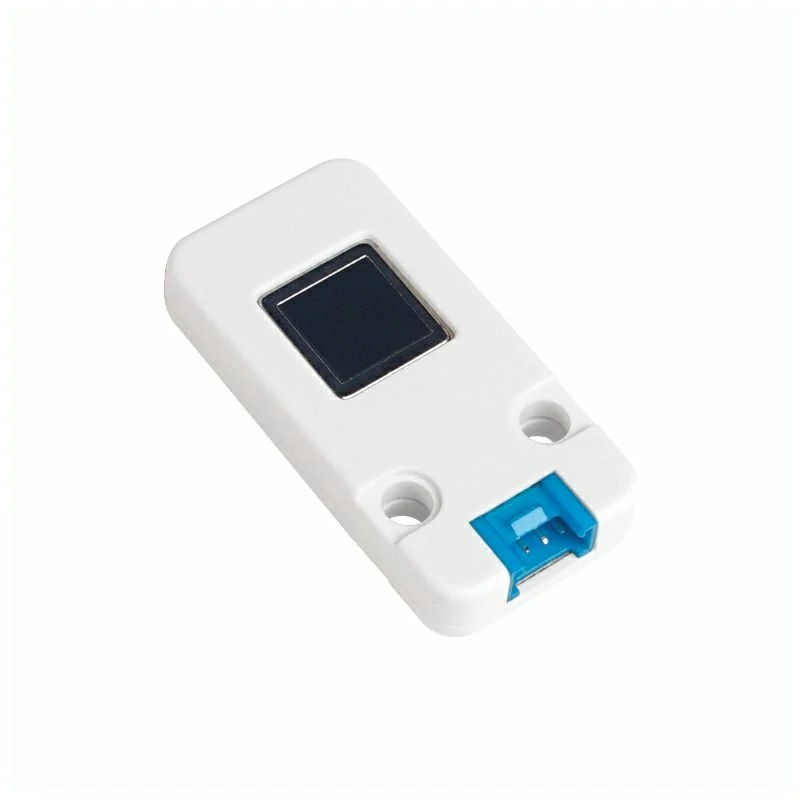
- 使用到的硬件产品:

2. 注意事项
引脚兼容性
由于每款主机的引脚配置不同,使用前请参考产品文档中的引脚兼容表,并根据实际引脚连接情况修改案例程序。
3. 案例程序
- 本教程中使用的主控设备为 CoreS3 ,搭配 Unit Finger。本指纹识别模块采用串口的方式通讯,根据实际的电路连接修改程序中的引脚定义,设备连接后对应的串口 IO 为
G1 (RX),G2 (TX)。
cpp
1 2 3 4 5 6 7 8 9 10 11 12 13 14 15 16 17 18 19 20 21 22 23 24 25 26 27 28 29 30 31 32 33 34 35 36 37 38 39 40 41 42 43 44 45 46 47 48 49 50 51 52 53 54 55 56 57 58 59 60 61 62 63 64 65 66 67 68 69 70 71 72 73 74 75 76 77 78 79 80 81 82 83 84 85 86 87 88 89 90 91 92 93 94 95
/**
* @file Unit_Finger_M5CoreS3.ino
* @author Zovey (liangzhuowei@m5stack.com)
* @brief
* @version 0.1
* @date 2025-07-04
*
*
* @Hardwares: M5CoreS3 + Unit Finger
* @Dependent Library:
* M5_FPC1020A: https://github.com/m5stack/M5-FPC1020A
*/
#include "M5Unified.h"
#include "M5_FPC1020A.h"
M5_FPC1020A finger;
bool add_user_process(uint8_t id, uint8_t permission);
bool id_input = 1, id_Verification = 1, id_delete = 1;
void setup() {
M5.begin();
Serial.begin(115200);
M5.Display.fillRect(0, 0, 320, 240, WHITE);
M5.Display.setTextColor(BLACK);
M5.Display.setFont(&fonts::FreeMonoBold9pt7b);
M5.Display.setCursor(0, 0);
M5.Display.println("Finger Unit init...");
if (!finger.begin(&Serial2, 1, 2, 19200)) {
Serial.println("FPC1020A not found");
while (1) delay(1);
}
M5.Display.fillRect(0, 0, 320, 240, WHITE);
M5.Display.println("Finger Unit TEST");
finger.delAllFinger();
M5.Display.println("All ID have been deleted");
}
void loop() {
while(id_input){
M5.Display.fillScreen(WHITE);
M5.Display.println("Please logic your finger");
if(add_user_process(1, 1)){
Serial.println("add user success");
M5.Display.println("add user success");
id_input = 0;
}
}
delay(2000);
while(id_Verification){
M5.Display.fillScreen(WHITE);
M5.Display.setCursor(0, 0);
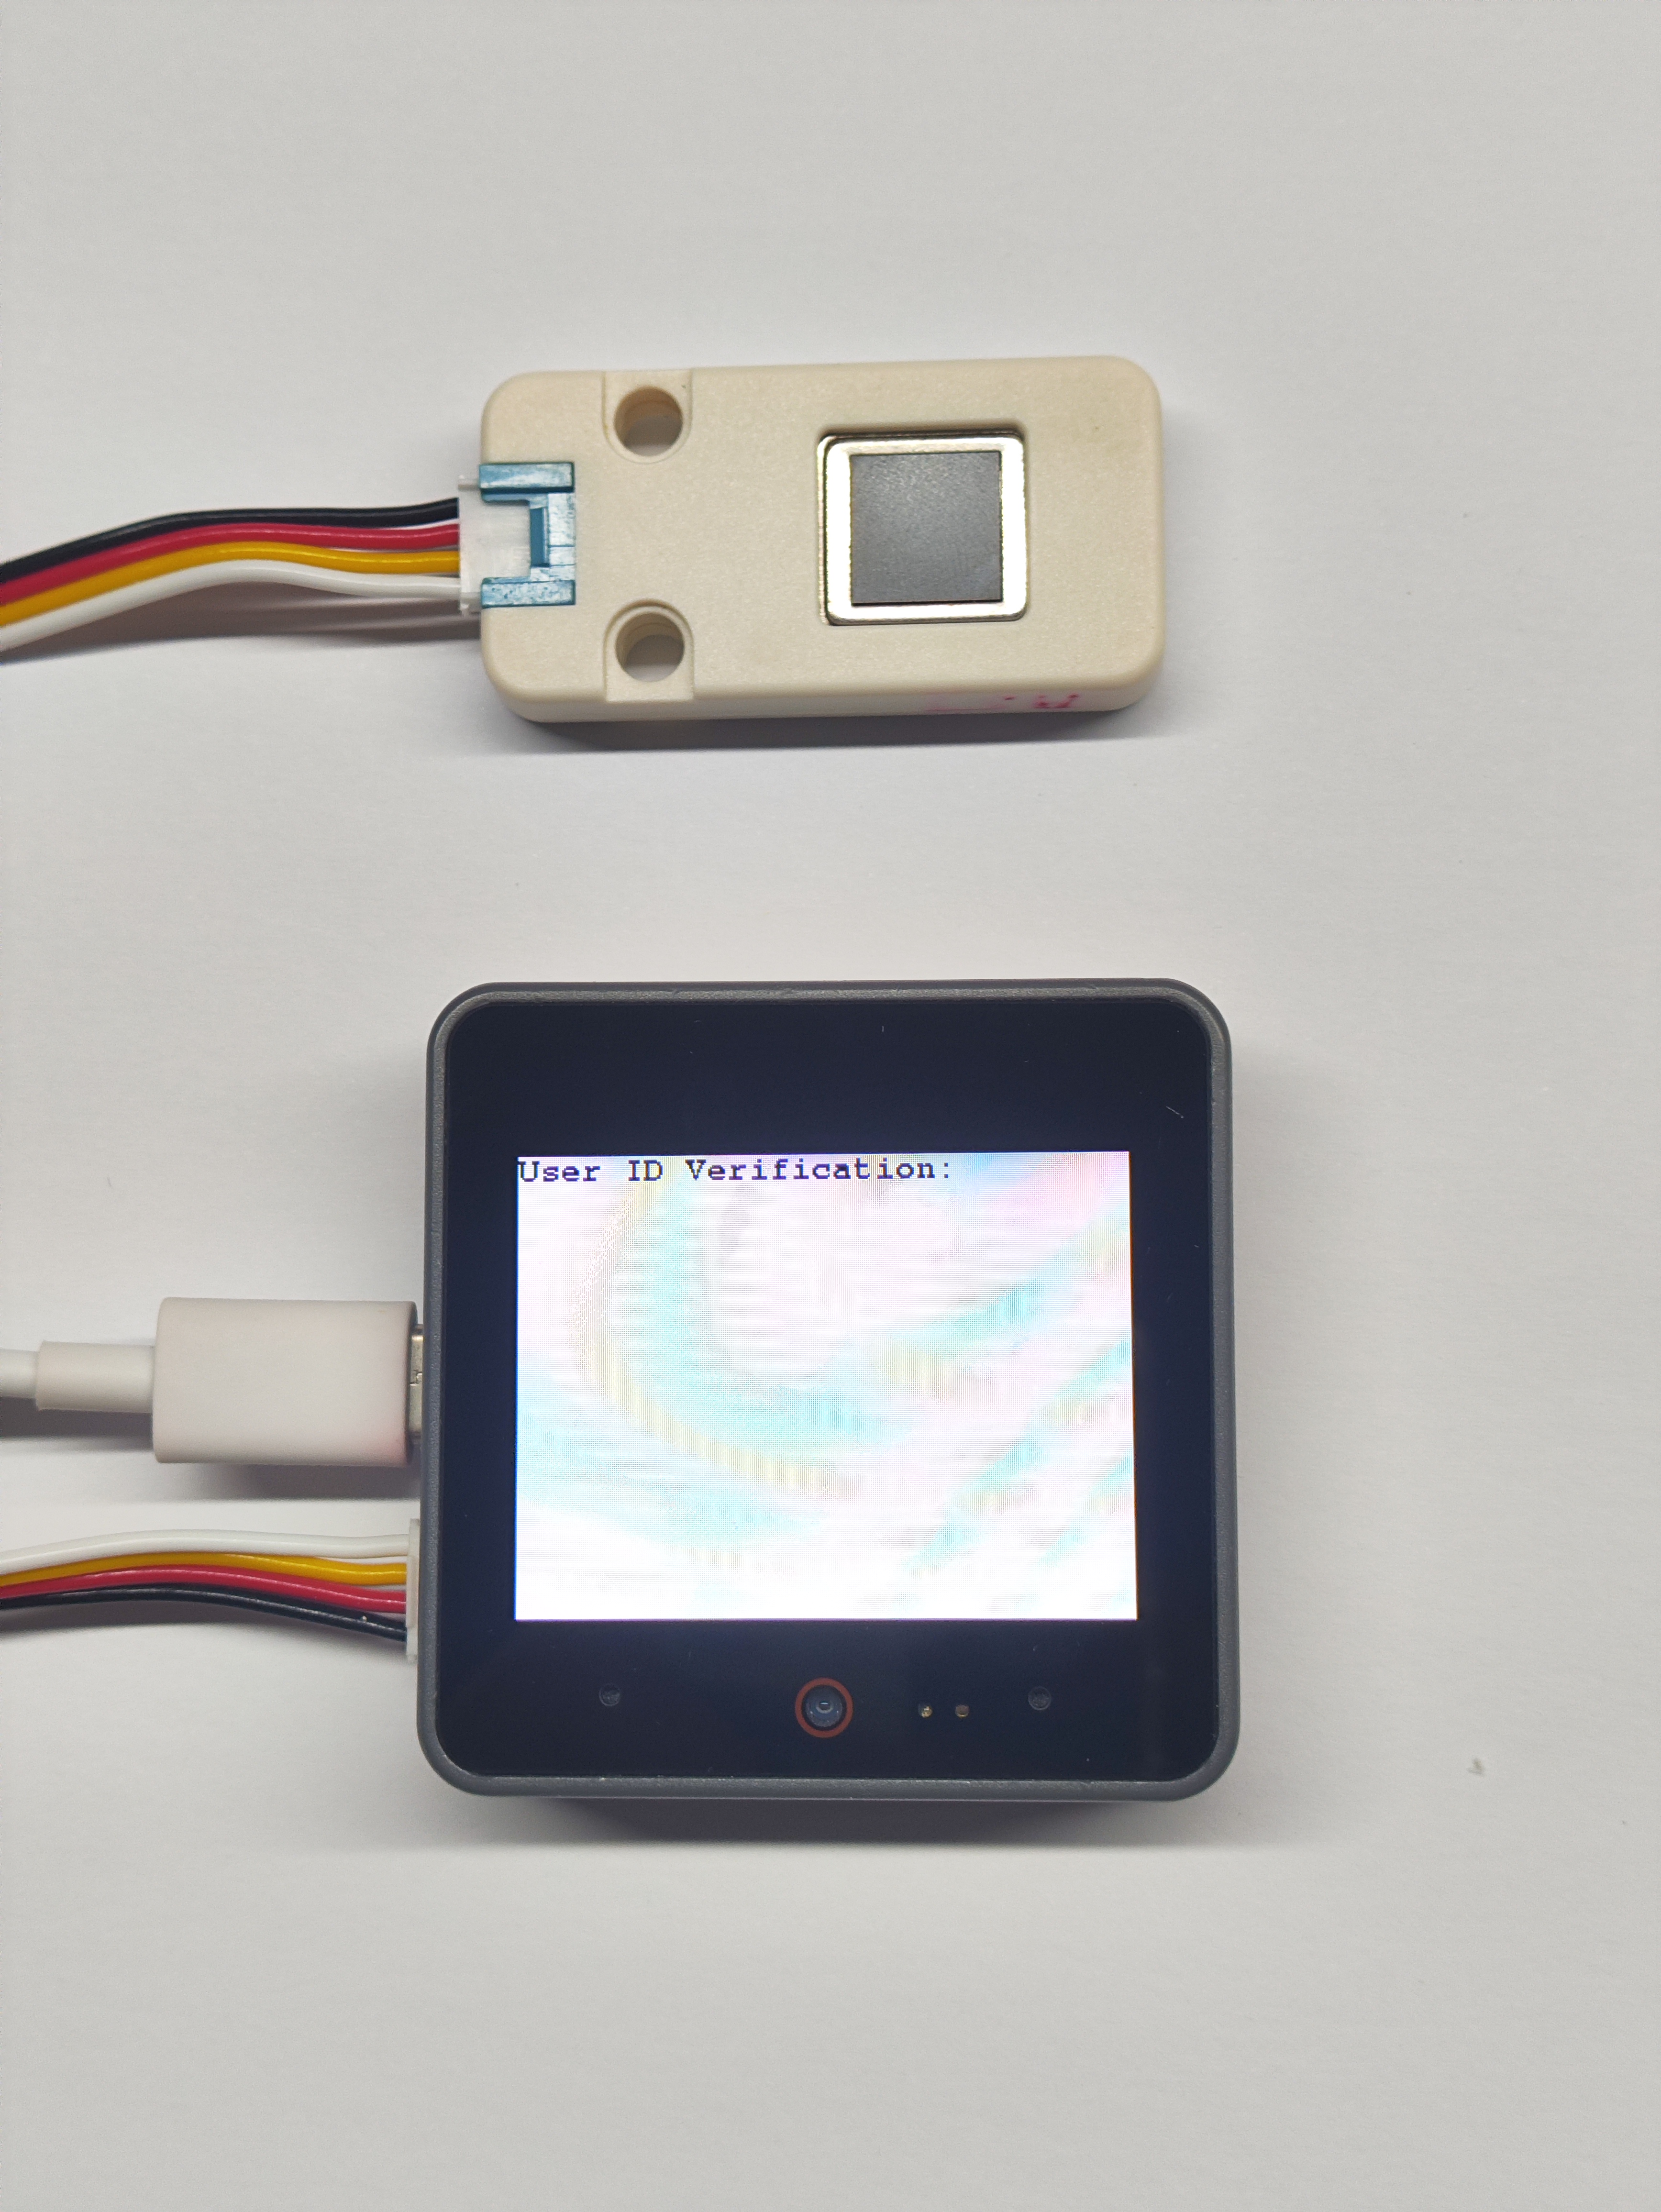
M5.Display.printf("User ID Verification:\r\n");
uint8_t res = finger.available();
if (res == ACK_SUCCESS){
M5.Display.print("Success \r");
Serial.println("Success");
M5.Display.print("User ID: ");
Serial.print("User ID: ");
M5.Display.println(finger.getFingerID());
Serial.println(finger.getFingerID());
id_Verification = 0;
}
delay(2000);
}
while(id_delete){
uint8_t res2 = finger.available();
M5.Display.printf("Put your finger on the sensor again can delete all id\n");
if (res2 == ACK_SUCCESS){
finger.delAllFinger();
M5.Display.println("All ID have been deleted");
Serial.println("All ID have been deleted");
id_delete = 0;
}
delay(2000);
}
}
bool add_user_process(uint8_t id, uint8_t permission) {
M5.Display.fillRect(0, 0, 320, 240, WHITE);
M5.Display.setCursor(0, 0);
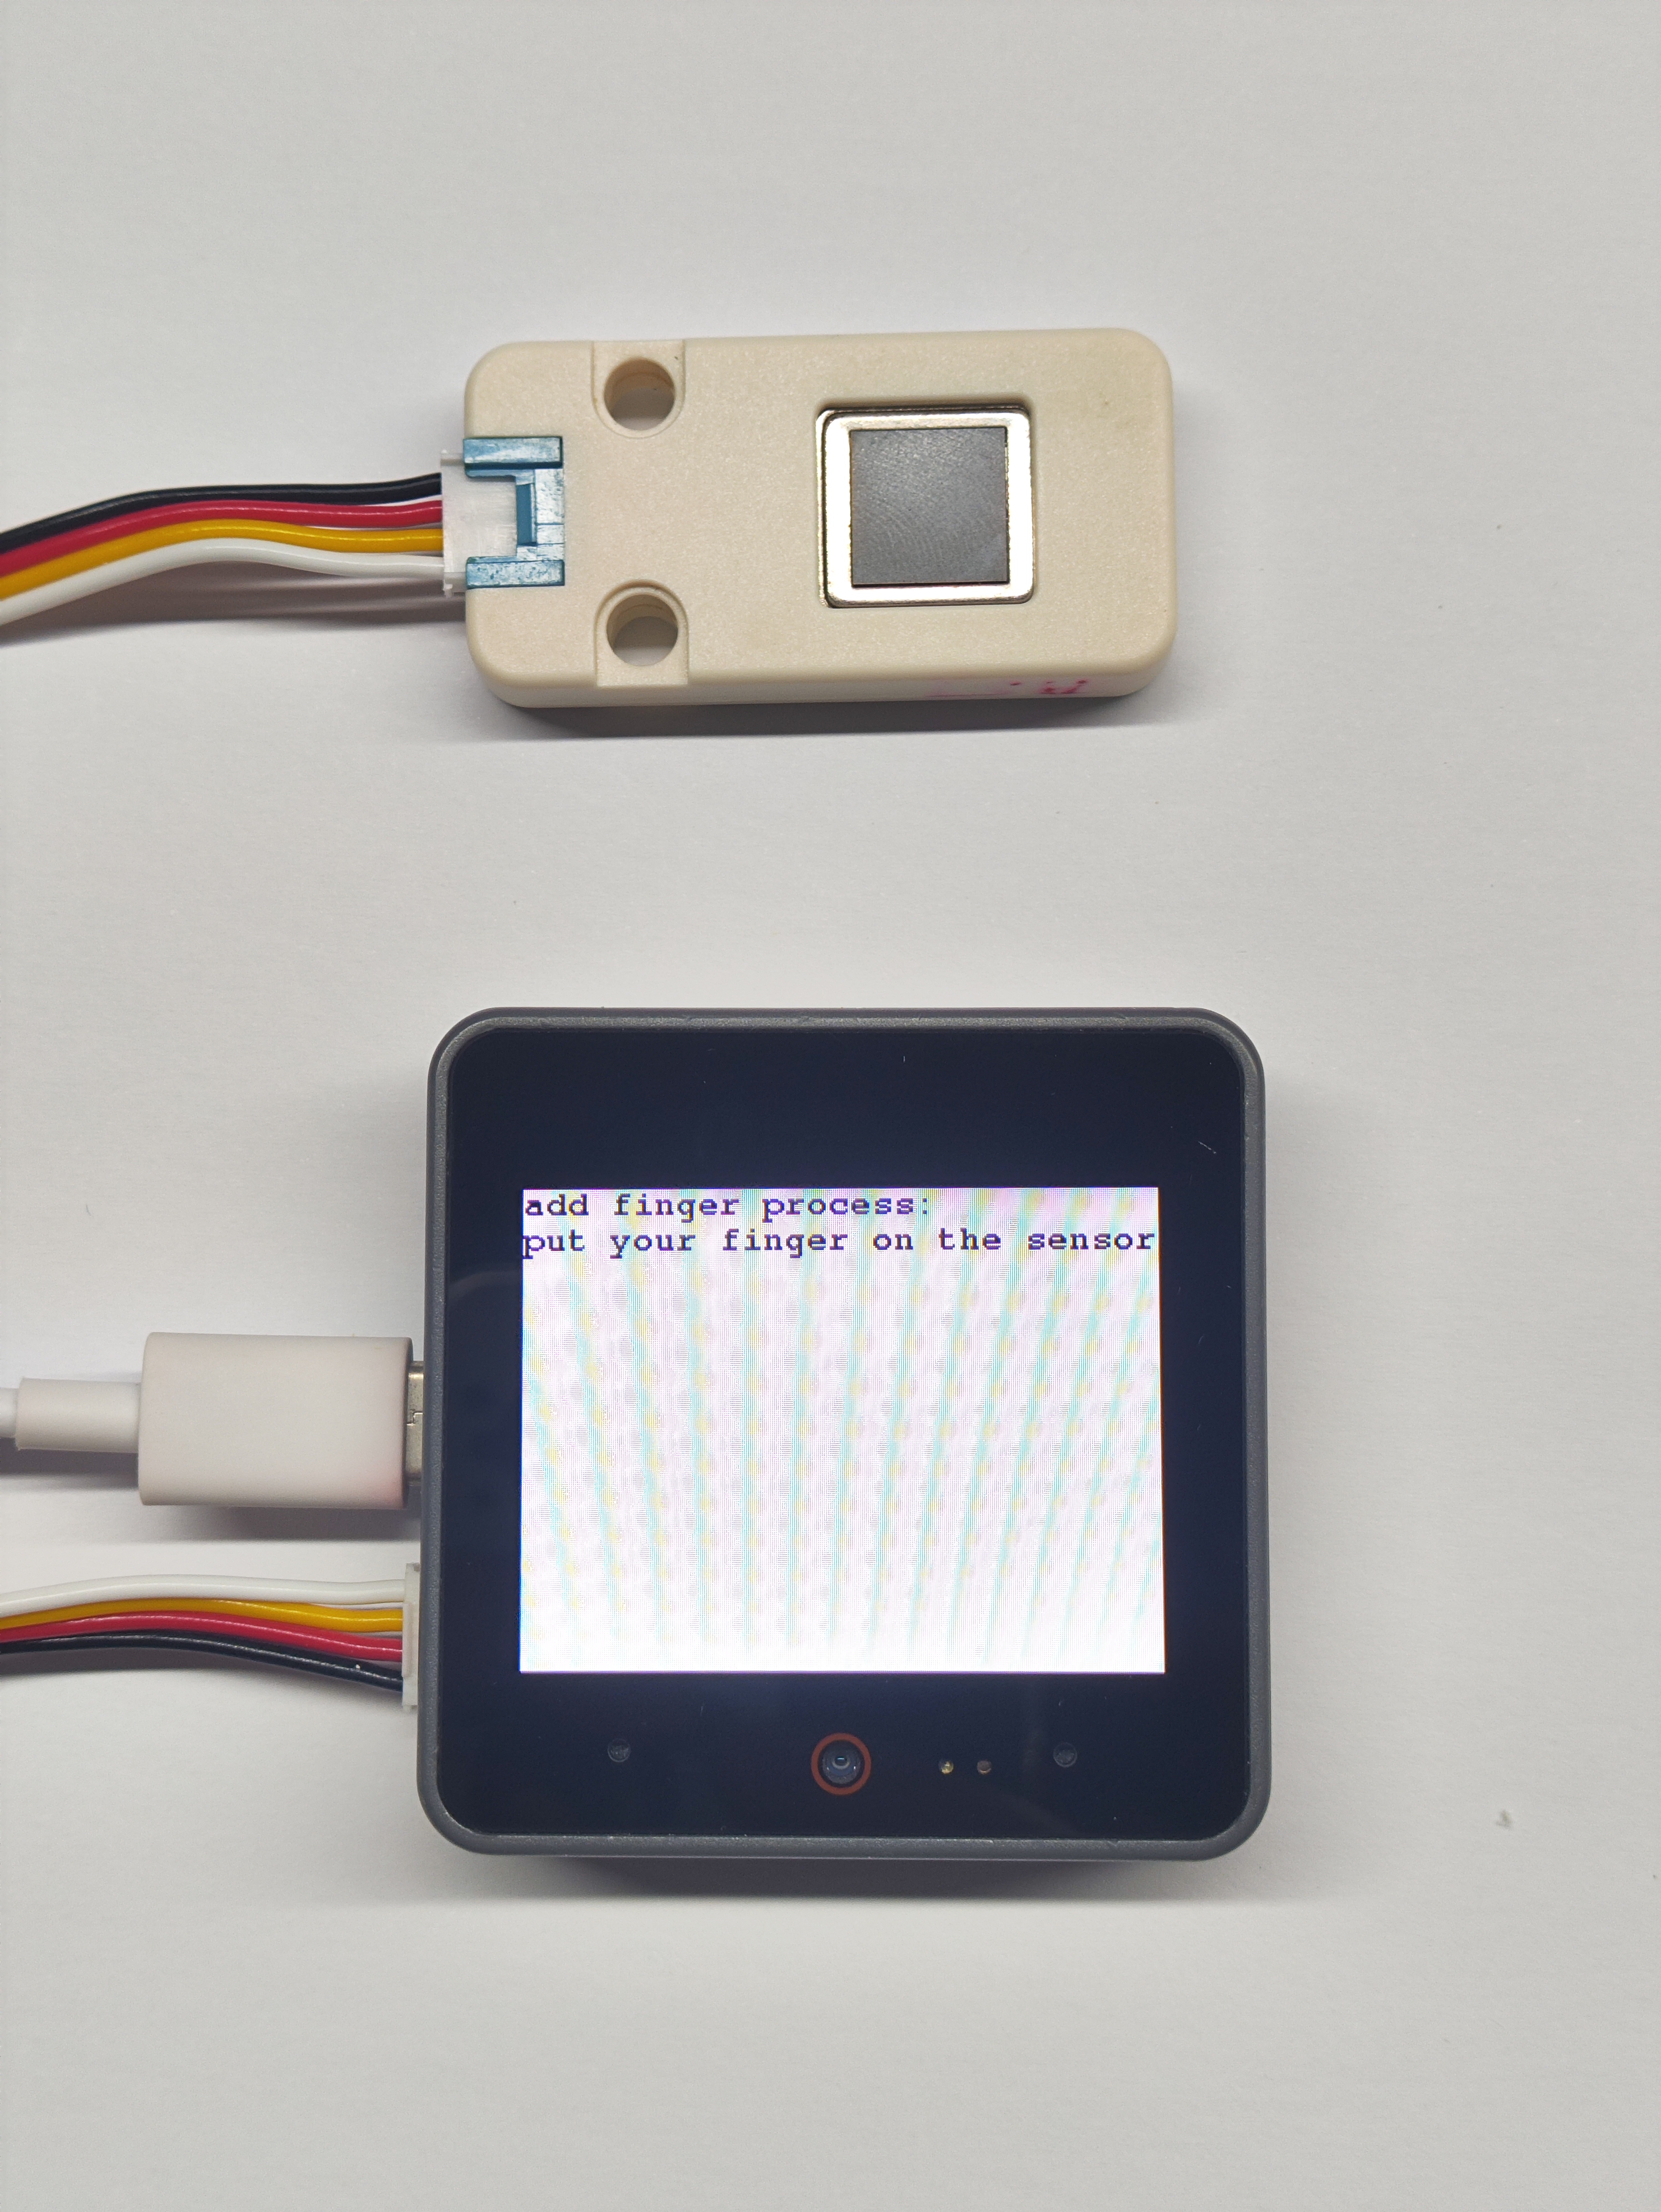
M5.Display.println("add finger process:");
M5.Display.println("put your finger on the sensor");
for (uint8_t i = 0; i < 6; i++) {
while (!finger.addFinger(id, permission, i)) {
Serial.printf("Finger ID: %d Finger Record:%d error\r\n", id, i);
Serial.println("Retry...");
delay(1000);
};
M5.Display.printf("add finger count : %d/6\r\n", i + 1);
Serial.printf("Finger ID: %d Finger Record:%d ok\r\n", id, i);
}
return true;
}4. 编译上传
下载模式:不同设备进行程序烧录前需要进入下载模式,不同的主控设备该步骤可能有所不同。详情可参考Arduino IDE上手教程页面底部的设备程序下载教程列表,查看具体的操作方式。
CoreS3 长按复位按键 (大约 2 秒) 直到内部绿色 LED 灯亮起,便可松开,此时设备已进入下载模式,等待烧录。
.gif)
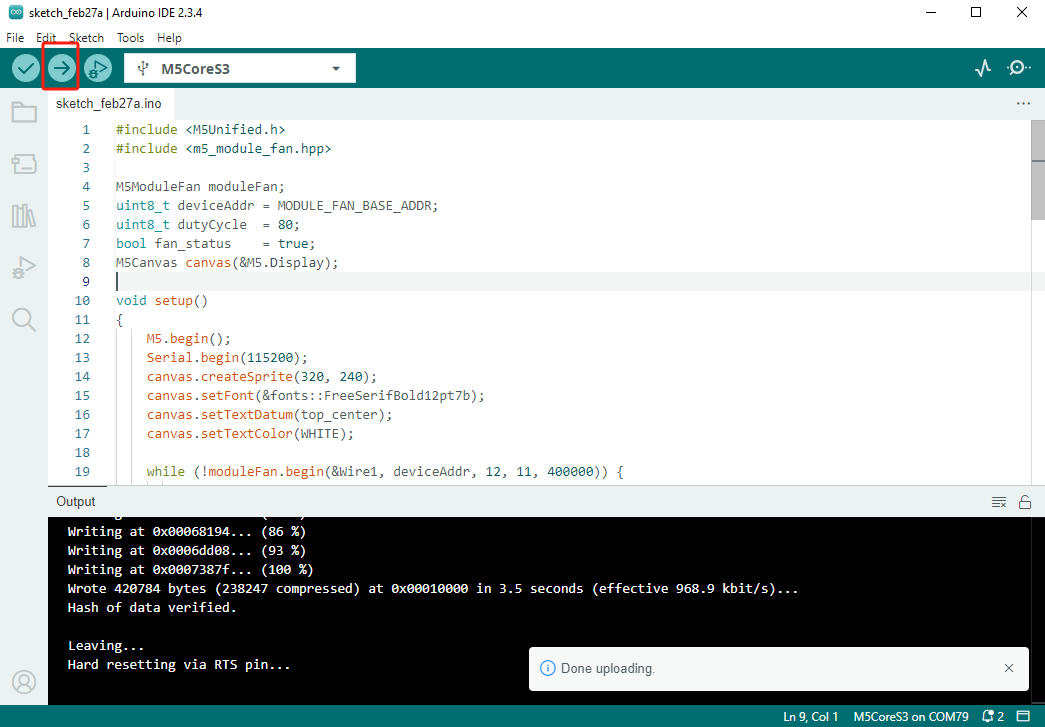
- 选中设备端口,点击 Arduino IDE 左上角编译上传按钮,等待程序完成编译并上传至设备。
5. 指纹识别
- 程序初始阶段是录入指纹,录入成功后会显示
add user success等字样。

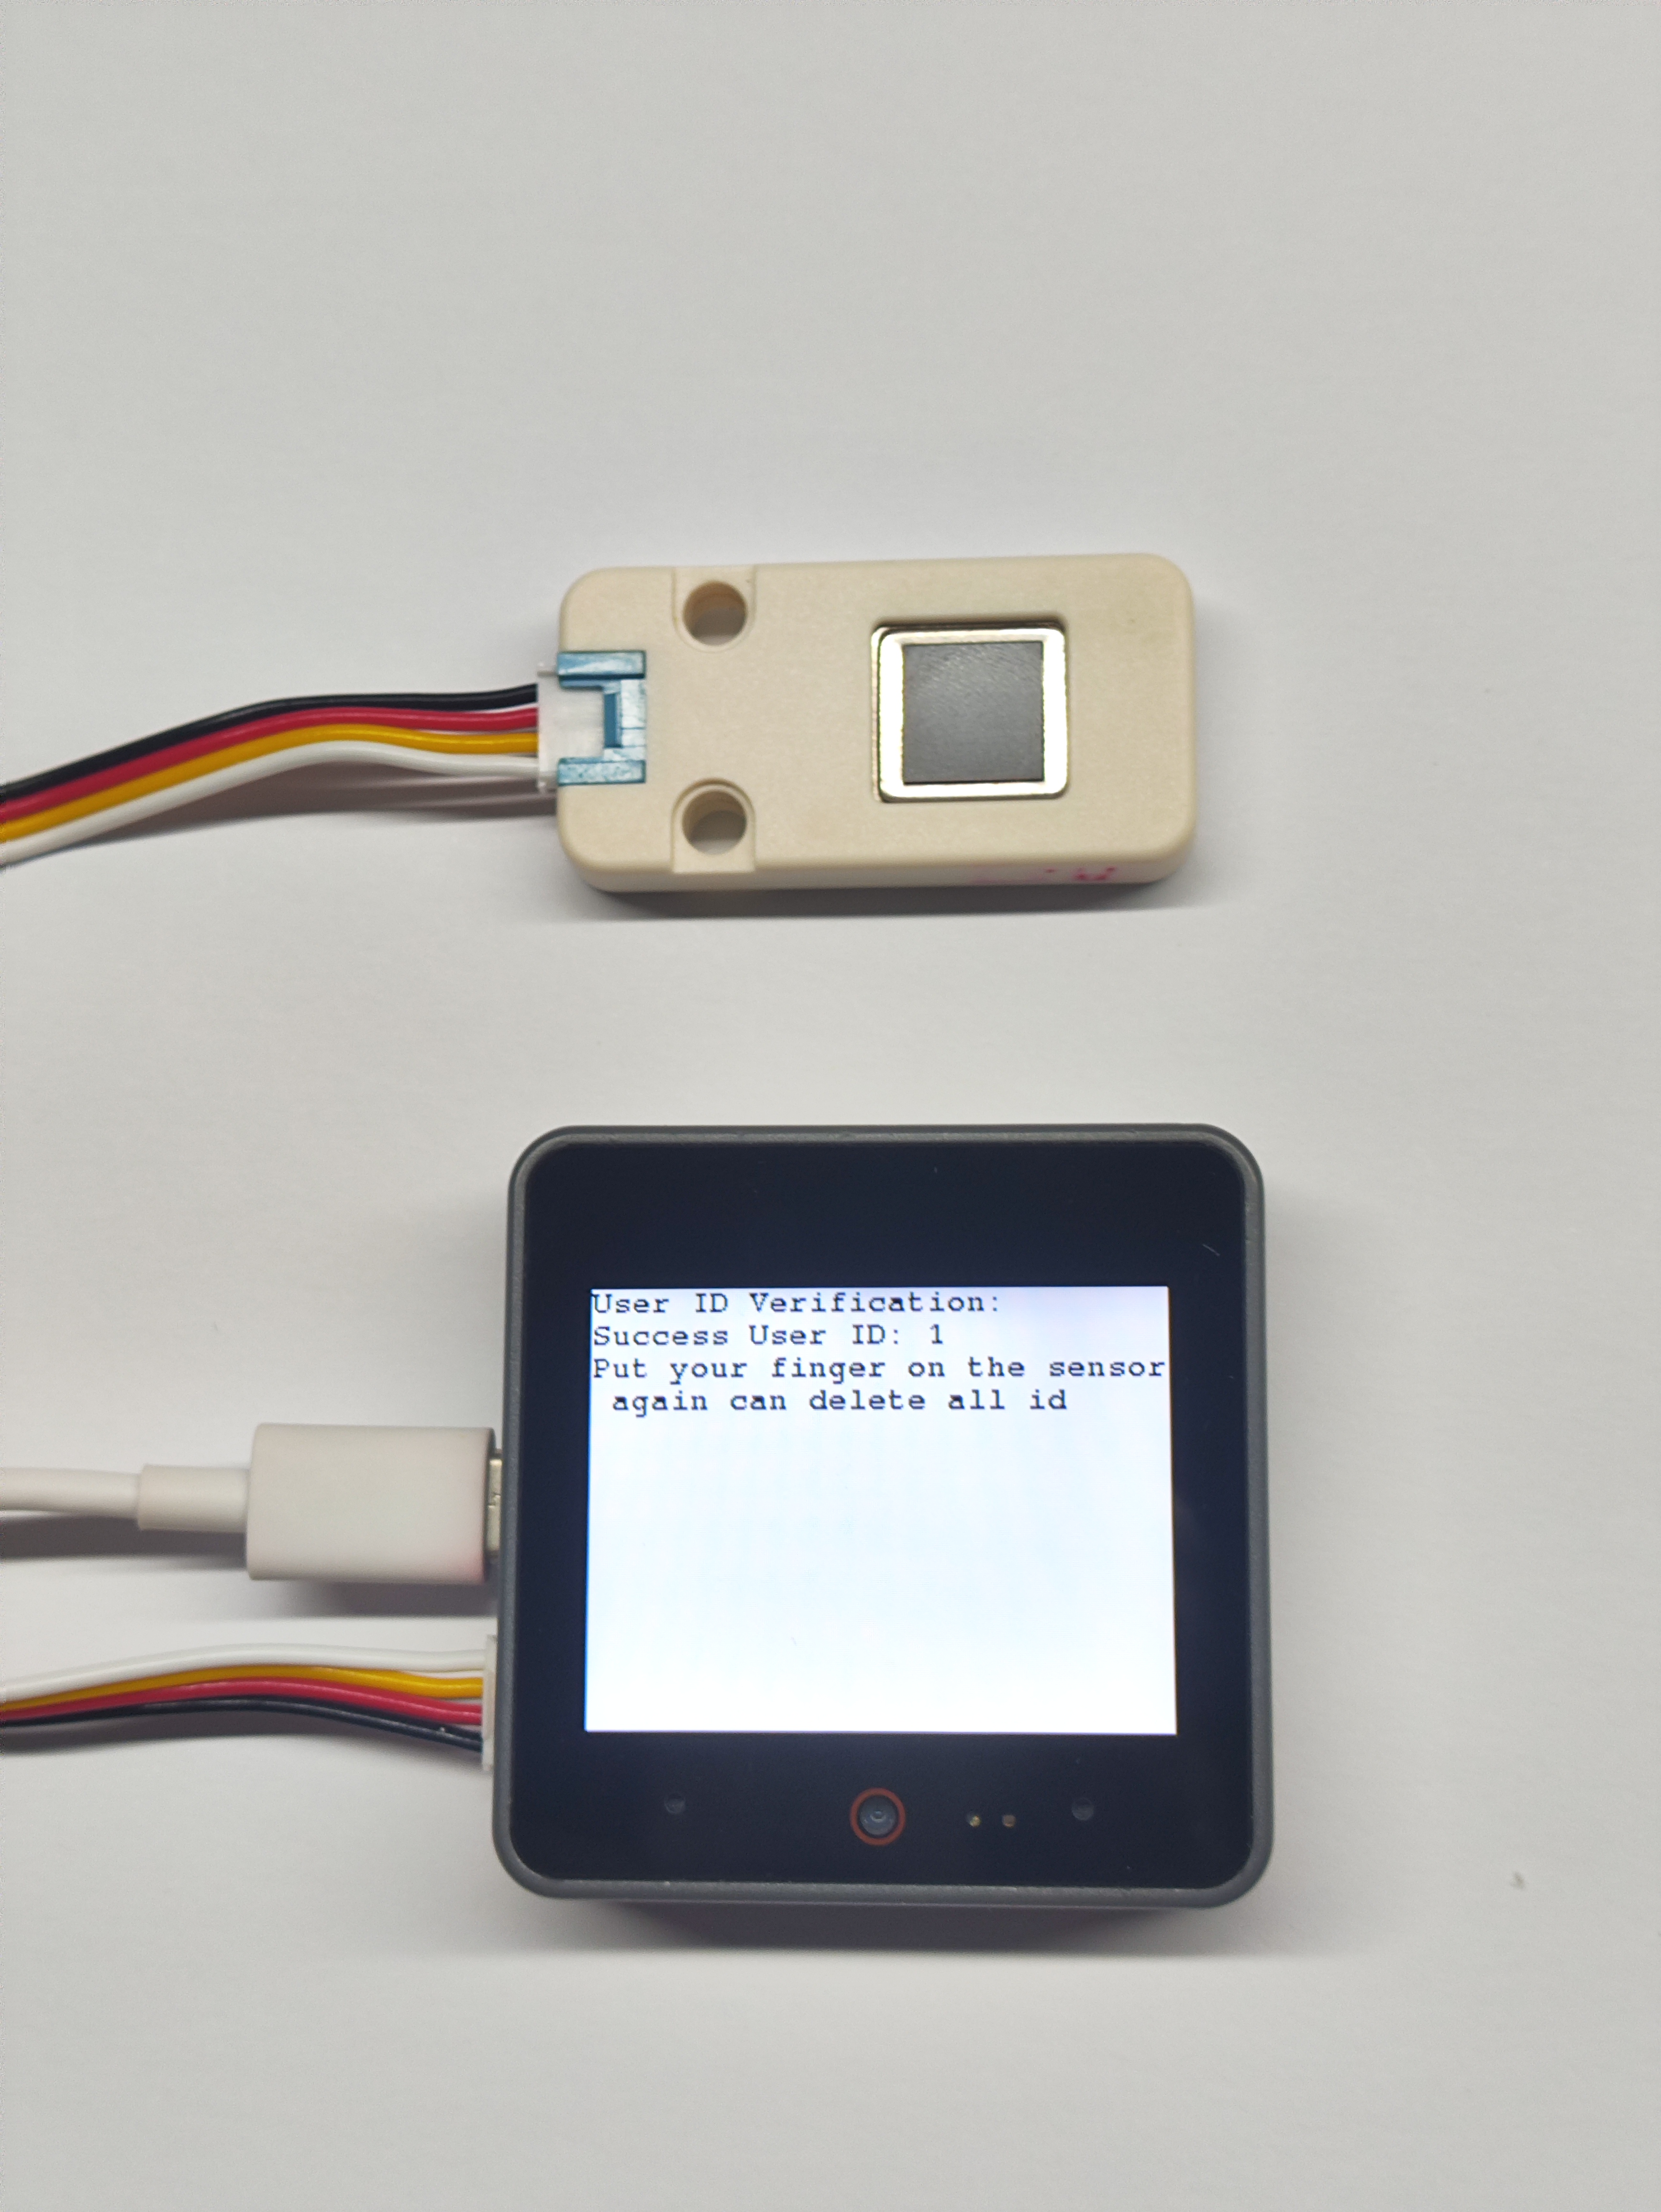
- 成功录入后等待两秒会进入识别模式,再次把录入的指纹放在传感器上,屏幕显示
Success User ID: 1等字样即是识别成功。

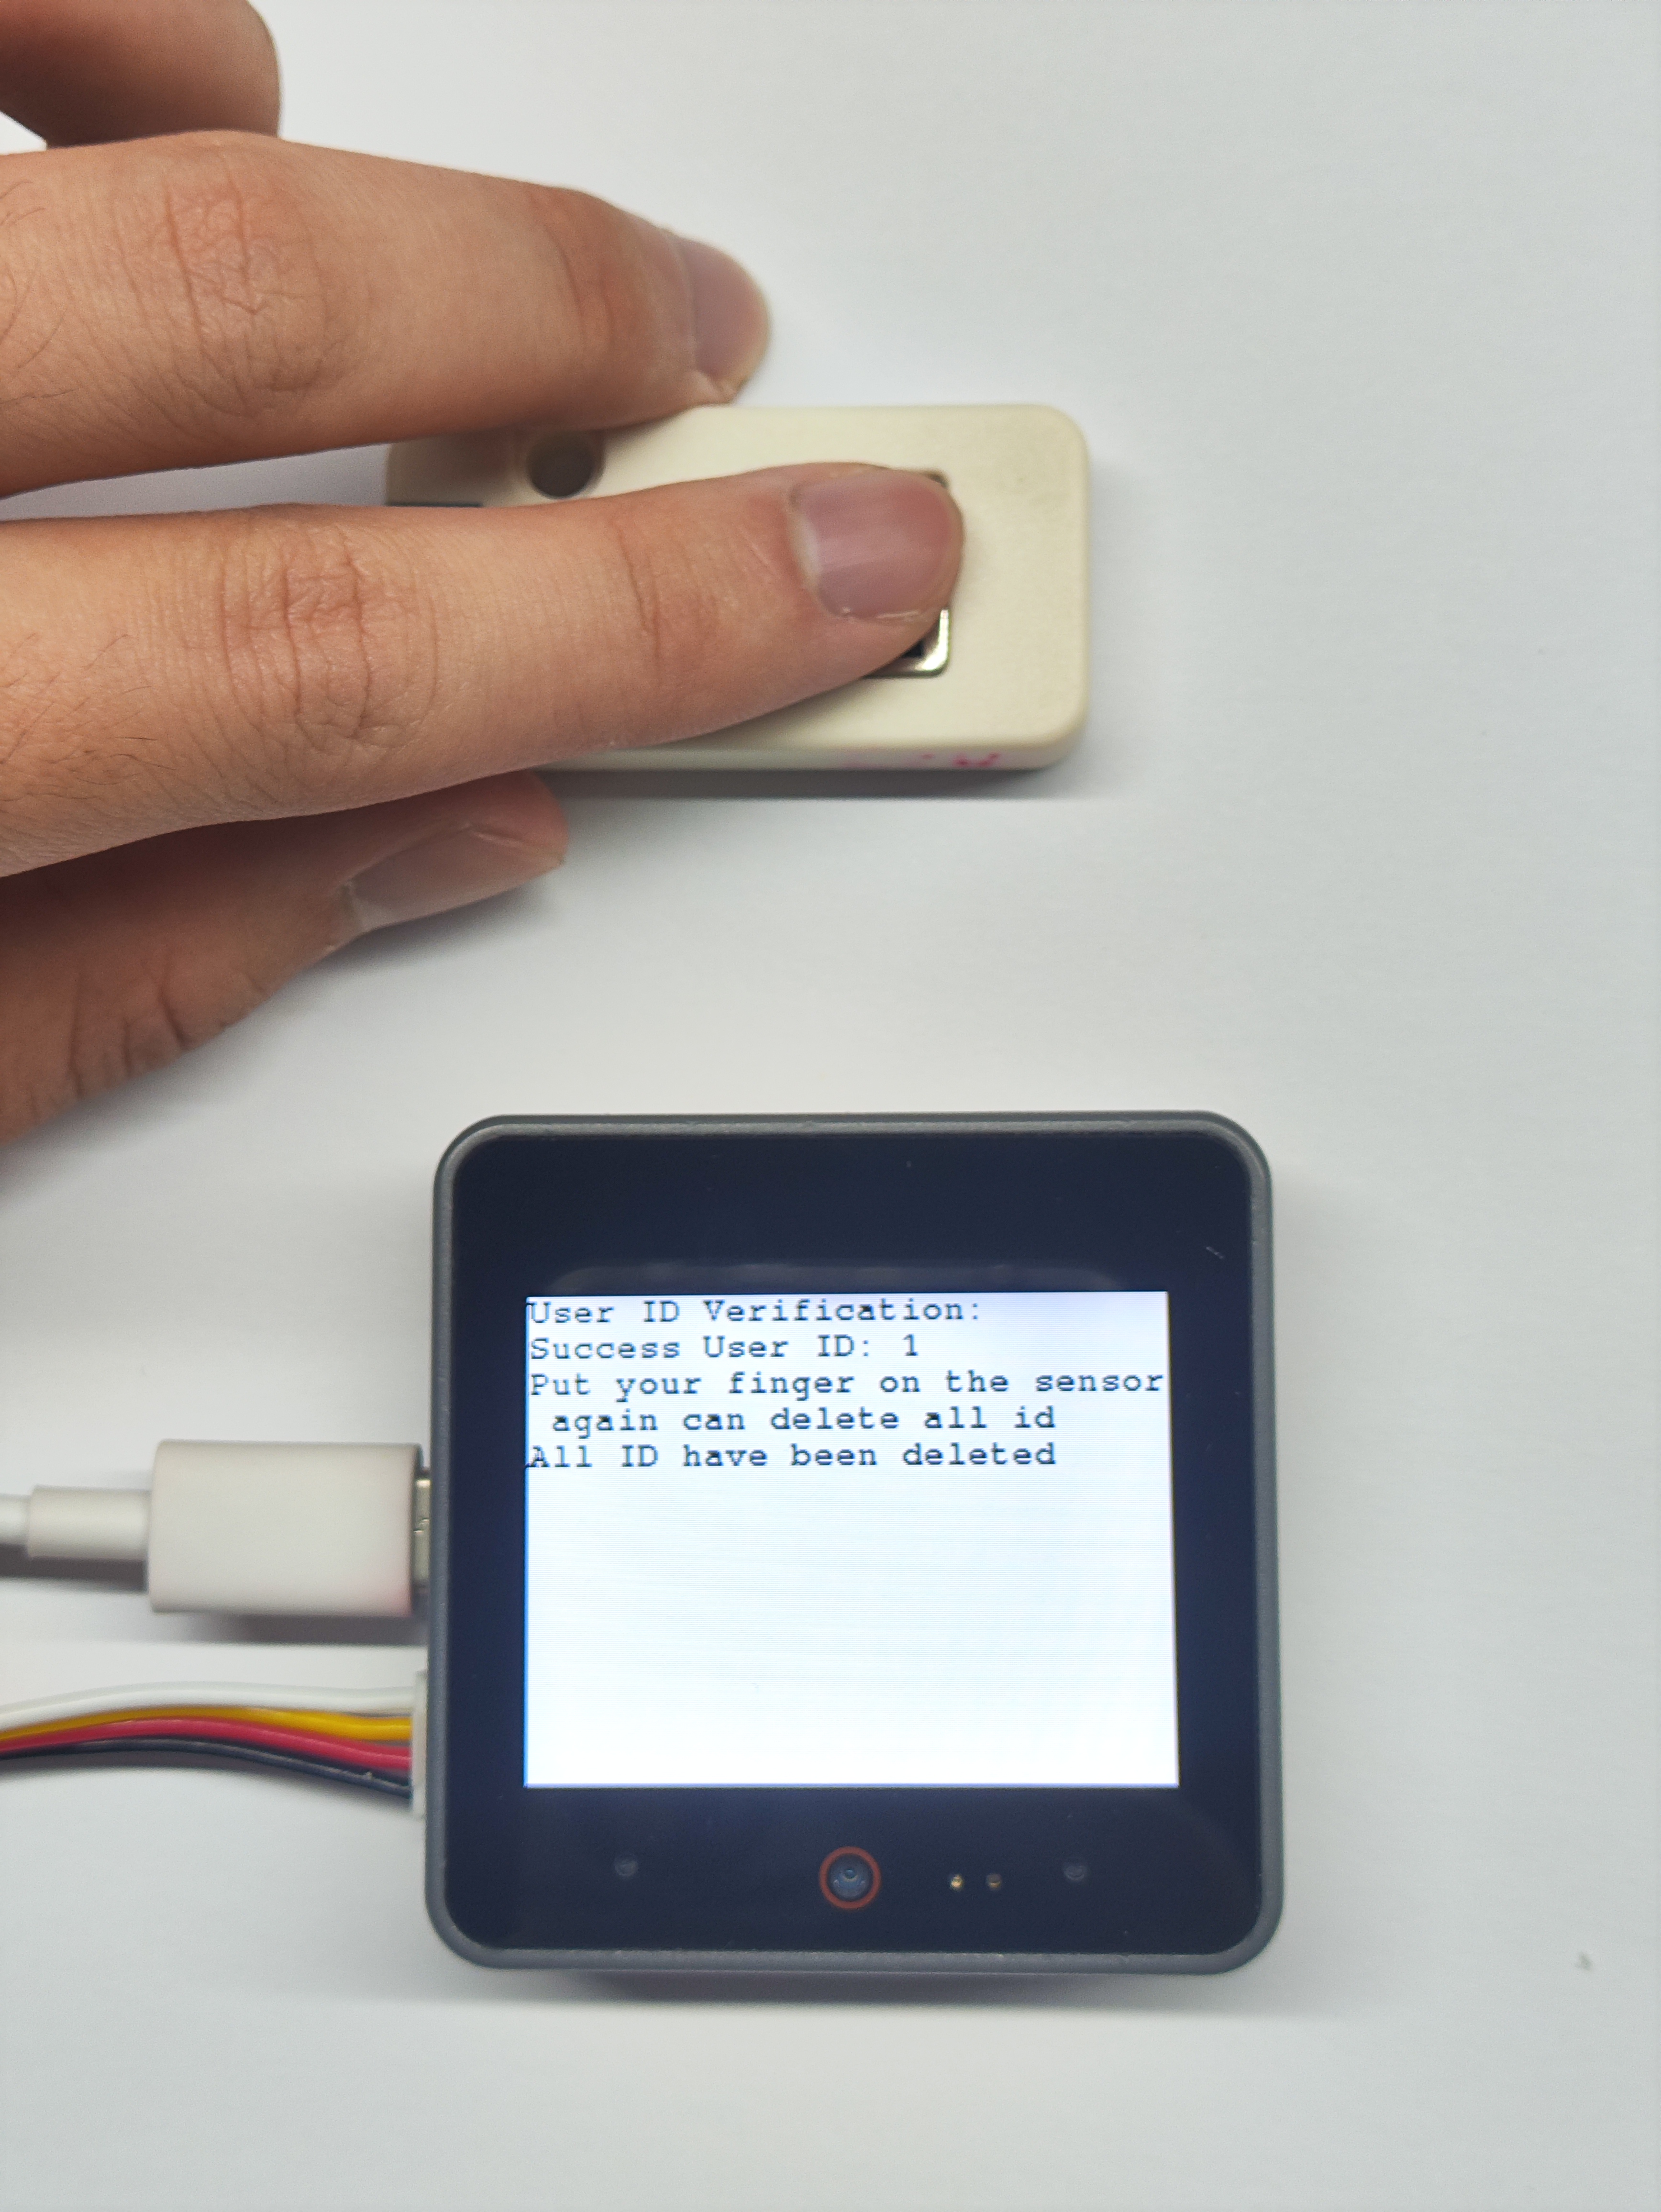
- 最后会进入删除模式,把已录入的指纹放在传感器上即可进行删除,删除成功后会显示
All ID have been deleted等字样。