Arduino Quick Start
2. Devices & Examples
3. M5Unified
4. M5GFX
5. Extensions
Unit
Atomic
Tab5
IoT
Accessories
Sensor Kit
Below are examples for M5GO host controller to use the 6 Unit sensors in the M5GO Kit.
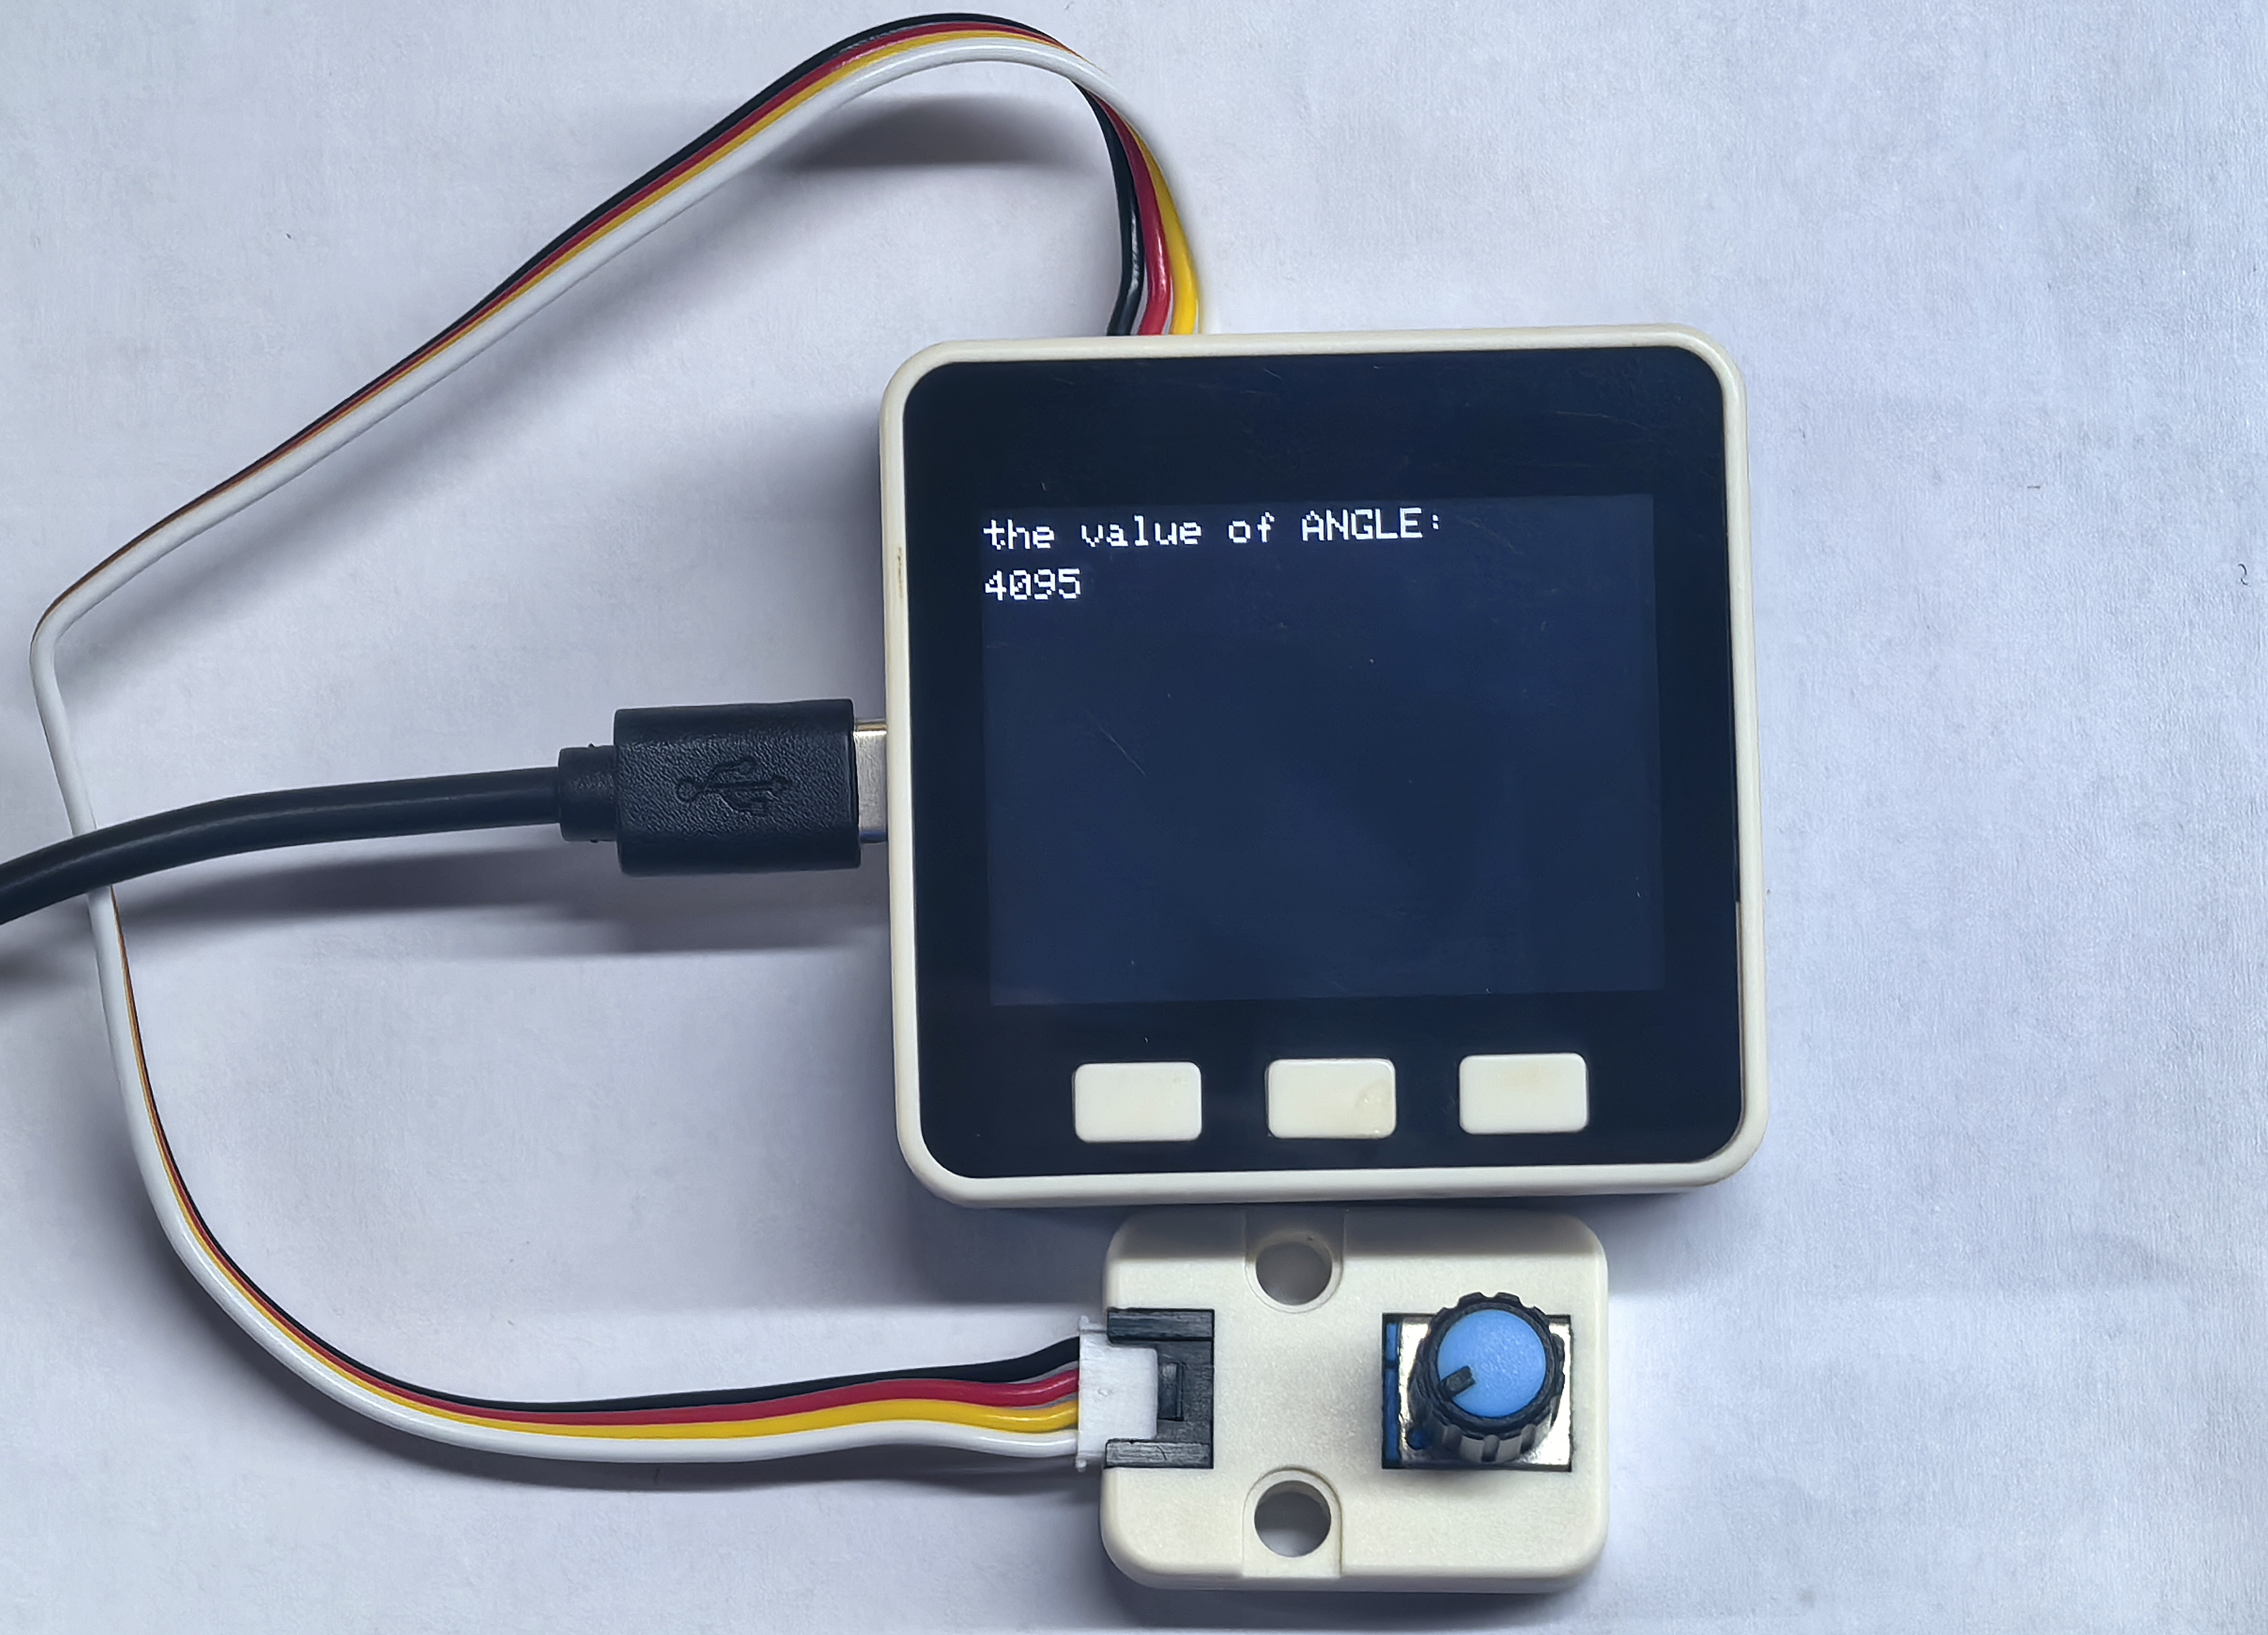
Unit Angle
Example for M5GO to obtain the reference voltage value of the Unit Angle knob.
Example
#include <M5Unified.h>

int sensorPin        = 36;   // Set the input pin for the potentiometer
int last_sensorValue = 100;  // Stores the value last read by the sensor
int cur_sensorValue  = 0;    // Stores the value currently read by the sensor.

void setup()
{
    M5.begin();                 // Init
    pinMode(sensorPin, INPUT);  // Sets the specified pin to input mode
    M5.Lcd.setTextSize(2);      // Set the font size to 2
    M5.Lcd.print("the value of ANGLE: ");
}

void loop()
{
    cur_sensorValue = analogRead(sensorPin);             // Read the value from the sensor
    M5.Lcd.setCursor(0, 25);                             // Place the cursor at (0,25)
    if (abs(cur_sensorValue - last_sensorValue) > 10) {  // Debounce
        M5.Lcd.fillRect(0, 25, 100, 25, BLACK);
        M5.Lcd.print(cur_sensorValue);
        last_sensorValue = cur_sensorValue;
    }
    delay(50);
} This program acquires the reference voltage value of the Unit Angle knob in real time and displays the reference value on the screen.
Unit ENV
Example for M5GO to control the Unit ENV and obtain temperature, humidity, atmospheric pressure, and altitude information.
Example
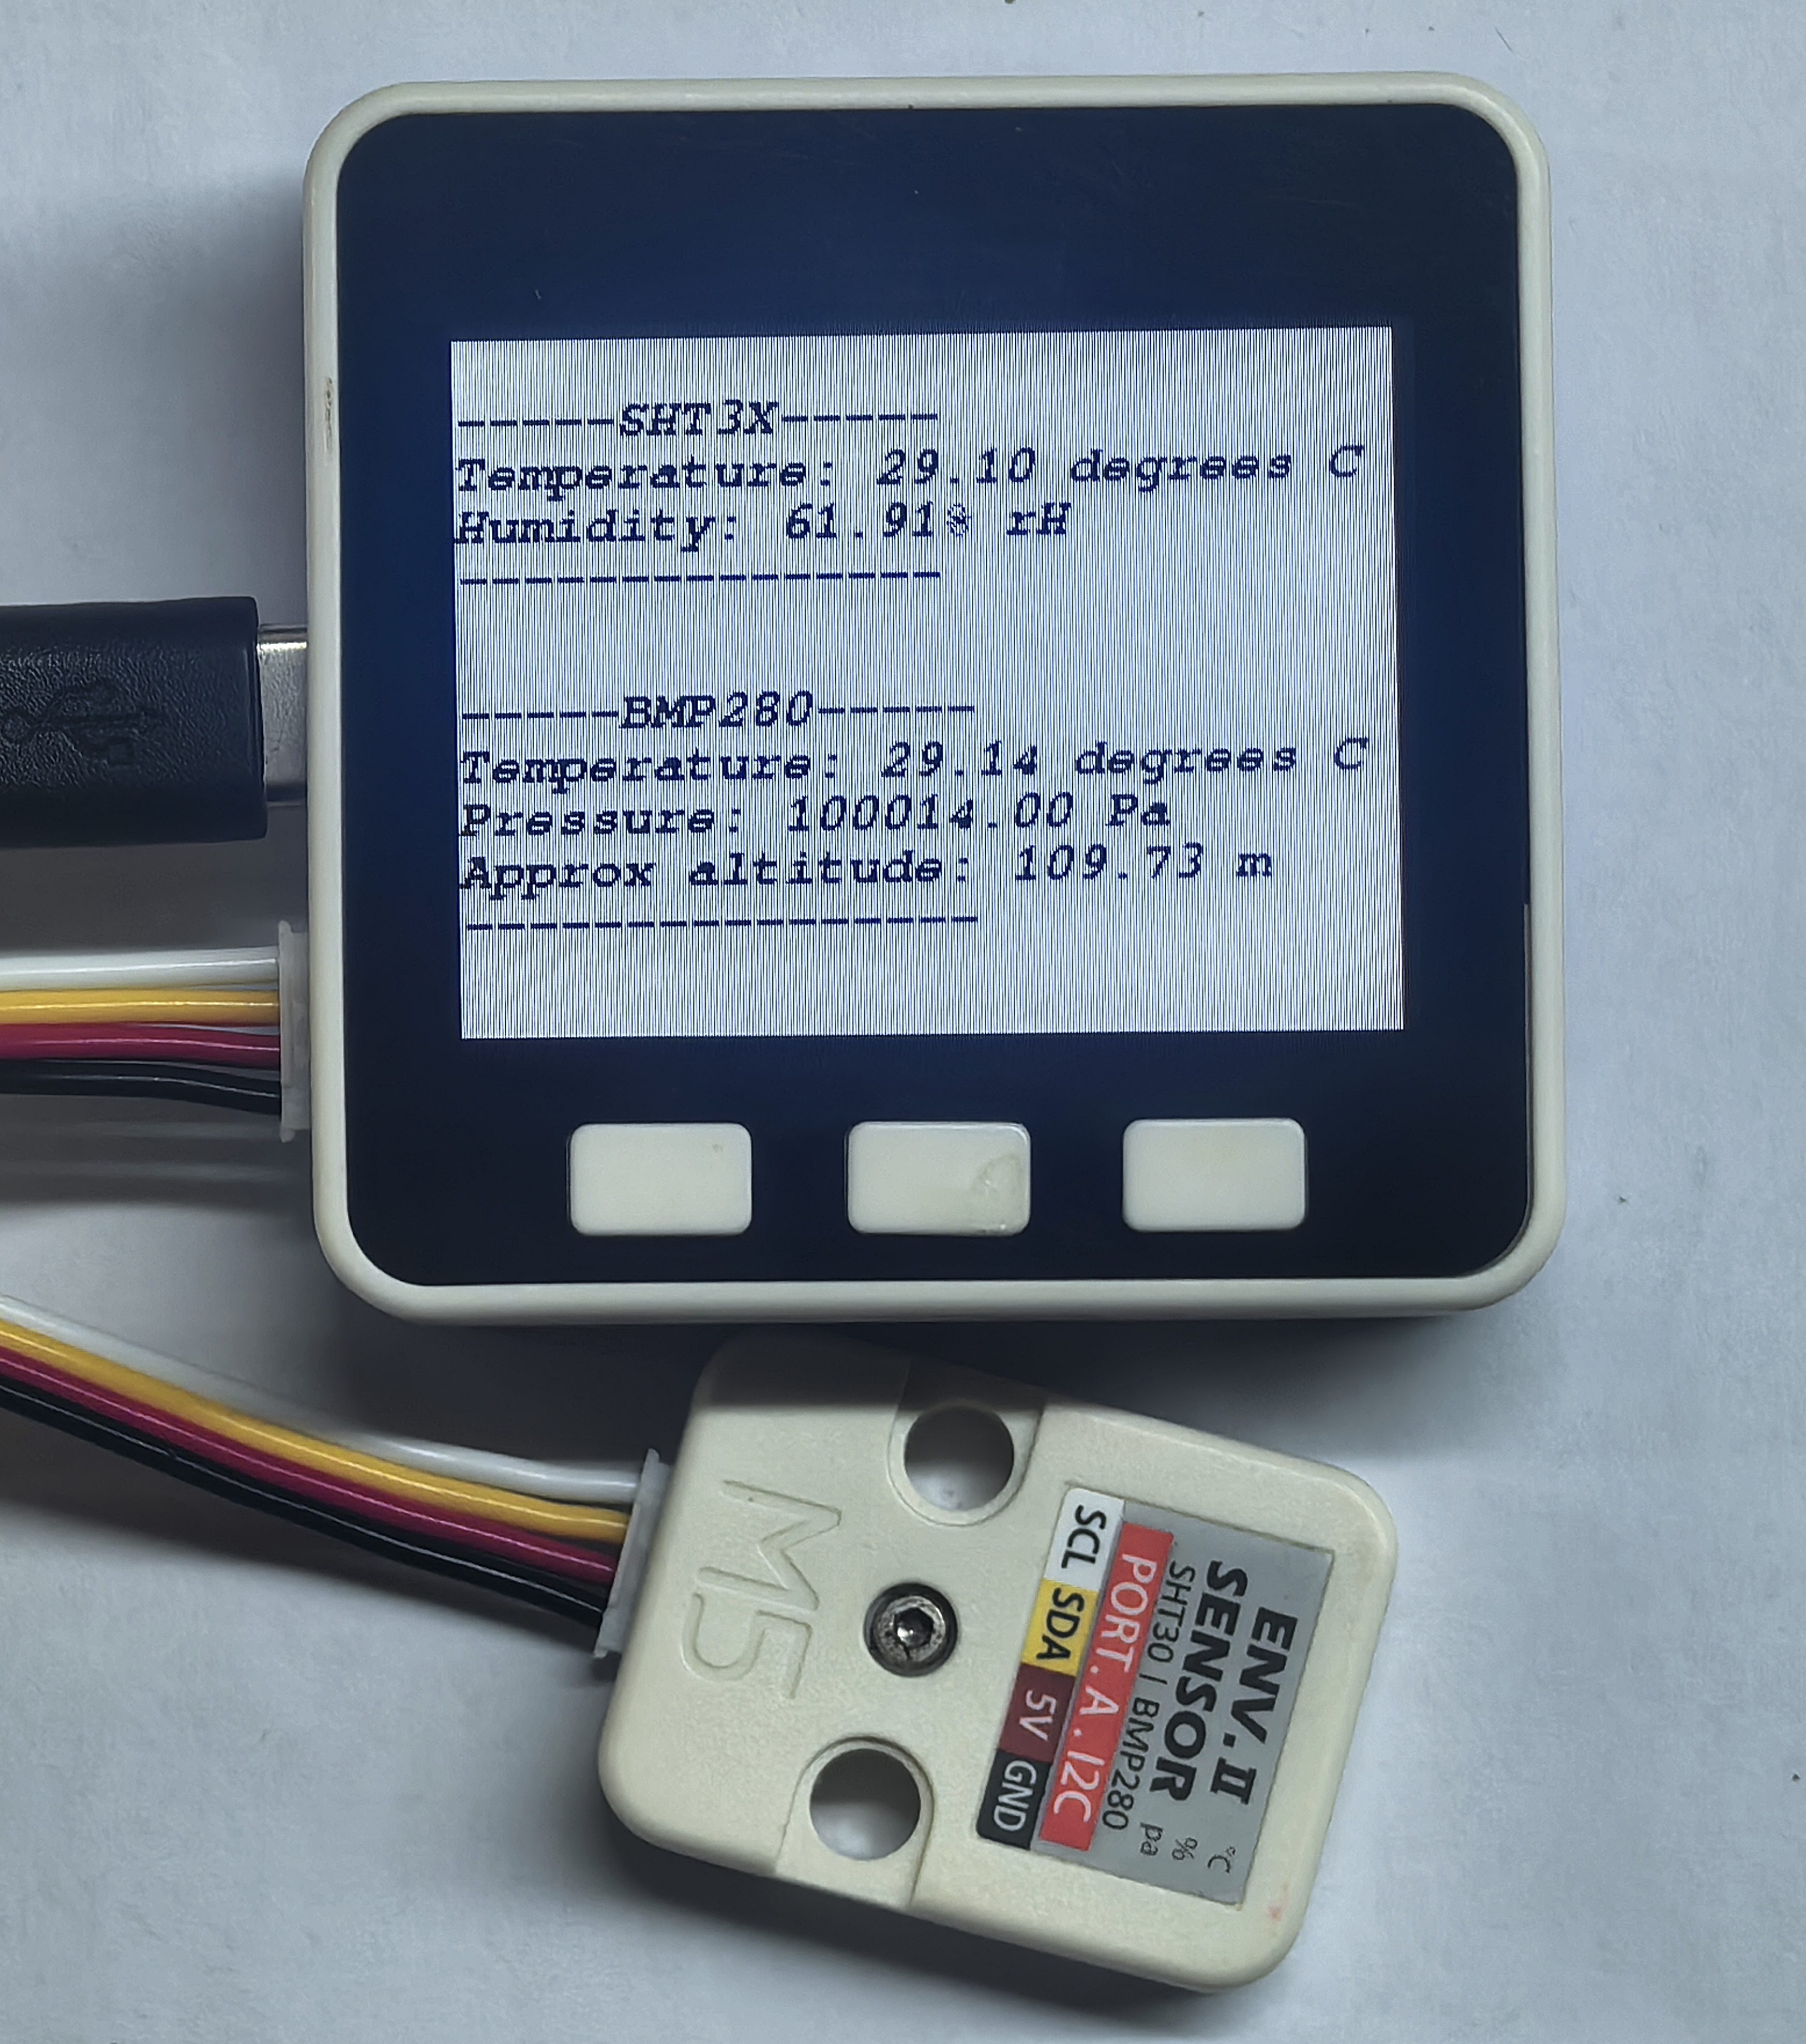
1. M5GO Iot Kit -- Unit ENV-II
#include "M5UnitENV.h"
#include "M5Unified.h"

SHT3X sht3x;
BMP280 bmp;
char ENV_SDA = 21;
char ENV_SCL = 22;

void setup() {
    M5.begin();
    M5.Display.setTextColor(TFT_BLACK);
    M5.Display.setTextFont(&fonts::FreeMonoBoldOblique9pt7b);
    M5.Display.clear(TFT_WHITE);

    Serial.begin(115200);

    if (!sht3x.begin(&Wire, SHT3X_I2C_ADDR, ENV_SDA, ENV_SCL, 400000U)) {
        Serial.println("Couldn't find SHT3X\n");
        M5.Display.printf("Couldn't find SHT3X");
        while (1) delay(1);
    }
    else{
        Serial.println("Find SHT3X\n");
        M5.Display.printf("Find SHT3X\n");
    }

    if (!bmp.begin(&Wire, BMP280_I2C_ADDR, ENV_SDA, ENV_SCL, 400000U)) {
        Serial.println("Couldn't find BMP280\n");
        M5.Display.printf("Couldn't find BMP280\n");
        while (1) delay(1);
    }
    else{
        Serial.println("Find BMP280\n");
        M5.Display.printf("Find BMP280\n");
    }
    /* Default settings from datasheet. */
    bmp.setSampling(BMP280::MODE_NORMAL,     /* Operating Mode. */
                    BMP280::SAMPLING_X2,     /* Temp. oversampling */
                    BMP280::SAMPLING_X16,    /* Pressure oversampling */
                    BMP280::FILTER_X16,      /* Filtering. */
                    BMP280::STANDBY_MS_500); /* Standby time. */
    delay(2000);
    M5.Display.clear(TFT_WHITE);
}

void loop() {
    if (sht3x.update()) {
        Serial.println("-----SHT3X-----");
        Serial.print("Temperature: ");
        Serial.print(sht3x.cTemp);
        Serial.println(" degrees C");
        Serial.print("Humidity: ");
        Serial.print(sht3x.humidity);
        Serial.println("% rH");
        Serial.println("---------------\r\n");

        M5.Display.fillRect(0, 0, 320, 120, TFT_WHITE);
        M5.Display.setCursor(0, 20);
        M5.Display.println("-----SHT3X-----");
        M5.Display.print("Temperature: ");
        M5.Display.print(sht3x.cTemp);
        M5.Display.println(" degrees C");
        M5.Display.print("Humidity: ");
        M5.Display.print(sht3x.humidity);
        M5.Display.println("% rH");
        M5.Display.println("---------------\r\n");
    }

    if (bmp.update()) {
        Serial.println("-----BMP280-----");
        Serial.print(F("Temperature: "));
        Serial.print(bmp.cTemp);
        Serial.println(" degrees C");
        Serial.print(F("Pressure: "));
        Serial.print(bmp.pressure);
        Serial.println(" Pa");
        Serial.print(F("Approx altitude: "));
        Serial.print(bmp.altitude);
        Serial.println(" m");
        Serial.println("----------------\r\n");

        M5.Display.fillRect(0, 120, 320, 120, TFT_WHITE);
        M5.Display.setCursor(0, 120);
        M5.Display.println("-----BMP280-----");
        M5.Display.print(F("Temperature: "));
        M5.Display.print(bmp.cTemp);
        M5.Display.println(" degrees C");
        M5.Display.print(F("Pressure: "));
        M5.Display.print(bmp.pressure);
        M5.Display.println(" Pa");
        M5.Display.print(F("Approx altitude: "));
        M5.Display.print(bmp.altitude);
        M5.Display.println(" m");
        M5.Display.println("----------------\r\n");
    }
    delay(1000);
} This program will display temperature, humidity, atmospheric pressure, and altitude information obtained by SHT3X and BMP280 on the screen and refresh once per second.
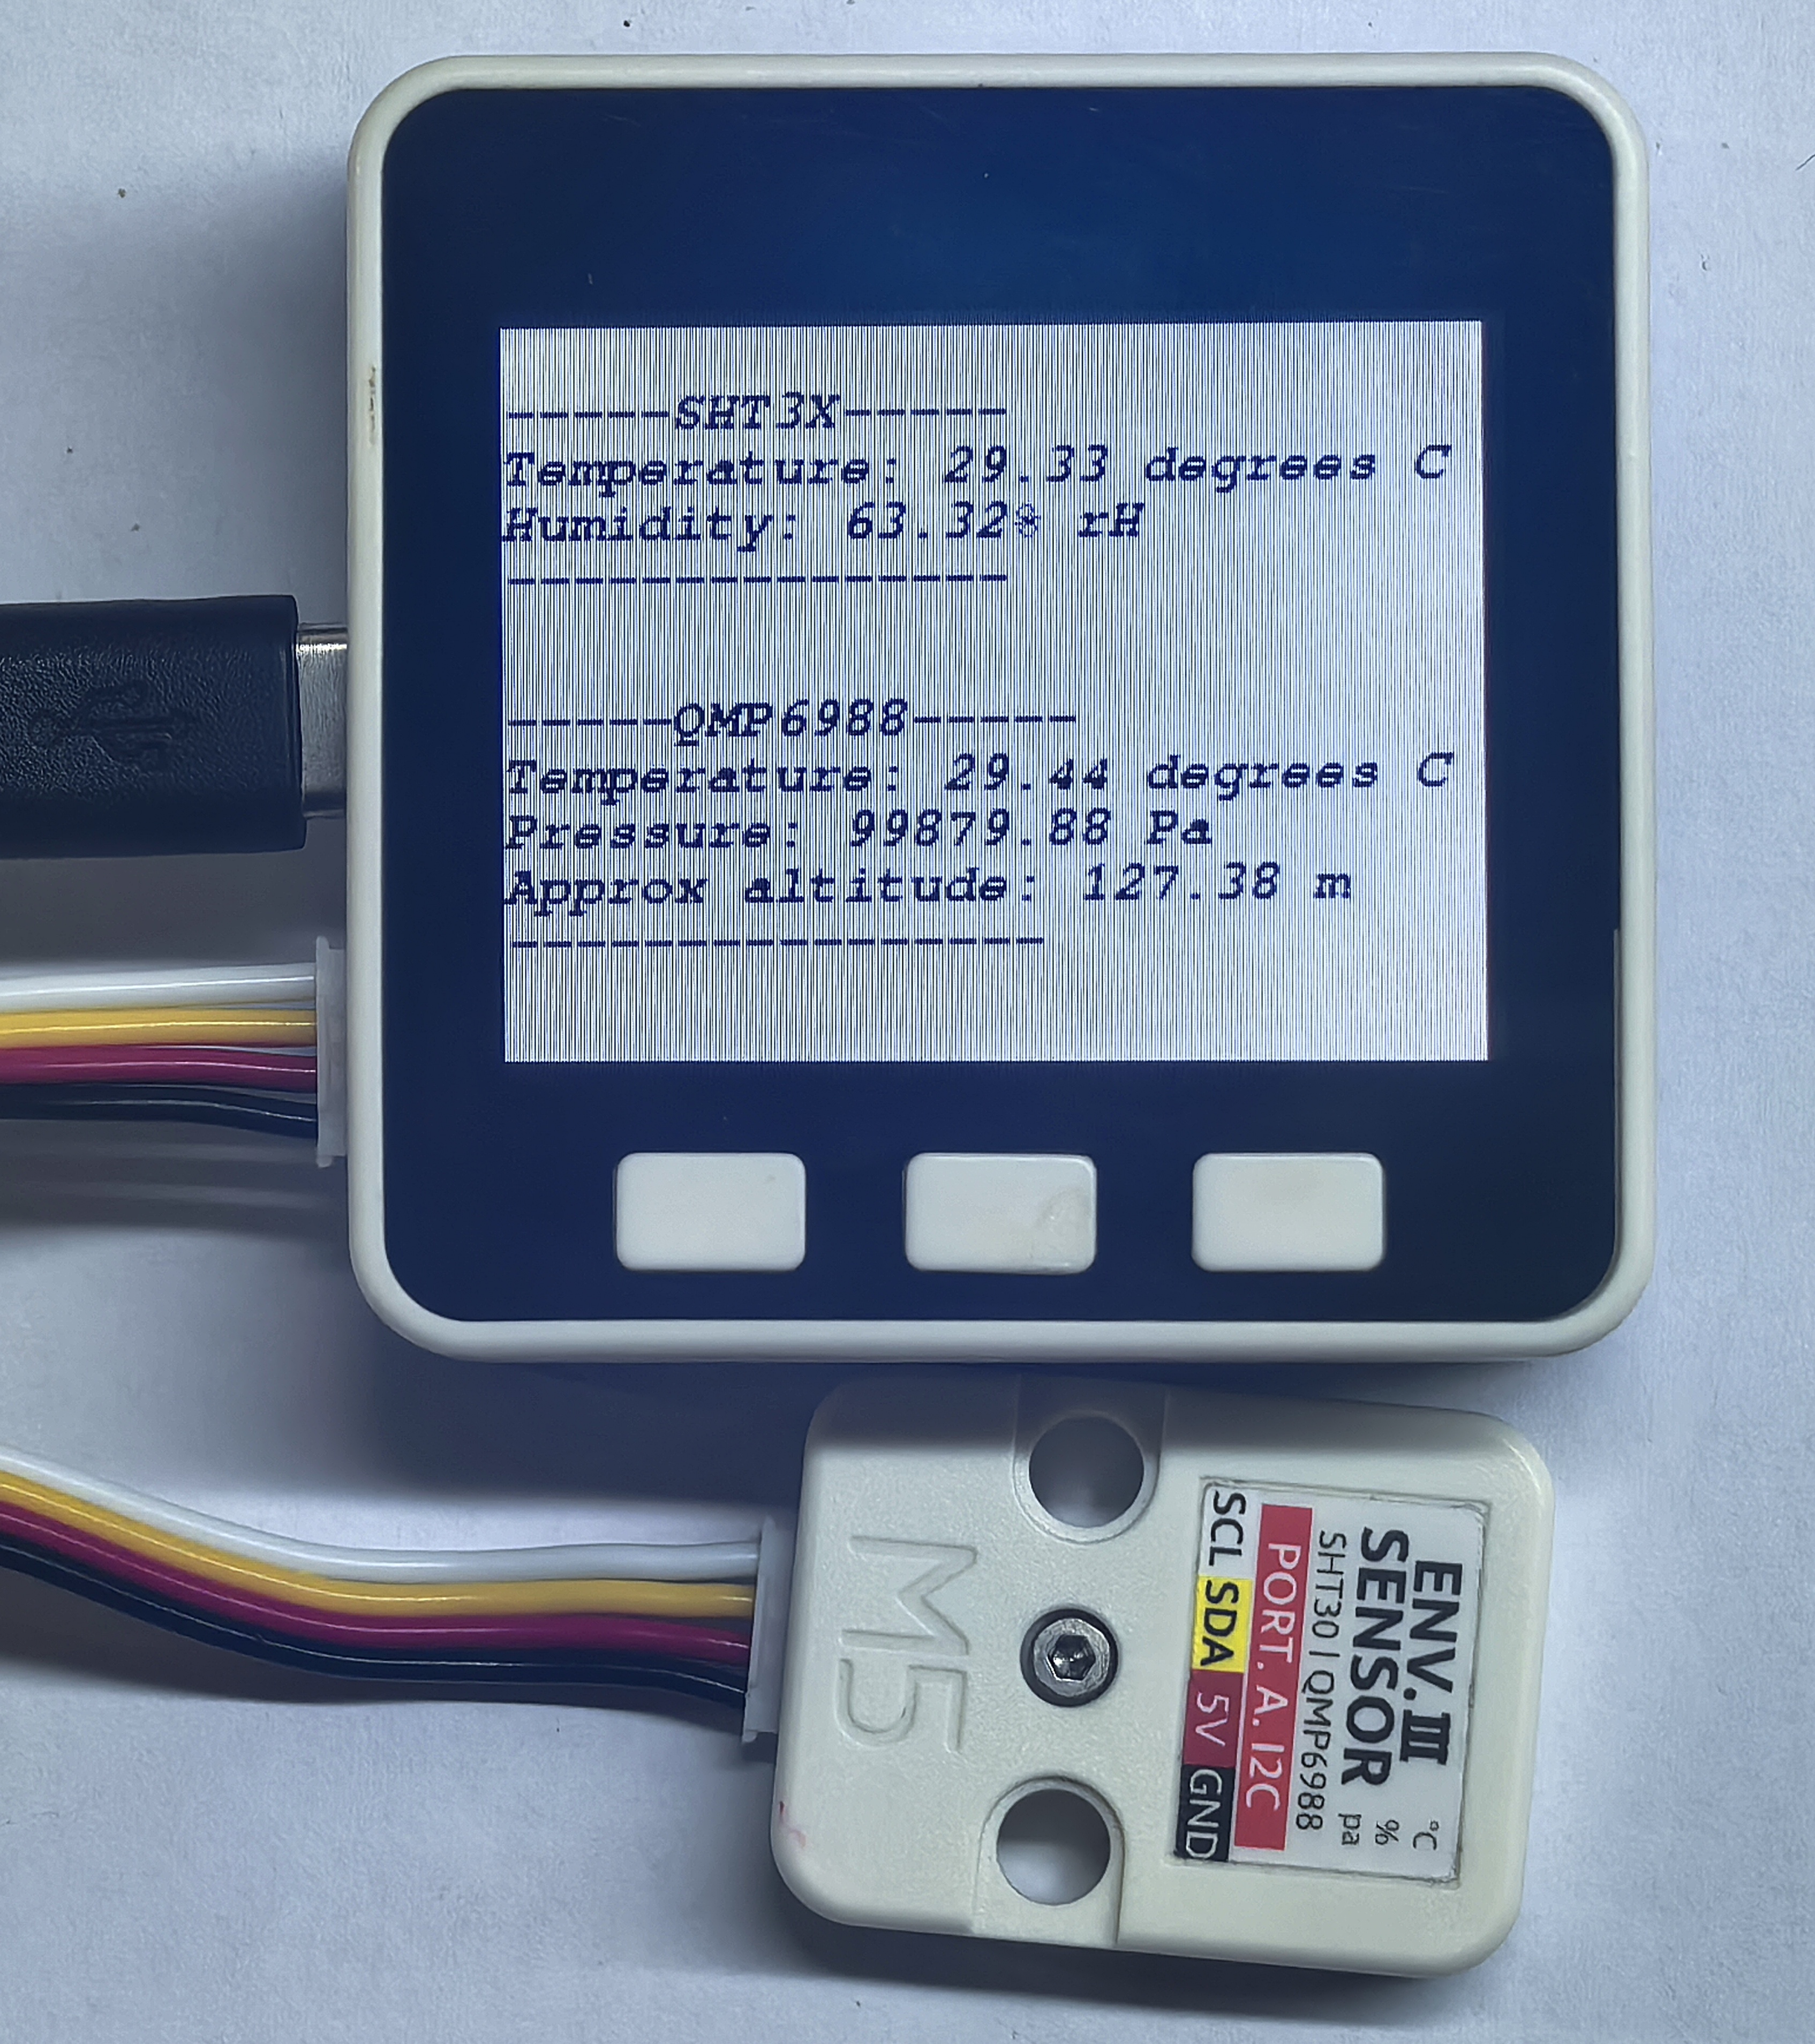
2. M5GO Iot Kit 2.6 / M5GO Iot Kit 2.7 -- Unit ENV-II
#include "M5UnitENV.h"
#include "M5Unified.h"

SHT3X sht3x;
QMP6988 qmp;
char ENV_SDA = 21;
char ENV_SCL = 22;

void setup() {
    M5.begin();
    M5.Display.setTextColor(TFT_BLACK);
    M5.Display.setTextFont(&fonts::FreeMonoBoldOblique9pt7b);
    M5.Display.clear(TFT_WHITE);

    Serial.begin(115200);

    if (!sht3x.begin(&Wire, SHT3X_I2C_ADDR, ENV_SDA, ENV_SCL, 400000U)) {
        Serial.println("Couldn't find SHT3X\n");
        M5.Display.printf("Couldn't find SHT3X");
        while (1) delay(1);
    }
    else{
        Serial.println("Find SHT3X\n");
        M5.Display.printf("Find SHT3X\n");
    }

    if (!qmp.begin(&Wire, QMP6988_SLAVE_ADDRESS_L, 21, 22, 400000U)) {
        Serial.println("Couldn't find QMP6988\n");
        M5.Display.printf("Couldn't find QMP6988\n");
        while (1) delay(1);
    }
    else{
        Serial.println("Find QMP6988\n");
        M5.Display.printf("Find QMP6988\n");
    }

    delay(2000);
    M5.Display.clear(TFT_WHITE);
}

void loop() {
    if (sht3x.update()) {
        Serial.println("-----SHT3X-----");
        Serial.print("Temperature: ");
        Serial.print(sht3x.cTemp);
        Serial.println(" degrees C");
        Serial.print("Humidity: ");
        Serial.print(sht3x.humidity);
        Serial.println("% rH");
        Serial.println("---------------\r\n");

        M5.Display.fillRect(0, 0, 320, 120, TFT_WHITE);
        M5.Display.setCursor(0, 20);
        M5.Display.println("-----SHT3X-----");
        M5.Display.print("Temperature: ");
        M5.Display.print(sht3x.cTemp);
        M5.Display.println(" degrees C");
        M5.Display.print("Humidity: ");
        M5.Display.print(sht3x.humidity);
        M5.Display.println("% rH");
        M5.Display.println("---------------\r\n");
    }

    if (qmp.update()) {
        Serial.println("-----QMP6988-----");
        Serial.print(F("Temperature: "));
        Serial.print(qmp.cTemp);
        Serial.println(" degrees C");
        Serial.print(F("Pressure: "));
        Serial.print(qmp.pressure);
        Serial.println(" Pa");
        Serial.print(F("Approx altitude: "));
        Serial.print(qmp.altitude);
        Serial.println(" m");
        Serial.println("----------------\r\n");

        M5.Display.fillRect(0, 120, 320, 120, TFT_WHITE);
        M5.Display.setCursor(0, 120);
        M5.Display.println("-----QMP6988-----");
        M5.Display.print(F("Temperature: "));
        M5.Display.print(qmp.cTemp);
        M5.Display.println(" degrees C");
        M5.Display.print(F("Pressure: "));
        M5.Display.print(qmp.pressure);
        M5.Display.println(" Pa");
        M5.Display.print(F("Approx altitude: "));
        M5.Display.print(qmp.altitude);
        M5.Display.println(" m");
        M5.Display.println("----------------\r\n");
    }
    delay(1000);
} This program will display temperature, humidity, atmospheric pressure, and altitude information obtained by SHT3X and QMP6988 on the screen and refresh once per second.
Unit HUB
The main function of Unit HUB is to expand one Grove port into three, making it convenient for users to connect multiple I2C devices at the same time. The signals of all the internal ports are paralleled, and multiple I2C devices can be controlled by different I2C addresses.
Unit IR
Example for M5GO to control Unit IR to realize sending and receiving NEC code via infrared.
Example
#include <IRremote.hpp>
#include <M5Unified.h>

#define IR_SEND_PIN    21      // GPIO pin for IR transmitter
#define IR_RECEIVE_PIN 22      // GPIO pin for IR receiver

// Demo parameters for NEC protocol
uint16_t address = 0x0000;     // Starting device address
uint8_t  command = 0x55;       // Starting command value
uint8_t  repeats = 0;          // Number of repeat transmissions

void setup() {
    M5.begin();                // Initialize M5Stack device
    Serial.begin(115200);      // Start serial communication at 115200 baud
    delay(200);                // Wait for serial port to stabilize

    // Configure display settings
    M5.Display.setTextColor(TFT_BLACK);
    M5.Display.setTextFont(&fonts::FreeMonoBoldOblique9pt7b);
    M5.Display.clear(TFT_WHITE);
    M5.Display.setCursor(0,0);
    M5.Display.printf("M5GO IRremote example");
    Serial.println("M5GO IRremote example");
    // Initialize IR communication
    IrReceiver.begin(IR_RECEIVE_PIN);     // Start IR receiver
    IrSender.begin(DISABLE_LED_FEEDBACK);  // Initialize IR sender without LED feedback
    IrSender.setSendPin(IR_SEND_PIN);      // Assign transmitter pin
    Serial.printf("IR Send Pin: %d, IR Recv Pin: %d\n", IR_SEND_PIN, IR_RECEIVE_PIN);
    delay(500); // Wait for hardware components to stabilize
}

void loop() {
    // 1. Send infrared signal using NEC protocol
    Serial.printf("Send NEC: addr=0x%04x, cmd=0x%02x\n", address, command);
    IrSender.sendNEC(address, command, repeats);

    // Update display with transmission info
    M5.Display.fillRect(0, 20, 320, 90, TFT_WHITE);  // Clear previous content
    M5.Display.setCursor(0, 40);
    M5.Display.printf("Send NEC:\n addr=0x%04x\n cmd=0x%02x\n", address, command);
    IrReceiver.restartAfterSend();  // Re-enable receiver after transmission
    // 2. Wait for possible reflection (short-range testing)
    delay(20);  // Brief pause to allow signal reception
    // Attempt to decode received IR signal
    if (IrReceiver.decode()) {
        // Print received data to serial monitor
        Serial.printf("Received: protocol=%s, addr=0x%04x, cmd=0x%02x, raw=0x%08lx\n",
                      getProtocolString(IrReceiver.decodedIRData.protocol),
                      IrReceiver.decodedIRData.address,
                      IrReceiver.decodedIRData.command,
                      (unsigned long)IrReceiver.decodedIRData.decodedRawData);

        // Display received data on screen
        M5.Display.fillRect(0, 110, 320, 130, TFT_WHITE);  // Clear previous content
        M5.Display.setCursor(0, 110);
        M5.Display.printf("Received:\n protocol=%s\n addr=0x%04x\n cmd=0x%02x\n raw=0x%08lx\n",
                        getProtocolString(IrReceiver.decodedIRData.protocol),
                        IrReceiver.decodedIRData.address,
                        IrReceiver.decodedIRData.command,
                        (unsigned long)IrReceiver.decodedIRData.decodedRawData);

        IrReceiver.resume();  // Enable reception of next signal
    } else {
        // Handle case where no signal was received
        Serial.println("No IR received.");
        M5.Display.fillRect(0, 110, 320, 130, TFT_WHITE);  // Clear previous content
        M5.Display.setCursor(0, 110);
        M5.Display.println("No IR received.");
    }
    // Update transmission parameters for next cycle
    address += 0x0001;  // Increment device address
    command += 0x01;     // Increment command code
    repeats  = 0;        // Disable repeat frames (set >0 to test repeats)
    delay(2000);  // Main loop delay (2 seconds)
} This program will control Unit IR to send and receive infrared NEC code and display the NEC code related information on the screen.
Unit PIR
Example for M5GO to control Unit PIR and detect infrared radiation.
Example
#include <M5Unified.h>

char sensorPin = 36;

void setup()
{
    M5.begin();             // Init M5GO
    M5.Display.setTextColor(TFT_BLACK);
    M5.Display.setTextFont(&fonts::FreeMonoBoldOblique9pt7b);
    M5.Display.clear(TFT_WHITE);
    M5.Lcd.println("PIR example");
    M5.Lcd.setCursor(0, 25);  // Position the cursor at (0,25)
    M5.Lcd.println("Status: \nValue: ");
    pinMode(sensorPin, INPUT);  // Set pin sensorPin to input mode
}

void loop()
{
    M5.Lcd.fillRect(90, 25, 180, 50, TFT_WHITE);  // Draw a white rectangle 180 by 50 at (90,25)
    if (digitalRead(sensorPin) == 1) {            // If pin sensorPin reads a value of 1
        M5.Lcd.setCursor(95, 25);
        M5.Lcd.print("Sensing");
        M5.Lcd.setCursor(95, 45);
        M5.Lcd.print("1");
    } else {
        M5.Lcd.setCursor(95, 25);
        M5.Lcd.print("Not Sensed");
        M5.Lcd.setCursor(95, 45);
        M5.Lcd.print("0");
    }
    delay(500);
} This program controls Unit PIR to detect infrared radiation and displays on the screen whether infrared radiation has been detected. Please note, there is a certain detection delay.
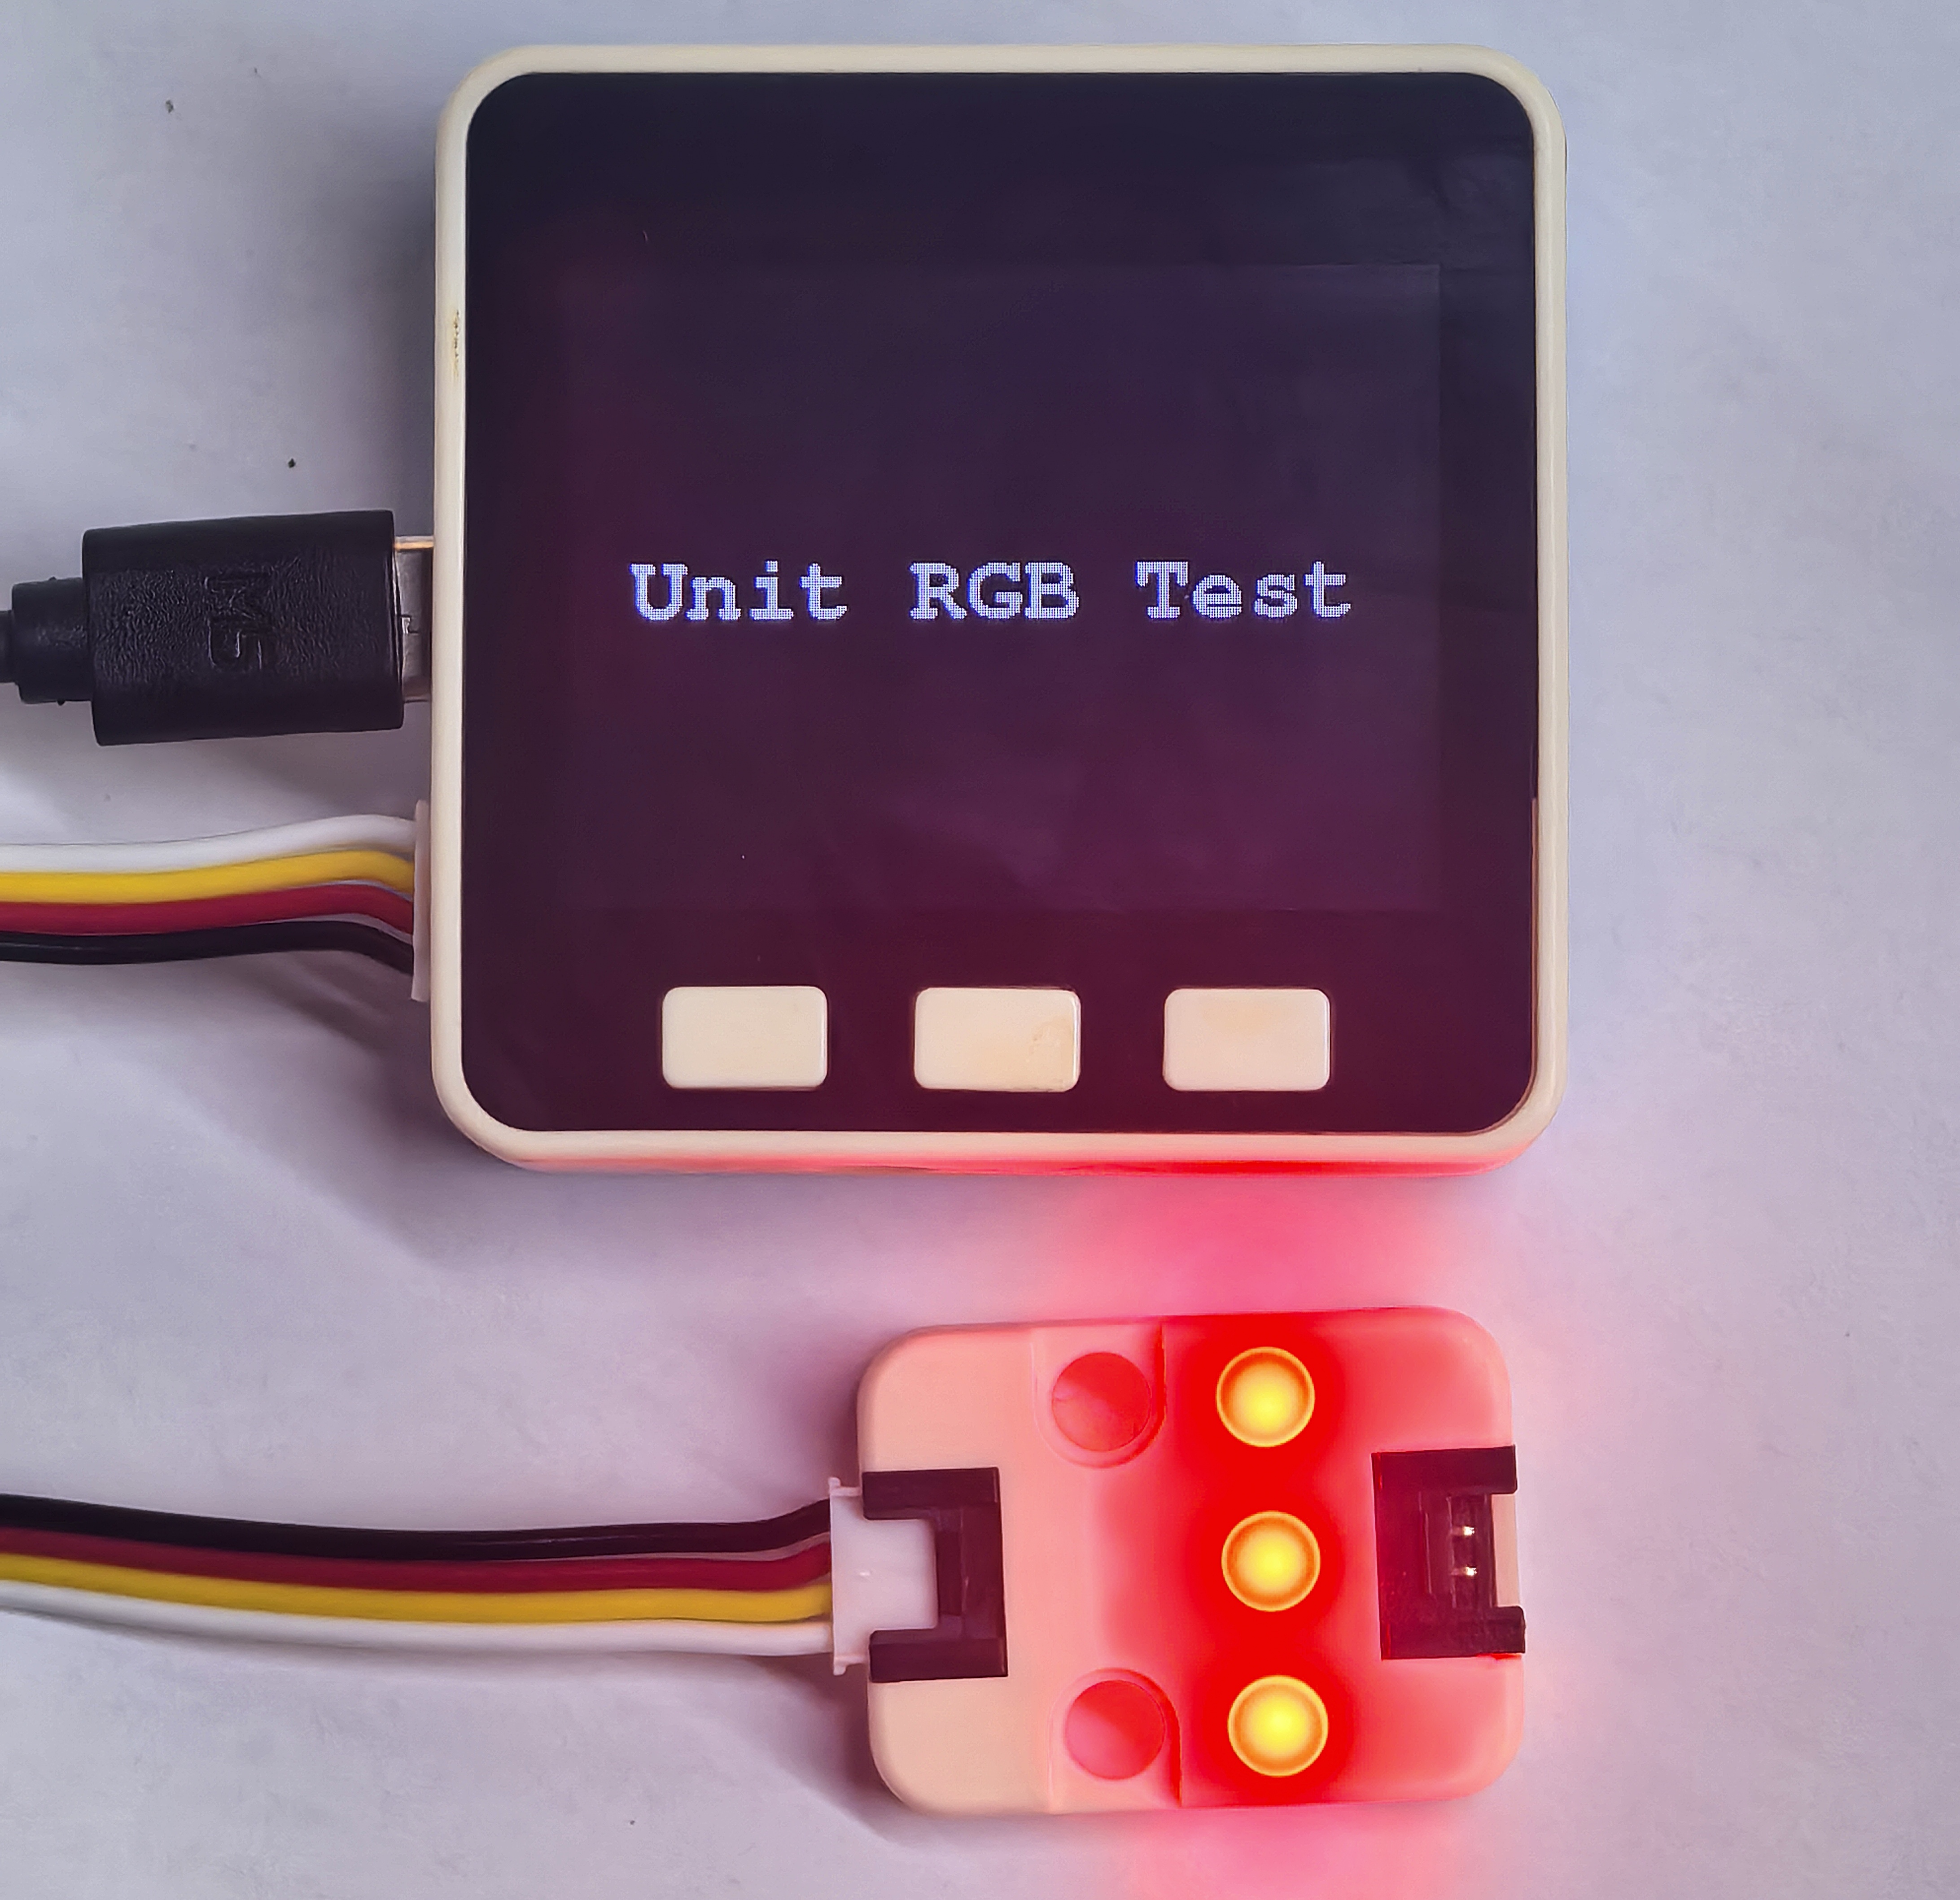
Unit RGB
Example for M5GO to control Unit RGB and implement different lighting effects.
Example
#include <M5Unified.h>
#include <Adafruit_NeoPixel.h>
#define LED_PIN    32
#define NUM_LEDS   3
Adafruit_NeoPixel strip(NUM_LEDS, LED_PIN, NEO_GRB + NEO_KHZ800);

void setup() {
  auto cfg = M5.config();
  M5.begin(cfg);
  M5.Display.setTextDatum(middle_center);
  M5.Display.setTextFont(&fonts::Orbitron_Light_24);
  M5.Display.setTextSize(1);
  M5.Display.drawString("RGB LED Test", M5.Display.width() / 2, M5.Display.height() / 2);
  strip.begin();
  strip.show();
}

void loop() {
    //RED
    for(char i = 0; i <= NUM_LEDS; i++)
    {strip.setPixelColor(i, strip.Color(255, 0, 0)); }
    strip.show();
    delay(1000);

    //GREEN
    for(char i = 0; i <= NUM_LEDS; i++)
    {strip.setPixelColor(i, strip.Color(0, 255, 0)); }
    strip.show();
    delay(1000);

    //BLUE
    for(char i = 0; i <= NUM_LEDS; i++)
    {strip.setPixelColor(i, strip.Color(0, 0, 255)); }
    strip.show();
    delay(1000);
} Example effect: