

Arduino Quick Start
2. Devices & Examples
3. M5Unified
4. M5GFX
5. Extensions
Unit
Module
Atomic
Tab5
IoT
Accessories
Unit Mini Scales Arduino Tutorial
1. Preparation
- Environment Setup: Follow the Arduino IDE Getting Started Tutorial to install the IDE, then install the board manager package and required driver libraries for the development board you are using.
- Required Driver Libraries:
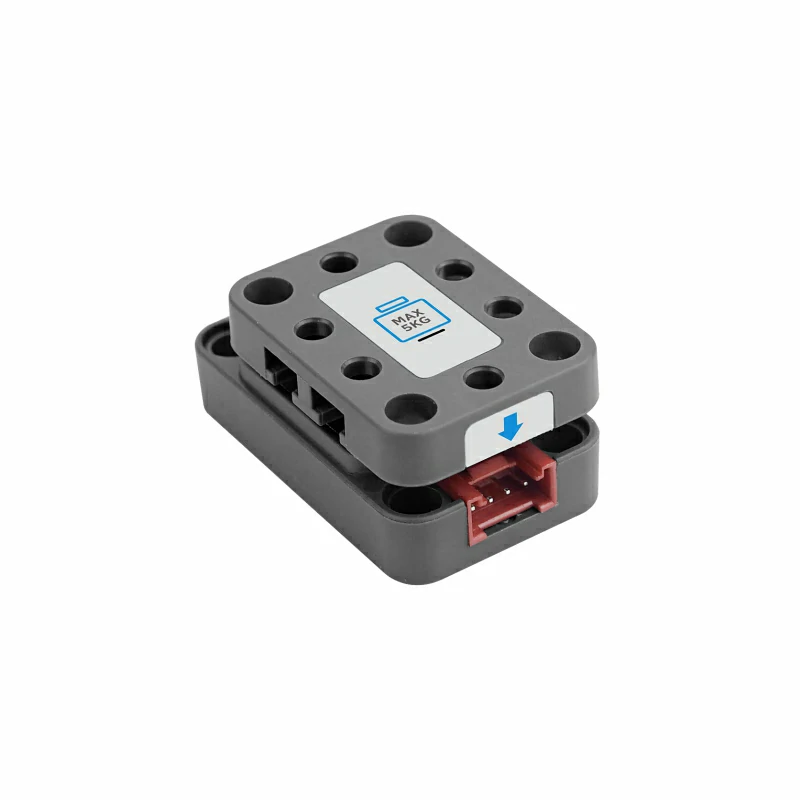
- Required Hardware:

2. Notes
Pin Compatibility
Pin configurations vary between host devices. M5Stack provides an official pin compatibility table for reference. Modify the example program according to the actual pin connections.
3. Example Program
- This tutorial uses CoreS3 with Unit Mini Scales. Unit Mini Scales communicates via I2C. Once connected, the corresponding pins are
G2 (SDA)andG1 (SCL).
Caution
Install the weighing plate on Unit Mini Scales before use. The maximum weighing capacity is
5kg. To avoid damaging the sensor, do not exceed the rated capacity. Zero calibration or taring is recommended before the first measurement.cpp
1 2 3 4 5 6 7 8 9 10 11 12 13 14 15 16 17 18 19 20 21 22 23 24 25 26 27 28 29 30 31 32 33 34 35 36 37 38 39 40 41 42 43 44 45 46 47 48 49 50 51
#include <M5Unified.h>
#include <M5GFX.h>
#include "UNIT_SCALES.h"

M5Canvas canvas(&M5.Lcd);
UNIT_SCALES scales;

void setup() {
    M5.begin();
    M5.Lcd.begin();
    canvas.setFont(&fonts::FreeMonoBold12pt7b);
    canvas.createSprite(M5.Lcd.width(), M5.Lcd.height());
    // Initialize PORT.A I2C and retry until the unit responds.
    Wire.begin();
    while (!scales.begin(&Wire, EX_SDA, EX_SCL, DEVICE_DEFAULT_ADDR)) {
        Serial.println("Unit Mini Scales connect error");
        M5.Lcd.print("Unit Mini Scales connect error");
        delay(1000);
    }
    // Set the unit status LED to dim green.
    scales.setLEDColor(0x001000);
}

void loop() {
    float weight = scales.getWeight();
    float gap    = scales.getGapValue();
    int adc      = scales.getRawADC();

    // Redraw the weight and raw ADC values.
    canvas.fillSprite(BLACK);
    canvas.drawCenterString("Unit Mini Scale Test", 160, 10);
    canvas.setTextColor(WHITE);
    canvas.setCursor(10, 50);
    canvas.printf("WEIGHT:");
    canvas.setTextColor(GREEN);
    canvas.printf("%.2fg", weight);
    canvas.setCursor(10, 100);
    canvas.setTextColor(WHITE);
    canvas.printf("ADC:");
    canvas.setTextColor(GREEN);
    canvas.printf("%d", adc);
    canvas.setTextColor(ORANGE);
    canvas.drawCenterString("Touch Screen to Offset", 160, 200);
    canvas.pushSprite(0, 0);

    // Tap the screen to use the current load as the zero offset.
    M5.update();
    if (M5.Touch.getDetail().wasClicked()) {
        scales.setOffset();
    }
}4. Compile and Upload
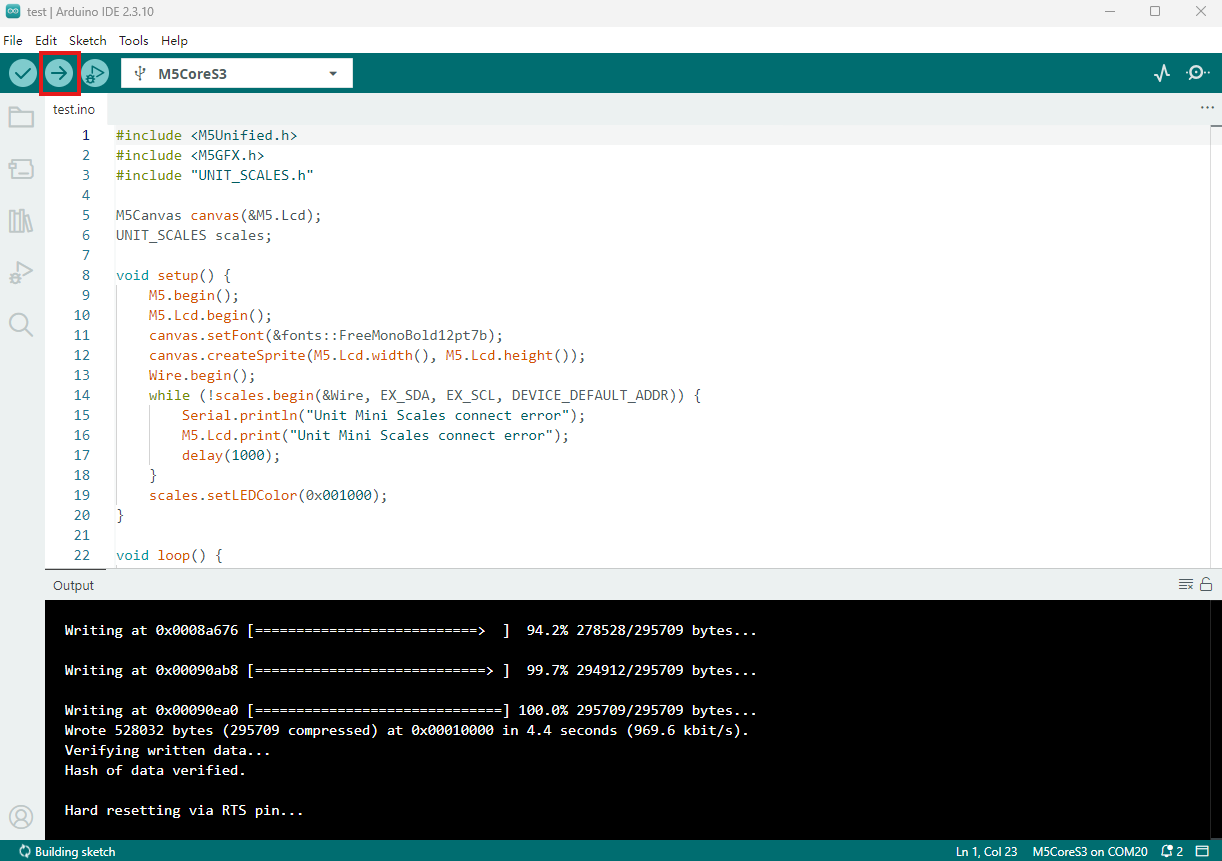
- Copy and paste the example code above into the project code area and select the device port. For details, see Program Compilation and Flashing. Click the compile and upload button in the upper-left corner of Arduino IDE, then wait for the program to compile and upload to the device.
5. Weighing and Zeroing
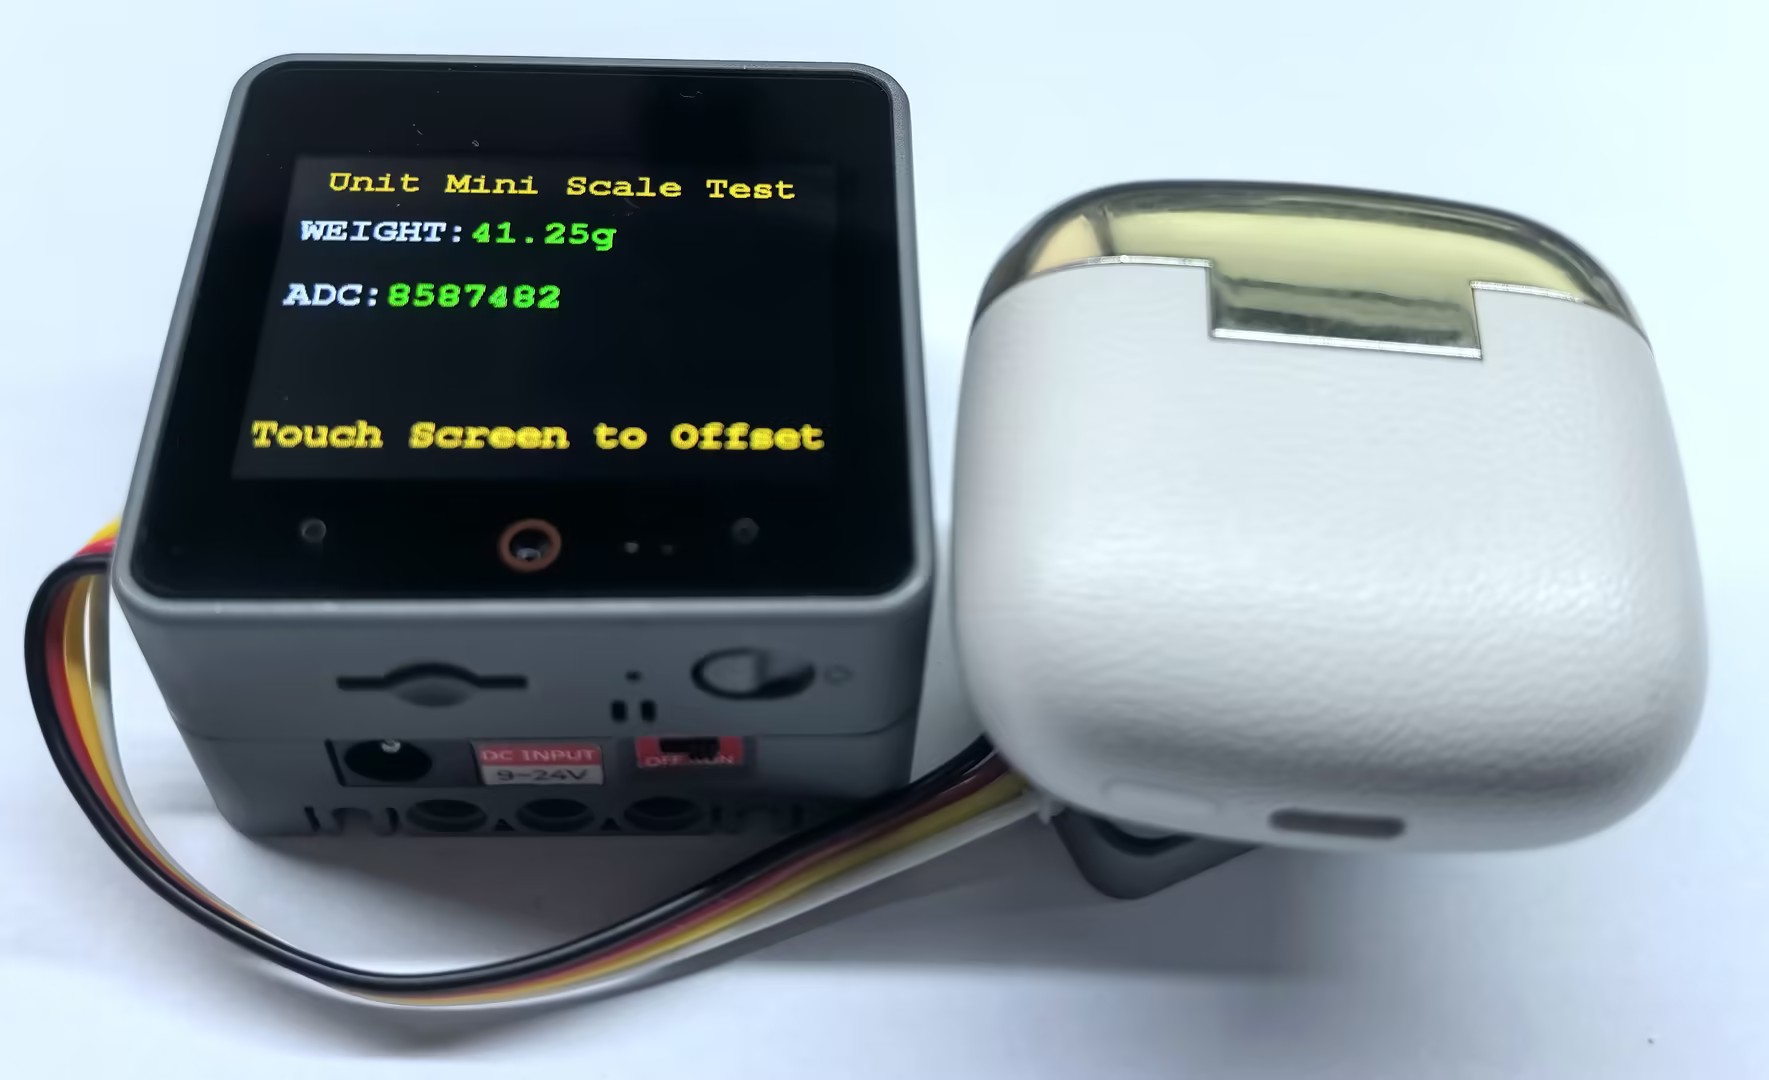
- After Unit Mini Scales connects successfully, its status LED lights dim green, while the CoreS3 screen continuously displays the current weight and raw ADC value. Tap anywhere on the screen to call
setOffset()and set the current load as zero. After taring, place an object on or remove it from the weighing plate to observe changes in the weight and ADC values.
Page Tools