


Arduino Quick Start
2. Devices & Examples
3. M5Unified
4. M5GFX
5. Extensions
Unit
Atomic
Base
Tab5
IoT
Accessories
AtomS3R IMU
APIs and example programs related to AtomS3R IMU sensor input.
Example Program
Compilation Requirements
- M5Stack board manager version >= 3.2.2
- Development board option = M5AtomS3R
- M5Unified library version >= 0.2.17
- M5GFX library version >= 0.2.22
cpp
1 2 3 4 5 6 7 8 9 10 11 12 13 14 15 16 17 18 19 20 21 22 23 24 25 26 27 28 29 30 31 32 33 34 35
#include <M5Unified.h>
void setup(void) {
M5.begin();
M5.Display.setFont(&fonts::FreeMonoBold9pt7b);
Serial.begin(115200);
}
void loop(void) {
auto imu_update = M5.Imu.update();
if (imu_update) {
auto data = M5.Imu.getImuData();
// The data obtained by getImuData can be used as follows.
data.accel.x; // accel x-axis value.
data.accel.y; // accel y-axis value.
data.accel.z; // accel z-axis value.
data.accel.value; // accel 3values array [0]=x / [1]=y / [2]=z.
data.gyro.x; // gyro x-axis value.
data.gyro.y; // gyro y-axis value.
data.gyro.z; // gyro z-axis value.
data.gyro.value; // gyro 3values array [0]=x / [1]=y / [2]=z.
data.value; // all sensor 9values array [0~2]=accel / [3~5]=gyro / [6~8]=mag
Serial.printf("ax:%f ay:%f az:%f\r\n", data.accel.x, data.accel.y, data.accel.z);
Serial.printf("gx:%f gy:%f gz:%f\r\n", data.gyro.x, data.gyro.y, data.gyro.z);
M5.Display.clear();
M5.Display.setCursor(0, 0);
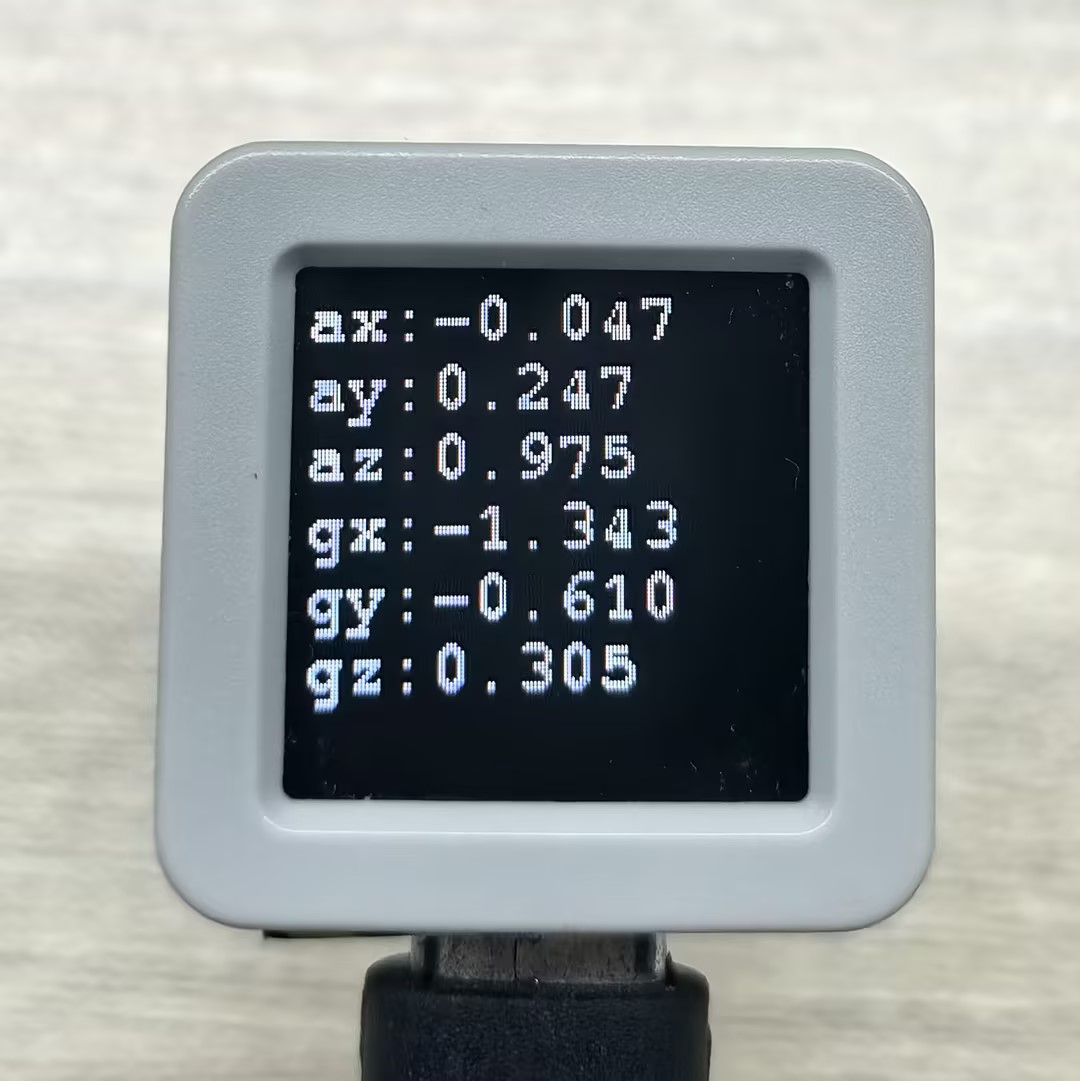
M5.Display.printf("ax:%.3f\nay:%.3f\naz:%.3f\r\n", data.accel.x, data.accel.y, data.accel.z);
M5.Display.printf("gx:%.3f\ngy:%.3f\ngz:%.3f\r\n", data.gyro.x, data.gyro.y, data.gyro.z);
}
delay(100);
}After uploading the above program to AtomS3R, the acceleration and gyroscope data from the IMU sensor will be output in real time on the serial monitor and the screen.
API
The AtomS3R IMU feature uses IMU_Class from the M5Unified library. For more IMU-related APIs, refer to the documentation below:
IMU 3-Axis Orientation Diagram
