

Product Guide
Linux PC
AI Accelerator Card
LLM-8850 Card
Large Language Models
AI & Agent
Real-Time AI Voice Assistant
XiaoZhi Voice Assistant
AtomS3R-M12 Volcengine Kit
Offline Voice Recognition
Industrial Control
IoT Measuring Instruments
Air Quality
PowerHub
Module13.2 PPS
VAMeter
T-Lite
Input & Output Devices
Ethernet Camera
PoECAM
Wi-Fi Camera
Unit CamS3/-5MP
AI Camera
LoRa & LoRaWAN
Motor Control
Restore Factory Firmware
DIP Switch Usage Guide
CardputerZero Image Burning Guide
1. Preparation
Visit M5 Imager - GitHub Releases and download the appropriate version of the M5 Imager burning tool for your operating system.
2. Burning and Configuration
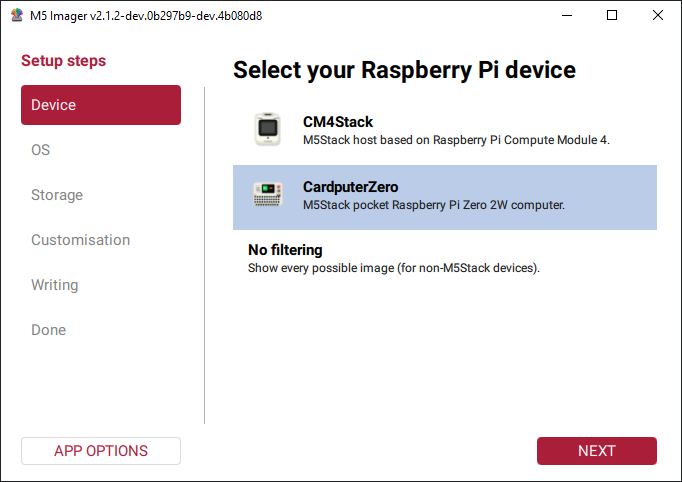
- Open the M5 Imager burning tool. Select
CardputerZerofrom the device list, then clickNEXT.
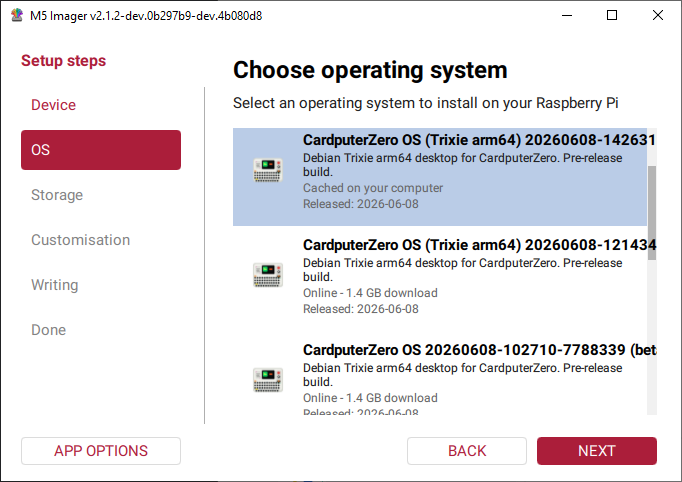
- Insert the microSD card into the card reader and connect it to the computer. After the system detects the storage device, select the image version you want to burn.
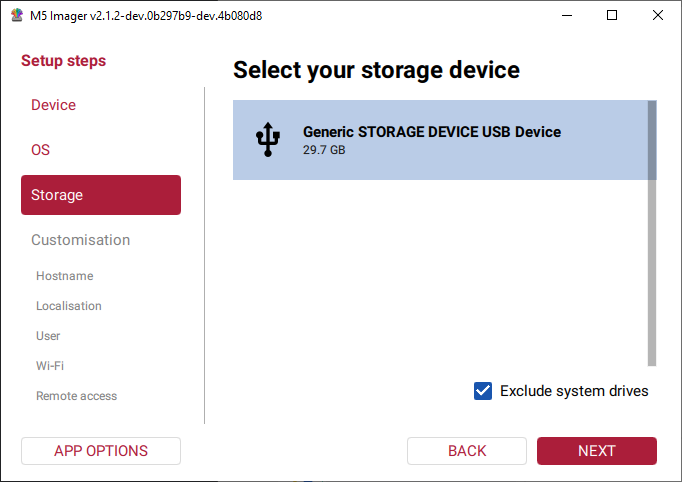
- Select the target storage device. Please confirm that the selected device is correct to avoid accidentally erasing data on other storage media.
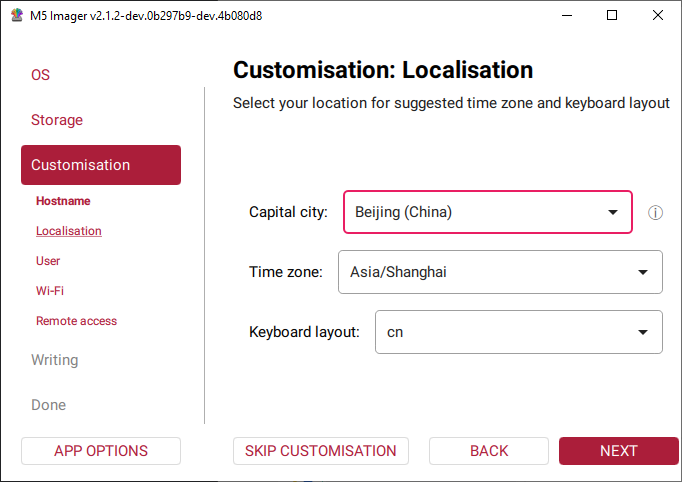
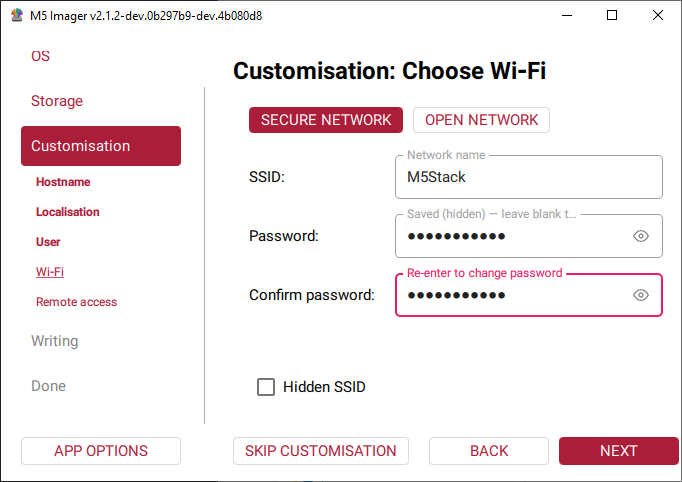
- Configure the username, password, and Wi-Fi connection information as needed.
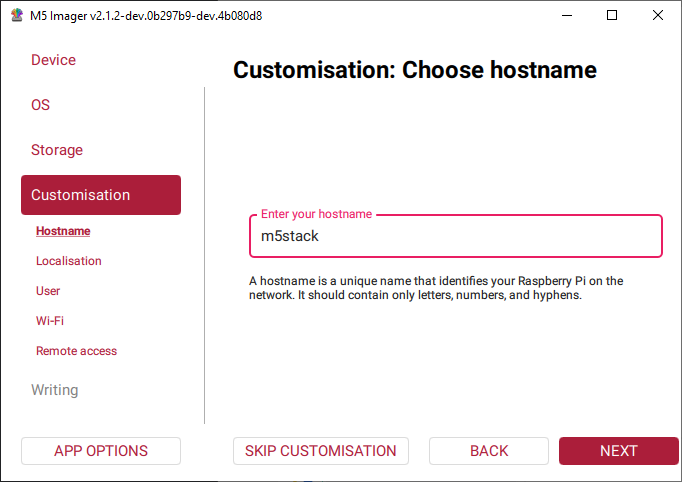

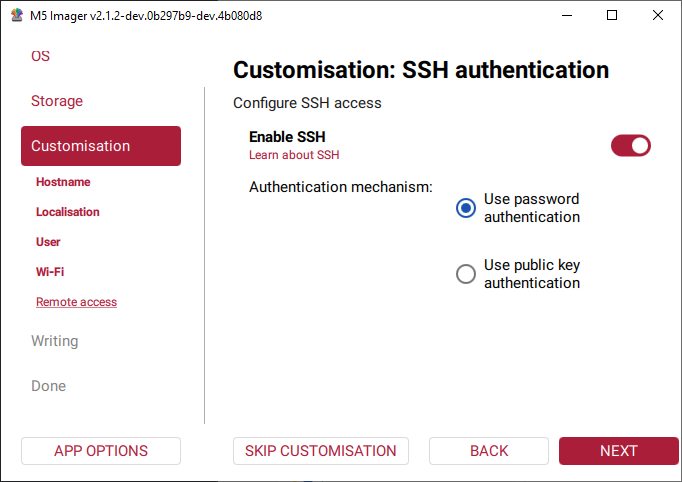
- If you need to log in to the device remotely, you can enable SSH connectivity.
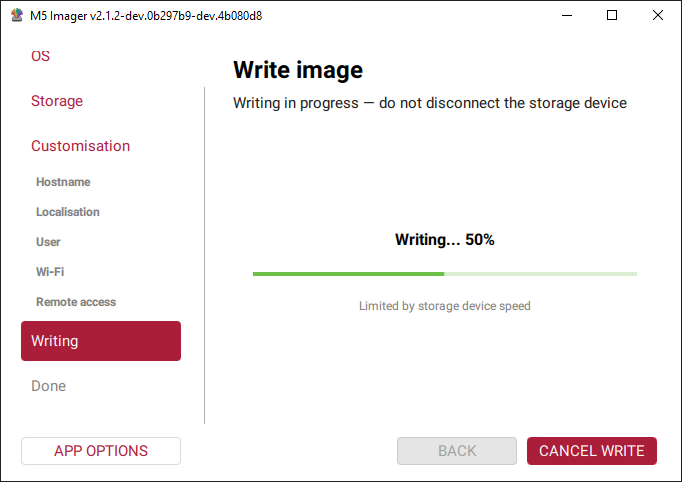
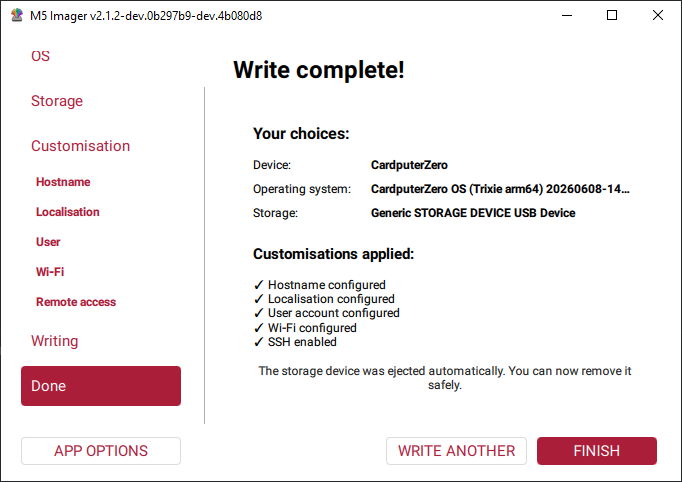
- After confirming that the configuration is correct, start burning and wait for the process to complete.


Burning via USB Interface (Not Recommended)
Burning Speed
Burning through the USB interface is relatively slow, and usbboot may have compatibility issues on some computers. To improve burning efficiency, it is strongly recommended to use a card reader connected to the computer for burning.
Rpiboot
Install Rpiboot. This tool allows a CardputerZero with a microSD card inserted and connected to the computer to be recognized as a disk device. You can then use M5Image to flash the system image. Because some versions may have compatibility issues, refer to the version number and commit information provided below, and download and use the corresponding usbboot version.
For Windows
- Download and install the rpiboot program.
For Linux / MacOS
- On Linux systems, you need to compile the rpiboot tool from source.
# For Linux
# sudo apt install git libusb-1.0-0-dev pkg-config
# For MacOS
brew install libusb
brew install pkg-config
git clone https://github.com/raspberrypi/usbboot
cd usbboot
git checkout 61c482663c9b2a61ee86ba491f131ba4ca90e4ea
make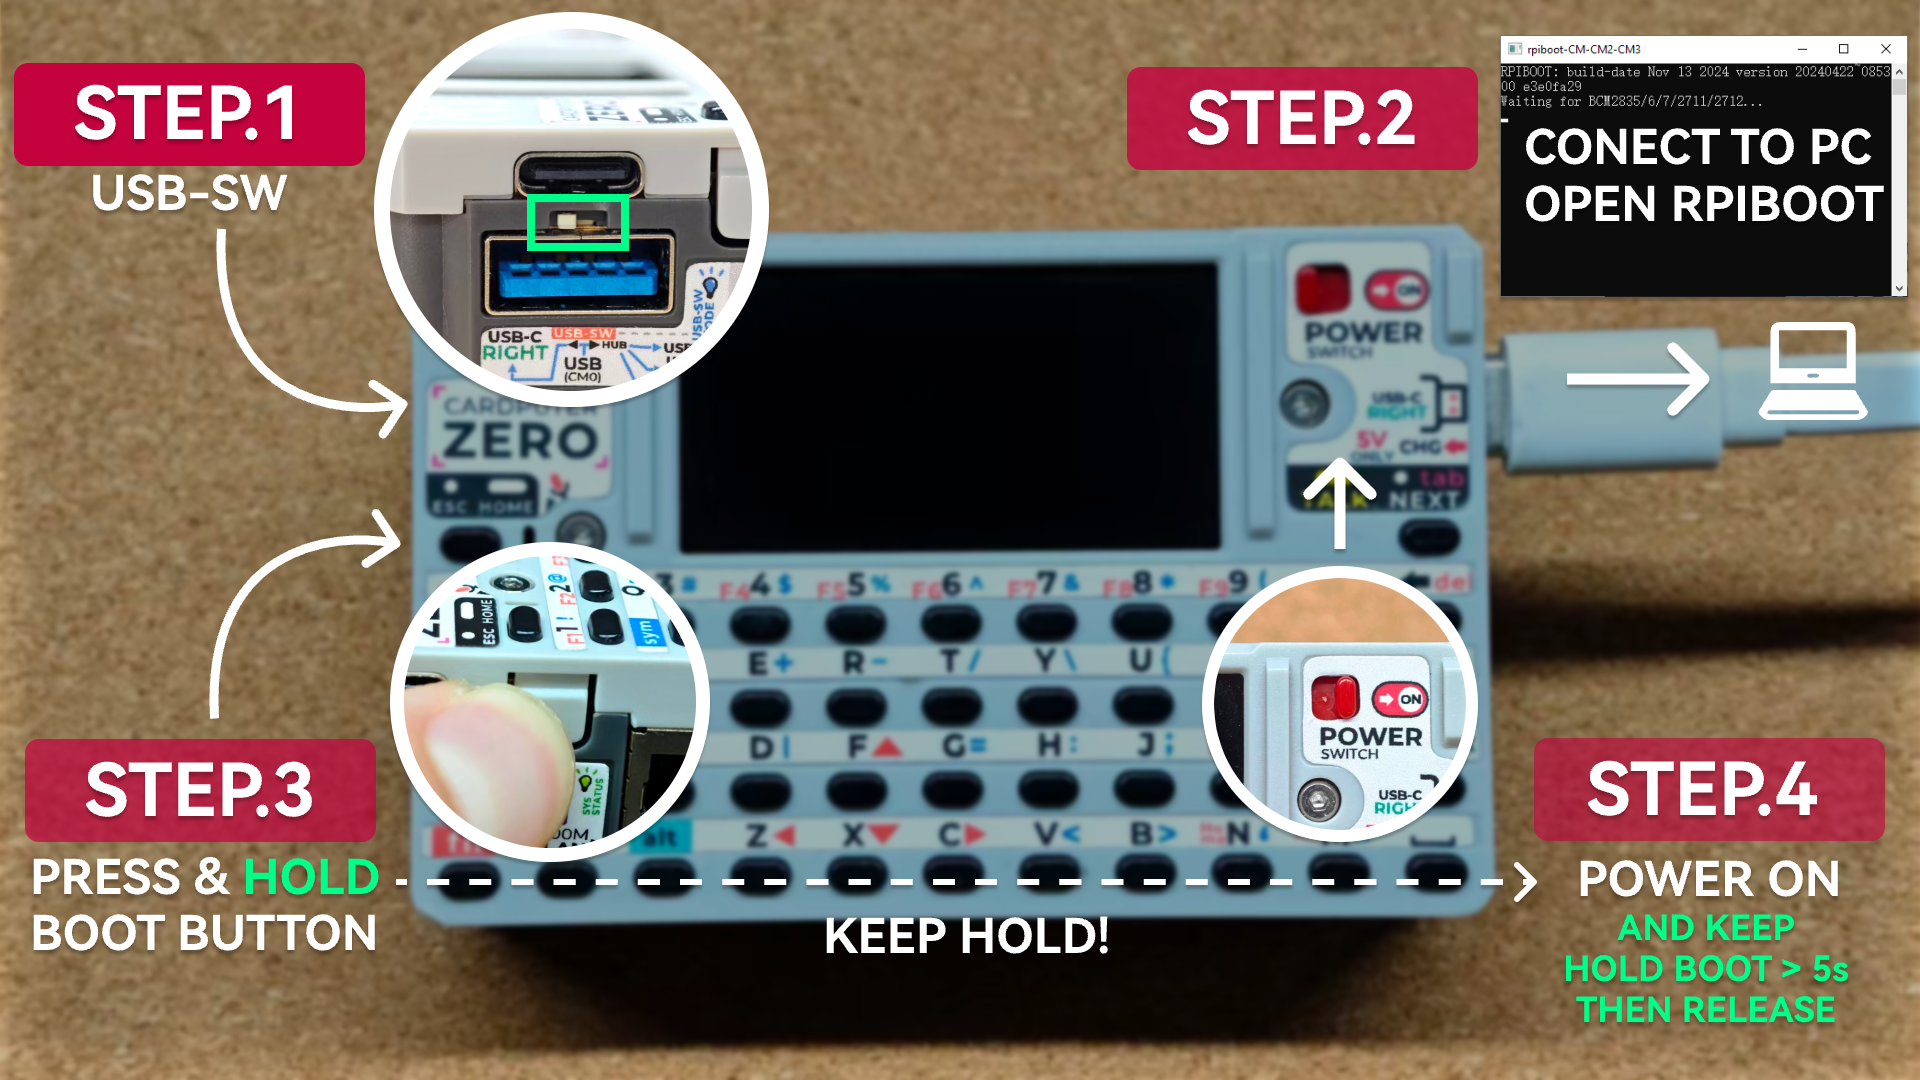
sudo ./rpiboot- Insert the microSD card into the device, then switch the USB interface selector to the left to enable the USB Type-C port on the right side of the device.
- Use the USB Type-C port on the right side of the device to connect it to the computer, then open the
rpibootprogram and wait for detection. - Press and hold the device's Boot button.
- While continuing to hold the Boot button, switch the power switch to
ON, then release the button after holding it for more than 5 seconds. - After
rpibootsuccessfully detects and connects to the device, the computer will recognize the corresponding storage device.
Page Tools