

Arduino Quick Start
2. Devices & Examples
3. M5Unified
4. M5GFX
5. Extensions
Unit
Module
Atomic
Tab5
IoT
Accessories
PaperDIY microSD Storage
PaperDIY microSD card read/write and on-screen image display example program.
Example
Compilation Requirements
- M5Stack board package version >= 3.3.10
- Board option =
M5PaperDIY - M5Unified library version >= 0.2.26
- M5GFX library version >= 0.2.32
Prepare a FAT32-formatted microSD card, place two landscape 960 x 540 PNG images in its root directory, and name them PaperDIY_01.png and PaperDIY_02.png. You can also download PaperDIY_01.png and PaperDIY_02.png directly. If the image resolution is not 960 x 540, the program will determine the display method according to its preset, which may cause display abnormalities.
#include <Arduino.h>
#include <SPI.h>
#include <SD.h>
#include <M5Unified.h>
#include <M5GFX.h>

static const char* const imagePaths[] = {
    "/PaperDIY_01.png",
    "/PaperDIY_02.png",
};
static constexpr size_t IMAGE_COUNT = sizeof(imagePaths) / sizeof(imagePaths[0]);

M5Canvas canvas(&M5.Display);
size_t currentImage = 0;
bool sdReady = false;

static void showStatus(const char* title, const char* detail)
{
    canvas.fillSprite(TFT_WHITE);
    canvas.setTextDatum(middle_center);
    canvas.setTextColor(TFT_BLACK);
    canvas.setFont(&fonts::FreeSansBold24pt7b);
    canvas.drawString(title, M5.Display.width() / 2, M5.Display.height() / 2 - 35);
    canvas.setFont(&fonts::FreeSansBold18pt7b);
    canvas.drawString(detail, M5.Display.width() / 2, M5.Display.height() / 2 + 35);
    canvas.pushSprite(0, 0);
}

static void showImage(size_t index)
{
    currentImage = index % IMAGE_COUNT;
    const char* path = imagePaths[currentImage];

    if (!SD.exists(path)) {
        showStatus("PNG not found", path);
        Serial.printf("Image not found: %s\n", path);
        return;
    }

    M5.Display.setEpdMode(epd_mode_t::epd_quality);
    M5.Display.fillScreen(TFT_WHITE);
    if (!M5.Display.drawPngFile(SD, path)) {
        showStatus("PNG load failed", path);
        Serial.printf("Failed to draw PNG: %s\n", path);
        return;
    }

    Serial.printf("Displayed: %s\n", path);
}

void setup()
{
    auto cfg = M5.config();
    cfg.clear_display = false;
    M5.begin(cfg);
    Serial.begin(115200);

    M5.Display.setRotation(1);
    M5.Display.setEpdMode(epd_mode_t::epd_text);
    canvas.createSprite(M5.Display.width(), M5.Display.height());
    showStatus("PaperDIY microSD", "Initializing card");

    SPI.begin();
    if (!SD.begin()) {
        showStatus("microSD mount failed", "Check card / FAT32");
        Serial.println("microSD initialization failed");
        return;
    }

    sdReady = SD.cardType() != CARD_NONE;
    if (!sdReady) {
        showStatus("No microSD card", "Insert a FAT32 card");
        Serial.println("No microSD card detected");
        return;
    }

    Serial.printf("Card size: %llu MB\n", SD.cardSize() / (1024ULL * 1024ULL));

    File logFile = SD.open("/PaperDIY_Log.txt", FILE_WRITE);
    if (logFile) {
        logFile.println("PaperDIY microSD test");
        logFile.close();
        Serial.println("Wrote /PaperDIY_Log.txt");
    } else {
        Serial.println("Failed to open /PaperDIY_Log.txt for writing");
    }

    File readFile = SD.open("/PaperDIY_Log.txt", FILE_READ);
    if (readFile) {
        Serial.println("Contents of /PaperDIY_Log.txt:");
        while (readFile.available()) {
            Serial.write(readFile.read());
        }
        readFile.close();
    }

    showImage(currentImage);
}

void loop()
{
    M5.update();
    if (!sdReady) {
        delay(1000);
        return;
    }

    if (M5.BtnA.wasPressed()) {
        showImage((currentImage + IMAGE_COUNT - 1) % IMAGE_COUNT);
    }
    if (M5.BtnB.wasPressed()) {
        showImage(currentImage + 1);
    }

    delay(20);
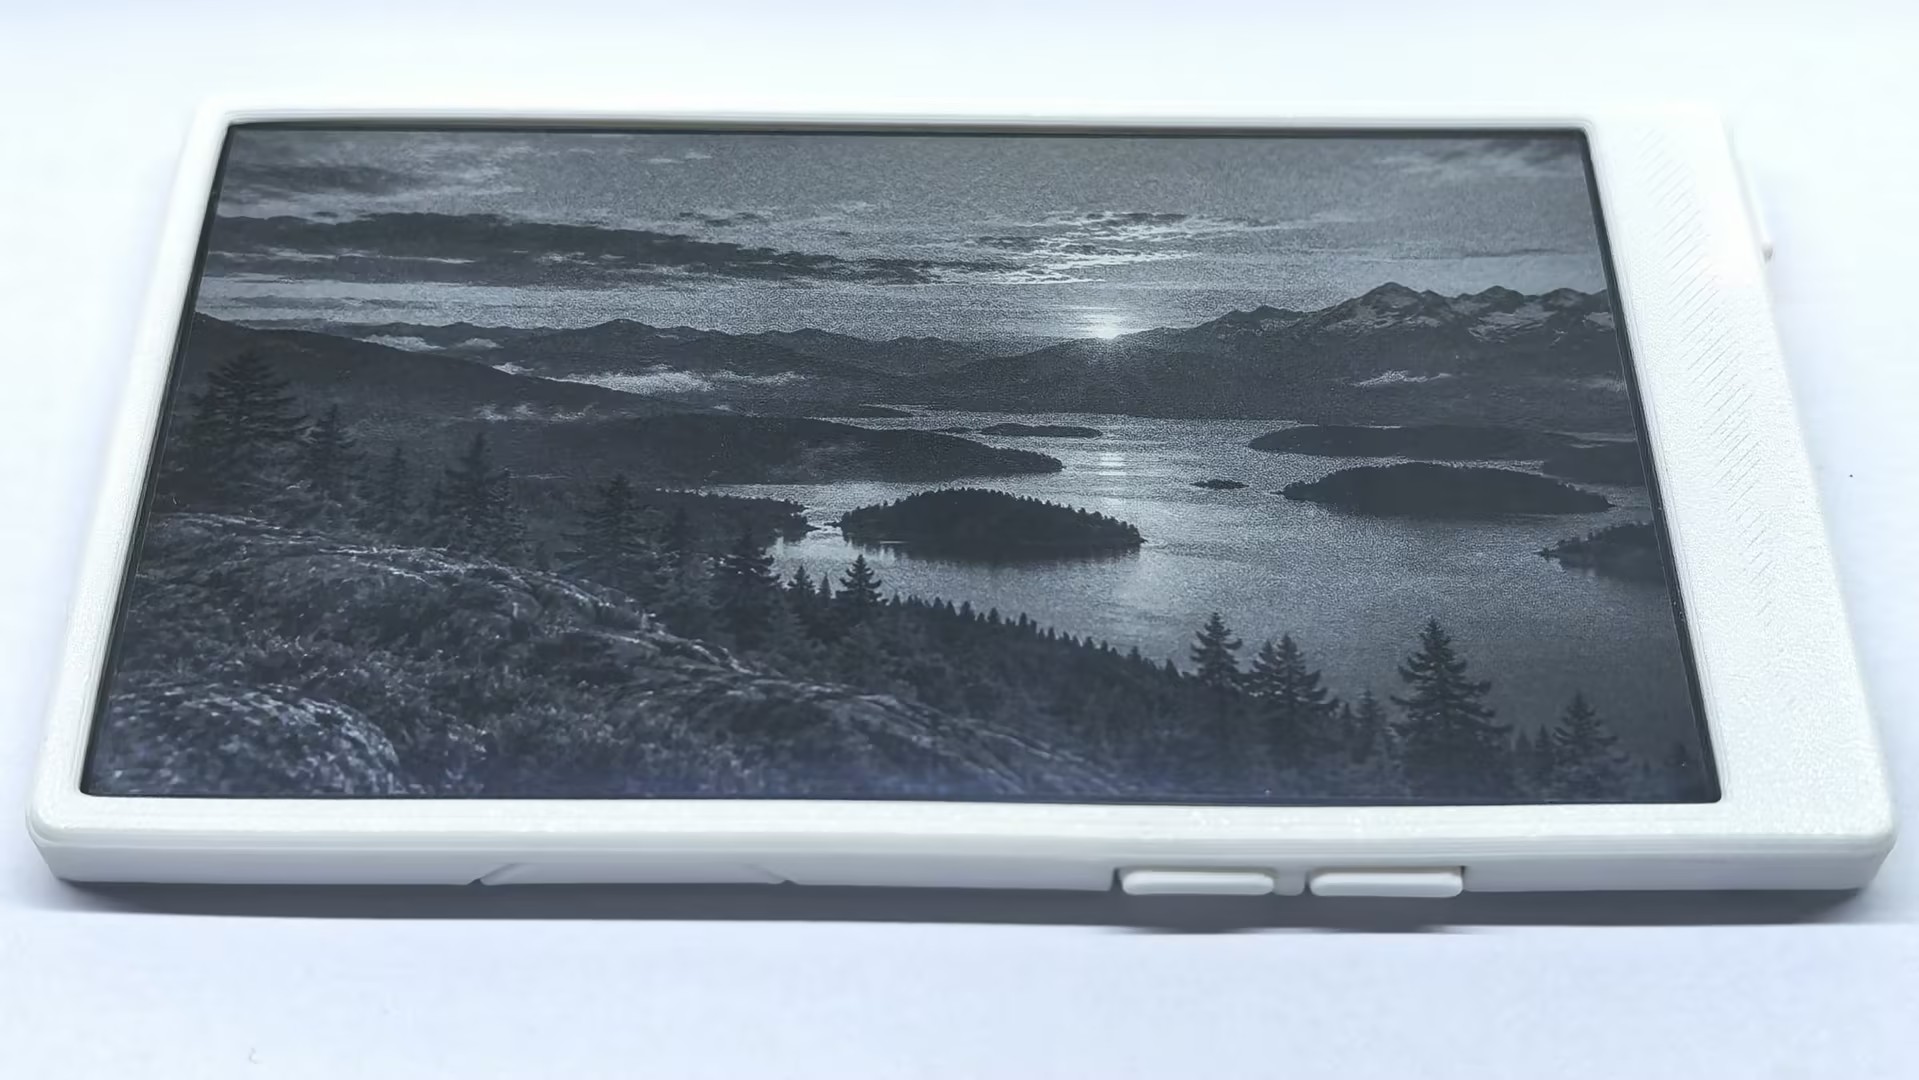
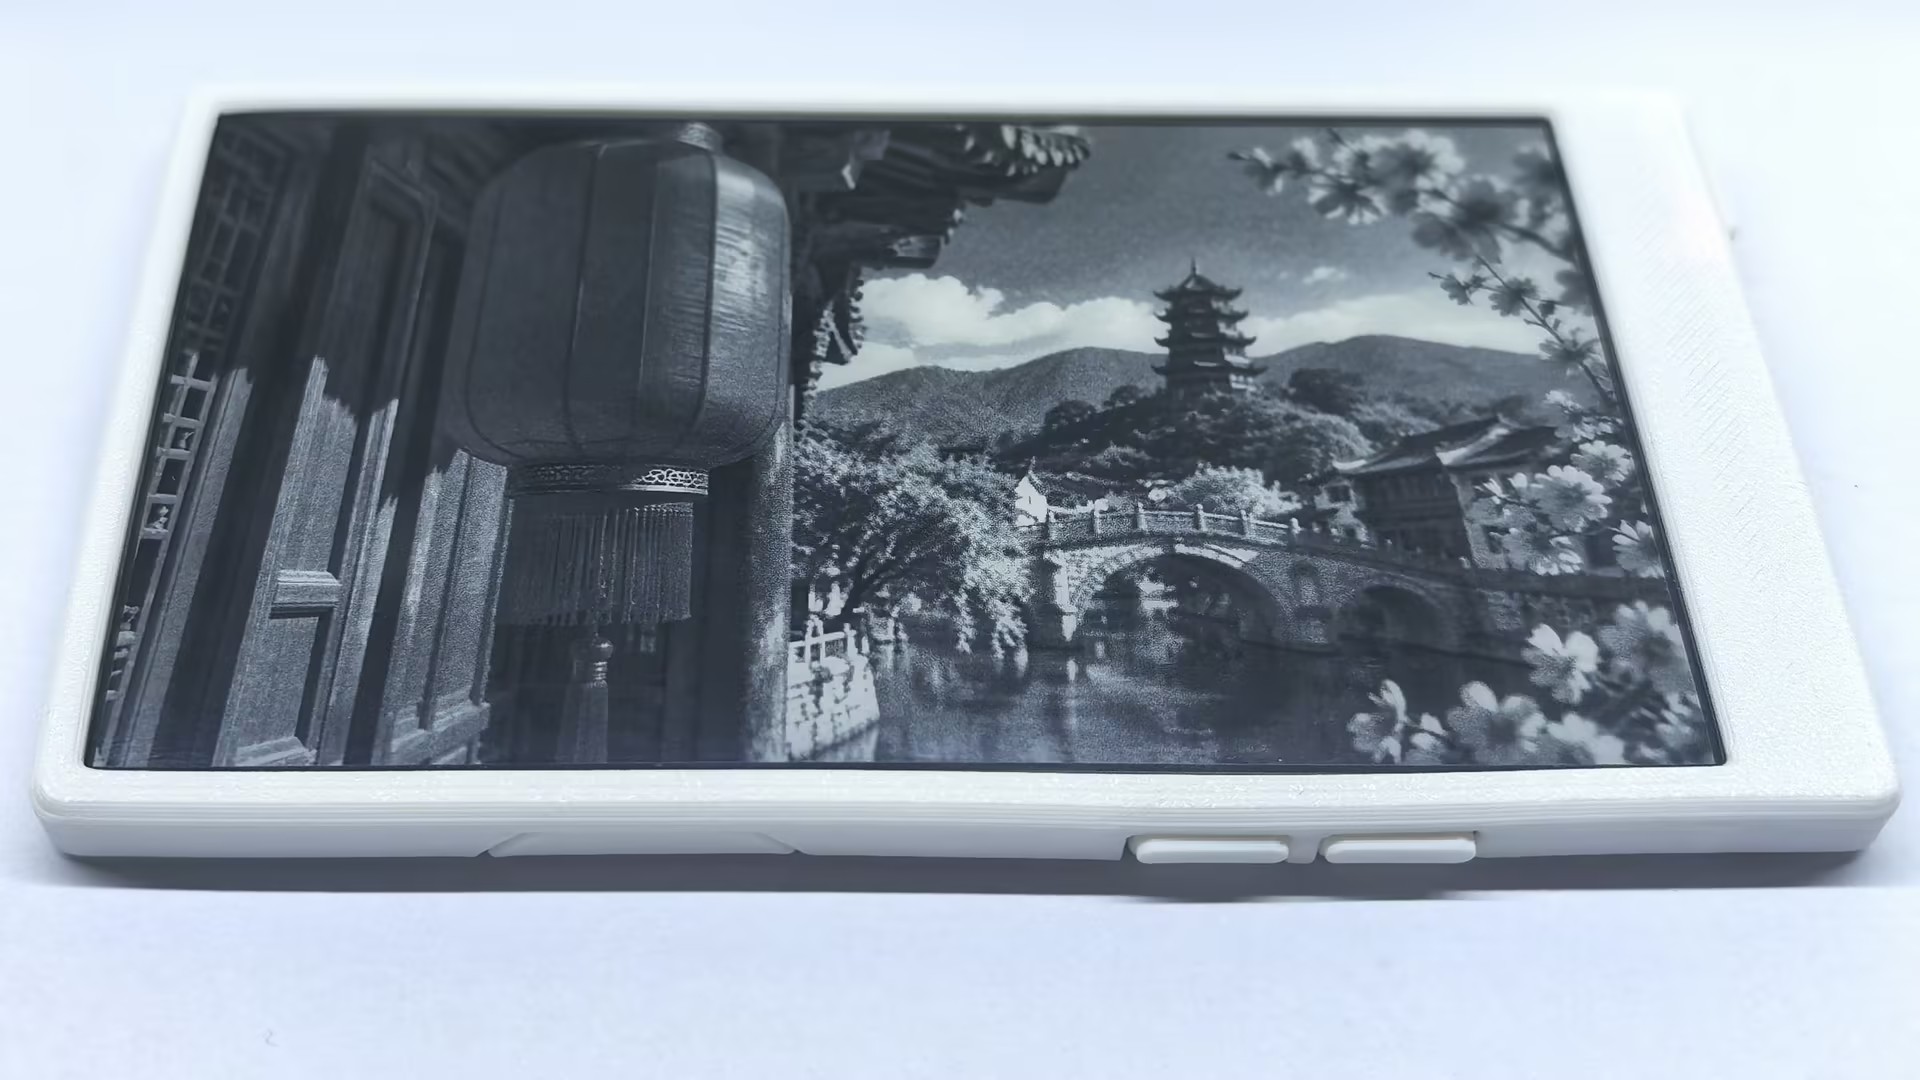
}Insert the microSD card into the PaperDIY card slot, then compile and upload the program to the device. The program creates or appends /PaperDIY_Log.txt on the card, outputs the file contents through the serial port, and displays the images on the e-paper screen. Press BtnA to switch to the previous image and BtnB to switch to the next image.
API
The PaperDIY microSD interface uses the Arduino standard SD library. Refer to the following documentation for more APIs: