


Arduino入門
2. デバイス&サンプル
3. M5Unified
4. M5GFX
5. 拡張モジュール&サンプル
Unit
Base
Cap
IoT
アクセサリー
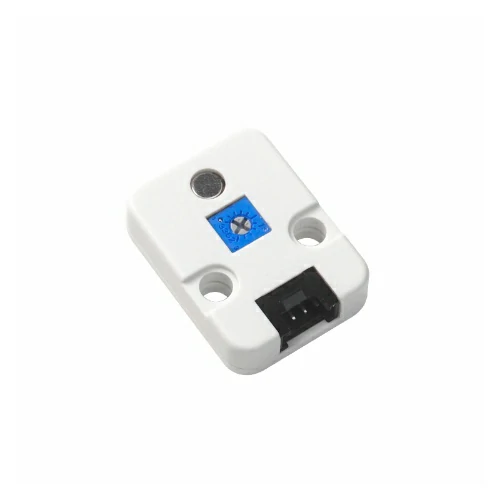
Unit MIC Arduino 使用チュートリアル
1. 準備
環境構築: Arduino IDE 入門チュートリアル を参考に IDE をインストールし、使用する開発ボードに応じたボードマネージャーおよび必要なライブラリをインストールしてください。
使用するライブラリ:
使用するハードウェア製品:
注意事項
ピン互換性
各ホストのピン構成は異なるため、M5Stack公式ではユーザーが簡単に利用できるようにピン互換表を提供しています。実際のピン接続に合わせてサンプルプログラムを修正してください。
サンプルプログラム
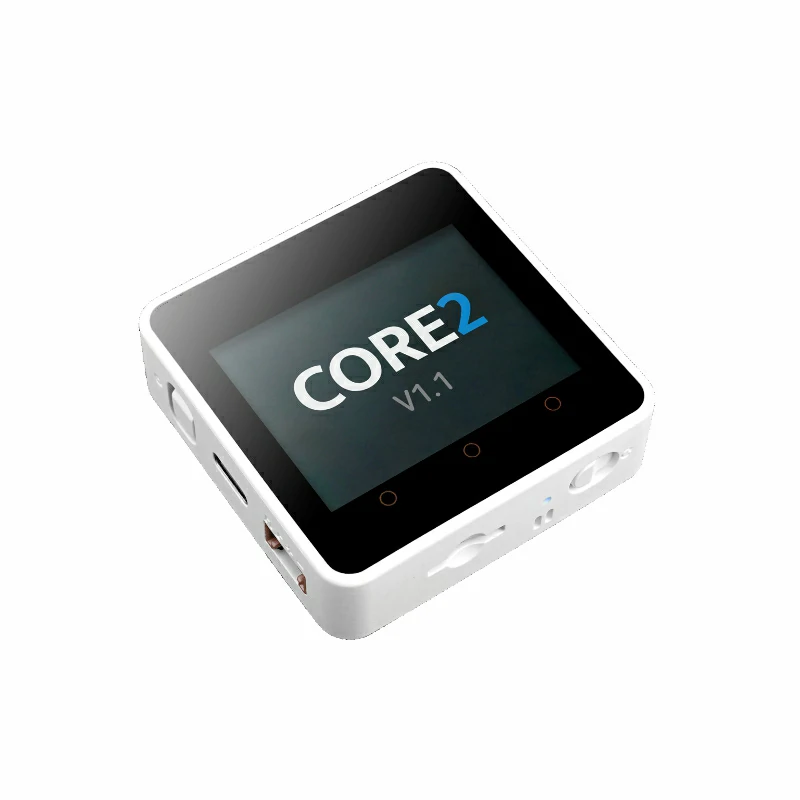
このチュートリアルでは、Core2 v1.1 と Unit MIC を使用します。実際の回路接続に合わせてプログラム内のピン定義を変更してください。接続後の対応ピンは G33 (AIN)、G32 (DIN) です。
cpp
1 2 3 4 5 6 7 8 9 10 11 12 13 14 15 16 17 18 19 20 21 22 23 24 25 26 27 28 29 30 31 32 33 34 35 36 37 38 39 40 41 42 43 44 45 46 47 48 49 50 51 52 53 54 55 56 57 58 59 60 61 62 63 64 65 66 67 68 69 70 71 72 73 74 75 76 77 78 79 80 81 82 83 84 85 86 87 88 89 90 91 92 93 94 95 96 97 98 99 100 101
#include <M5Unified.h>
#include <M5GFX.h>

// Input pins
#define AIN_PIN 33      // Analog input pin
#define DIN_PIN 32      // Digital input pin (ADC)
#define LCD_W 320
#define LCD_H 240
#define MAX_LEN LCD_W   // Buffer length (matches screen width)
#define X_OFFSET 0

#define Y_AIN_OFFSET 60   // Vertical offset for AIN waveform
#define Y_DIN_OFFSET 150  // Vertical offset for DIN waveform
#define X_SCALE 1         // Amplitude scaling factor

// Draw real-time waveforms and values for AIN and DIN channels
static void draw_waveform_dual() {
  static int16_t ain_buf[MAX_LEN] = {0};  // Buffer for AIN samples
  static int16_t din_buf[MAX_LEN] = {0};  // Buffer for DIN samples
  static int16_t pt = MAX_LEN - 1;        // Circular buffer pointer

  int ainValue = analogRead(AIN_PIN);     // Read AIN ADC value
  int dinValue = analogRead(DIN_PIN);     // Read DIN ADC value

  // Map AIN: higher ADC values produce higher positions
  ain_buf[pt] = map((int16_t)(ainValue * X_SCALE), 1800, 4095, 0, 80);

  // Map DIN: ADC=0 at waveform bottom, ADC=4095 at waveform top
  din_buf[pt] = map((int16_t)(dinValue * X_SCALE), 0, 4095, 80, 0);

  if (--pt < 0) pt = MAX_LEN - 1;         // Circular buffer wrap-around

  for (int i = 1; i < MAX_LEN; i++) {
    uint16_t now_pt = (pt + i) % MAX_LEN;

    // Erase previous AIN waveform points
    M5.Lcd.drawLine(
      i + X_OFFSET,
      ain_buf[(now_pt + 1) % MAX_LEN] + Y_AIN_OFFSET,
      i + 1 + X_OFFSET,
      ain_buf[(now_pt + 2) % MAX_LEN] + Y_AIN_OFFSET,
      TFT_BLACK);

    // Erase previous DIN waveform points
    M5.Lcd.drawLine(
      i + X_OFFSET,
      din_buf[(now_pt + 1) % MAX_LEN] + Y_DIN_OFFSET,
      i + 1 + X_OFFSET,
      din_buf[(now_pt + 2) % MAX_LEN] + Y_DIN_OFFSET,
      TFT_BLACK);

    if (i < MAX_LEN - 1) {
      // Draw current AIN waveform in green
      M5.Lcd.drawLine(
        i + X_OFFSET,
        ain_buf[now_pt] + Y_AIN_OFFSET,
        i + 1 + X_OFFSET,
        ain_buf[(now_pt + 1) % MAX_LEN] + Y_AIN_OFFSET,
        TFT_GREEN);

      // Draw current DIN waveform in cyan
      M5.Lcd.drawLine(
        i + X_OFFSET,
        din_buf[now_pt] + Y_DIN_OFFSET,
        i + 1 + X_OFFSET,
        din_buf[(now_pt + 1) % MAX_LEN] + Y_DIN_OFFSET,
        TFT_CYAN);
    }
  }

  // Display current AIN ADC value (upper area)
  M5.Lcd.fillRect(10, Y_AIN_OFFSET - 25, 100, 20, TFT_BLACK);
  M5.Lcd.setTextColor(TFT_GREEN, TFT_BLACK);
  M5.Lcd.setTextFont(&fonts::FreeMonoBold9pt7b);
  M5.Lcd.setTextDatum(TL_DATUM);
  M5.Lcd.drawString("AIN: " + String(ainValue), 10, Y_AIN_OFFSET - 24);

  // Display current DIN ADC value (lower area)
  M5.Lcd.fillRect(10, Y_DIN_OFFSET + 80 - 25, 100, 20, TFT_BLACK);
  M5.Lcd.setTextColor(TFT_CYAN, TFT_BLACK);
  M5.Lcd.drawString("DIN: " + String(dinValue), 10, Y_DIN_OFFSET + 80 - 24);
}

void setup() {
  M5.begin();
  M5.Lcd.setTextFont(&fonts::FreeMonoBold9pt7b);
  M5.Lcd.setTextDatum(top_center);

  // AIN waveform label
  M5.Lcd.setTextColor(TFT_GREEN, TFT_BLACK);
  M5.Lcd.setTextDatum(top_center);
  M5.Lcd.drawString("AIN Wave", 220, Y_AIN_OFFSET - 24);

  // DIN waveform label (near bottom)
  M5.Lcd.setTextColor(TFT_CYAN, TFT_BLACK);
  M5.Lcd.drawString("DIN Wave", 220, Y_DIN_OFFSET + 80 - 24);
}

void loop() {
  draw_waveform_dual();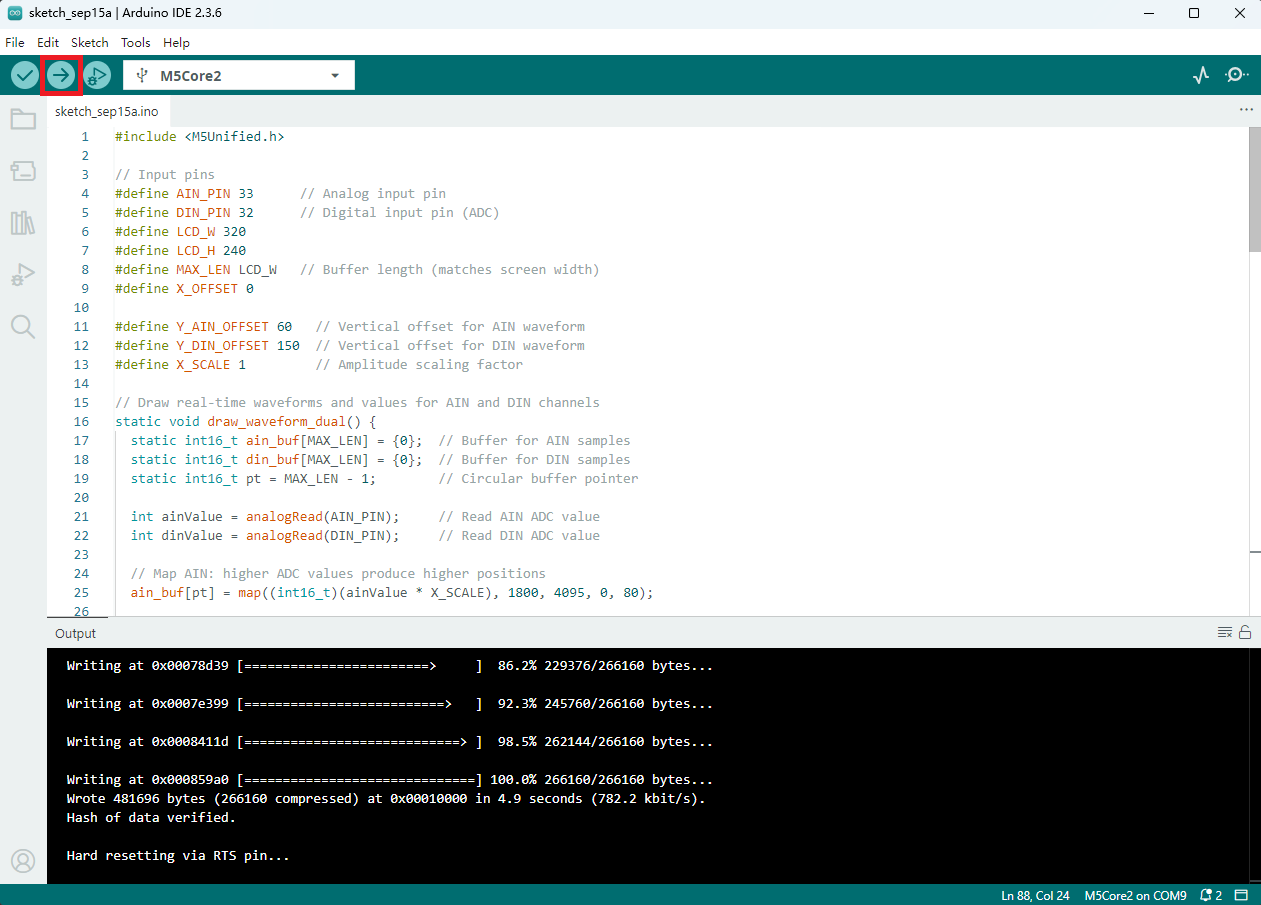
}4. コンパイルとアップロード
- デバイスポートを選択します(詳細は プログラムのコンパイルと書き込み を参照)。Arduino IDE 左上のコンパイル&アップロードボタンをクリックし、プログラムがコンパイルされデバイスにアップロードされるまで待ちます。
5. マイク機能の動作例
- このサンプルでは、オーディオ波形と取得した ADC 値をリアルタイムで描画します。ホストデバイスの表示は以下の通りです。
