

Arduino 上手教程
2. 设备开发 & 案例程序
3. M5Unified
4. M5GFX
5. 拓展模块
Unit
Atomic
Tab5
IoT
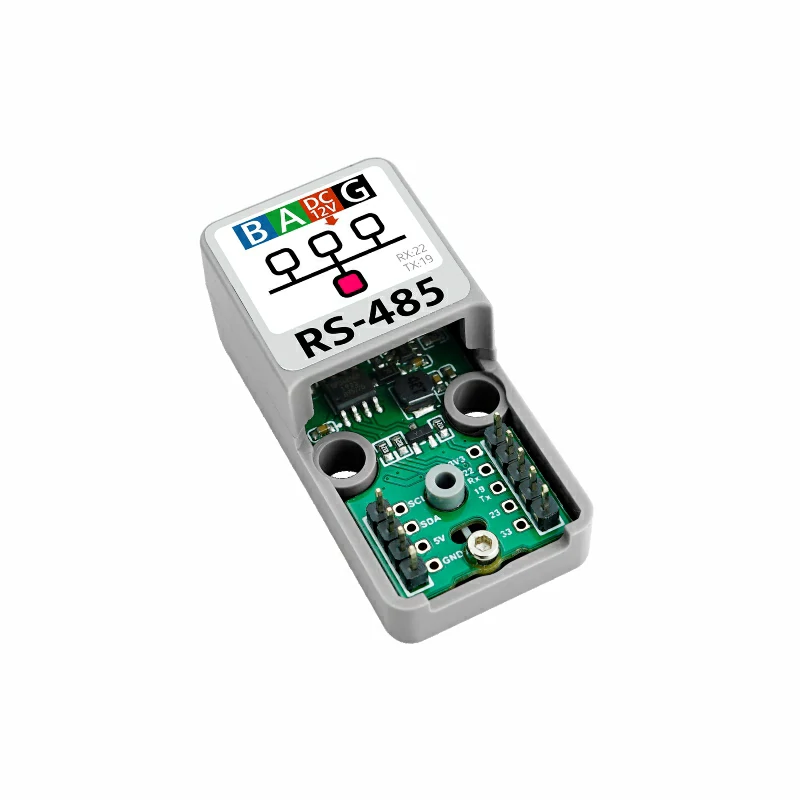
Atomic RS485/232 Base Arduino 使用教程
1. 准备工作
环境配置: 参考 Arduino IDE 上手教程完成 IDE 安装,并根据实际使用的开发板安装对应的板管理,与需要的驱动库。
使用到的驱动库:
使用到的硬件产品:

2. RS485/232 通信简介
- RS485 和 RS232 是两种常见的串行通信协议,广泛应用于工业自动化、嵌入式系统等领域。RS485 支持多点通信,适用于长距离传输,而 RS232 通常用于点对点通信,适合短距离连接。
2.1 RS485 通信介绍
1. 核心定义:
- 物理层接口标准,定义了电气特性(如电压、阻抗)和连接方式。
- 支持半双工通信,需通过使能信号控制数据收发,无需单独的收发时钟线。
2. 关键特性:
- 通信距离:无中继时可达 1200 米。
- 传输速率:速率与距离成反比,10 米内可达 10Mbps,1200 米时约 100Kbps。
- 节点容量:单总线最多可连接 32 个设备(通过中继器可扩展至 256 个以上)。
- 抗干扰性:采用差分传输(两根信号线 A/B,信号为两者电压差),能有效抵御共模干扰。
3. 工作原理:
- 电平定义:逻辑 “1” 对应 A-B≥200mV,逻辑 “0” 对应 A-B≤-200mV。
- 发送端:将 TTL 电平转换为差分信号,通过 A 线(正)和 B 线(负)传输。
- 接收端:接收 A/B 差分信号,转换回 TTL 电平供设备处理。
- 接口形式:无固定接口,多为两线端子或 DB9 (9 针),核心仅需 A、B 两根线即可通信。
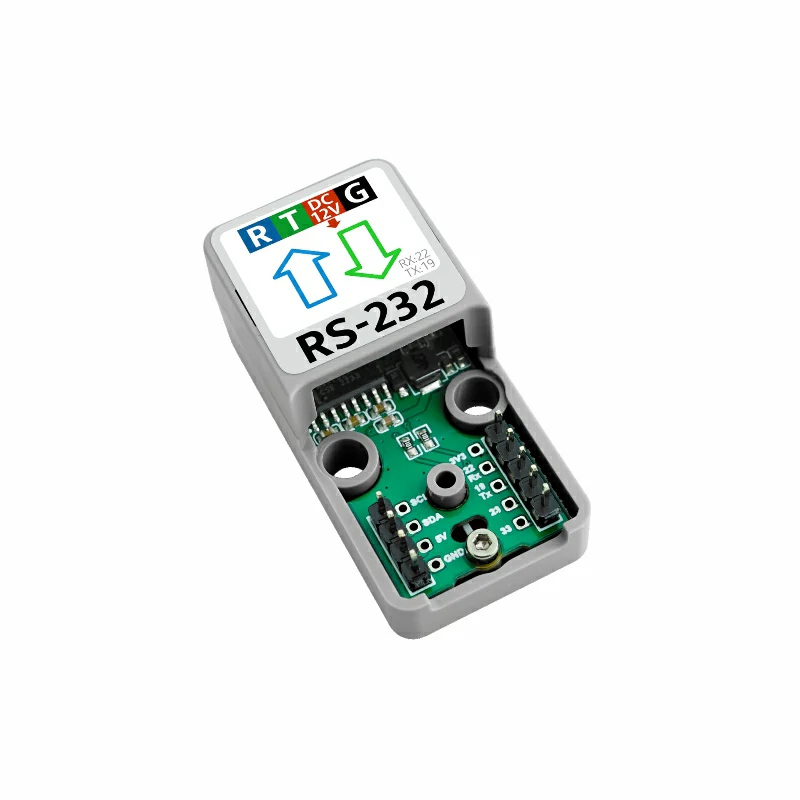
2.2 RS232 通信介绍
1. 核心定义:
- 异步串行通信的电气接口标准,明确了信号电平、引脚功能和接口形式。
- 支持全双工通信,拥有独立的发送线(TXD)和接收线(RXD),发送和接收数据可同时进行,无需使能信号控制收发。
2. 关键特性:
- 通信距离:标准规定最大距离为 15 米,实际应用中通常在 1.5 米以内以保证信号质量。
- 传输速率:速率与距离成反比,最高可达 20Kbps。
- 节点容量:点对点通信,仅支持两个设备直接连接。
- 抗干扰性:采用单端传输(以地为参考),抗干扰能力较差,易受共模噪声影响。
3. 工作原理:
- 电平定义:逻辑 “1” 对应 -3V 至 -15V,逻辑 “0” 对应 +3V 至 +15V。
- 发送端:将 TTL 电平转换为 RS232 电平,通过 TXD 线发送数据。
- 接收端:通过 RXD 线接收 RS232 电平信号,转换回 TTL 电平供设备处理。
- 接口形式:常见 DB9(9 针)或 DB25(25 针)连接器,核心仅需 TXD、RXD、GND 三根线即可通信。
3. 案例程序
本教程中使用的主控设备为 AtomS3R ,搭配 Atomic RS485/232 Base。本模块采用串口方式通讯,根据实际的电路连接修改程序中的引脚定义,设备连接后对应的串口引脚为
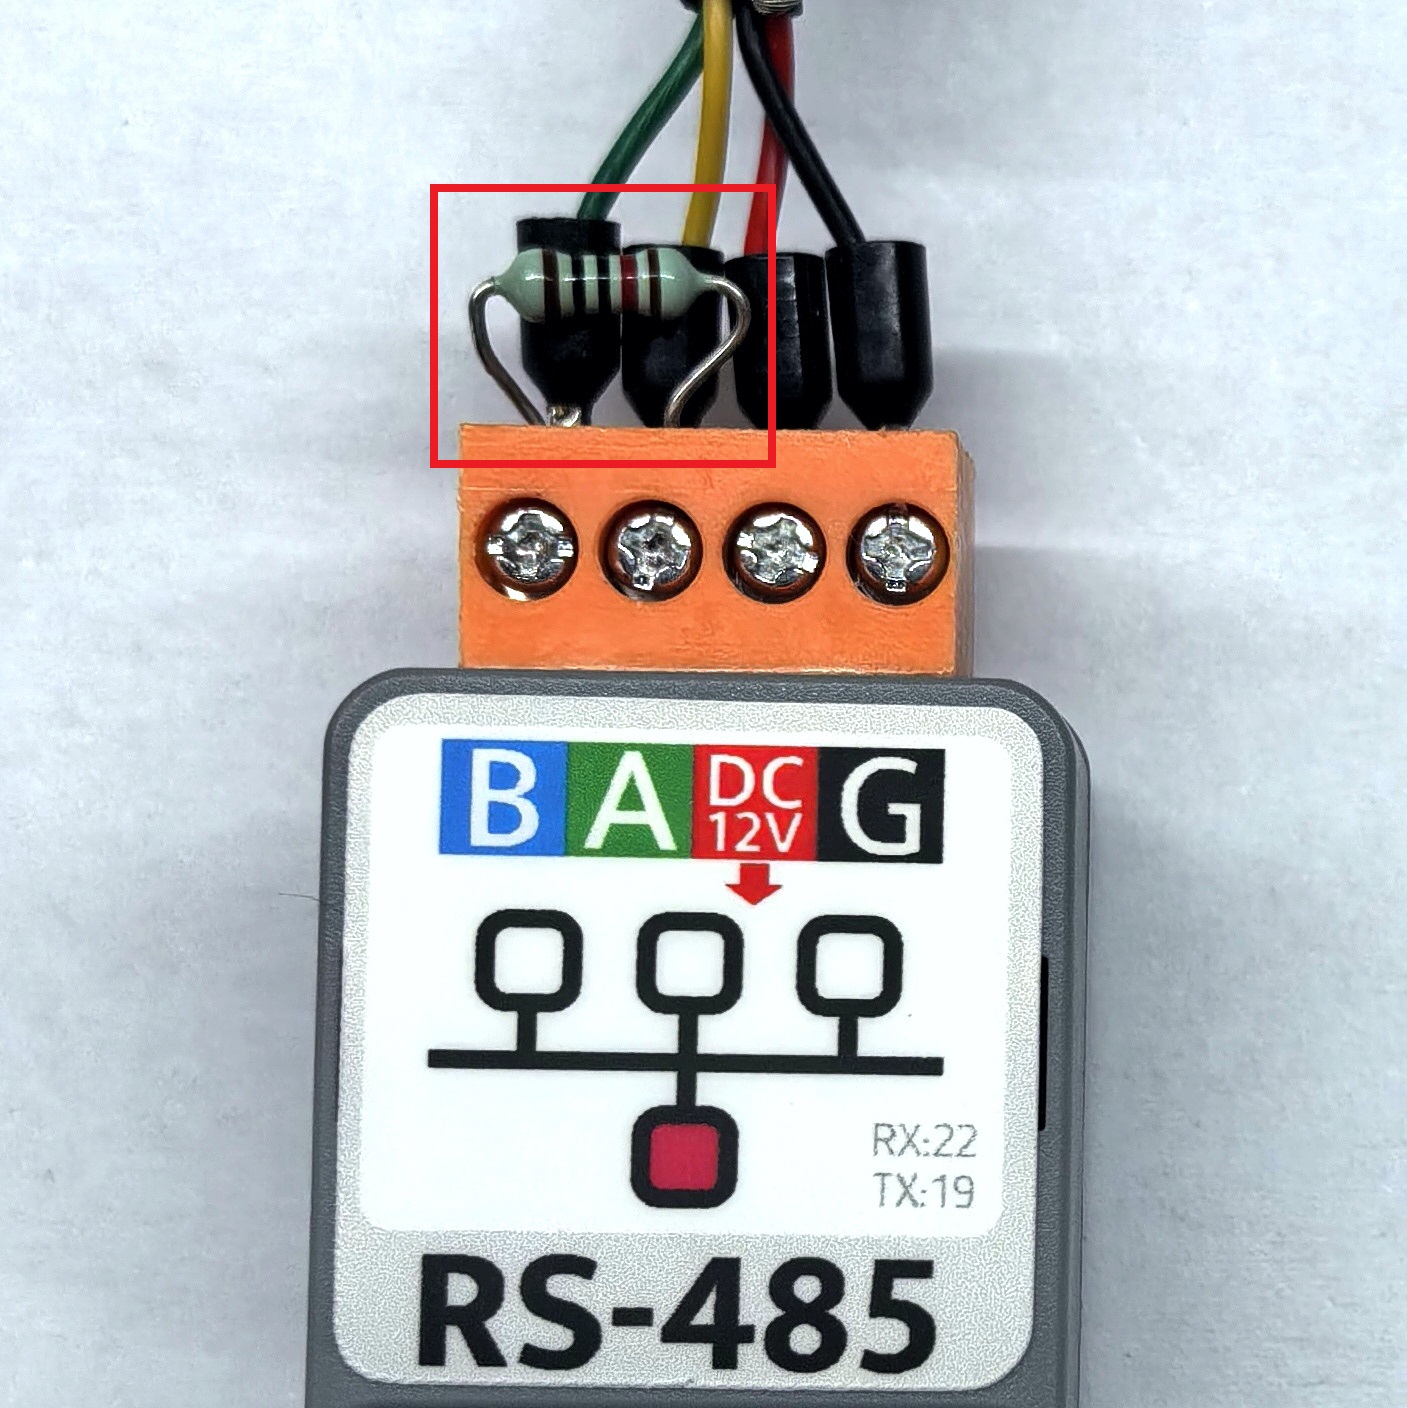
G5 (RX)、G6 (TX)。Atomic RS485 Base 内部没有集成 120Ω 终端电阻,可参考下图位置在 A/B 线间增加 120Ω 电阻。
cpp
1 2 3 4 5 6 7 8 9 10 11 12 13 14 15 16 17 18 19 20 21 22 23 24 25 26 27 28 29 30 31 32 33 34 35 36 37 38 39 40 41 42 43 44 45 46 47 48 49 50 51 52 53 54 55
#include <M5Unified.h>
#include <M5GFX.h>

static int cnt = 0;          // Counter for RS485 sent messages (increments per transmission)
String recvBuffer;           // Buffer to store received RS485 data

void setup() {
    M5.begin();
    M5.Display.clear();
    M5.Display.setFont(&fonts::FreeMonoBold9pt7b);
    M5.Display.drawString("Send :", 0, 5);
    M5.Display.drawString("Receive :", 0, 50);

    Serial.begin(115200);

    // Parameters: baud rate=115200, config=8N1 (8 data bits, 1 stop bit, no parity), RX pin=27, TX pin=19
    Serial2.begin(115200, SERIAL_8N1, 5, 6);
}

void loop() {
    M5.update();

    // --- Send Data ---
    String msg = "RS485 #" + String(++cnt);
    Serial2.println(msg);
    Serial.printf("Send: %s\n", msg.c_str());

    // Display sent message on screen
    M5.Display.fillRect(0, 25, 128, 20, TFT_BLACK);
    M5.Display.setTextColor(GREEN);
    M5.Display.setCursor(0, 25);
    M5.Display.printf("%s\n", msg.c_str());

    // --- Receive Data ---
    recvBuffer = "";
    while (Serial2.available()) {
        char ch = Serial2.read();
        recvBuffer += ch;
    }

    // If valid data is received
    if (recvBuffer.length() > 0) {
        Serial.print("Recv: ");
        Serial.print(recvBuffer);
        Serial2.flush();

        // Display received message on screen
        M5.Display.setTextColor(YELLOW);
        M5.Display.fillRect(0, 70, 128, 20, TFT_BLACK);
        M5.Display.setCursor(0, 70);
        M5.Display.printf("%s", recvBuffer.c_str());
    }

    delay(2000);
}4. 编译上传
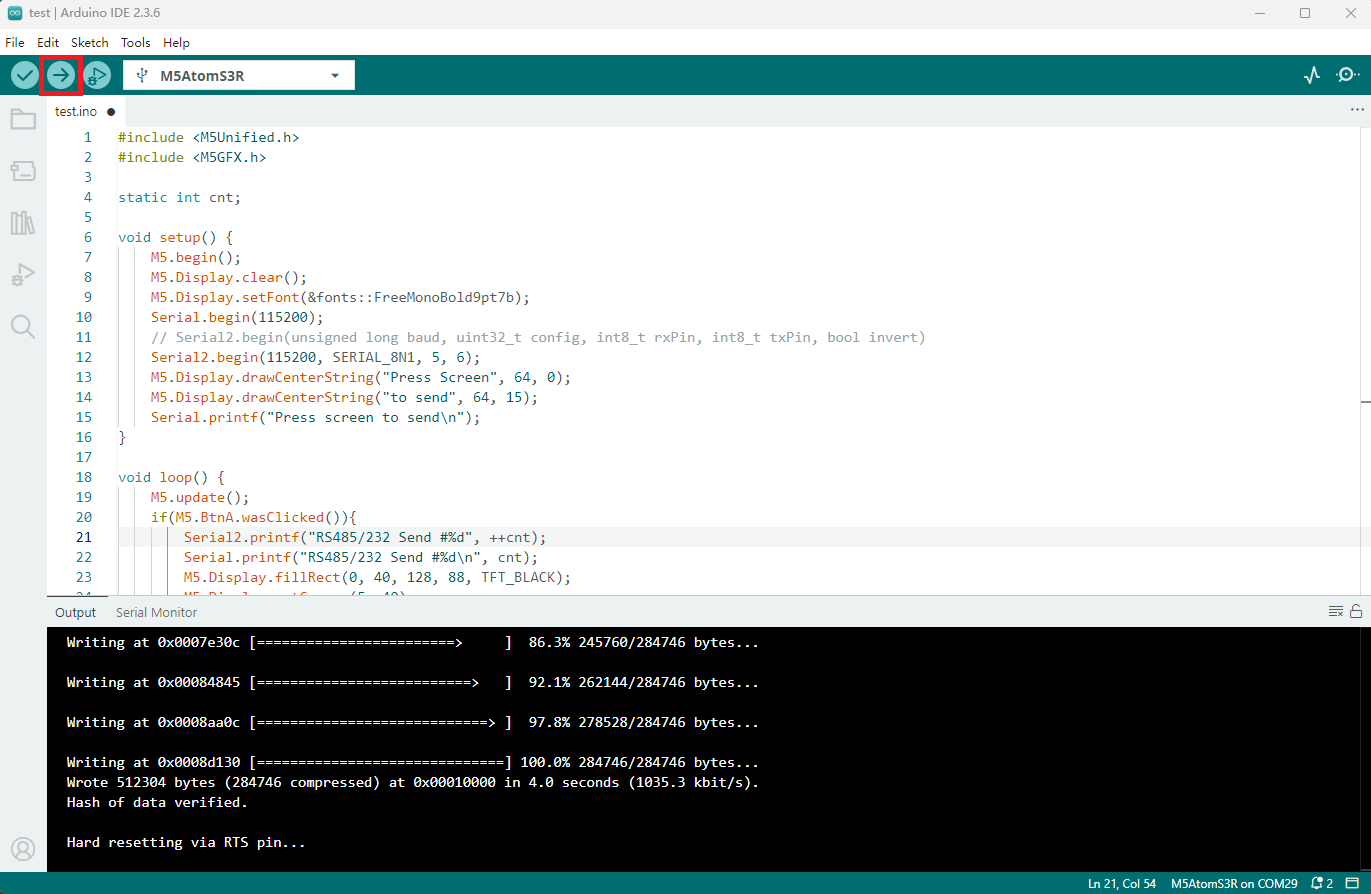
1. 下载模式:不同设备进行程序烧录前需要下载模式,不同的主控设备该步骤可能有所不同。详情可参考Arduino IDE上手教程页面底部的设备程序下载教程列表,查看具体的操作方式。
AtomS3R 长按复位按键 (大约 2 秒) 直到内部绿色 LED 灯亮起,便可松开,此时设备已进入下载模式,等待烧录。

- 2. 选中设备端口,点击 Arduino IDE 左上角编译上传按钮,等待程序完成编译并上传至设备。
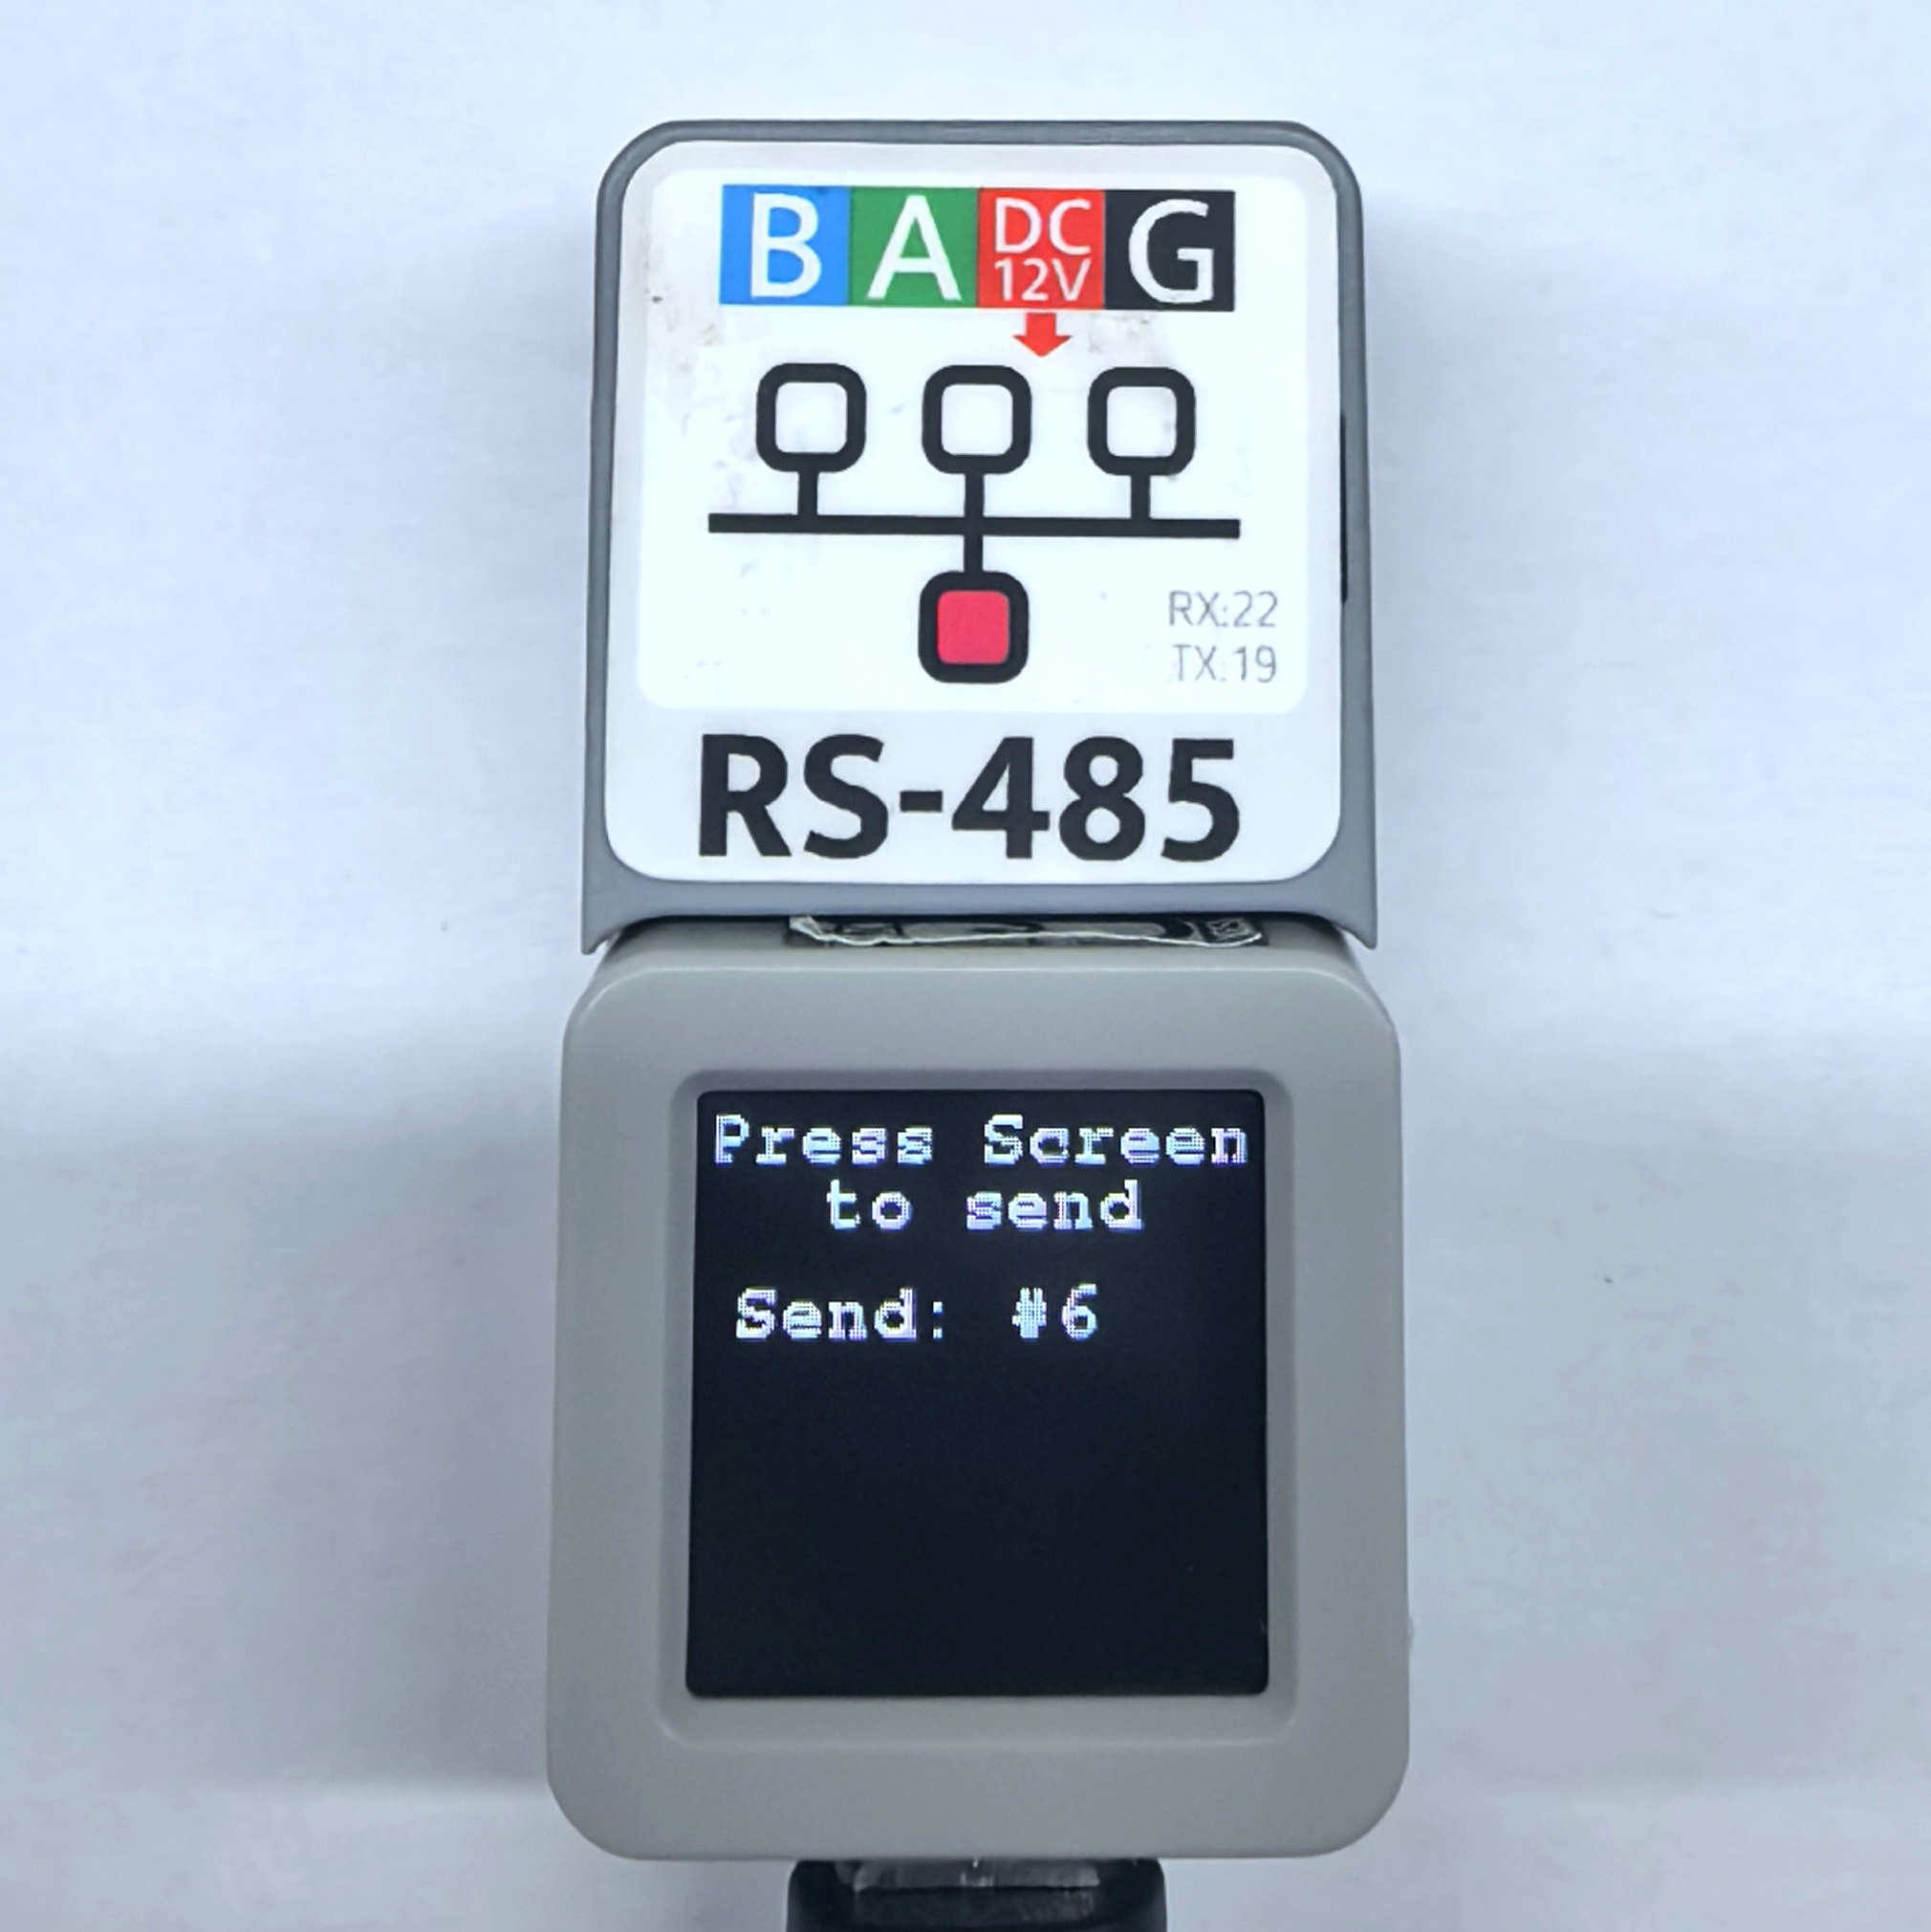
5. RS485/232 通信效果展示
- 上述例程下载成功后,设备上电后会在屏幕上显示发送和接收的数据内容。每隔 2 秒通过 RS485/232 接口发送一次信息,并监听接收通过该接口传输过来的数据。主控屏幕显示效果如下所示:
Page Tools