


Arduino Quick Start
2. Devices & Examples
3. M5Unified
4. M5GFX
5. Extensions
Unit
Atomic
Tab5
IoT
Accessories
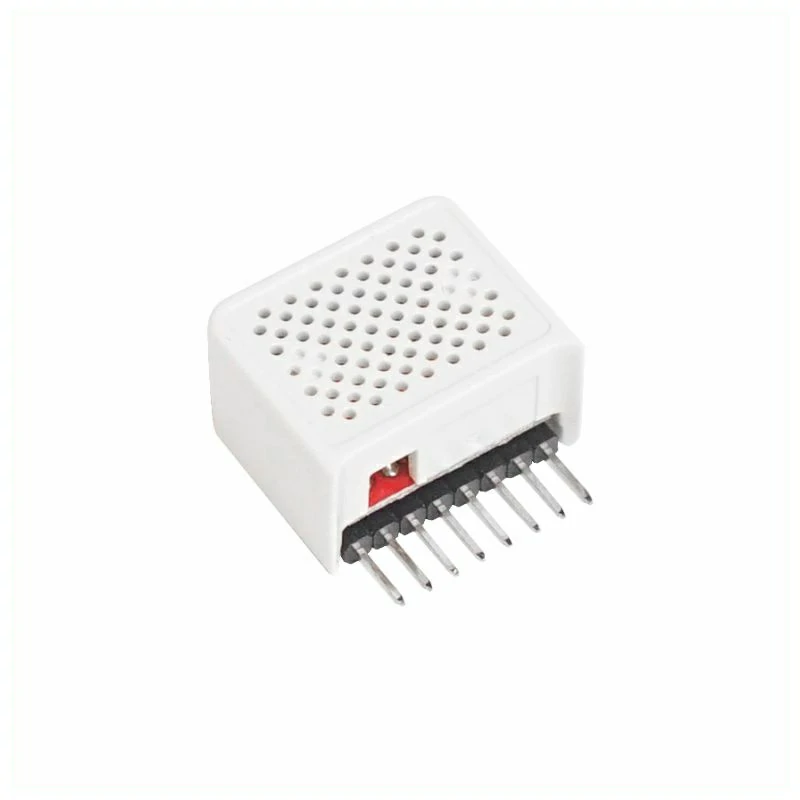
Hat SPK Arduino Tutorial
1. Preparation
Environment setup: Refer to the Arduino IDE Getting Started Tutorial to complete the IDE installation, and install the corresponding board manager and required driver libraries according to the actual development board used.
Driver libraries used:
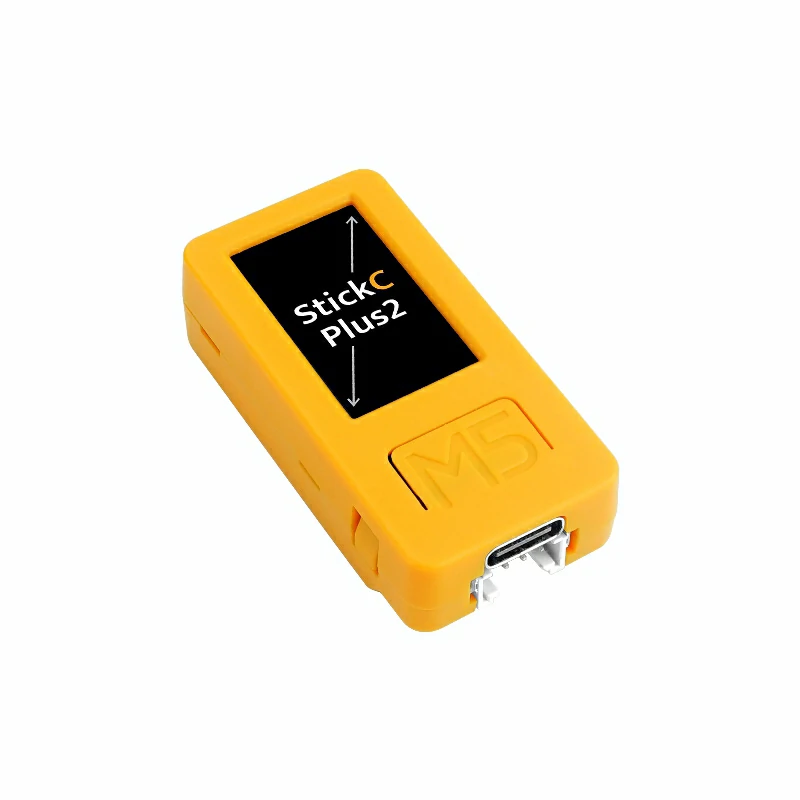
Hardware products used:
2. Example Program
Play Tone
#include <M5Unified.h>

const int SPEAKER_PIN = 26;
const int SD_PIN = 0;
const int PWM_CHANNEL = 0;
const int PWM_RESOLUTION = 10;  // 10-bit resolution (0-1023)
const int PWM_FREQ = 40000;     // 40kHz carrier frequency

void setup() {
    M5.begin();

    // Enable speaker
    pinMode(SD_PIN, OUTPUT);
    digitalWrite(SD_PIN, HIGH);

    // Configure LEDC PWM
    ledcAttach(SPEAKER_PIN, PWM_FREQ, PWM_RESOLUTION);
    M5.Display.setRotation(1);  // Depends on the direction of M5StickC-Plus2 be held
    M5.Display.setCursor(40, 60, 2);
    M5.Display.print("Press BtnA to play Audio");
}

void playTone(int frequency, int duration) {
    // Calculate duty cycle for 50% square wave
    int dutyCycle = (1 << (PWM_RESOLUTION - 1));  // 512 for 10-bit

    // Set PWM frequency to audio frequency
    ledcChangeFrequency(SPEAKER_PIN, frequency, PWM_RESOLUTION);
    ledcWrite(SPEAKER_PIN, dutyCycle);

    delay(duration);

    // Stop tone
    ledcWrite(SPEAKER_PIN, 0);
}

void loop() {
  M5.update();

  if (M5.BtnA.wasPressed()) {
    // Play musical notes
    playTone(262, 500);  // C4
    delay(100);
    playTone(294, 500);  // D4
    delay(100);
    playTone(330, 500);  // E4
    delay(100);
    playTone(349, 500);  // F4
    delay(100);
    playTone(392, 500);  // G4
    delay(1000);
  }
}Play Raw RCM
#include <M5Unified.h>

extern const unsigned char m5stack_startup_music[];
extern const unsigned int m5stack_startup_music_len;

const int HAT_SPK_ENABLE_PIN = 0;
const int HAT_SPK_AUDIO_PIN = 26;

void setup() {
    auto cfg = M5.config();
    cfg.external_speaker.hat_spk = true;
    M5.begin(cfg);

    // Enable speaker
    pinMode(HAT_SPK_ENABLE_PIN, OUTPUT);
    digitalWrite(HAT_SPK_ENABLE_PIN, HIGH);

    // Configure Speaker to use GPIO26(Hat SPK)
    auto spk_cfg = M5.Speaker.config();
    spk_cfg.pin_data_out = HAT_SPK_AUDIO_PIN;
    spk_cfg.sample_rate = 8000;
    spk_cfg.task_pinned_core = APP_CPU_NUM;
    M5.Speaker.config(spk_cfg);
    M5.Speaker.begin();

    M5.Display.setRotation(1);
    M5.Display.setCursor(40, 60, 2);
    M5.Display.print("Press BtnA to play");
}

void playMusic() {
    M5.Display.clear();
    M5.Display.setCursor(40, 60, 2);
    M5.Display.print("Playing...");

    // Use Hat SPK to play audio
    M5.Speaker.playRaw(
        m5stack_startup_music,
        m5stack_startup_music_len,
        8000,
        false,
        1,
        0
    );

    while (M5.Speaker.isPlaying()) {
        M5.update();
        if (M5.BtnA.wasPressed()) {
            M5.Speaker.stop();
            break;
        }
        delay(10);
    }

    M5.Display.clear();
    M5.Display.setCursor(40, 60, 2);
    M5.Display.print("Press BtnA to play");
}

void loop() {
    M5.update();
    if (M5.BtnA.wasPressed()) {
        playMusic();
    }
    delay(10);
}3. Compile and Upload
Enter download mode: Different Stick devices require installing the corresponding driver before flashing the program, and different controllers may use different drivers and installation steps. For details, refer to the device program download tutorial list at the bottom of the Arduino IDE Getting Started Tutorial page to view the specific operation method for the corresponding device.
Select the device port, click the Compile and Upload button in the upper-left corner of the Arduino IDE, and wait for the program to finish compiling and uploading to the device.

4. Press Button A to Control Hat SPK Audio Playback Display
After the program detects that Button A is pressed, it will control Hat SPK to play audio. After the program is compiled and uploaded to the device, the StickC-Plus2 screen displays:
