Arduino Quick Start
2. Devices & Examples
3. M5Unified
4. M5GFX
5. Extensions
Unit
Atomic
Tab5
IoT
Accessories
Hat Servo Arduino Tutorial
1. Preparation
Environment setup: Refer to the Arduino IDE Getting Started Guide to complete IDE installation, then install the corresponding board manager for the development board you are using, along with the required driver libraries.
Driver libraries used:
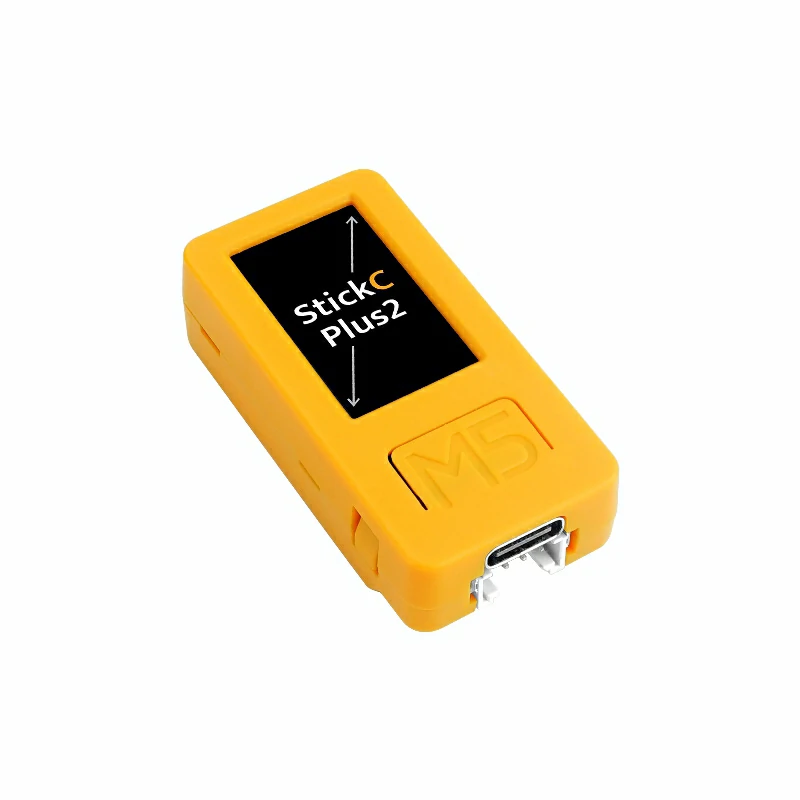
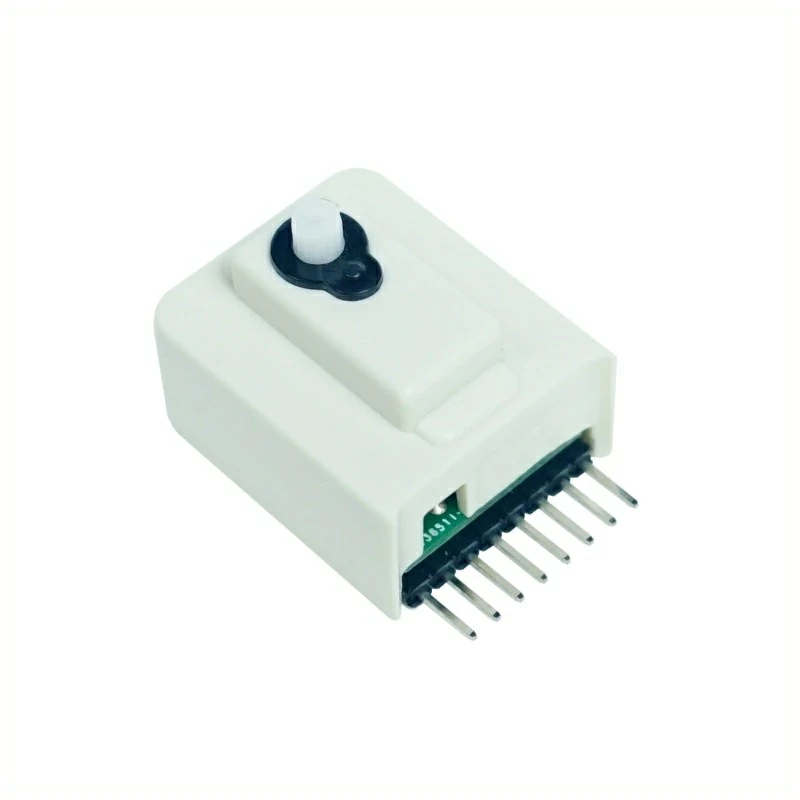
Hardware products used:
2. Example Program
Full Program
#include <M5Unified.h>
const int servo_pin = 26;
const int freq = 50;
const int resolution = 16; // Use high resolution
void setup() {
M5.begin();
Serial.begin(115200);
ledcAttach(servo_pin, freq, resolution);
}
int angleToDuty(int angle) {
int min_us = 600;
int max_us = 2400;
// Ensure angle is within range
angle = constrain(angle, 0, 165);
int pulse_us = map(angle, 0, 165, min_us, max_us);
int duty = (pulse_us * 65535L) / 20000;
return duty;
}
void loop() {
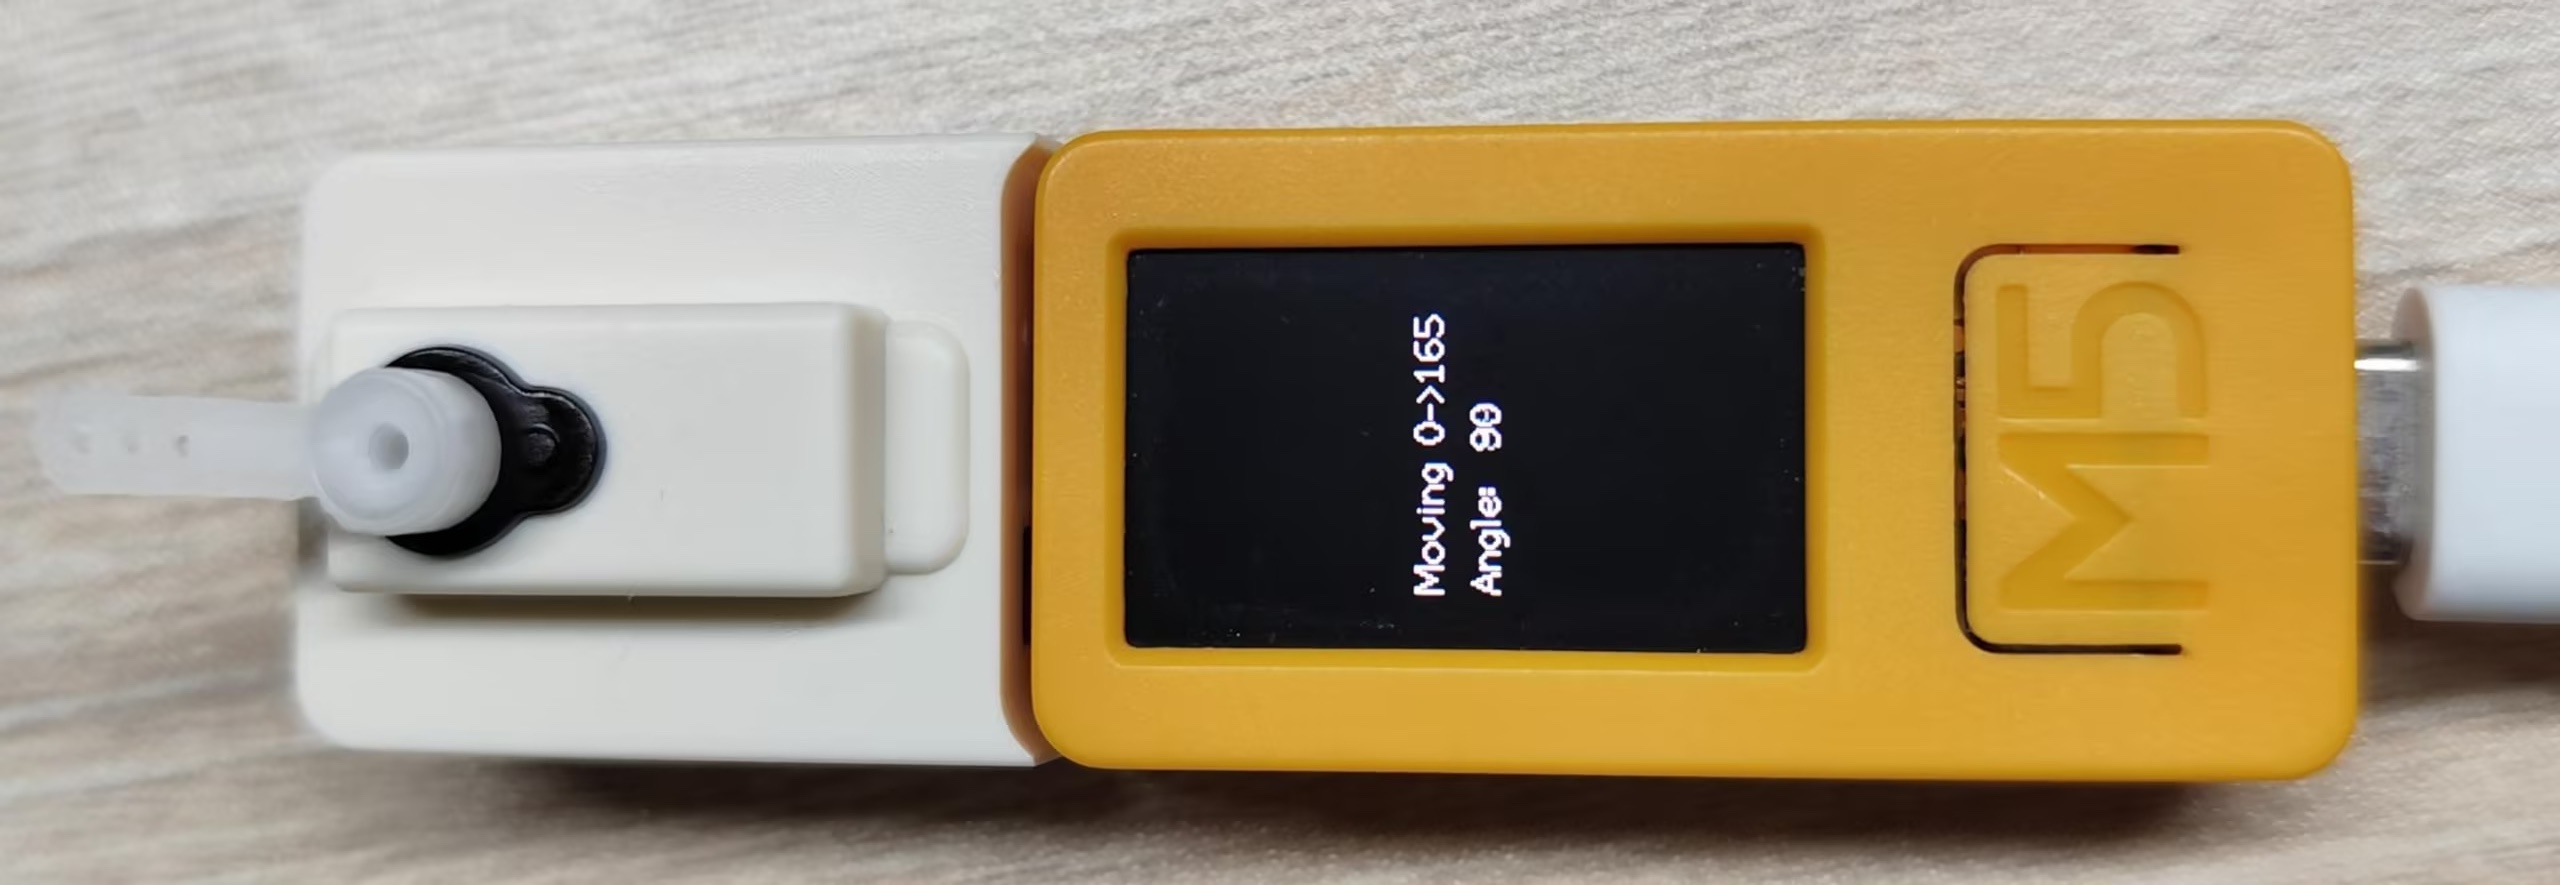
M5.Display.fillRect(0, 100, 320, 60, BLACK);
M5.Display.setCursor(20, 100, 2);
M5.Display.print("Moving 0->165");
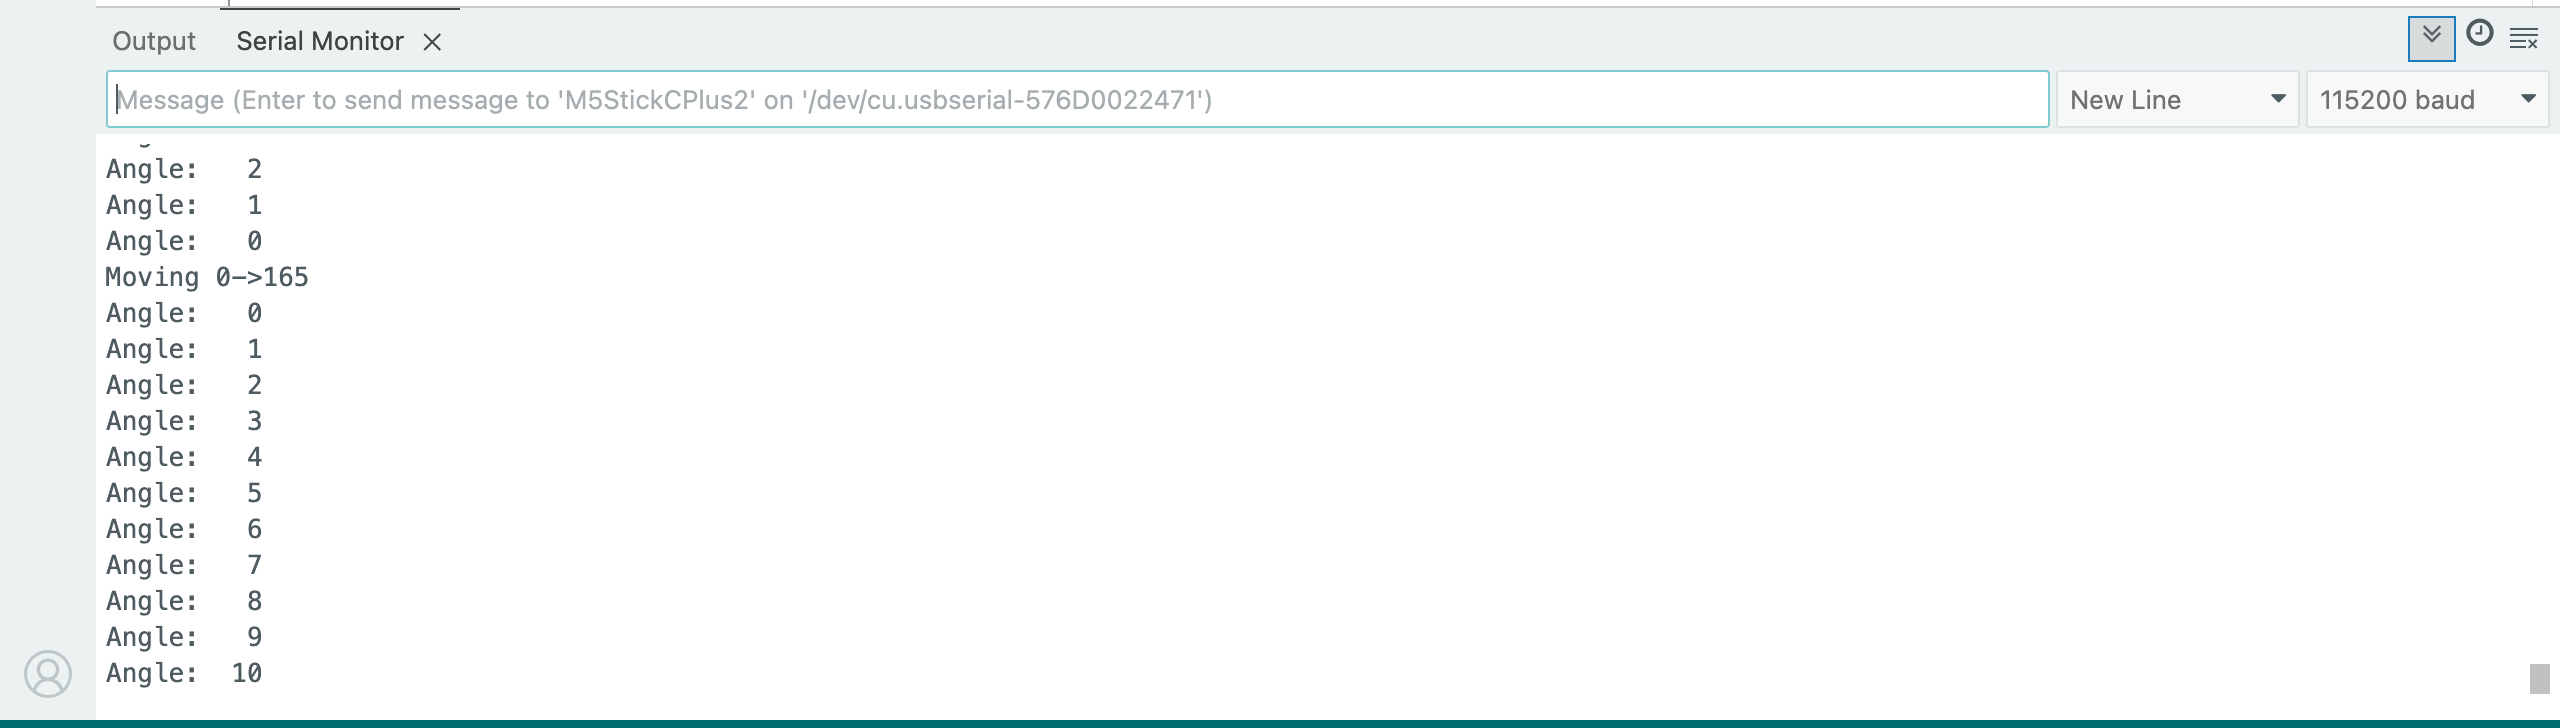
Serial.println("Moving 0->165");
for(int angle = 0; angle <= 165; angle ++) {
int duty = angleToDuty(angle);
ledcWrite(servo_pin, duty);
// Display current angle on M5StickC-Plus2
M5.Display.fillRect(20, 120, 100, 20, BLACK);
M5.Display.setCursor(20, 120, 2);
M5.Display.printf("Angle: %3d", angle);
Serial.printf("Angle: %3d\n", angle);
delay(50); // Control rotation speed
}
delay(1000);
M5.Display.fillRect(0, 100, 320, 60, BLACK);
M5.Display.setCursor(20, 100, 2);
M5.Display.print("Moving 165->0");
Serial.println("Moving 165->0");
for(int angle = 165; angle >= 0; angle --) {
int duty = angleToDuty(angle);
ledcWrite(servo_pin, duty);
M5.Display.fillRect(20, 120, 100, 20, BLACK);
M5.Display.setCursor(20, 120, 2);
M5.Display.printf("Angle: %3d", angle);
Serial.printf("Angle: %3d\n", angle);
delay(50); // Control rotation speed
}
delay(1000);
}3. Compile and Upload
Enter download mode: Different Stick devices require the corresponding driver to be installed before flashing. Different controllers may use different drivers and installation steps. For details, refer to the device program download tutorial list at the bottom of the Arduino IDE Getting Started Guide page to see the specific operating method for the corresponding device.
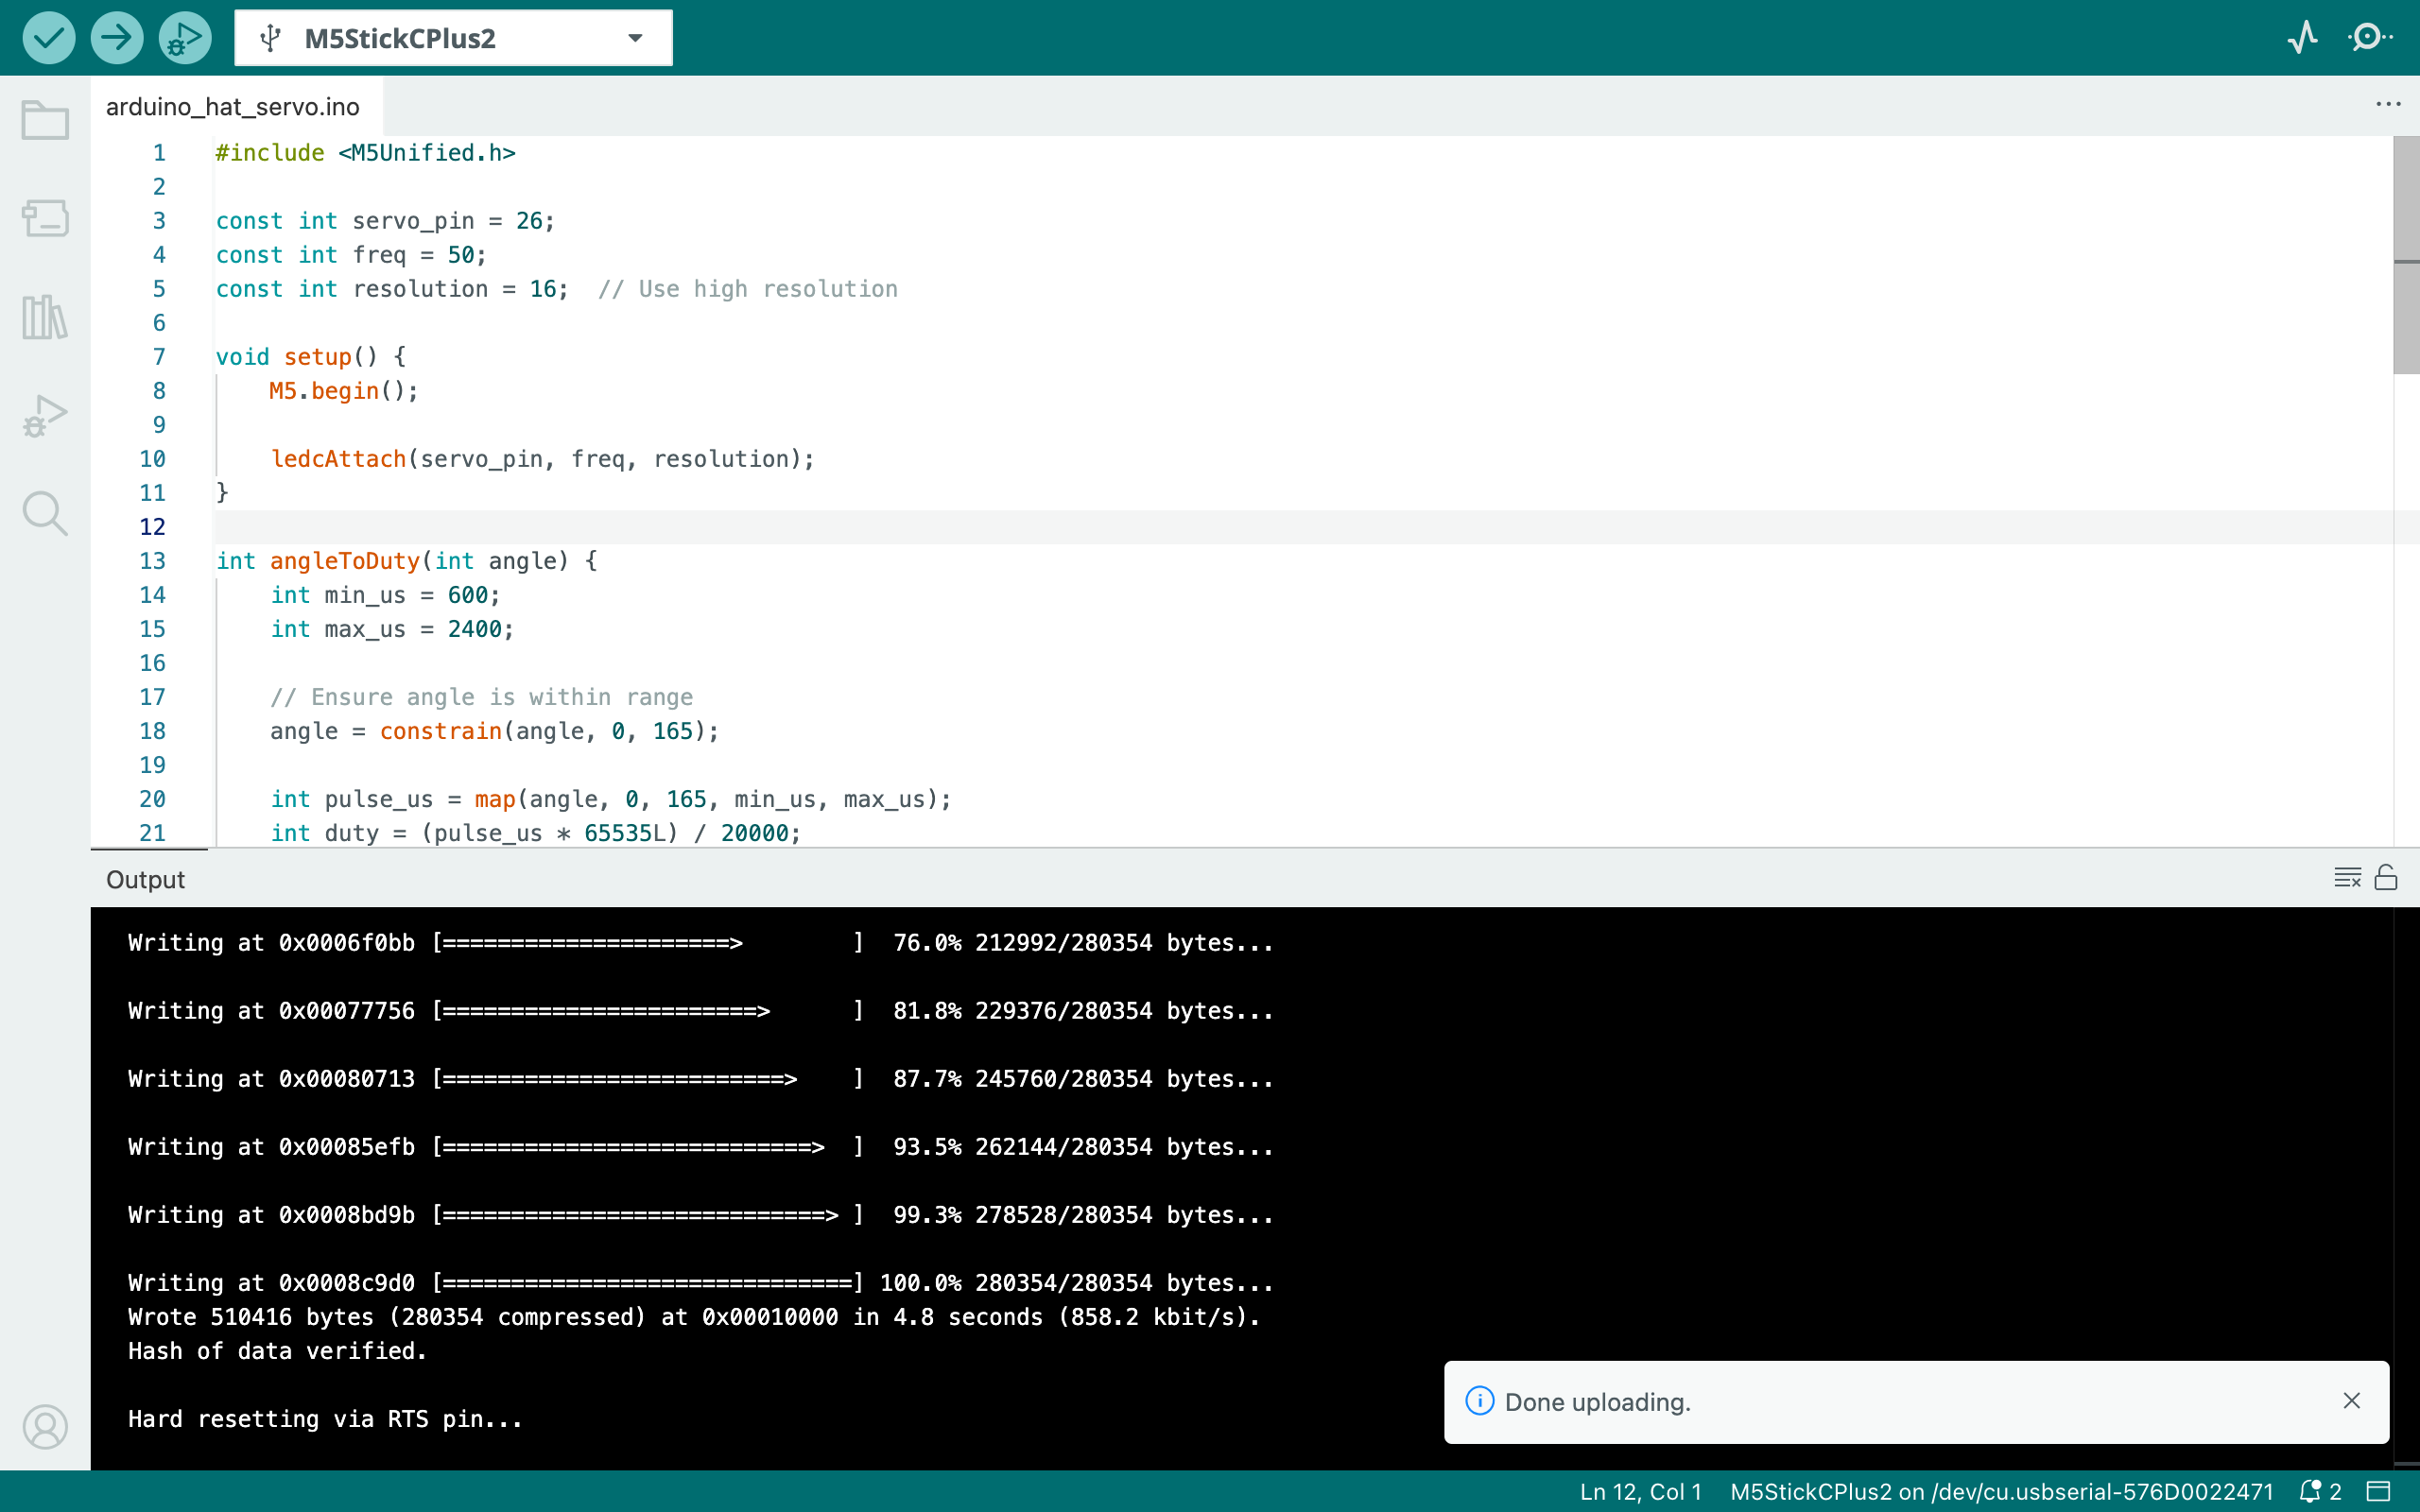
Select the device port, click the Compile and Upload button in the upper-left corner of the Arduino IDE, and wait for the program to finish compiling and uploading to the device.
4. Hat Servo Current Angle and Status Information Display
This program will control the rotation angle of the Hat Servo, and print the current angle and status information on the StickC-Plus2 screen and the computer's serial monitor: