

Arduino Quick Start
2. Devices & Examples
3. M5Unified
4. M5GFX
5. Extensions
Unit
Module
Atomic
Tab5
IoT
Accessories
Servo Kit 180°/360° Arduino Tutorial
1. Preparation
Environment setup: Refer to Arduino IDE Quick Start to complete IDE installation, and install the corresponding board package for your development board as well as the required driver libraries.
Required libraries:
Required hardware products:

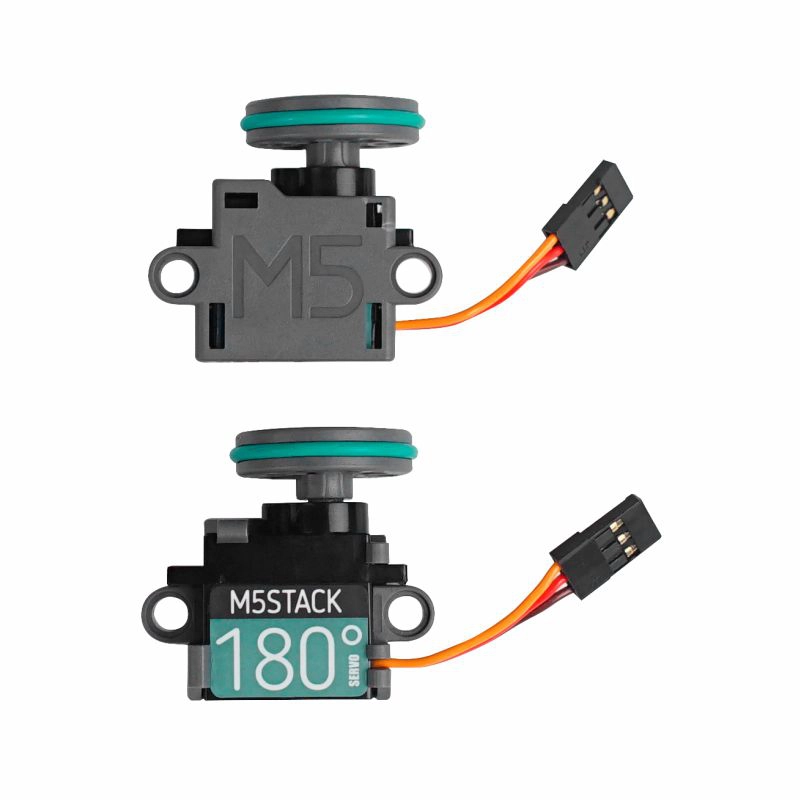
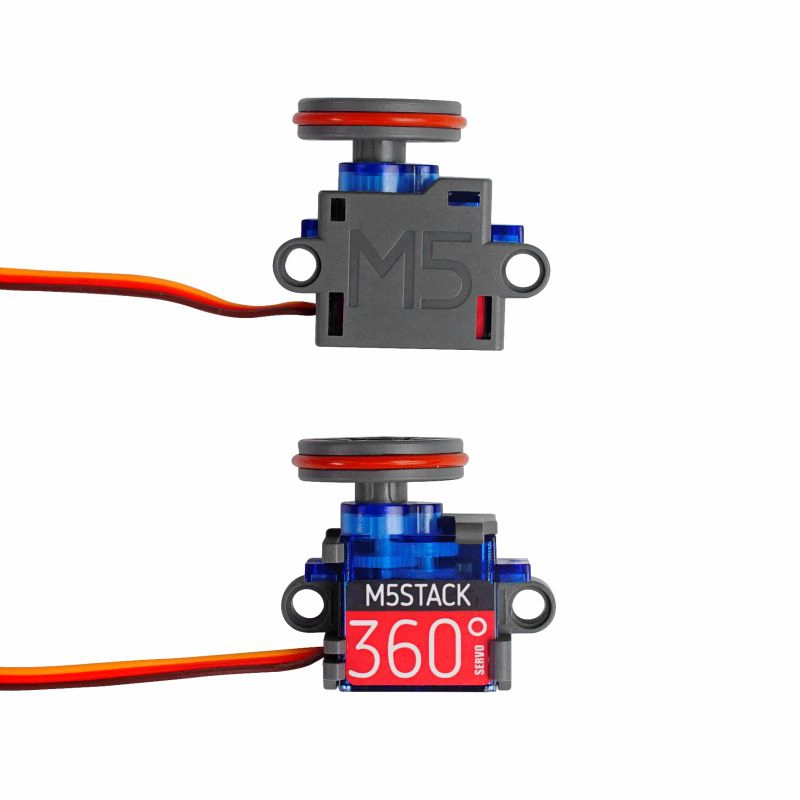
2. Example Program
- In this tutorial, the main controller used is the CoreS3, paired with Servo Kit 180°/360°. The servo needs to be connected to the host through an adapter, as shown in the figure below. Modify the pin definitions in the program according to the actual wiring. Once connected, the control IO is
G2.
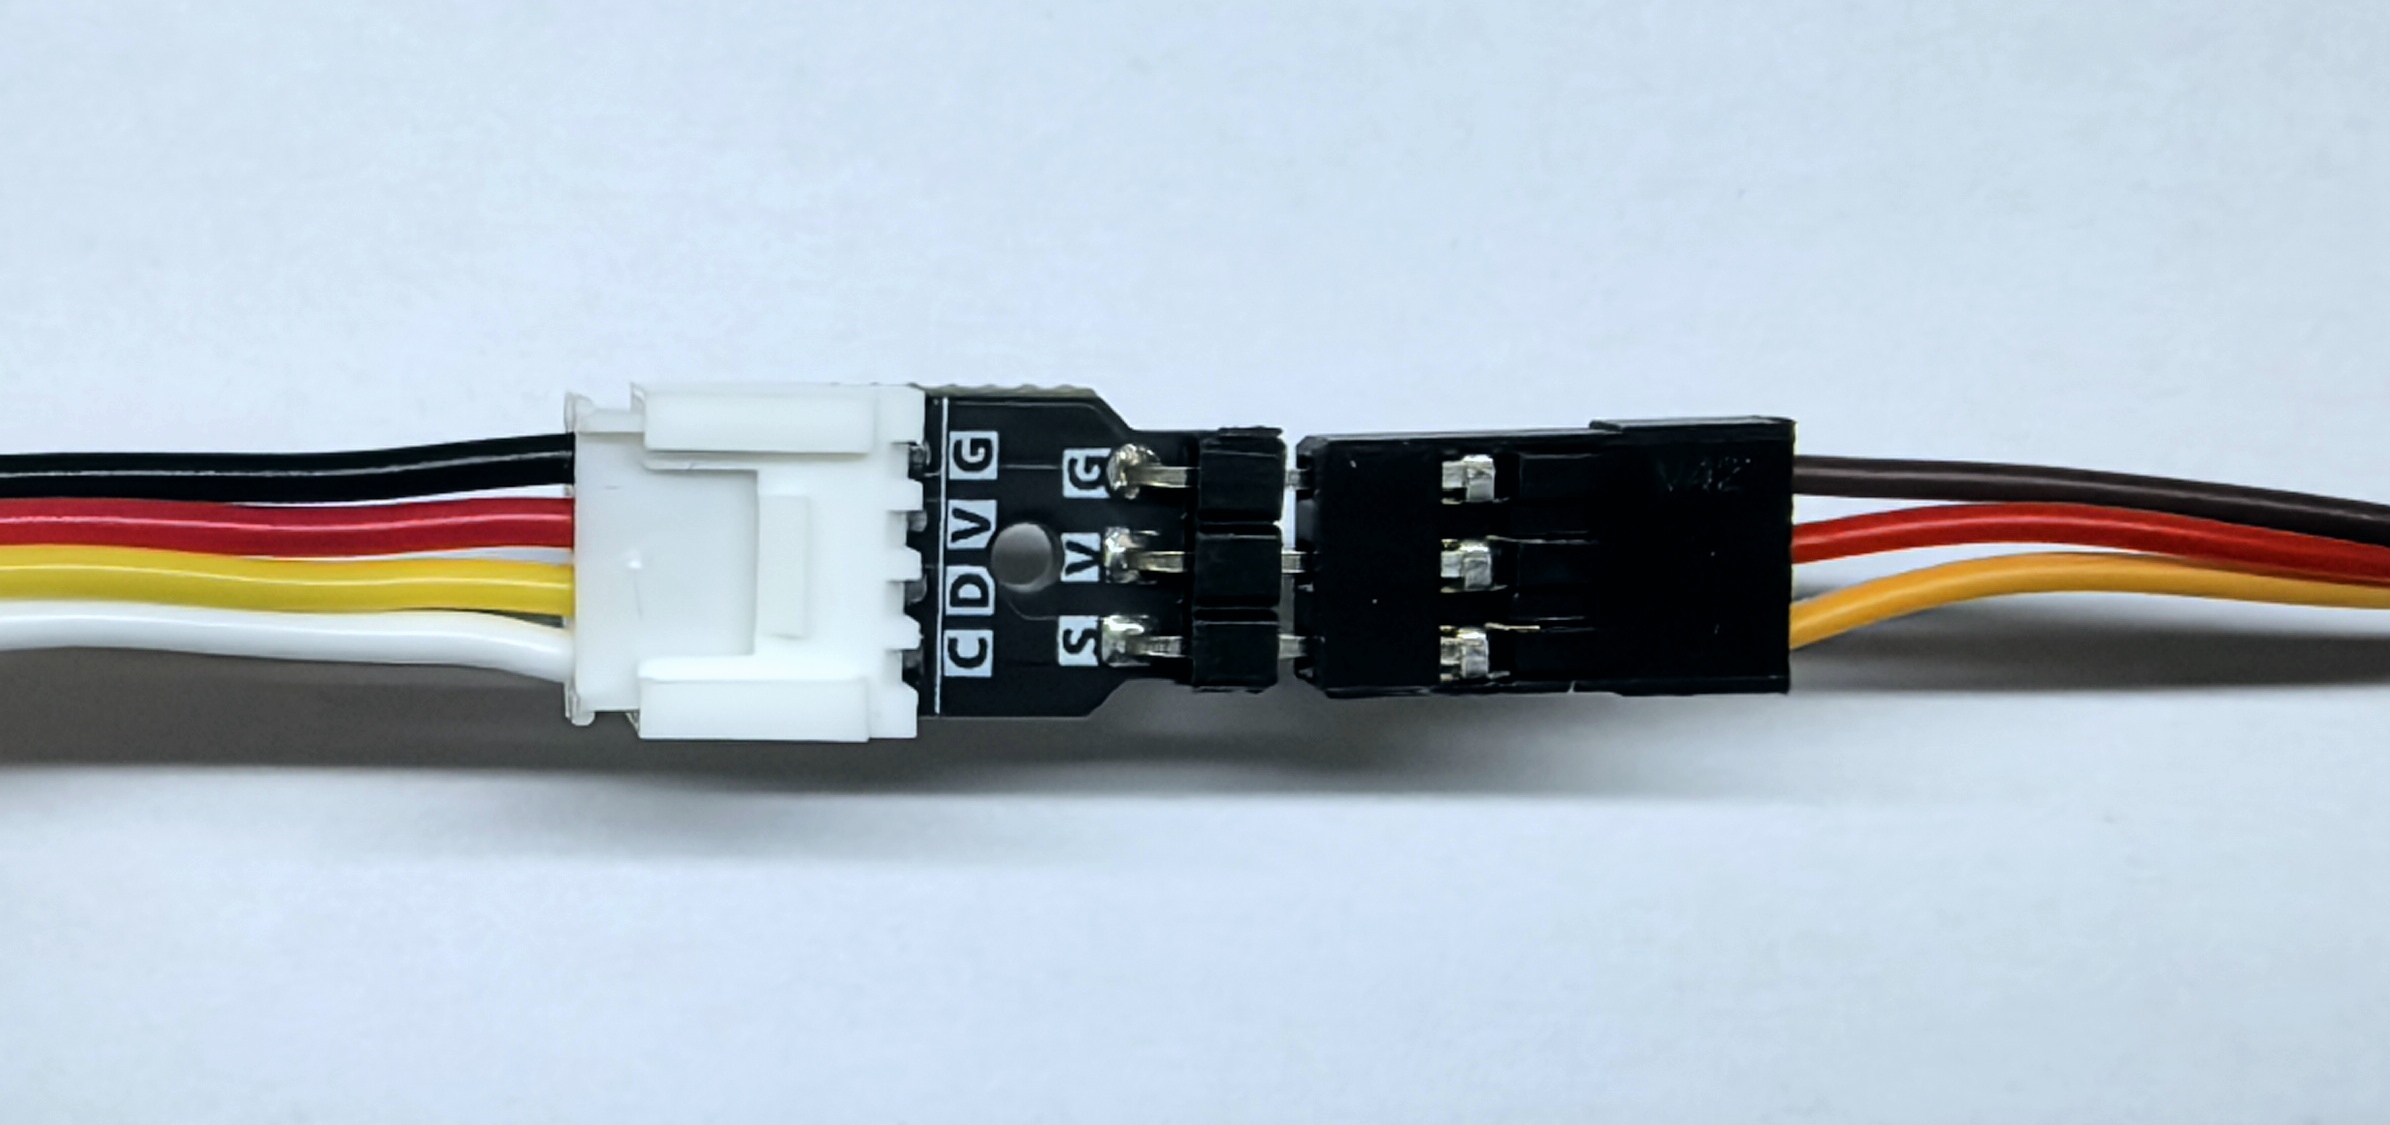
The example below mainly uses the
writeMicrosecondsfunction to control the servo's rotation position, suitable for both Servo Kit 180° and Servo Kit 360°.COUNT_LOWandCOUNT_HIGHcorrespond to the minimum and maximum pulse widths of the servo, respectively, whileSTEPdefines the incremental step size for the pulse width, andSERVO_PINspecifies the digital pin connected to the servo's signal wire.For Servo Kit 180°,
COUNT_LOWusually corresponds to the 0° position of the servo, andCOUNT_HIGHto the 180° position. After callingwriteMicroseconds, the servo rotates to the position matching the given pulse width and holds there. In the example below,servo.writeMicroseconds(1500)moves the 180° kit to the 90° position and holds it.For Servo Kit 360°, the value passed to
writeMicrosecondscontrols rotation speed and direction:COUNT_LOWcorresponds to maximum clockwise speed,COUNT_HIGHto maximum counterclockwise speed, and the midpoint value indicates stop. Values inCOUNT_LOW ~ midpointrotate clockwise (larger values = slower speed), while values inmidpoint ~ COUNT_HIGHrotate counterclockwise (larger values = faster speed). In the example below,servo.writeMicroseconds(1500)stops the 360° kit.
#include "M5Unified.h"
#include "M5GFX.h"
#include "ESP32Servo.h"

// Macro definitions for servo control parameters
#define COUNT_LOW  500     // Minimum pulse width in microseconds (μs) for the servo (typically corresponds to 0° position)
#define COUNT_HIGH 2500    // Maximum pulse width in microseconds (μs) for the servo (typically corresponds to 180° position)
#define STEP       100      // Increment step for pulse width (controls how smoothly the servo moves between positions)
#define SERVO_PIN  2       // Digital pin connected to the servo motor's signal wire

Servo servo;

void setup() {
  M5.begin();
  servo.attach(SERVO_PIN, COUNT_LOW, COUNT_HIGH); // Attach the servo to the specified pin, with defined min (COUNT_LOW) and max (COUNT_HIGH) pulse widths
  M5.Lcd.setFont(&fonts::FreeMonoBoldOblique12pt7b);
  M5.Lcd.drawCenterString("SERVO", 160, 110);
}

void loop() {
  servo.writeMicroseconds(500);
  delay(2000);
  servo.writeMicroseconds(1500); // 90° for 180° Kit, Stop for 360° Kit
  delay(2000);
  servo.writeMicroseconds(2500);
  delay(2000);
  servo.writeMicroseconds(1500); // 90° for 180° Kit, Stop for 360° Kit
  delay(2000);
}3. Compile and Upload
1. Download mode: Devices must enter download mode before flashing programs; the steps may vary between controllers. For details, refer to the Arduino IDE Quick Start page's device program download tutorial list.
For CoreS3, press and hold the reset button (about 2 seconds) until the internal green LED lights up, then release it. The device has now entered download mode and is waiting for programming. The red light turns off after the button is released, confirming that the device is in download mode.
.gif)
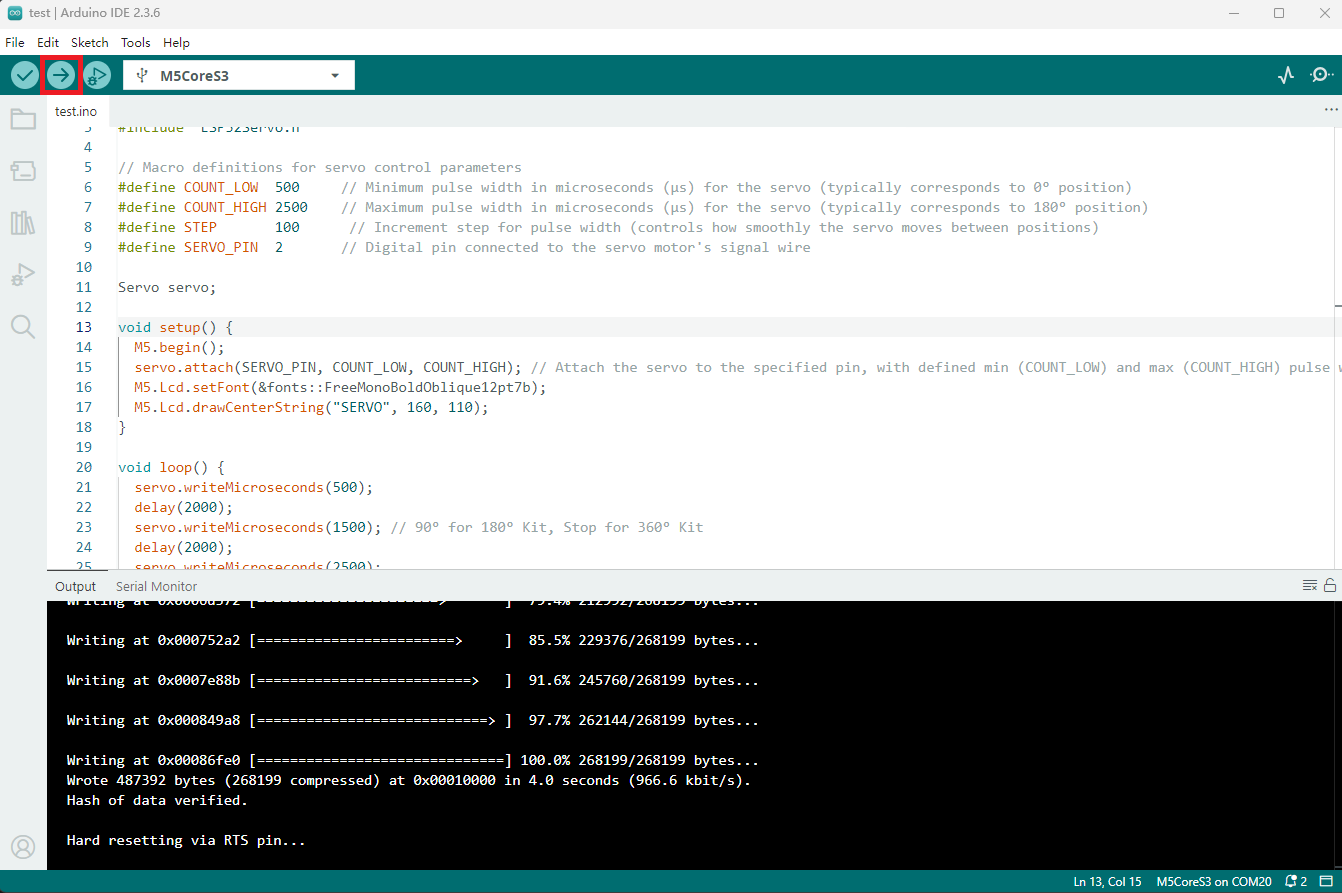
- 2. Select the device port, click the compile/upload button in the top left of Arduino IDE, and wait for the process to complete.
4. Servo Control Effect
- Servo Kit 180° will rotate sequentially to positions 0°, 90°, 180°, and 90°, repeating this cycle.
- Servo Kit 360° will rotate at minimum speed counterclockwise, stop, rotate at minimum speed clockwise, stop, repeating this cycle.