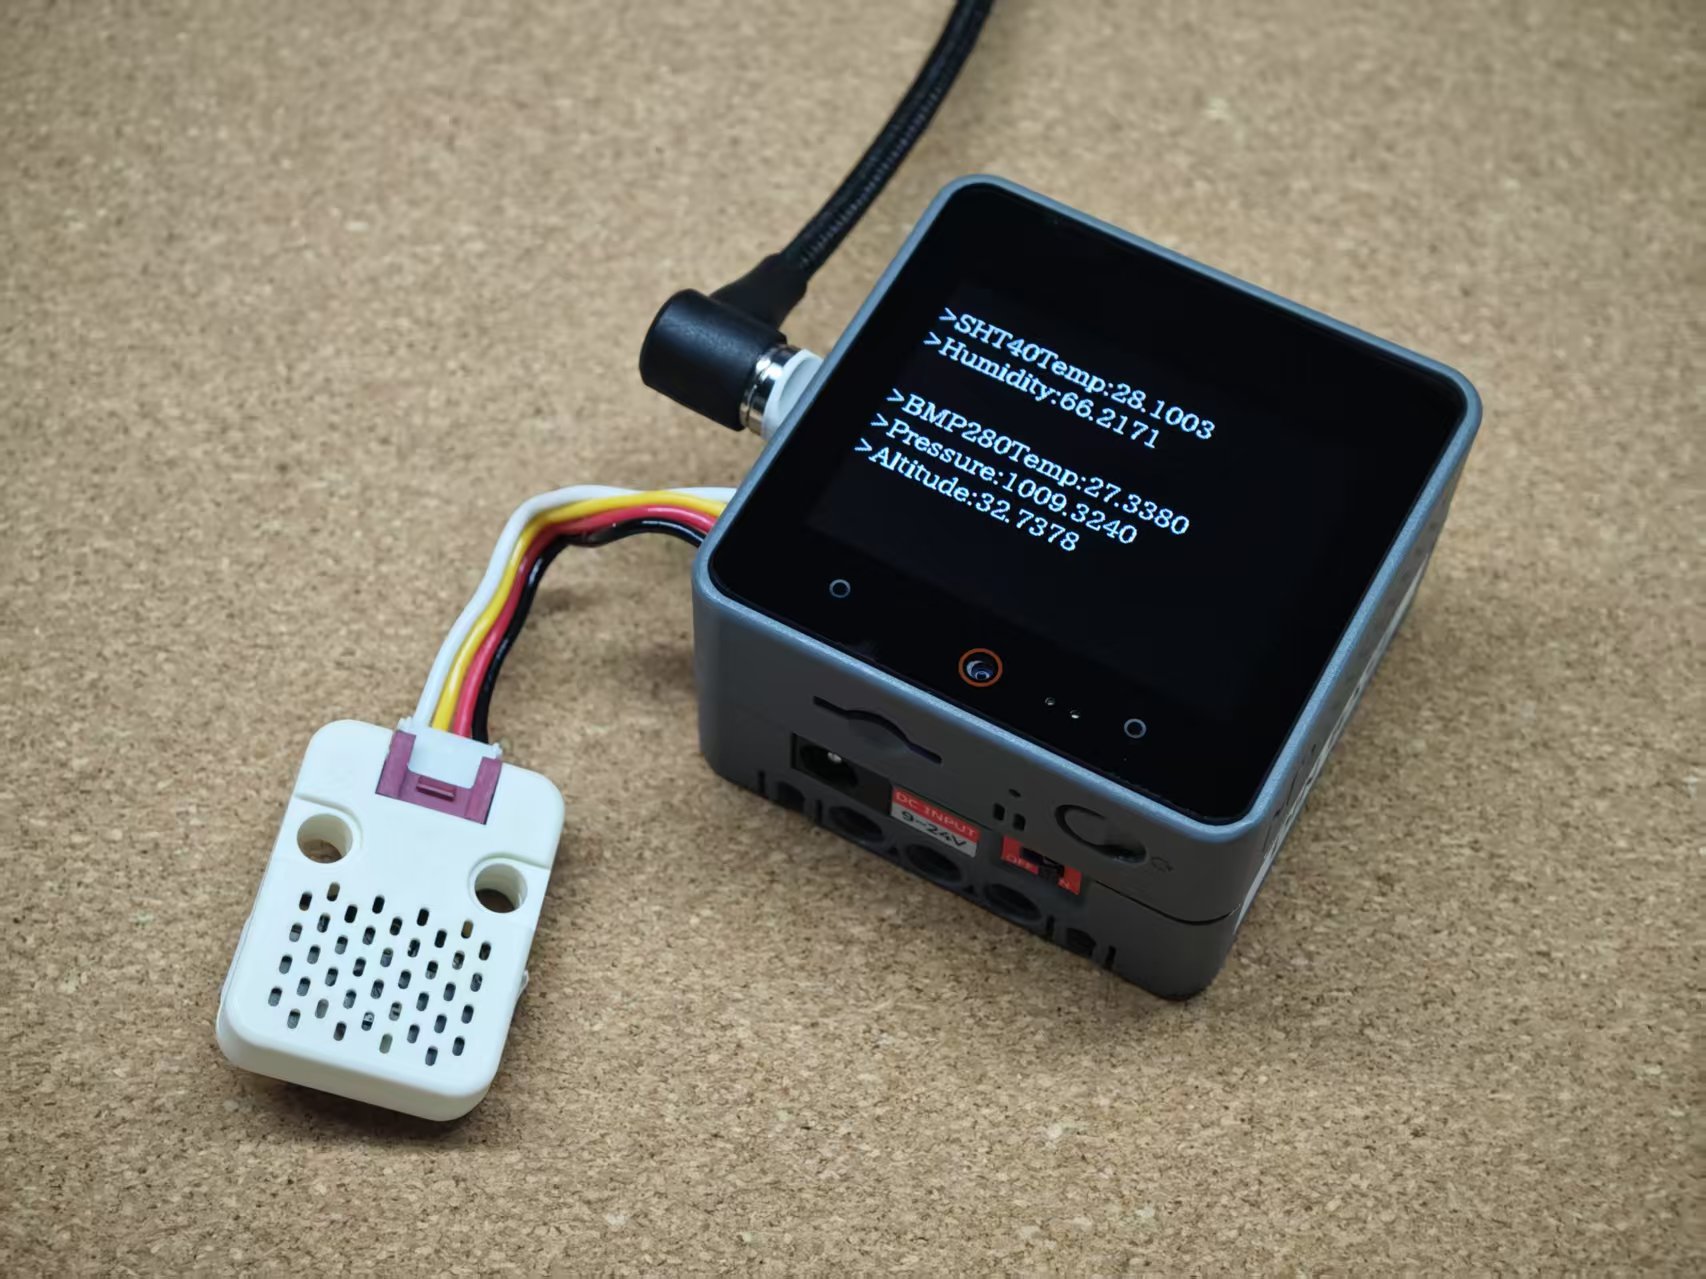
Unit ENV Arduino 使用教程
1.准备工作
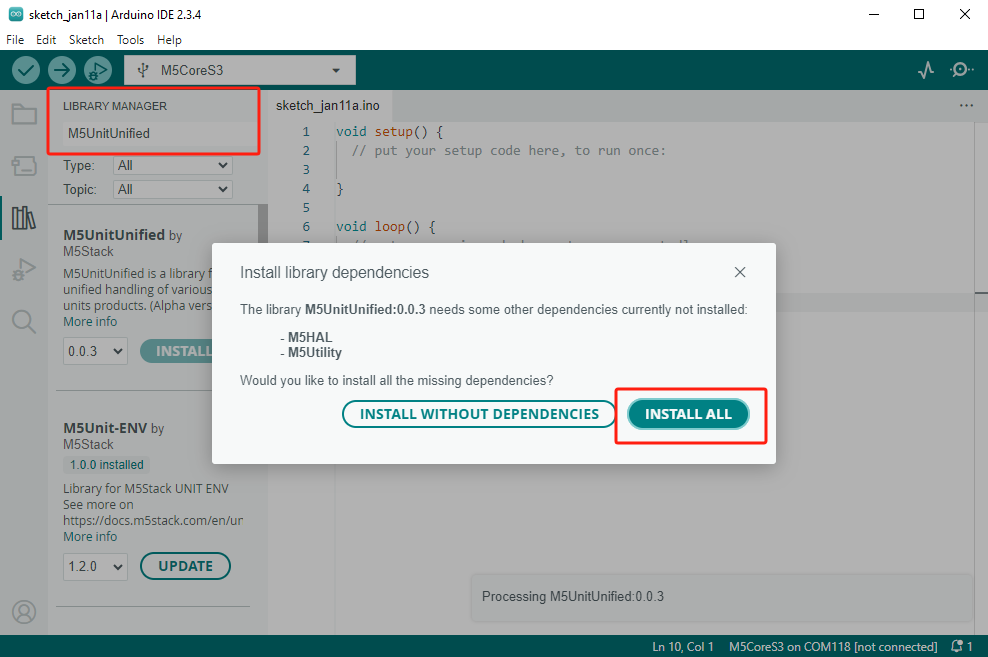
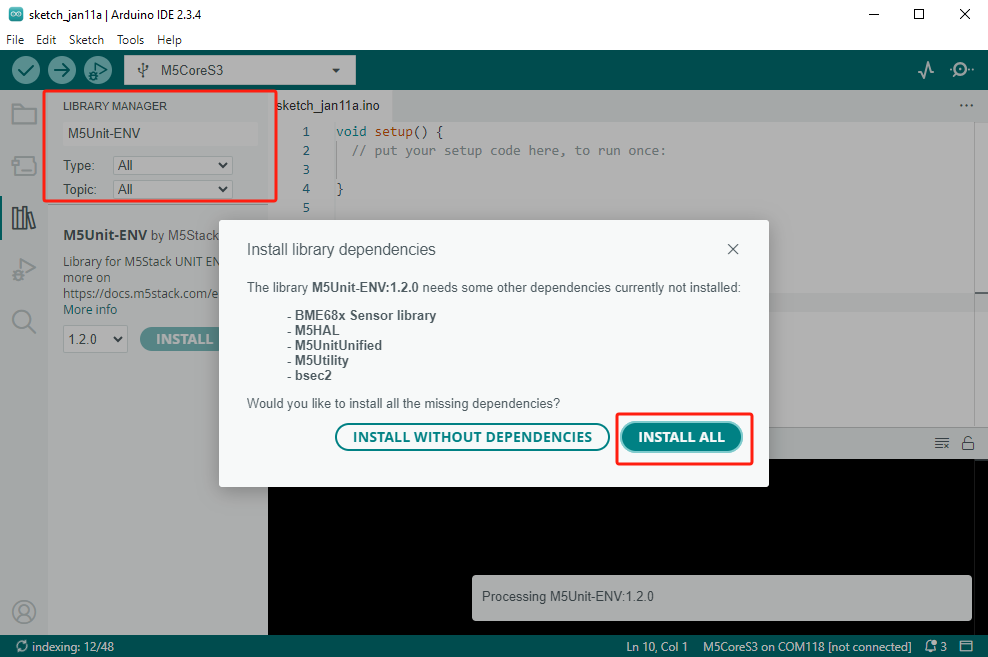
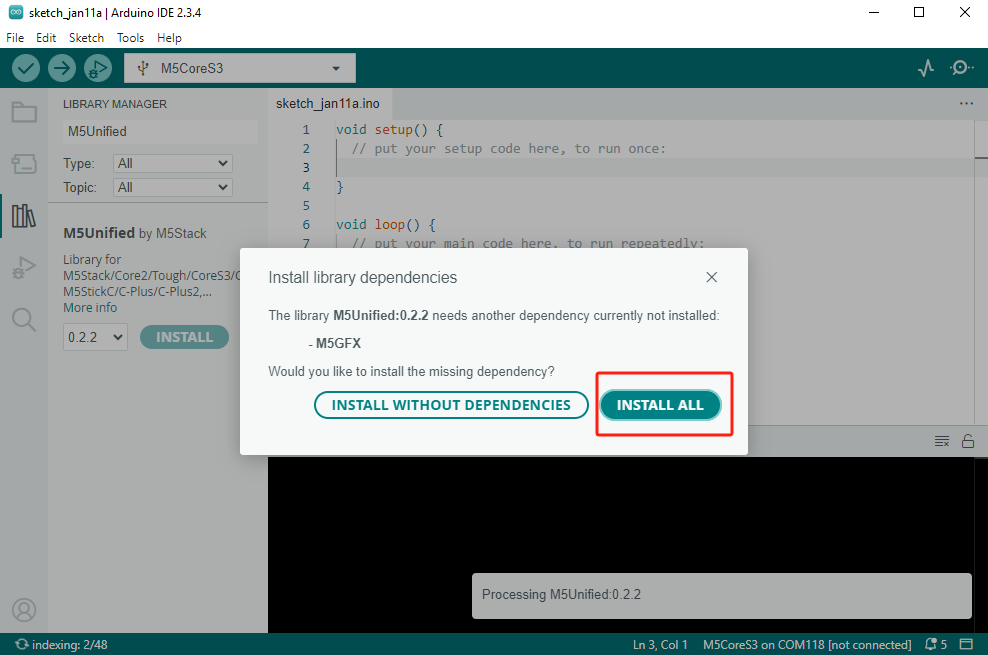
1.环境配置: 参考Arduino IDE上手教程完成IDE安装, 并根据实际使用的开发板安装对应的板管理, 与需要的驱动库。
2.使用到的驱动库:
驱动库
Unit ENV/II/III/IV/PRO 虽然主要的传感器IC方案有些差异,但在 M5Unit-ENV 库中都有相应的驱动与案例,能够非常方便的实现传感器数据读取。
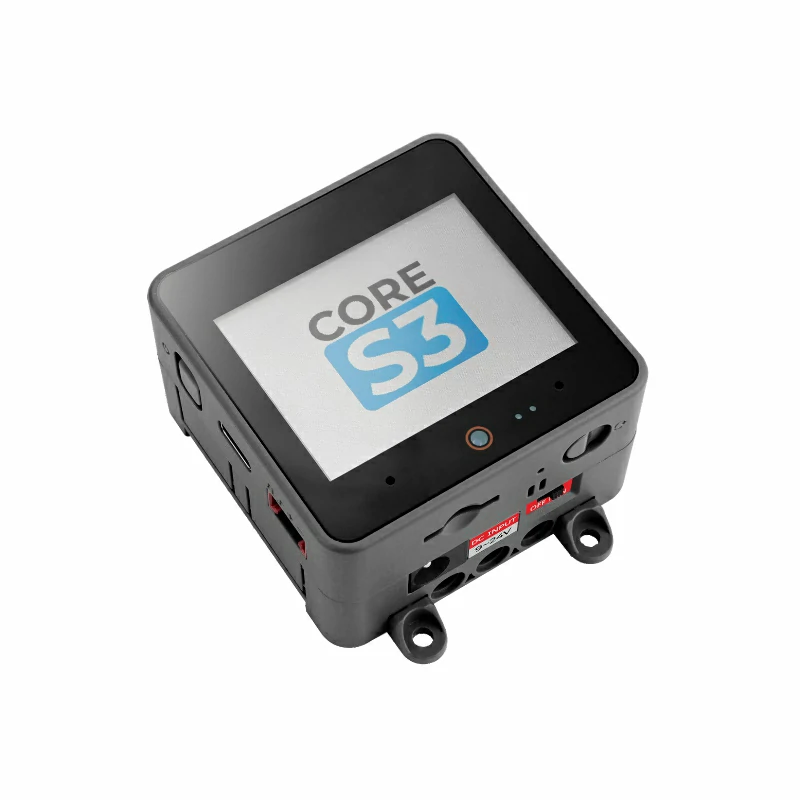
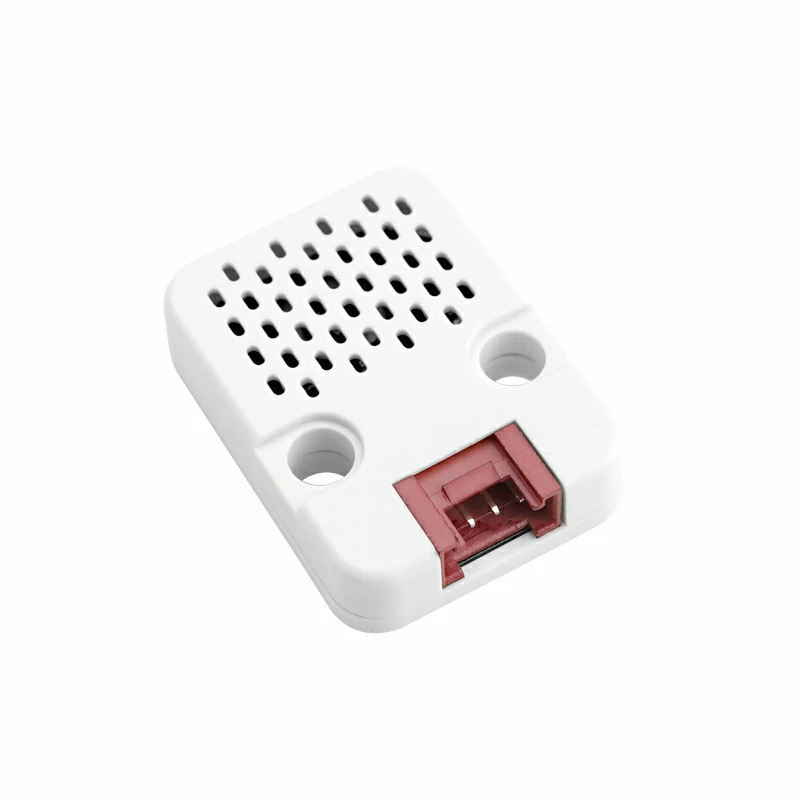
- 3.使用到的硬件产品:
依赖库
2.案例程序
案例说明
本案例以 Unit ENV-IV 为例,实现温湿度数据读取。如果使用的是 Unit ENV-III 可通过切换
USING_ENV3注释来启用不同的实例。使用其他型号的 Unit ENV 可参考下方链接查看更多案例程序。cpp
1 2 3 4 5 6 7 8 9 10 11 12 13 14 15 16 17 18 19 20 21 22 23 24 25 26 27 28 29 30 31 32 33 34 35 36 37 38 39 40 41 42 43 44 45 46 47 48 49 50 51 52 53 54 55 56 57 58 59 60 61 62 63 64 65 66 67 68 69 70 71 72 73 74 75 76 77 78 79 80 81 82 83 84 85 86 87 88 89 90 91 92 93 94 95 96 97 98 99 100 101 102 103 104 105 106 107 108 109 110
#include <M5Unified.h>
#include <M5UnitUnified.h>
#include <M5UnitUnifiedENV.h>

M5Canvas canvas(&M5.Display);

m5::unit::UnitUnified Units;

// #define USING_ENV3
#define USING_ENV4

#if defined(USING_ENV3)

m5::unit::UnitENV3 unitENV3;
auto& sht30   = unitENV3.sht30;
auto& qmp6988 = unitENV3.qmp6988;

#elif defined(USING_ENV4)

m5::unit::UnitENV4 unitENV4;
auto& sht40  = unitENV4.sht40;
auto& bmp280 = unitENV4.bmp280;

#endif

float calculate_altitude(const float pressure, const float seaLvhPa = 1013.25f)
{
    return 44330.f * (1.0f - pow((pressure / 100.f) / seaLvhPa, 0.1903f));
}

void setup()
{
    M5.begin();
    Serial.begin(115200);
    M5.Display.setFont(&fonts::lgfxJapanMinchoP_20);
    M5.Display.setTextSize(1);
    auto pin_num_sda = M5.getPin(m5::pin_name_t::port_a_sda);
    auto pin_num_scl = M5.getPin(m5::pin_name_t::port_a_scl);
    M5_LOGI("getPin: SDA:%u SCL:%u", pin_num_sda, pin_num_scl);

    Wire.begin(pin_num_sda, pin_num_scl, 400000U);

#if defined(USING_ENV3)
    if (!Units.add(unitENV3, Wire) || !Units.begin()) {
        M5_LOGE("Failed to begin Unit ENV3");
        M5.Display.clear(TFT_RED);
        while (true) {
            m5::utility::delay(10000);
        }
    }

#elif defined(USING_ENV4)
    if (!Units.add(unitENV4, Wire) || !Units.begin()) {
        M5_LOGE("Failed to begin Unit ENV4");
        M5.Display.clear(TFT_RED);
        while (true) {
            m5::utility::delay(10000);
        }
    }

#endif
}

void loop()
{
    M5.update();
    Units.update();
#if defined(USING_ENV3)

    if (sht30.updated()) {
        M5.Display.setCursor(0, 0);
        M5.Display.fillRect(0, 0, 320, 80, TFT_BLACK);
        M5.Display.printf(
            "\n>SHT30Temp:%.4f\n"
            ">Humidity:%.4f",
            sht30.temperature(), sht30.humidity());
    }
    if (qmp6988.updated()) {
        M5.Display.setCursor(0, 80);
        M5.Display.fillRect(0, 80, 320, 80, TFT_BLACK);
        auto p = qmp6988.pressure();
        M5.Display.printf(
            "\n>QMP6988Temp:%.4f\n"
            ">Pressure:%.4f\n"
            ">Altitude:%.4f",
            qmp6988.temperature(), p * 0.01f /* To hPa */, calculate_altitude(p));
    }

#elif defined(USING_ENV4)
    if (sht40.updated()) {
        M5.Display.setCursor(0, 0);
        M5.Display.fillRect(0, 0, 320, 80, TFT_BLACK);
        M5.Display.printf(
            "\n>SHT40Temp:%.4f\n"
            ">Humidity:%.4f",
            sht40.temperature(), sht40.humidity());
    }
    if (bmp280.updated()) {
        M5.Display.setCursor(0, 80);
        M5.Display.fillRect(0, 80, 320, 80, TFT_BLACK);
        auto p = bmp280.pressure();
        M5.Display.printf(
            "\n>BMP280Temp:%.4f\n"
            ">Pressure:%.4f\n"
            ">Altitude:%.4f",
            bmp280.temperature(), p * 0.01f /* To hPa */, calculate_altitude(p));
    }
#endif
    delay(1000);
}3.编译上传
1.下载模式: 不同设备进行程序烧录前需要下载模式, 不同的主控设备该步骤可能有所不同。详情可参考Arduino IDE上手教程页面底部的设备程序下载教程列表, 查看具体的操作方式。
CoreS3长按复位按键(大约2秒)直到内部绿色LED灯亮起,便可松开,此时设备已进入下载模式,等待烧录。
.gif)
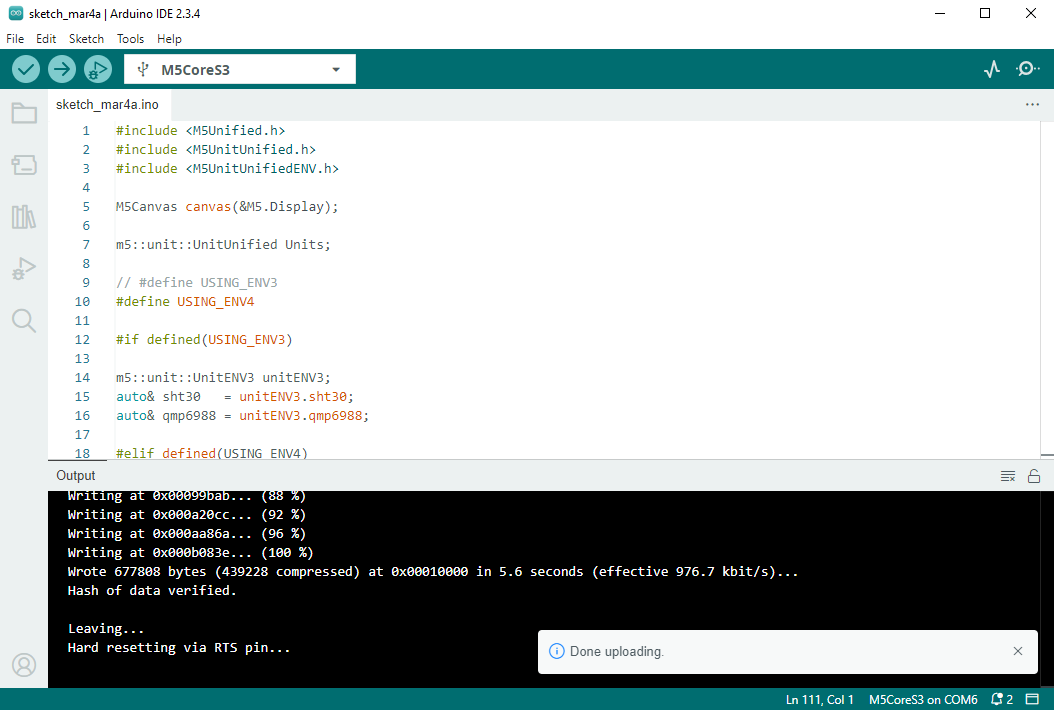
- 2.选中设备端口, 点击Arduino IDE左上角编译上传按钮, 等待程序完成编译并上传至设备。
4.温湿度数据读取
