


Arduino 上手教程
2. 设备开发 & 案例程序
3. M5Unified
4. M5GFX
5. 拓展模块
Unit
Base
Cap
StamPLC
IoT
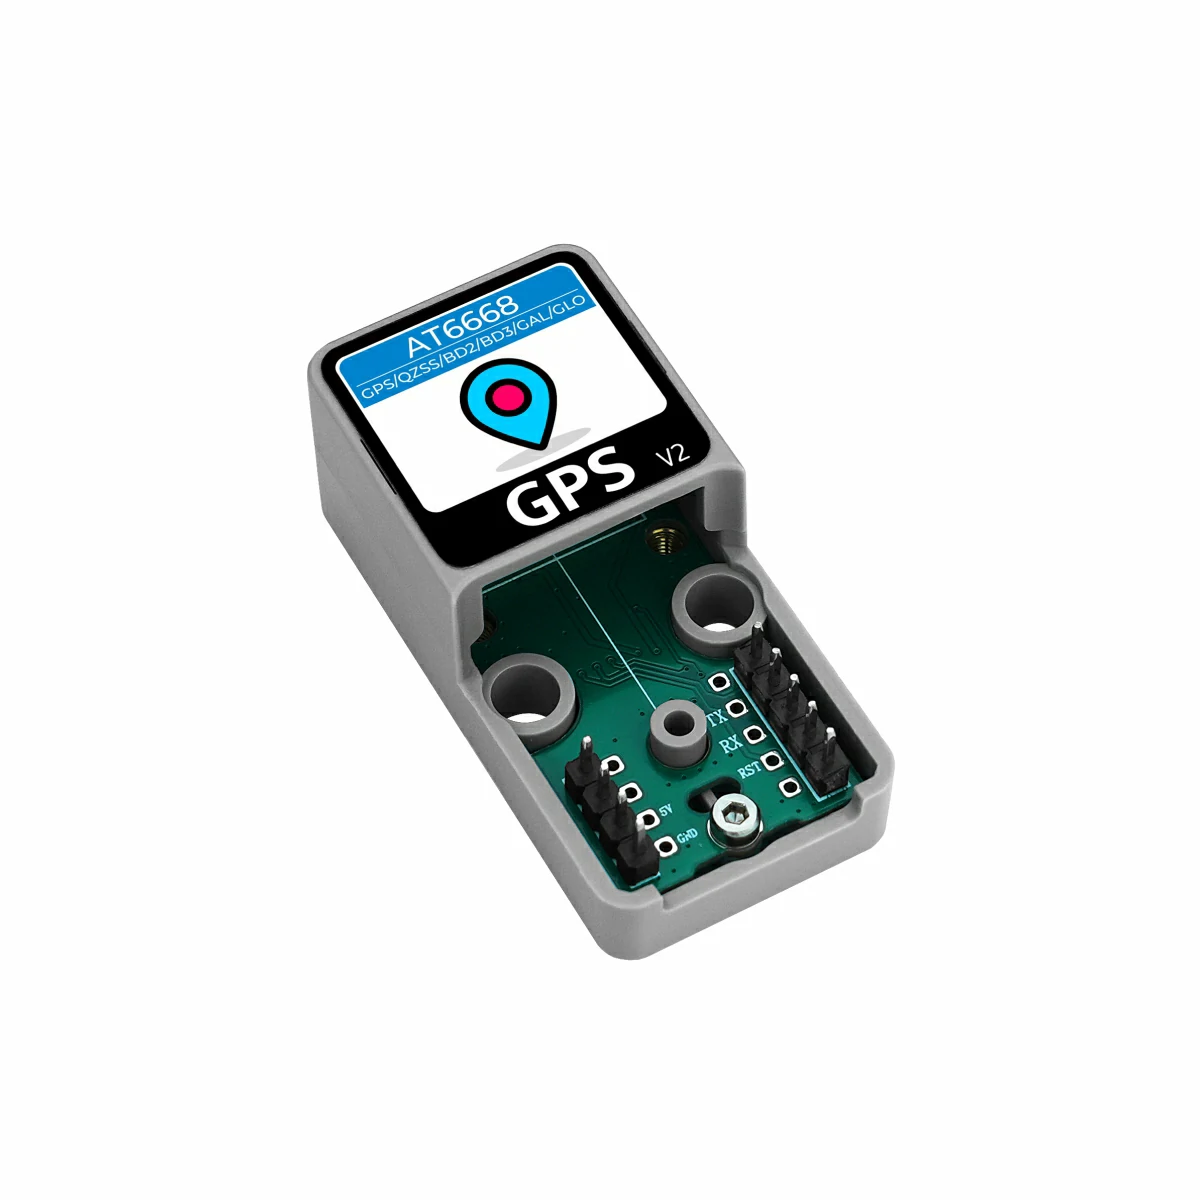
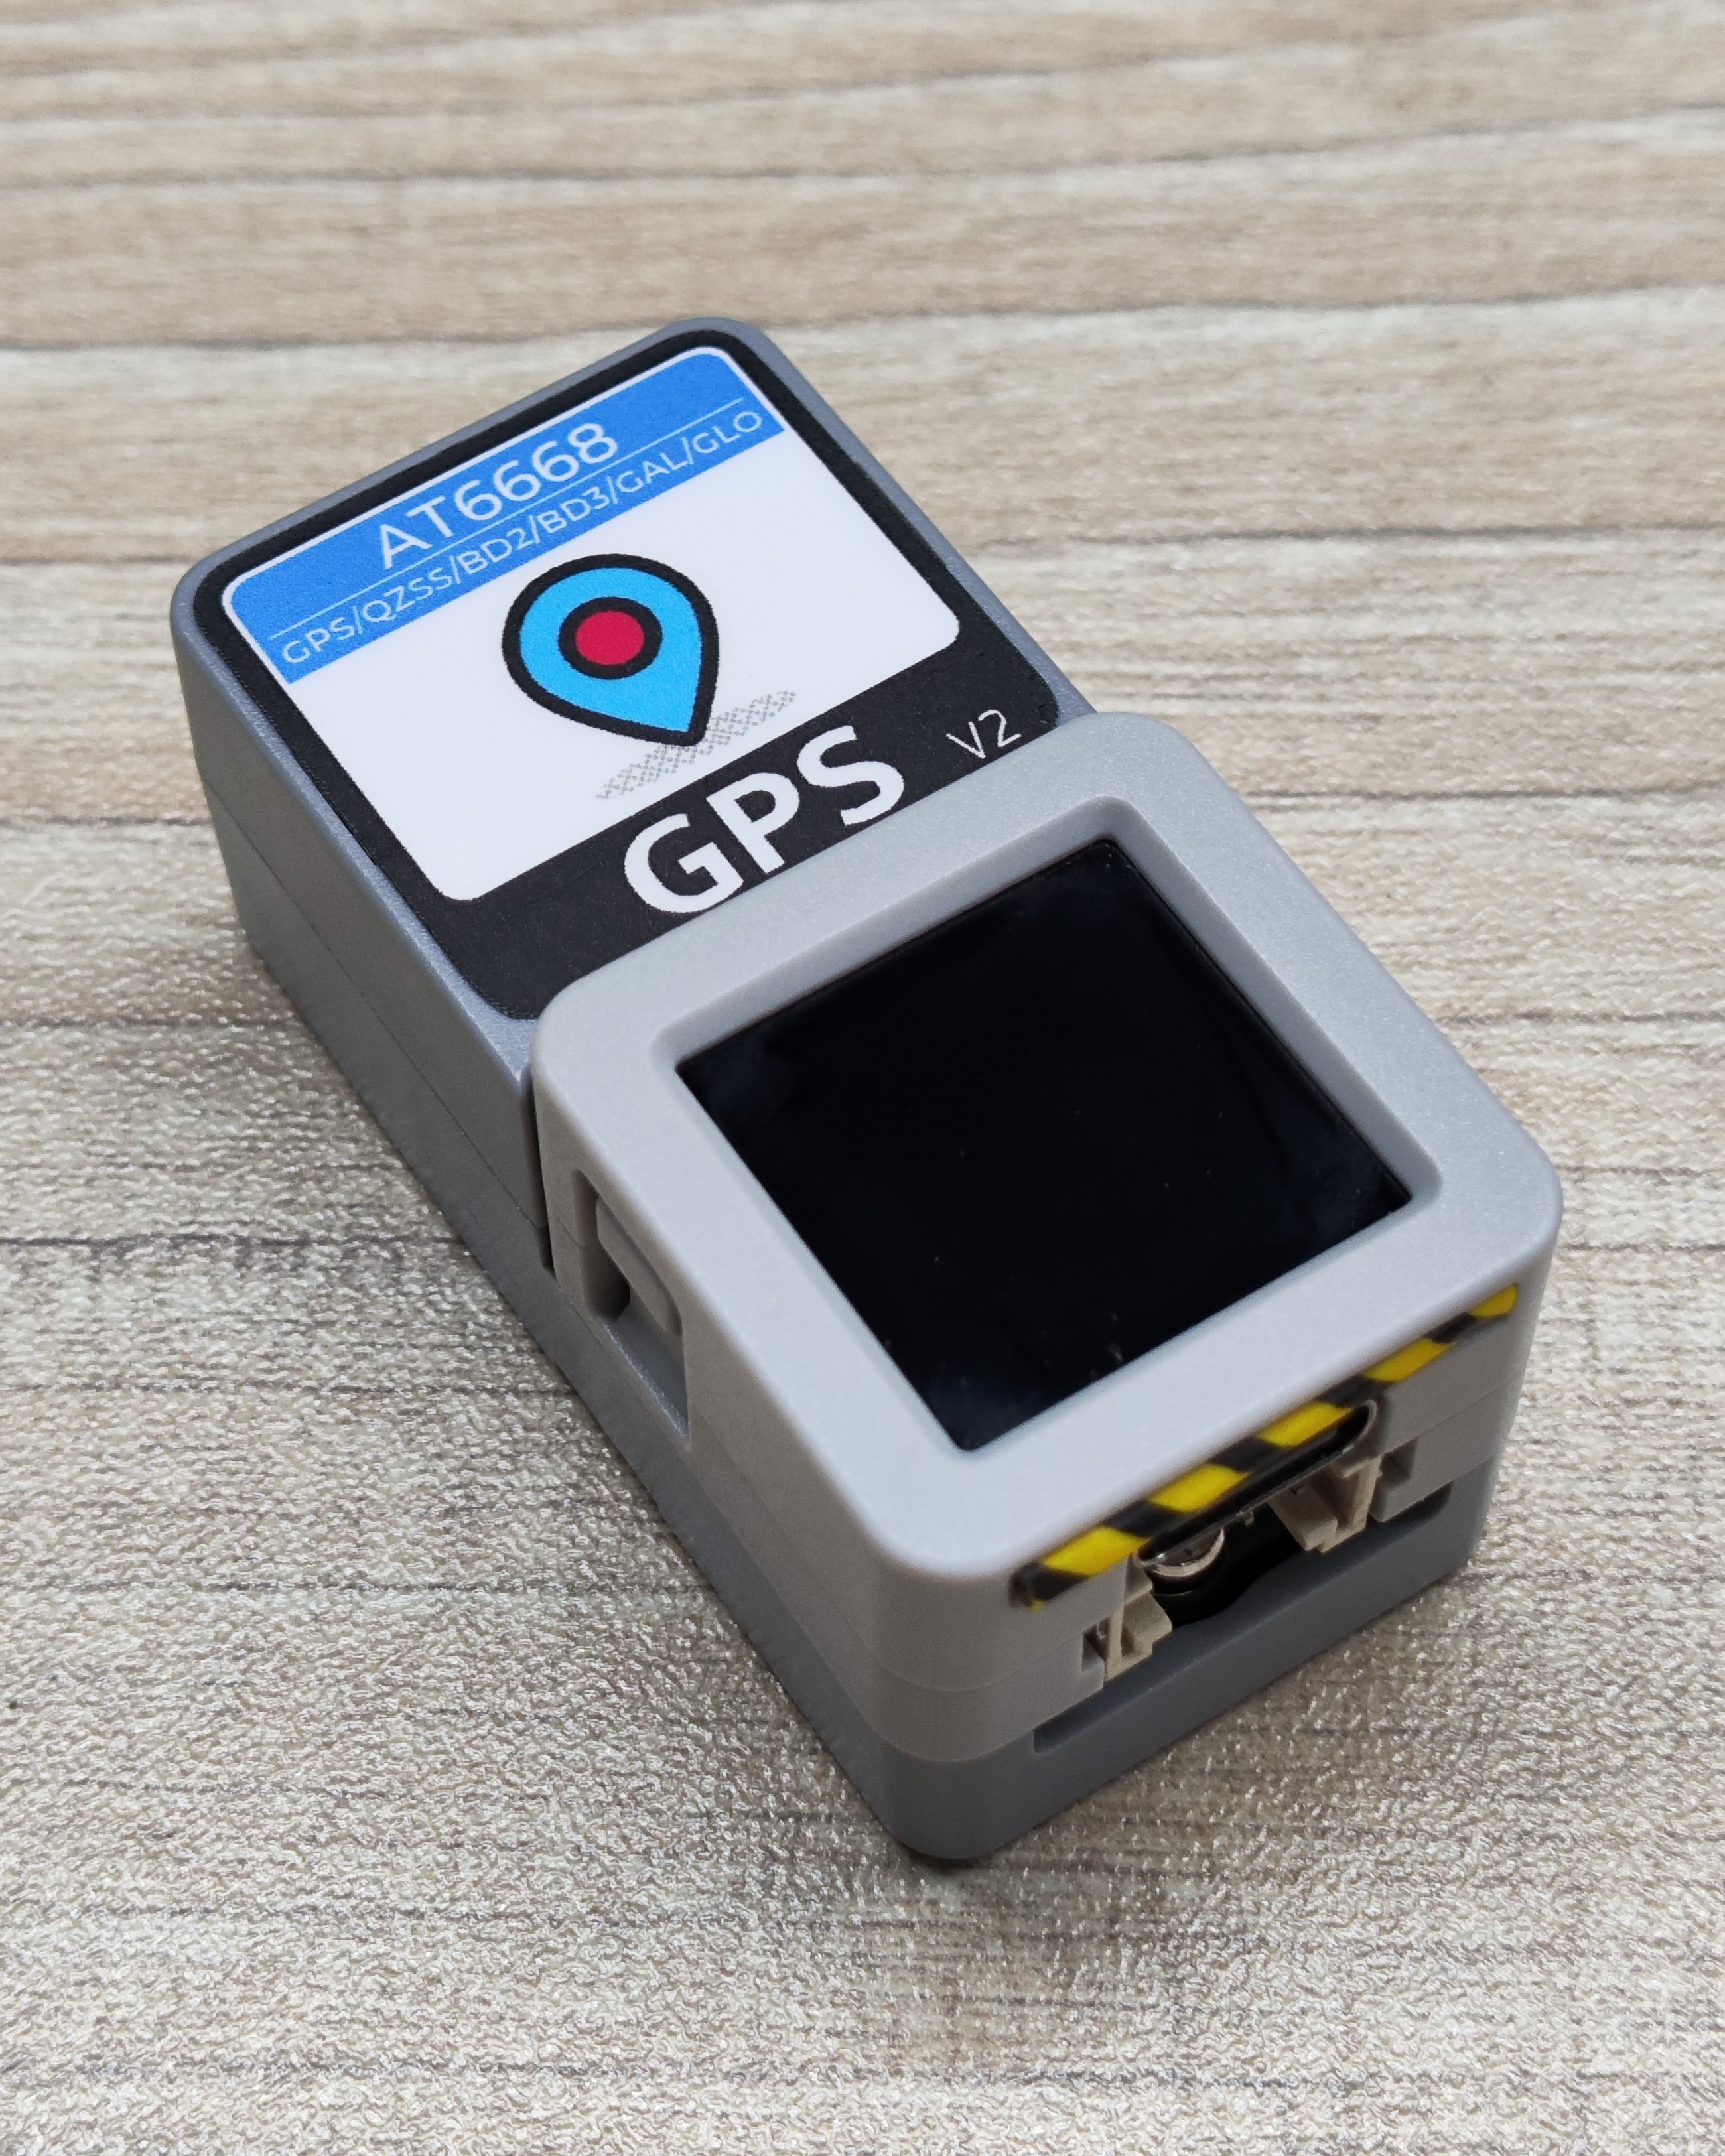
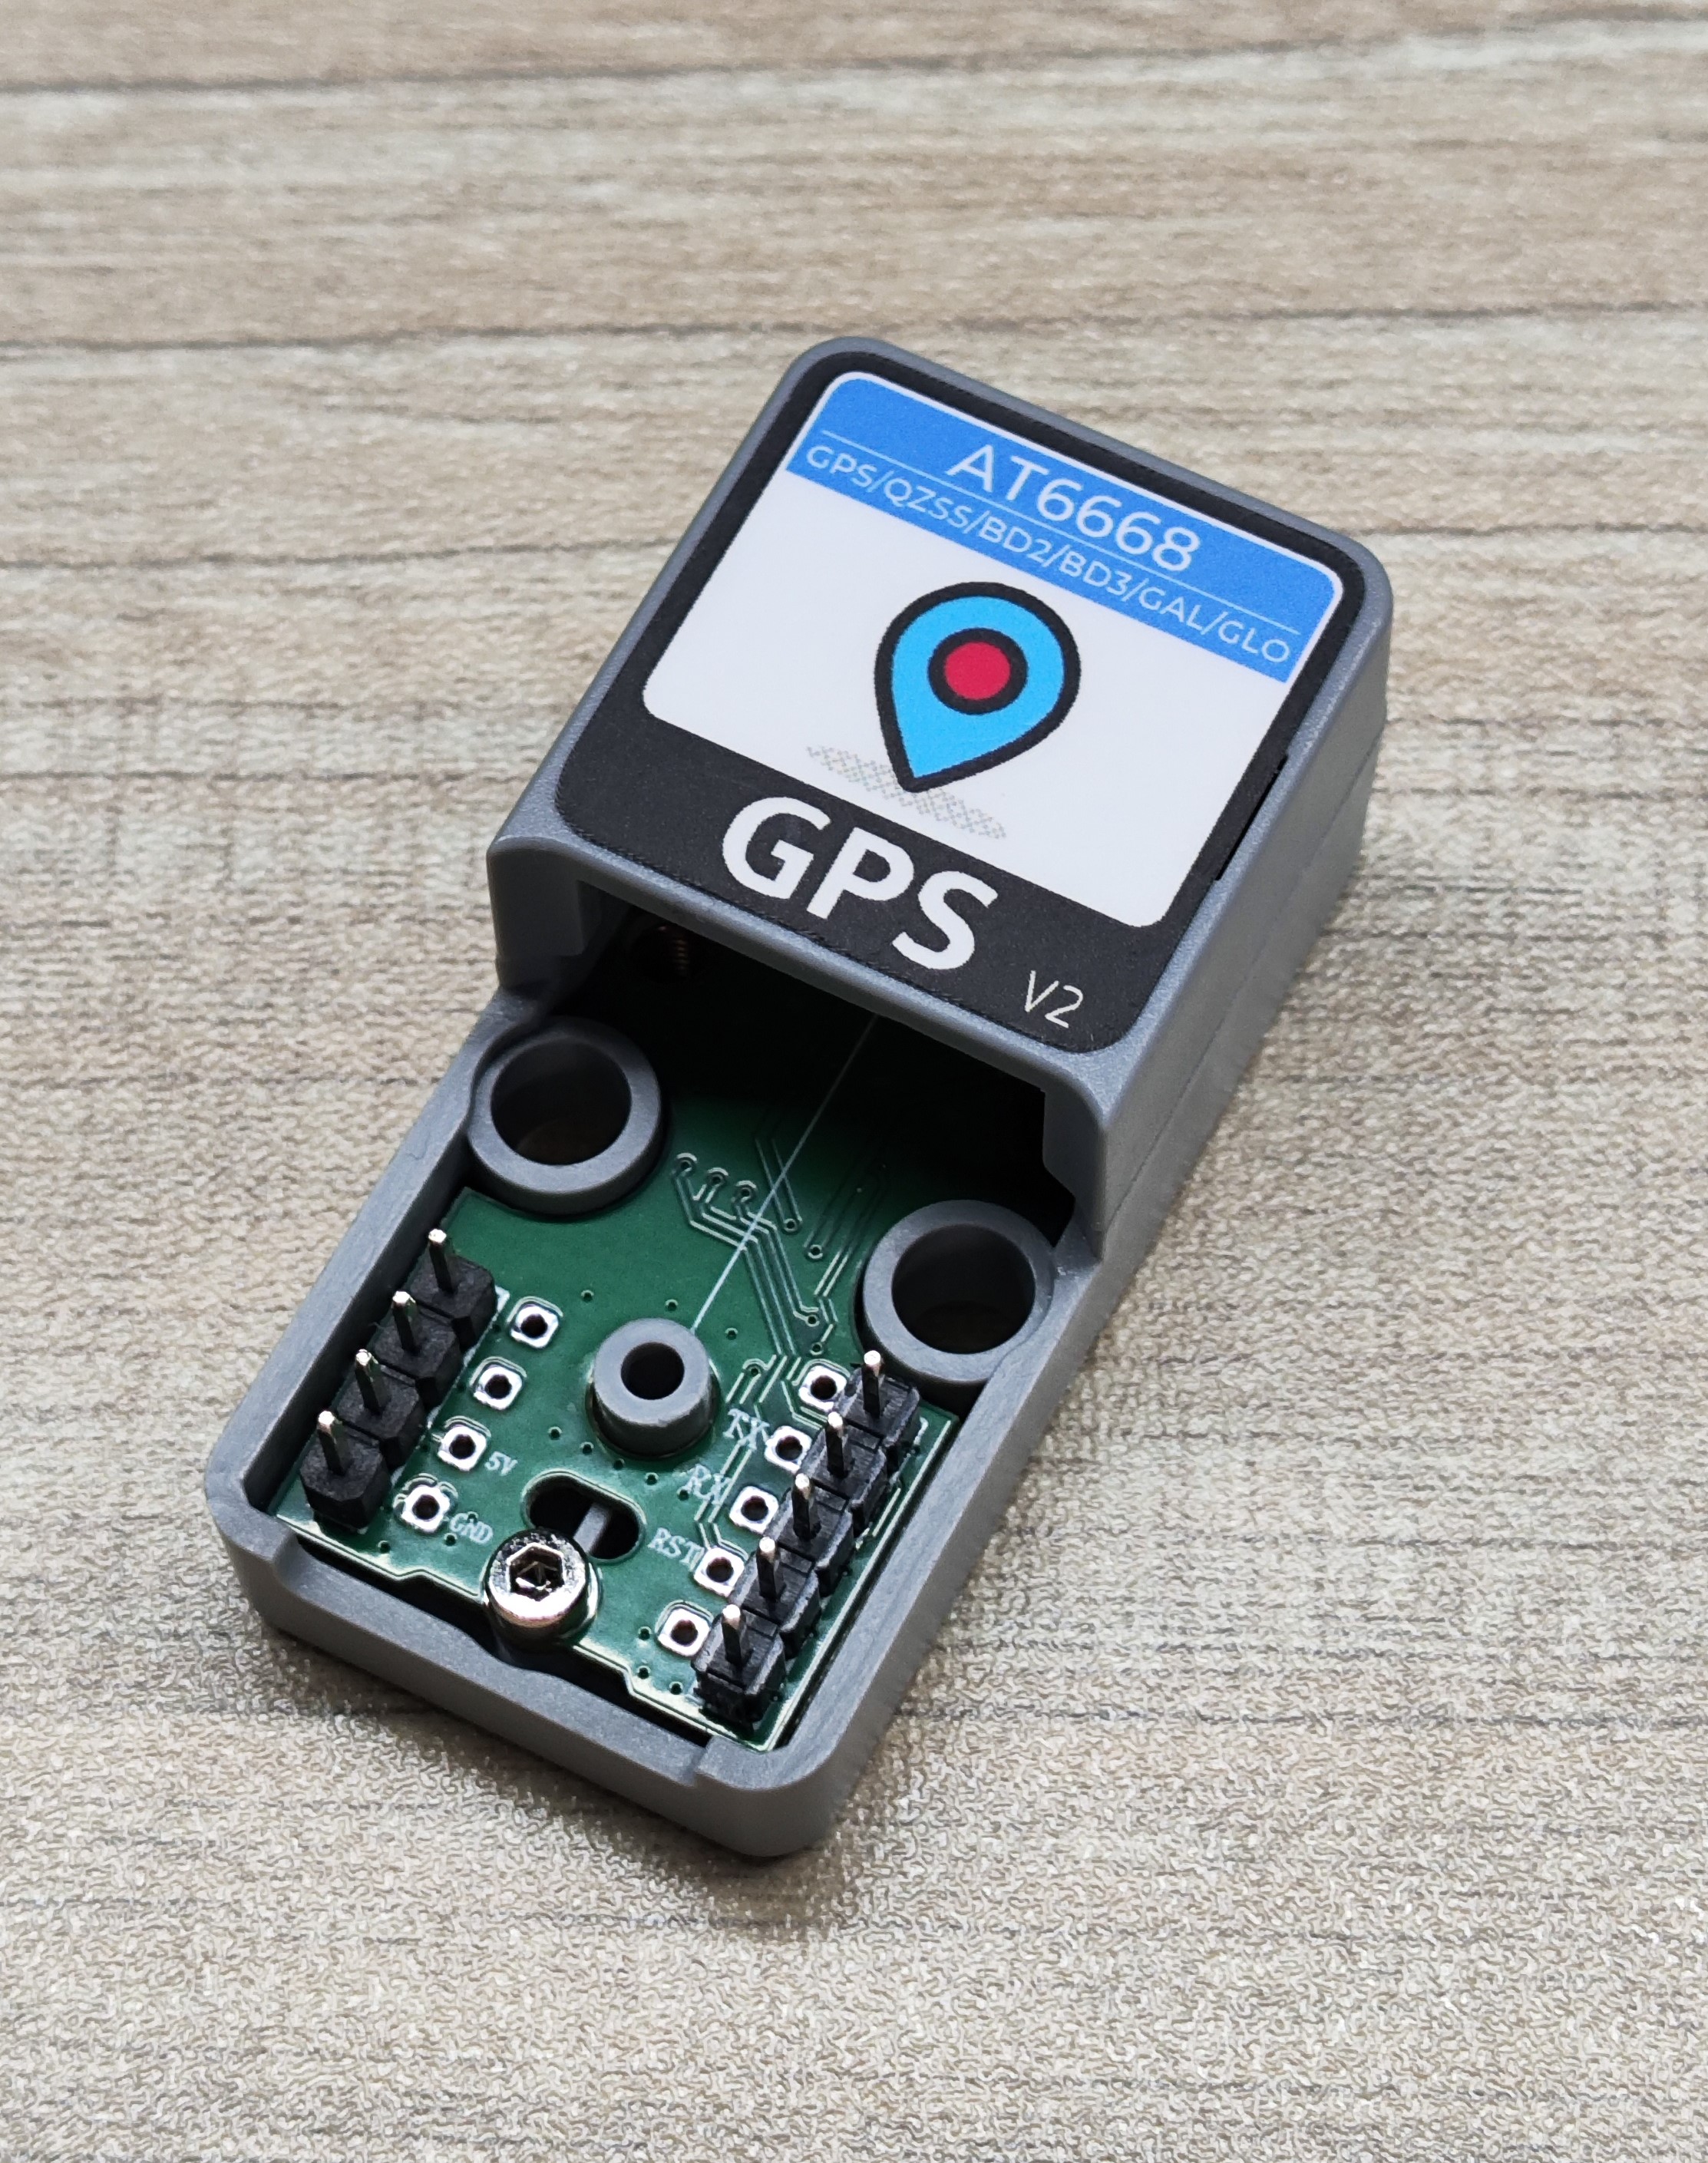
Atomic GPS Base v2.0 Arduino 使用教程
1. 准备工作
- 环境配置: 参考 Arduino IDE 上手教程完成 IDE 安装,并根据实际使用的开发板安装对应的板管理,与需要的驱动库。
- 使用到的驱动库:
注意
需要在 GitHub 上下载适配过 M5Stack 设备的库版本,库地址: TinyGPSPlus - M5Stack GitHub,请勿在 Arduino Library 中下载。(如有疑问,请参考此教程)
- 使用到的硬件产品:

2. 案例程序
- 本教程中使用的主控设备为 AtomS3R ,搭配 Atomic GPS Base v2.0。本 GPS 模块采用串口的方式通讯,根据实际的电路连接修改程序中的引脚定义,设备堆叠后对应的串口 IO 为
G5 (RX),G6 (TX)。
- 本 GPS 模块支持多种卫星系统,包括 GPS、GLONASS、GALILEO、BDS 和 QZSS,例程提供了修改卫星系统的函数
setSatelliteMode(),默认为 GPS 系统,当修改后屏幕上的前缀也会随之修改,方便确定卫星系统。
cpp
1 2 3 4 5 6 7 8 9 10 11 12 13 14 15 16 17 18 19 20 21 22 23 24 25 26 27 28 29 30 31 32 33 34 35 36 37 38 39 40 41 42 43 44 45 46 47 48 49 50 51 52 53 54 55 56 57 58 59 60 61 62 63 64 65 66 67 68 69 70 71 72 73 74 75 76 77 78 79 80 81 82 83 84 85 86 87 88 89 90 91 92 93 94 95 96 97 98 99 100 101 102 103 104 105 106 107 108 109 110 111 112 113 114 115 116 117 118 119 120 121 122 123 124 125 126 127
/*
 *SPDX-FileCopyrightText: 2025 M5Stack Technology CO LTD
 *
 *SPDX-License-Identifier: MIT
 */

#include "M5Unified.h"
#include "M5GFX.h"
#include "MultipleSatellite.h"

static const int RXPin = 5, TXPin = 6;
static const uint32_t GPSBaud = 115200;
MultipleSatellite gps(Serial1, GPSBaud, SERIAL_8N1, RXPin, TXPin);

// Current satellite mode
satellite_mode_t currentMode = SATELLITE_MODE_GPS;

void displayInfo(void);

// Get the Sat prefix
const char* getSatPrefix(satellite_mode_t mode) {
    switch (mode) {
        case SATELLITE_MODE_GPS:      return "GPS_Sat";
        case SATELLITE_MODE_BDS:      return "BDS_Sat";
        case SATELLITE_MODE_GLONASS:  return "GLN_Sat";
        case SATELLITE_MODE_GALILEO:  return "GAL_Sat";
        case SATELLITE_MODE_QZSS:     return "QZS_Sat";
        default:                      return "Unknown";
    }
}

void setup() {
    M5.begin();
    Serial.begin(115200);
    gps.begin();
    gps.setSystemBootMode(BOOT_FACTORY_START);
    Serial.println(F("A simple demonstration of TinyGPSPlus with Atomic GPS Base"));
    Serial.print(F("Testing TinyGPSPlus library v. "));
    Serial.println(TinyGPSPlus::libraryVersion());
    Serial.println();
    String version = gps.getGNSSVersion();
    Serial.printf("GNSS SW=%s\r\n", version.c_str());
    delay(1000);

    // Set the satellite mode and record the current mode
    currentMode = SATELLITE_MODE_GPS;
    gps.setSatelliteMode(currentMode);

    M5.Display.setFont(&fonts::FreeMonoBold9pt7b);
}

void loop() {
    // Update data
    gps.updateGPS();
    displayInfo();
    delay(100);
}

void displayInfo(void) {
    Serial.print(F("Location: "));
    Serial.printf("satellites:%d\n", gps.satellites.value());
    String gps_mode = gps.getSatelliteMode();
    M5.Display.setCursor(110, 0);
    Serial.printf("GNSS Mode:%s\r\n", gps_mode.c_str());

    const char* satPrefix = getSatPrefix(currentMode);

    if (gps.location.isUpdated()) {
        Serial.print(gps.location.lat(), 6);
        Serial.print(F(","));
        Serial.print(gps.location.lng(), 6);
        Serial.print(F("\n"));

        M5.Display.fillRect(0, 0, 128, 128, BLACK);
        M5.Display.setCursor(0, 0);
        M5.Display.printf("%s: \nSat: %d\nLat: %d\nlng: %d\n", satPrefix,
                          (uint8_t)gps.satellites.value(),
                          (uint8_t)gps.location.lat(),
                          (uint8_t)gps.location.lng());
    } else {
        M5.Display.fillRect(0, 0, 128, 128, BLACK);
        M5.Display.setCursor(0, 0);
        M5.Display.printf("%s\n", satPrefix);
        M5.Display.print("Sat: ----\n");
        M5.Display.print("Lat: ----\n");
        M5.Display.print("Lng: ----\n");
        Serial.print(F("INVALID\n"));
    }

    Serial.print(F("Date/Time: "));
    if (gps.date.isUpdated()) {
        Serial.print(gps.date.month());
        Serial.print(F("/"));
        Serial.print(gps.date.day());
        Serial.print(F("/"));
        Serial.print(gps.date.year());
        M5.Display.fillRect(0, 80, 128, 128, BLACK);
        M5.Display.setCursor(0, 80);
        M5.Display.printf("%d/%d/%d\n", gps.date.month(),
                          gps.date.day(), gps.date.year());
    } else {
        Serial.print(F("INVALID"));
    }

    Serial.print(F(" "));
    if (gps.time.isUpdated()) {
        if (gps.time.hour() < 10) Serial.print(F("0"));
        Serial.print(gps.time.hour());
        Serial.print(F(":"));
        if (gps.time.minute() < 10) Serial.print(F("0"));
        Serial.print(gps.time.minute());
        Serial.print(F(":"));
        if (gps.time.second() < 10) Serial.print(F("0"));
        Serial.print(gps.time.second());
        Serial.print(F("."));
        if (gps.time.centisecond() < 10) Serial.print(F("0"));
        Serial.print(gps.time.centisecond());
        M5.Display.fillRect(0, 128, 128, 60, BLACK);
        M5.Display.setCursor(0, 96);
        M5.Display.printf("Time: \n%d:%d:%d.%d", gps.time.hour(), gps.time.minute(),
                          gps.time.second(),gps.time.centisecond());
    } else {
        Serial.print(F("INVALID"));
    }
    Serial.println();
    delay(1000);
}3. 编译上传
下载模式:不同设备进行程序烧录前需要进入下载模式,不同的主控设备该步骤可能有所不同。详情可参考 Arduino IDE上手教程 页面底部的设备程序下载教程列表,查看具体的操作方式。
AtomS3R 长按复位按键 (大约 2 秒) 直到内部绿色 LED 灯亮起,便可松开,此时设备已进入下载模式,等待烧录。

- 选中设备端口,点击 Arduino IDE 左上角编译上传按钮,等待程序完成编译并上传至设备。

4. 卫星定位
由于该产品采用内置天线,无外置天线,请尽量在户外空旷区域使用,如操场、天台等,且初次使用等待时间较长,约为几分钟,请耐心等待设备成功搜索卫星与获取坐标。
