PRODUCT
PLATFORM
DOWNLOAD
FAQ
I2C TABLE
Search
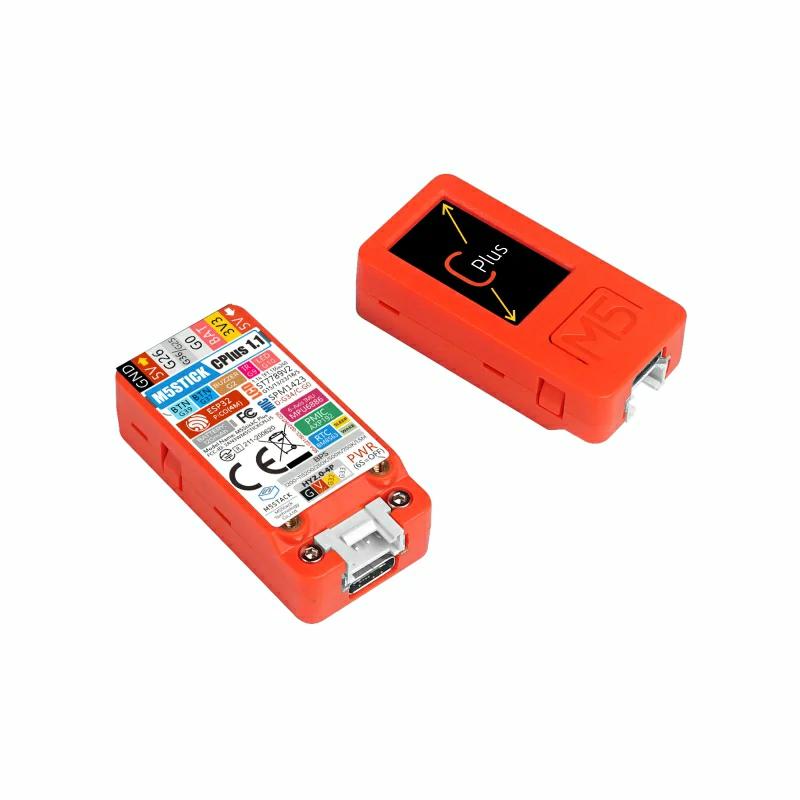
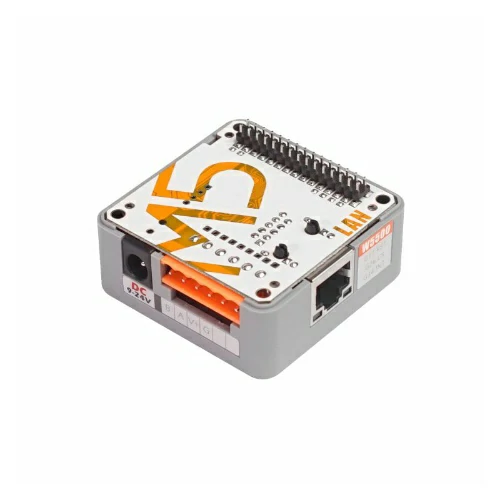
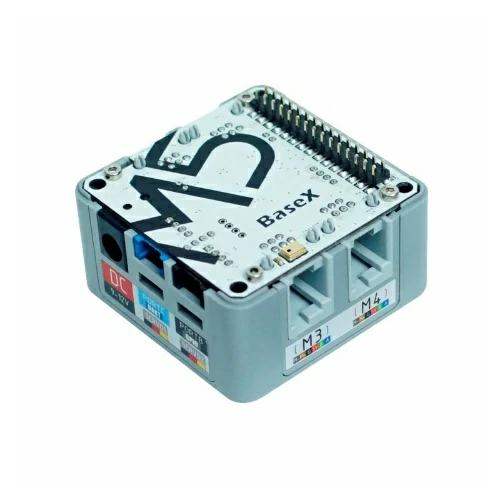
CORE LINUX STM32MP135 CAN RS485 OTG NS4168 AXP2101 SDRAM SD DIN RTC
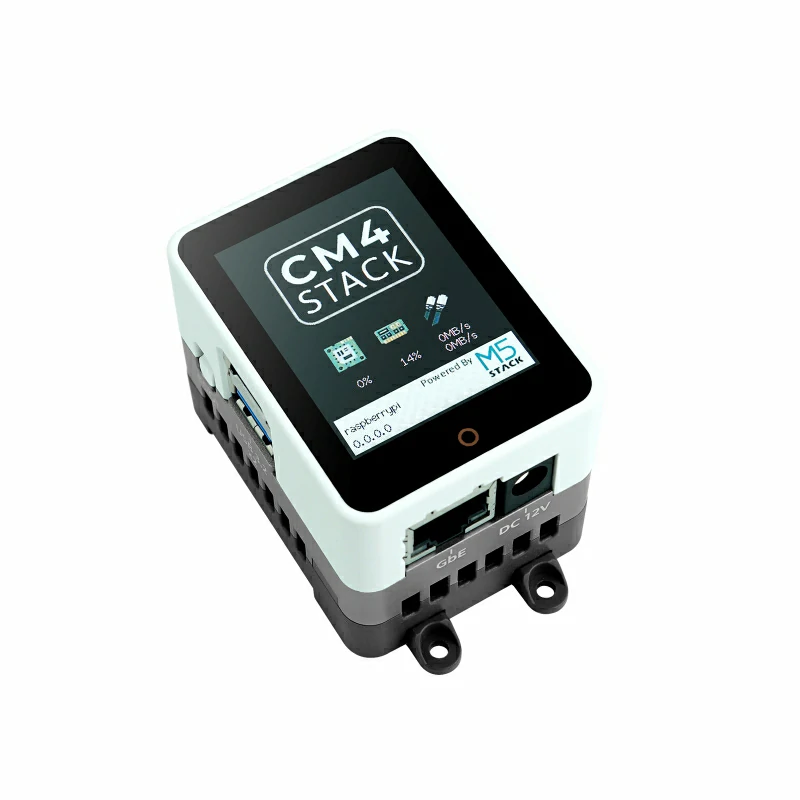
CM4 ST7789V2 USB-C OTG ME1502 ID-KEY RJ45 I2C
ESP32-S3 OTG LTR-553ALS-WA AXP2101 DINBASE
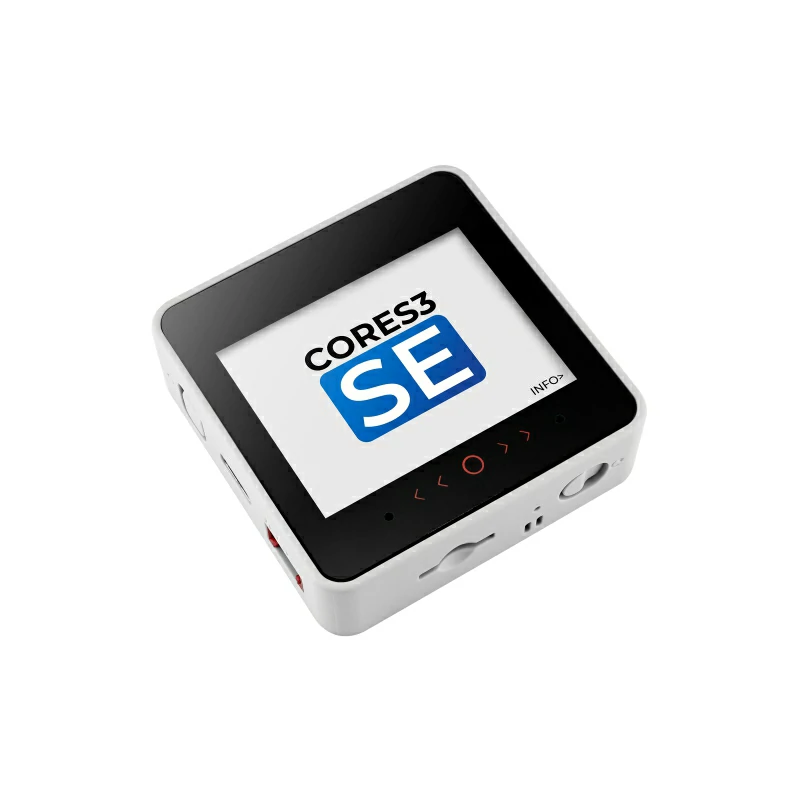
SE CORES3 CORES3SE TOUCH ESP32-S3 WIFI OTG CDC RTC
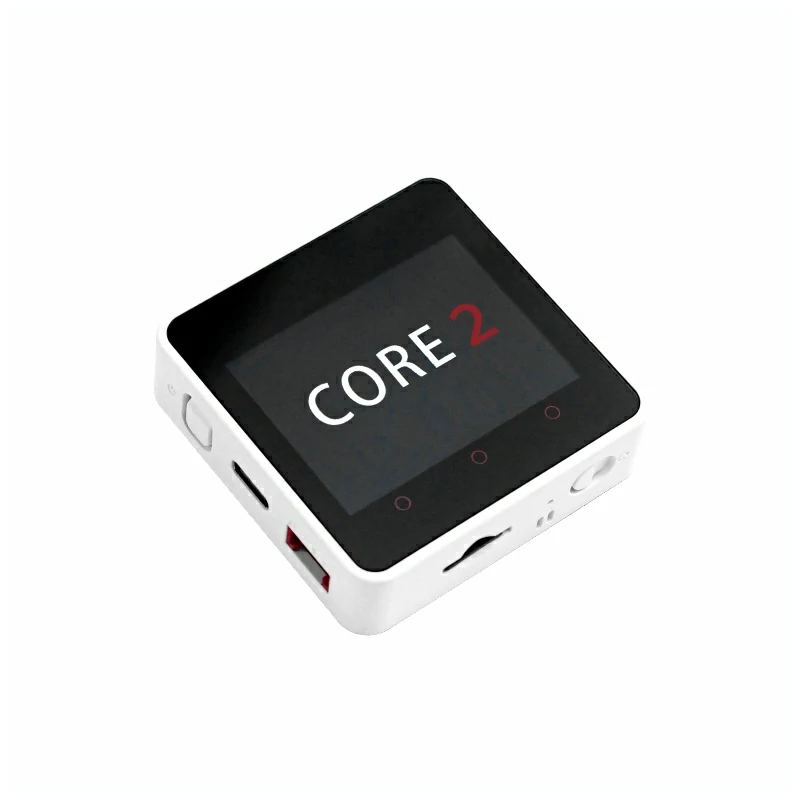
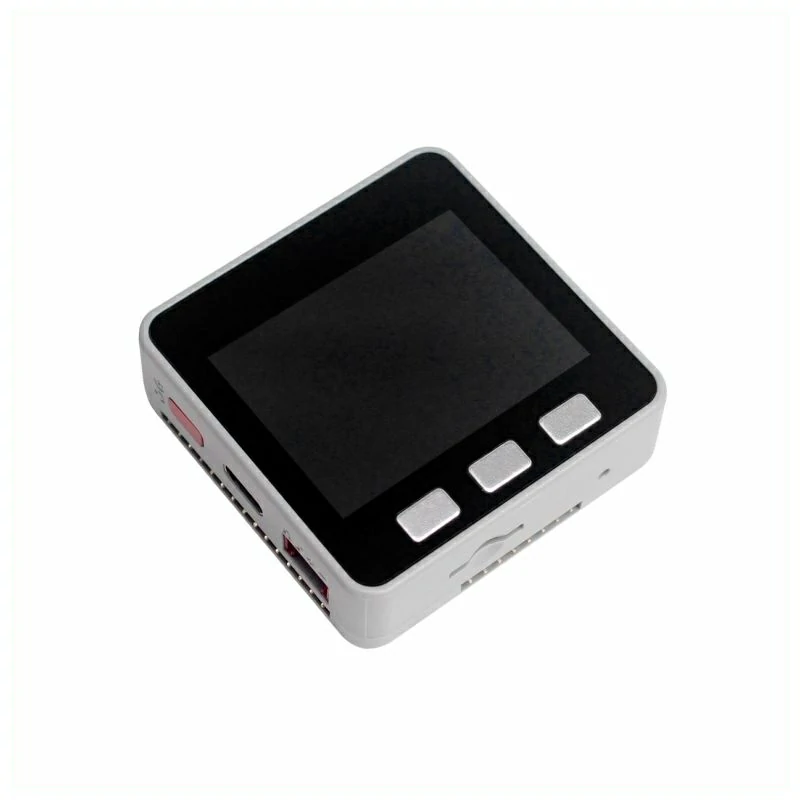
ESP32 LCD TOUCH PSRAM AXP192 MPU6886 BM8563
ESP32-DOWDQ6-V3 AXP2101 BM8563 MPU6886 NS4168 SPM1423 LCD ILI9342C
ESP32 LCD TOUCH PSRAM ATECC608 AXP192 MPU6886
WATERPROOF LCD TOUCH RS485 AXP192 MPU6886
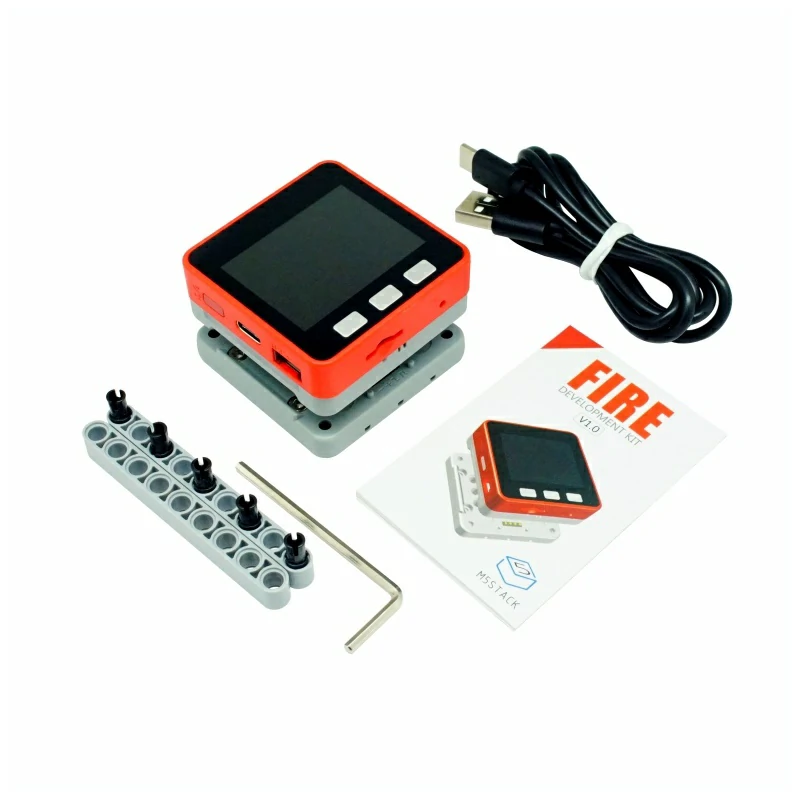
DIAL STAMPS3 S3 1.28 TFT TOUCH ESP32S3 ROTARY BUZZER BATTERY RFID NFC
CARD CARDPUTER ST7789 1.14 STAMPS3 KEYBOARD SPM1423 SD
ESP32 LCD RTC INA3221 MPU6886 AXP192 SY8303
ESP32 LCD RTC INA3221 PWR485 AXP192 SY8303
ESP32 LCD TFCARD IP5306 ILI9342C
LCD ILI9342C SPK TFCARD IP5306 ESP32-D0WDQ6-V3 CH9102F
ESP32 LCD TFCARD MPU6886 BMM150
ESP32 LCD PSRAM MPU6886 BMM150 SPK
ESP32 LCD TFCARD MPU6886 BMM150 SPK
ESP32 LCD TFCARD MPU6886 SK6812 SPK
ESP32-D0WDQ6-V3 LCD ILI9342C TFCARD IP5306 SPK CH9102F
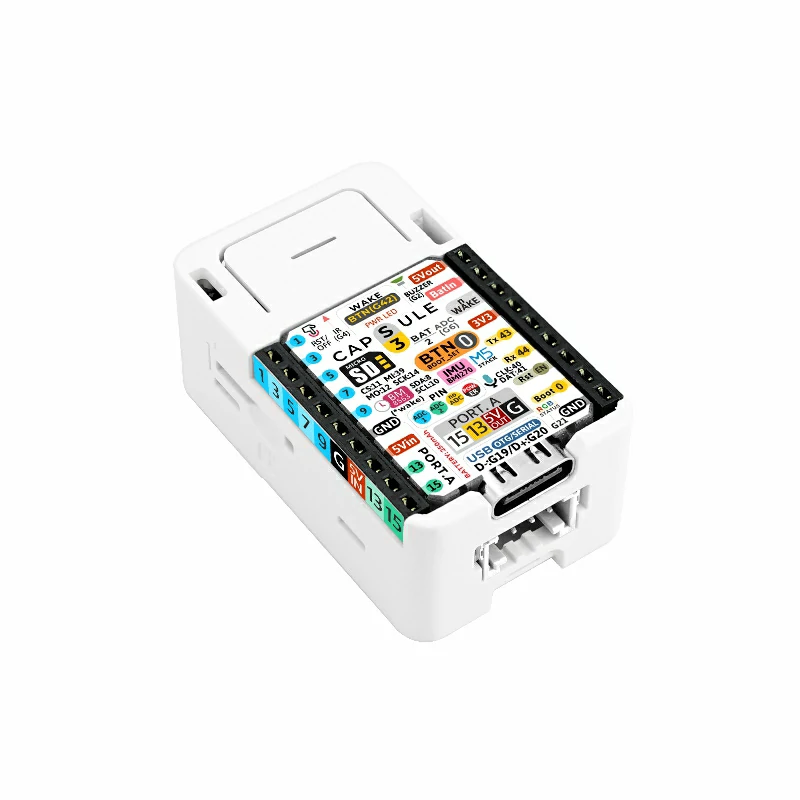
CAPSULE M5CAPSULE STAMPS3 BMI270 RTC8563 TF IR SPM1423
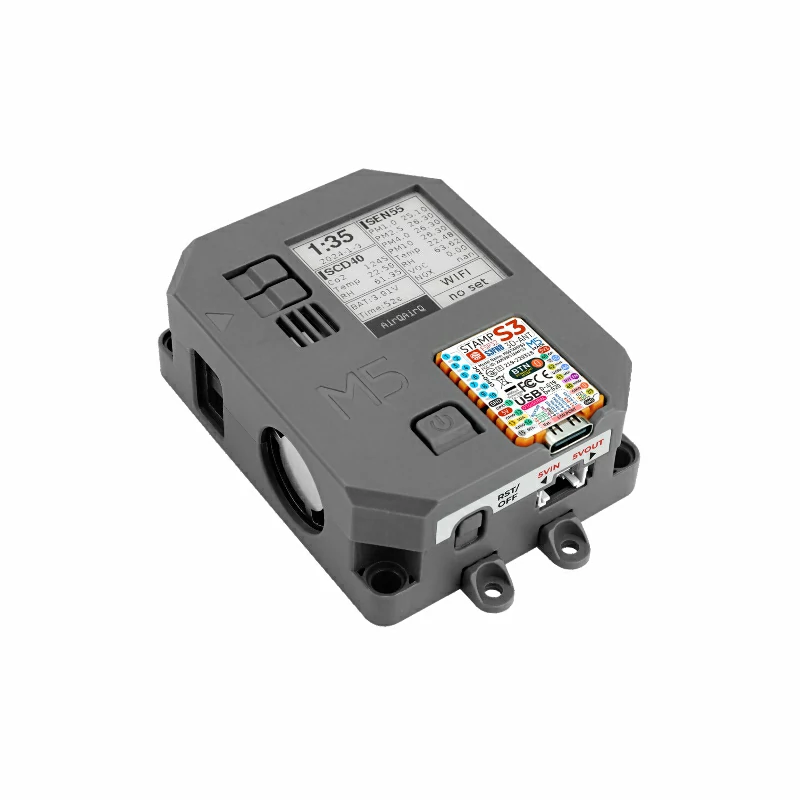
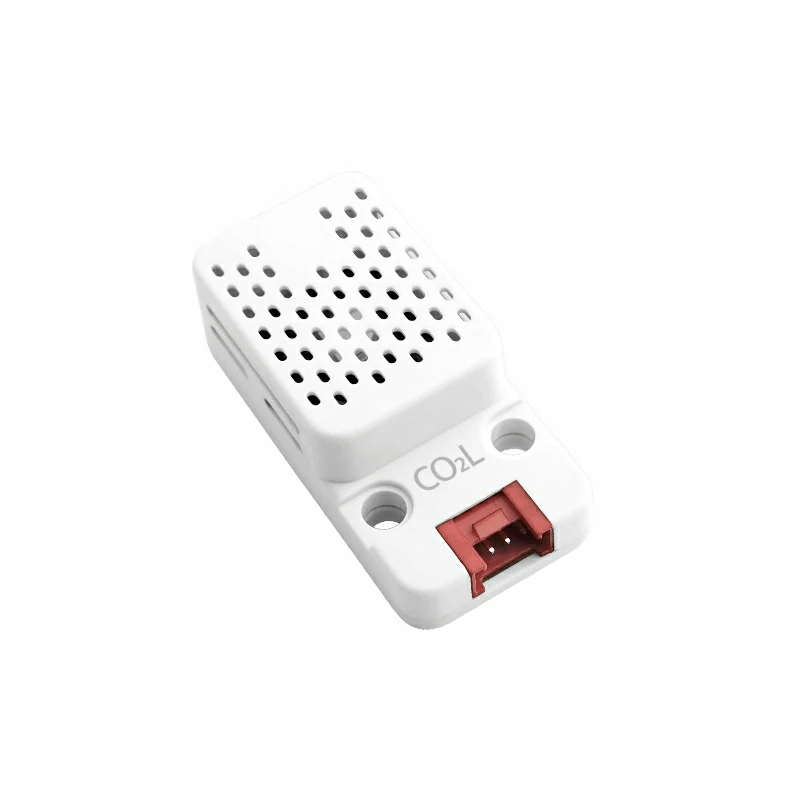
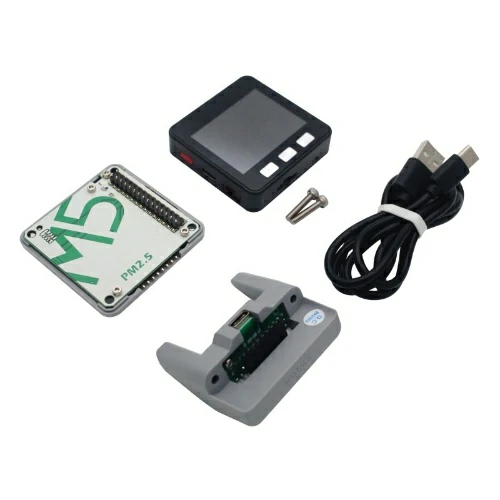
SEN55 SCD40 PM PM2.5 CO2 EZDATA INK RTC VOC TEM HUM
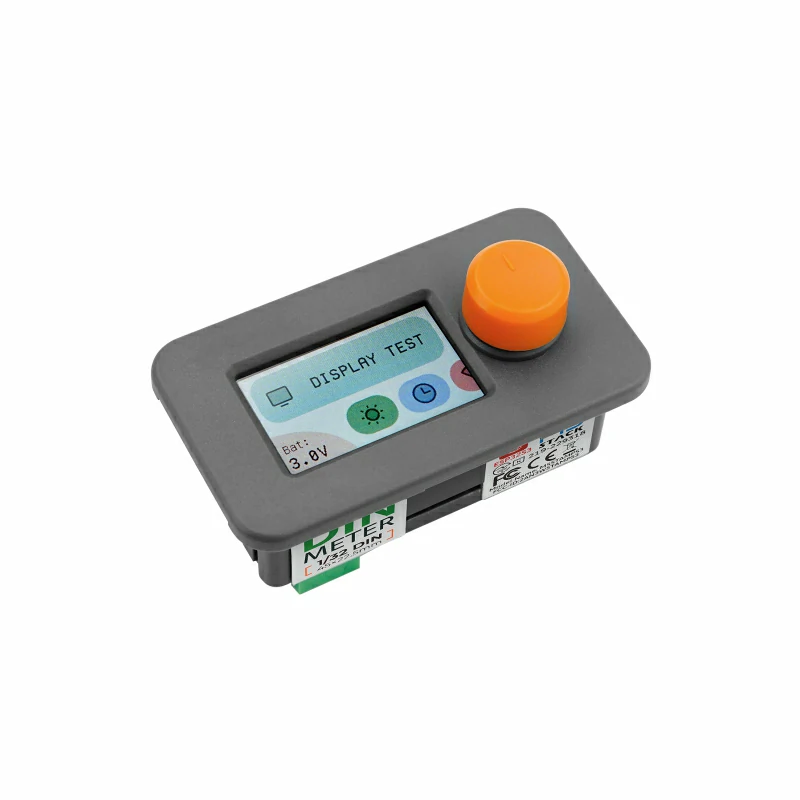
DIN METER DINMETER S3 STAMPS3 STAMP RTC
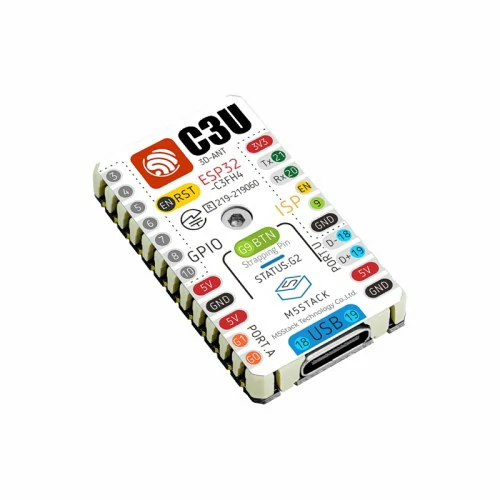
NANO C6 ESP32 ESP32C6 WIFI ZIGBEE MATTER
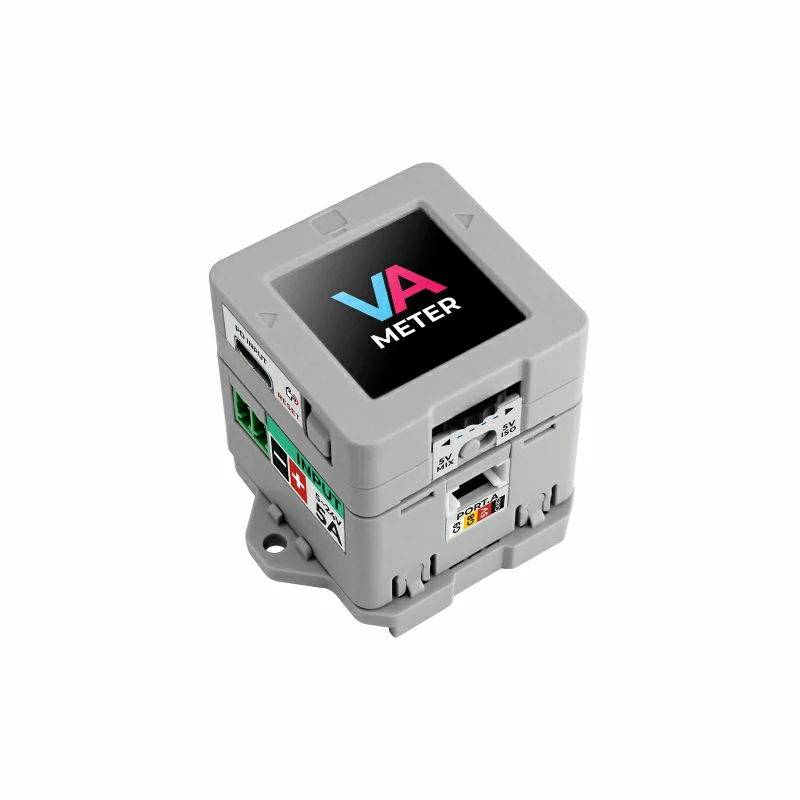
VA METER VAMETER LCD 1.3 INA226 POWER EZDATA ST7789
ESP32 LCD IR AXP192 MPU6886 BM8563
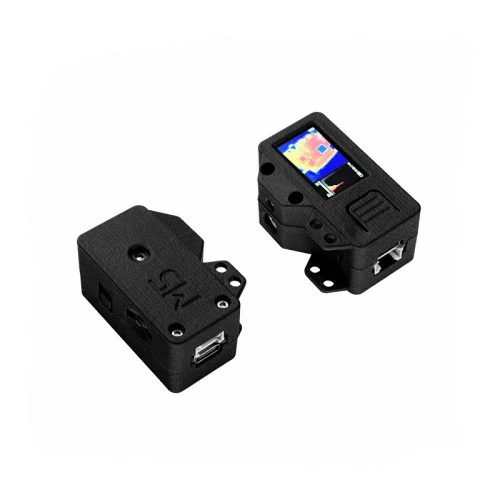
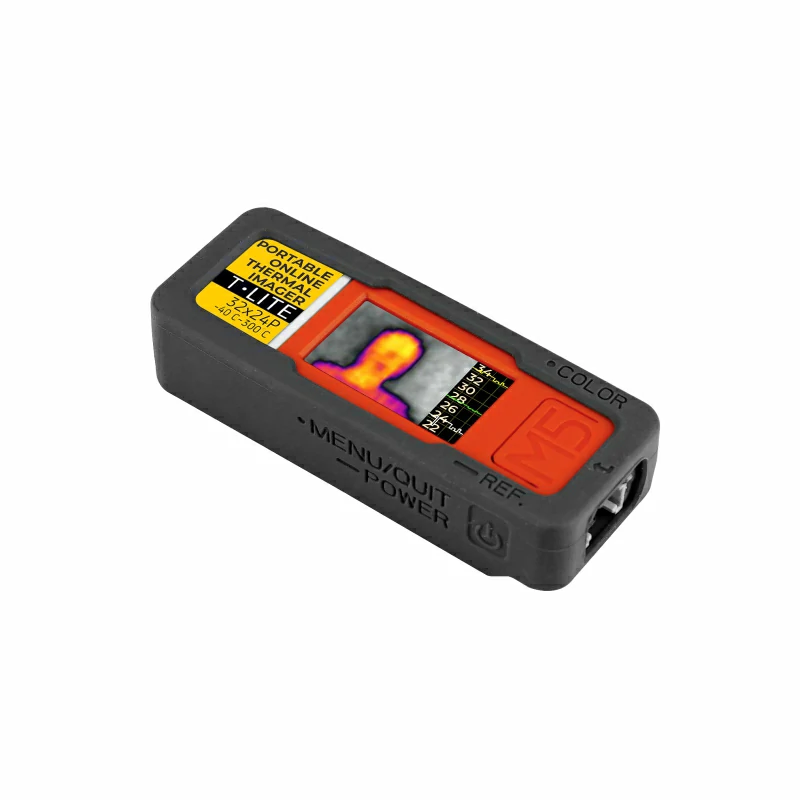
ESP32 LCD FLIR3.0 AXP192 MPU6886 BM8563
ESP32-PICO-V3-02 IMU RTC MPU6886 MIC BUZZER SPM1423 IR LCD
ESP32 WIFI RGB LED IR BUTTON SK6812
ESP32 WIFI RGB LED MPU6886 BUTTON IR SK6812
ESP32 WIFI MIC LED MICROPHONE SPM1423 USB TYPEA IR
ESP32 LED IR SK6812 SPEAKER BUTTON
ATOMS3 ESP32S3 IR MPU6886 BUTTON LCD
ESP32S3 WIFI RGB LED IR BUTTON WS2812
ESP32S3 PDM WIFI MIC SPM1423 USBA
ESP32 LED@RGB BUTTON
ESP32 LED@RGB BUTTON IOX14
ESP32 LED@RGB BUTTON CH9102 IOX13
ESP32S3 WIFI RGB LED BUTTON WS2812
ESP32S3 WIFI RGB LED BUTTON WS2812 2.54
ESP32S3 WIFI RGB LED BUTTON WS2812 1.27
ESP32 E-PAPER BM8563 LED BUZZER
ESP32 E-PAPER TOUCH BM8563 SHT30 FM24C02
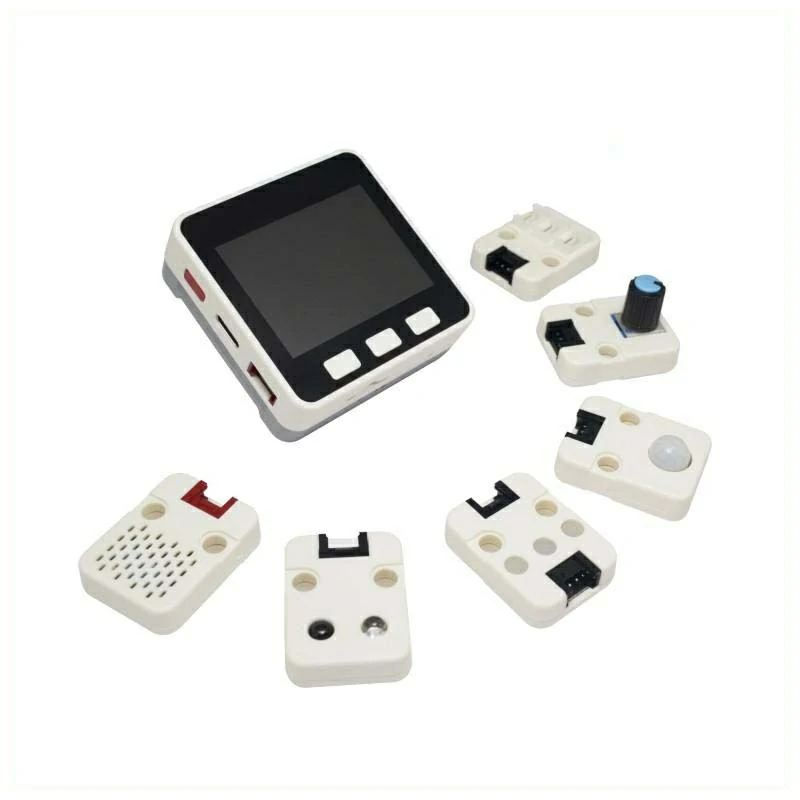
DISTANCE SONIC RCWL-9600 I2C SENSOR
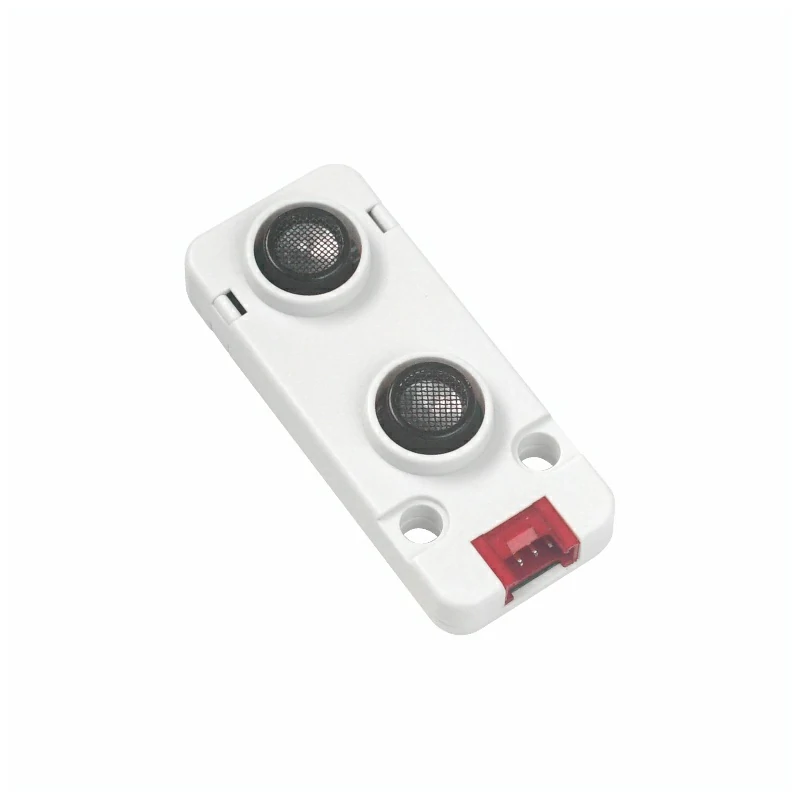
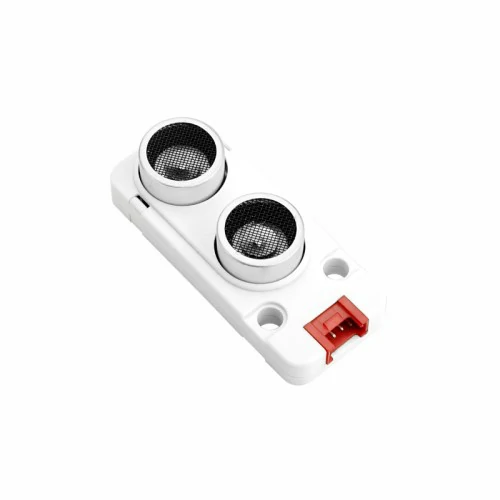
DISTANCE SONIC RCWL-9620 I2C SENSOR
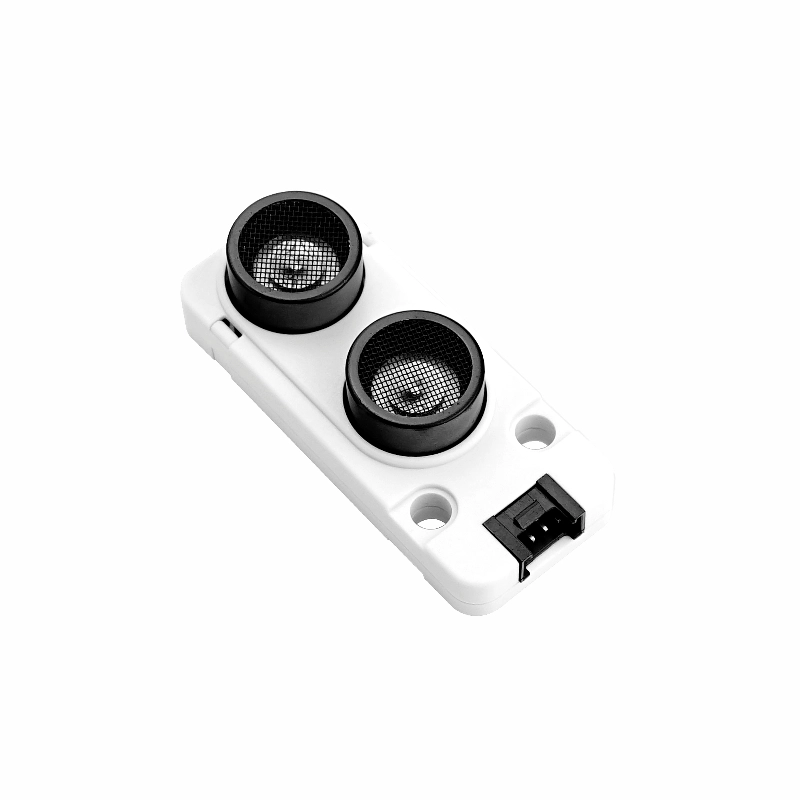
DISTANCE SONIC RCWL-9620 GPIO SENSOR
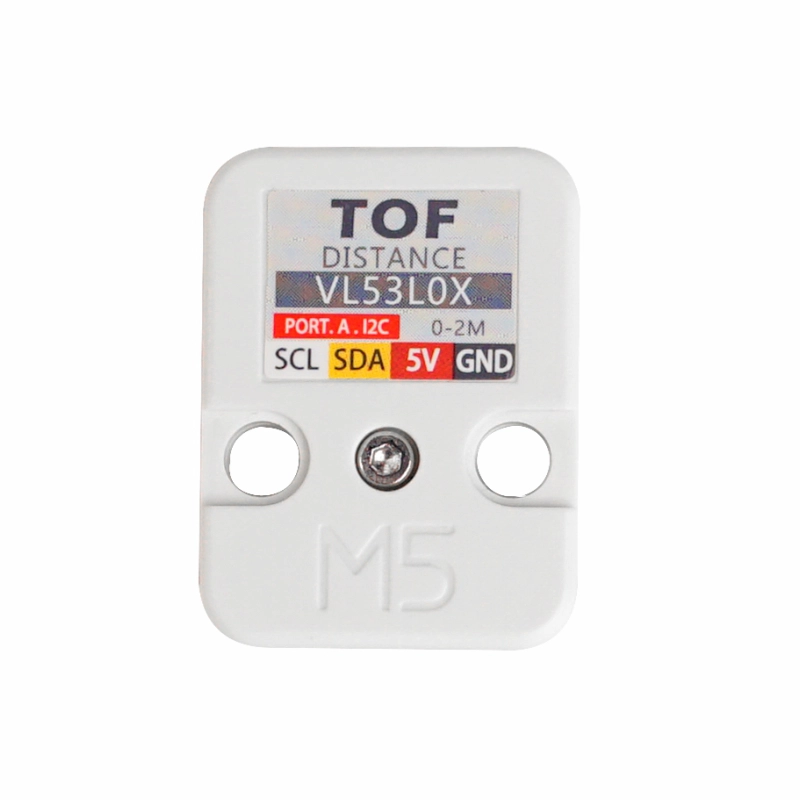
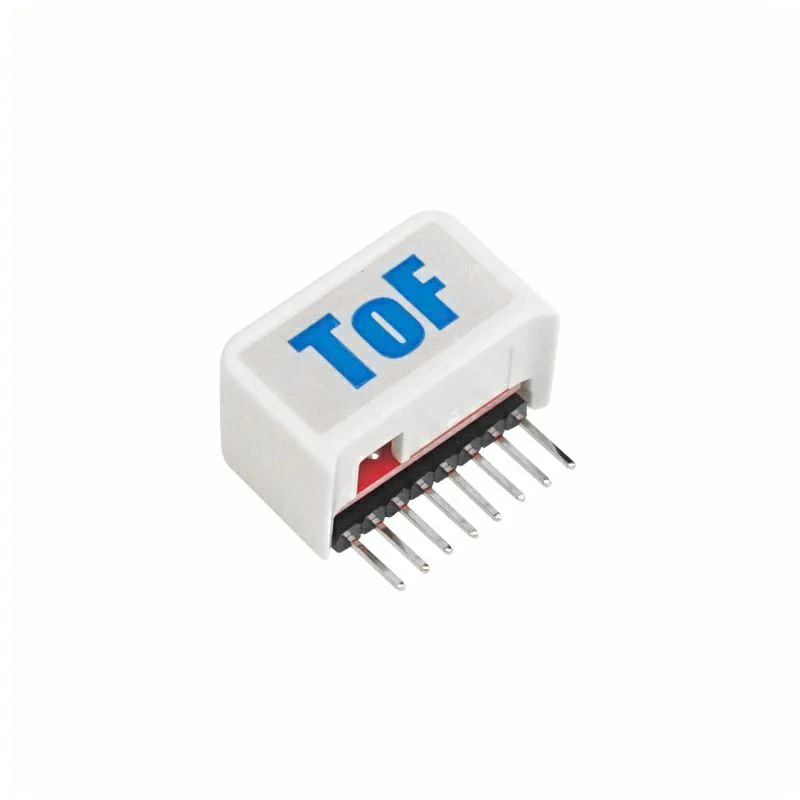
LASER DISTANCE MEASURE I2C VL53L0X SENSOR
TRAVEL SWITCH GPIO
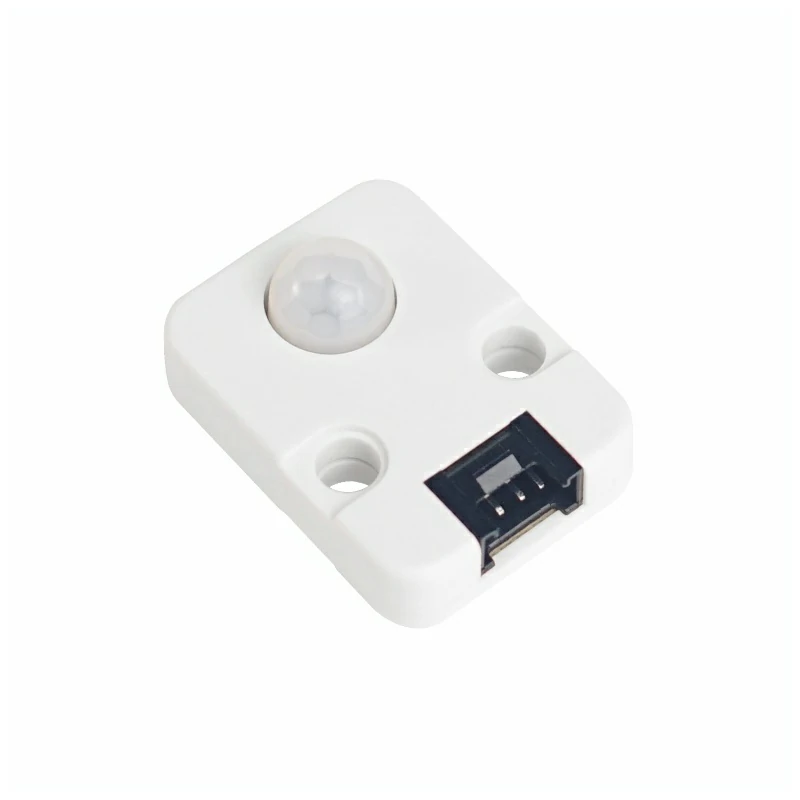
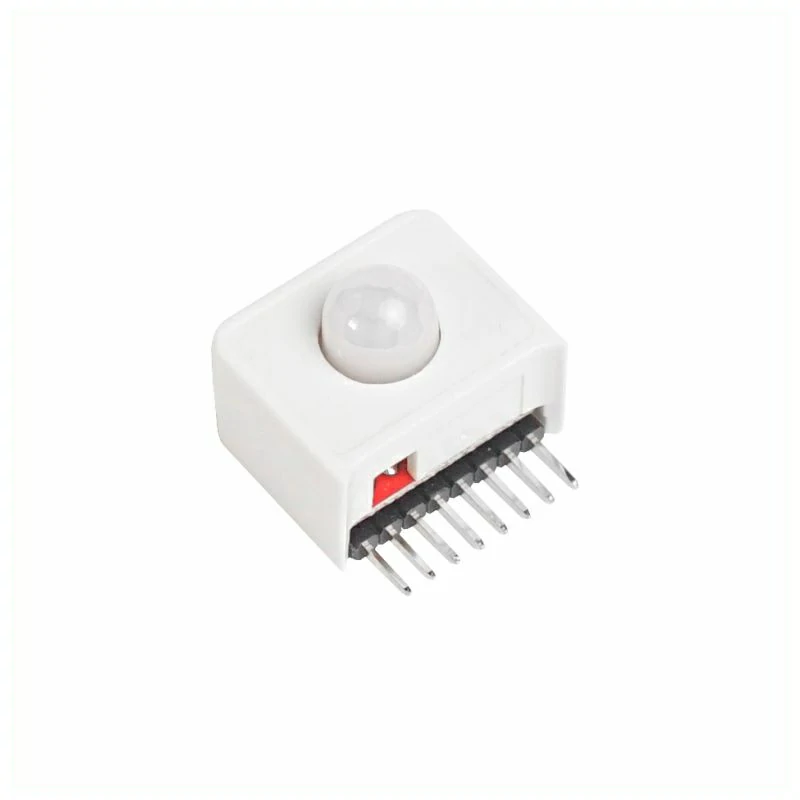
PIR HUMAN MOTION GPIO SENSOR
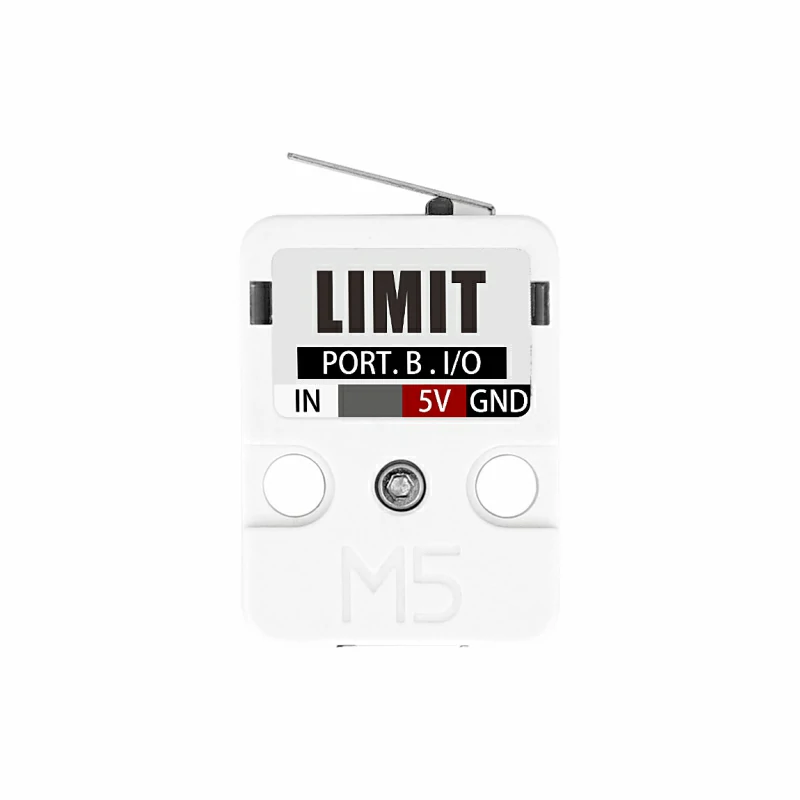
LIMIT SWITCH ITR9606 GPIO SENSOR PHOTOELECTRIC
LIMIT SWITCH ITR9606 SENSOR
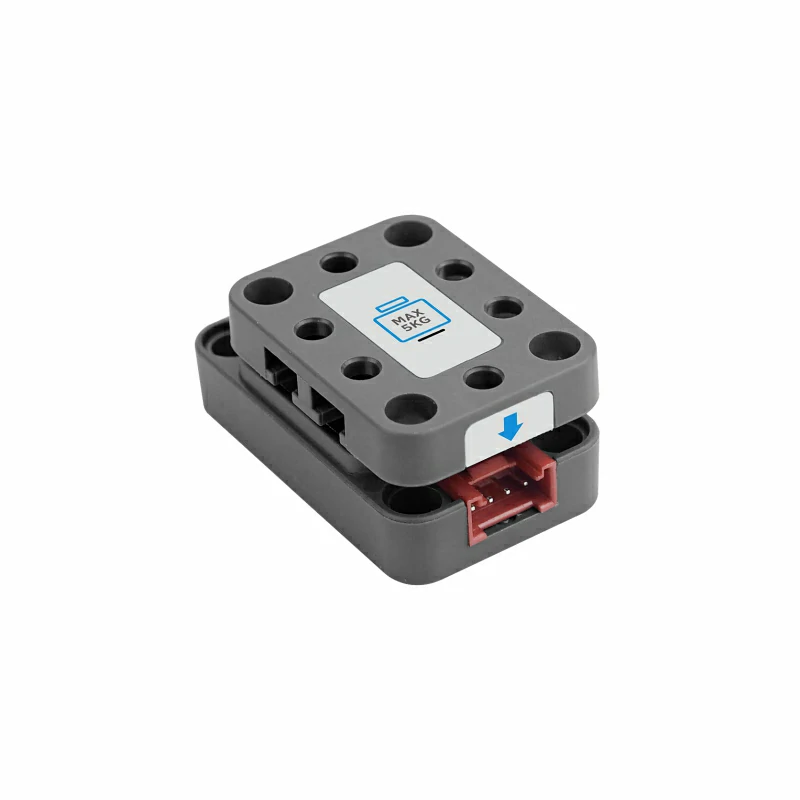
WEIGHT GPIO HX711 SENSOR
SCALES HX711 STM32 I2C
GESTURE I2C PAJ7620U2 SENSOR
COLOR RECOGNITION TCS3472 I2C SENSOR
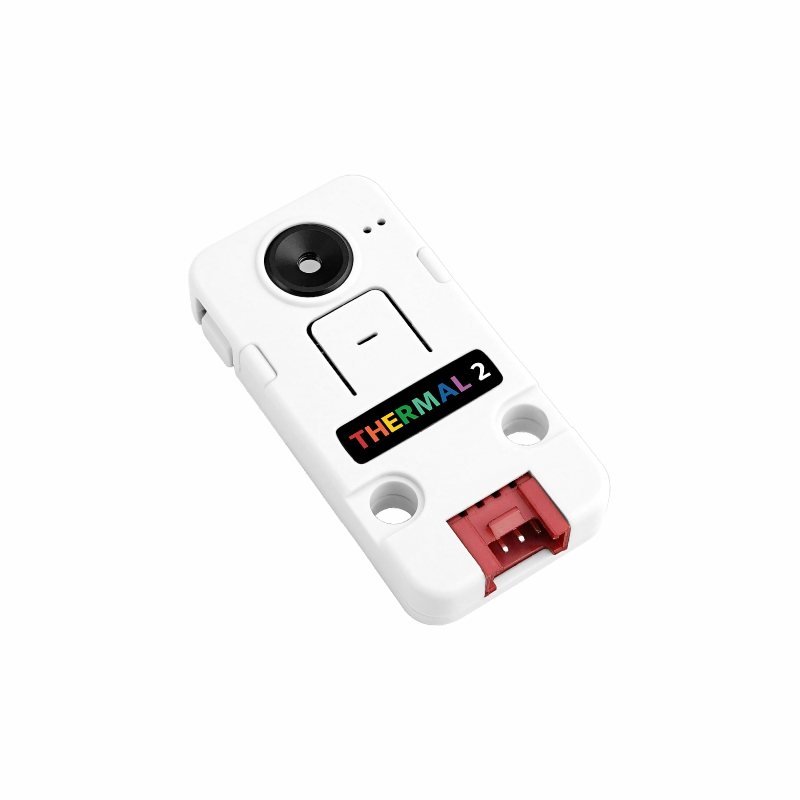
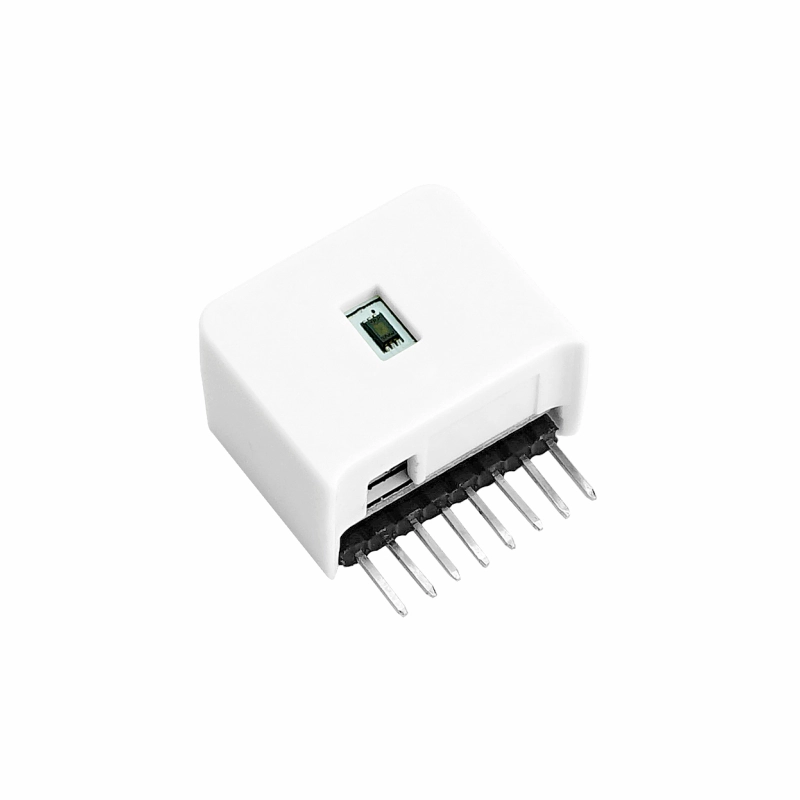
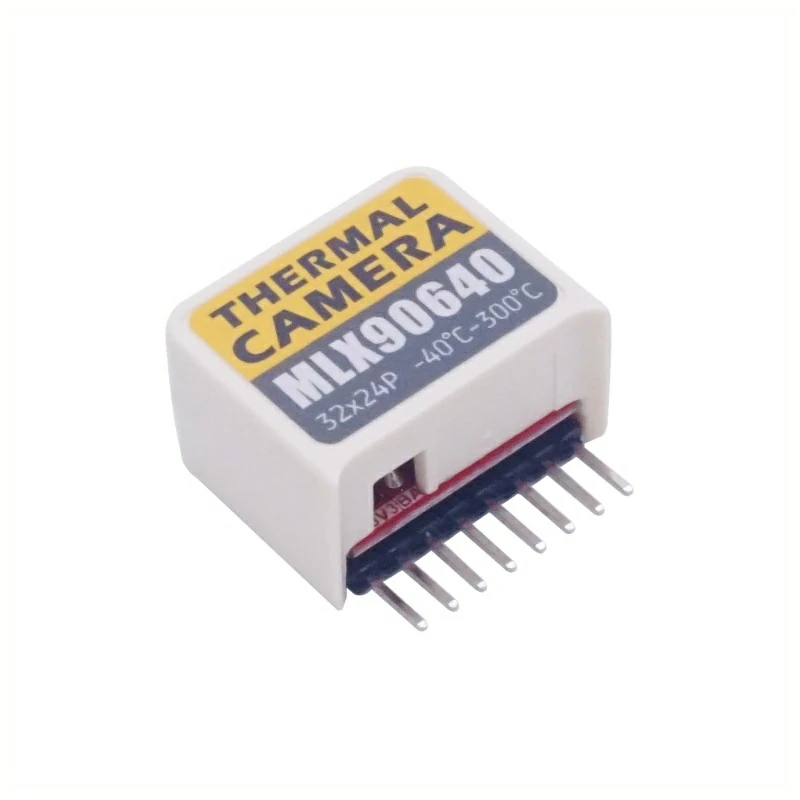
INFRARED IMAGING MEASURE MLX90640 I2C SENSOR
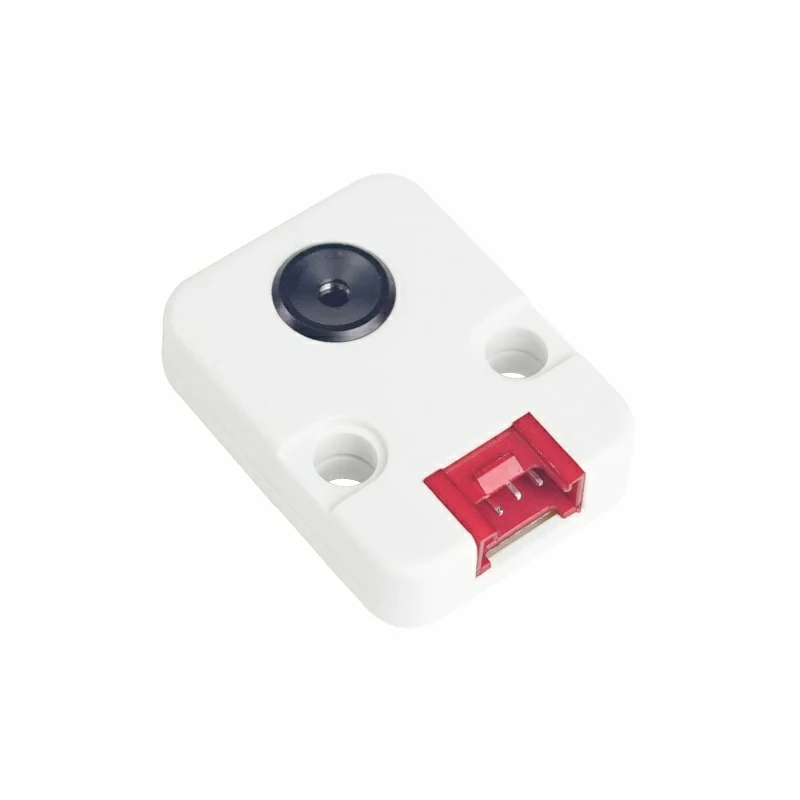
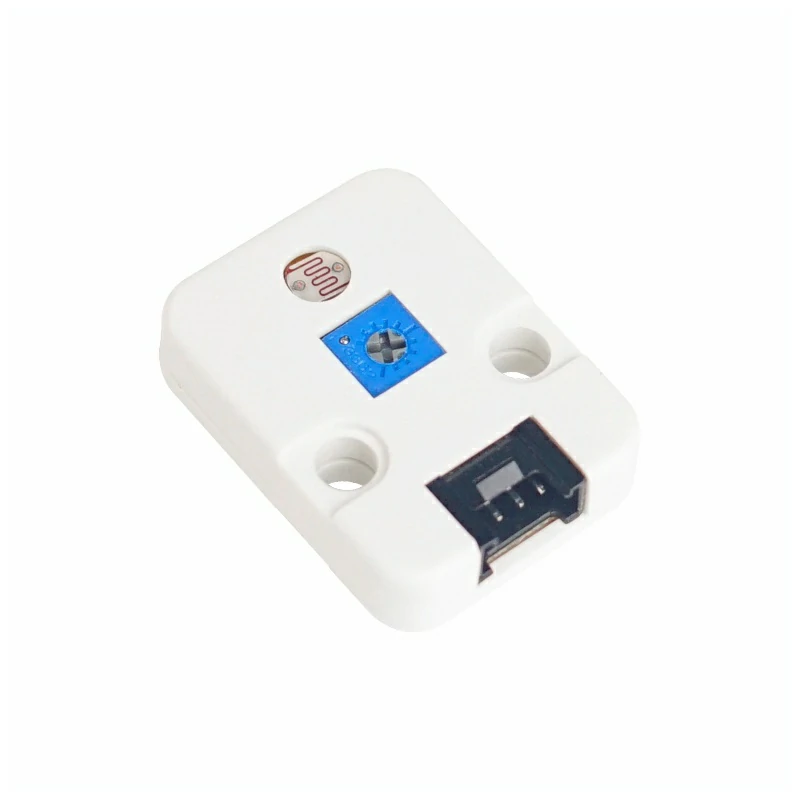
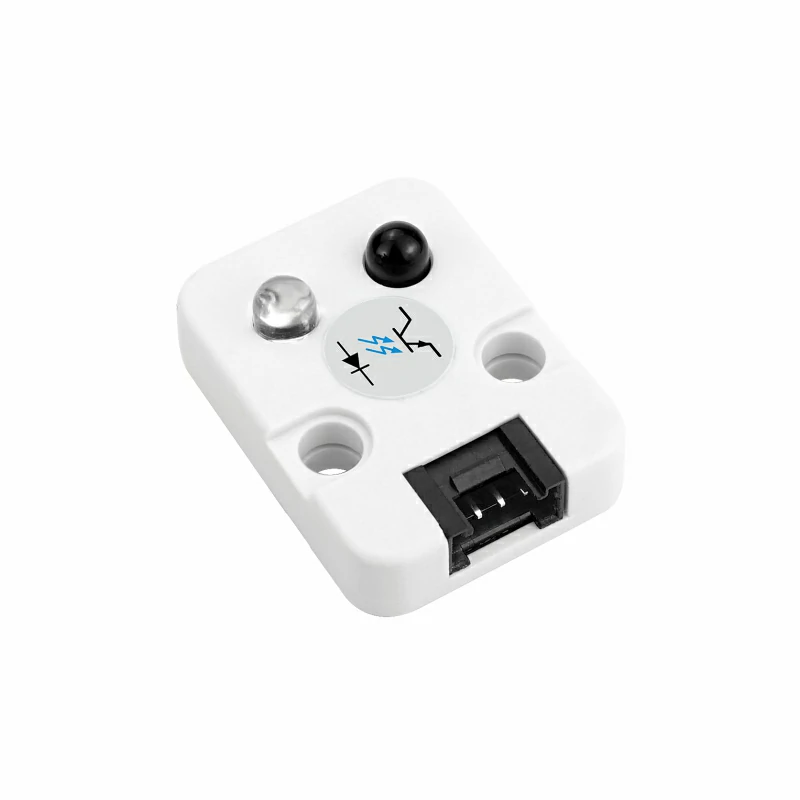
INTENSITY LM393 ANALOG DIGITAL GPIO SENSOR
DIGITAL AMBIENT LIGHT I2C SENSOR BH1750FVI
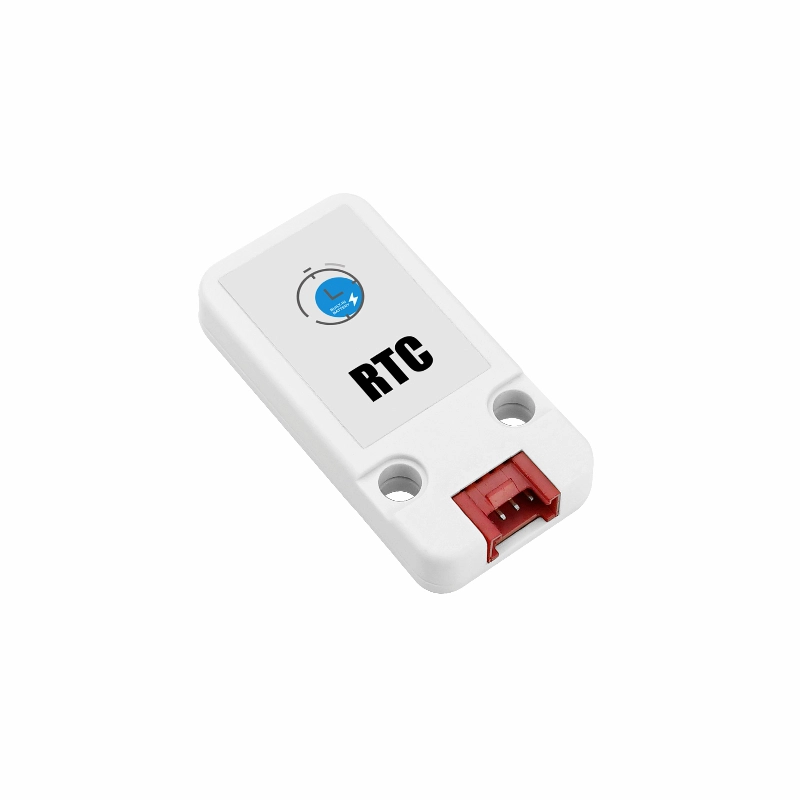
CLOCK I2C SENSOR RTC8563 HYM8563 BMM8563
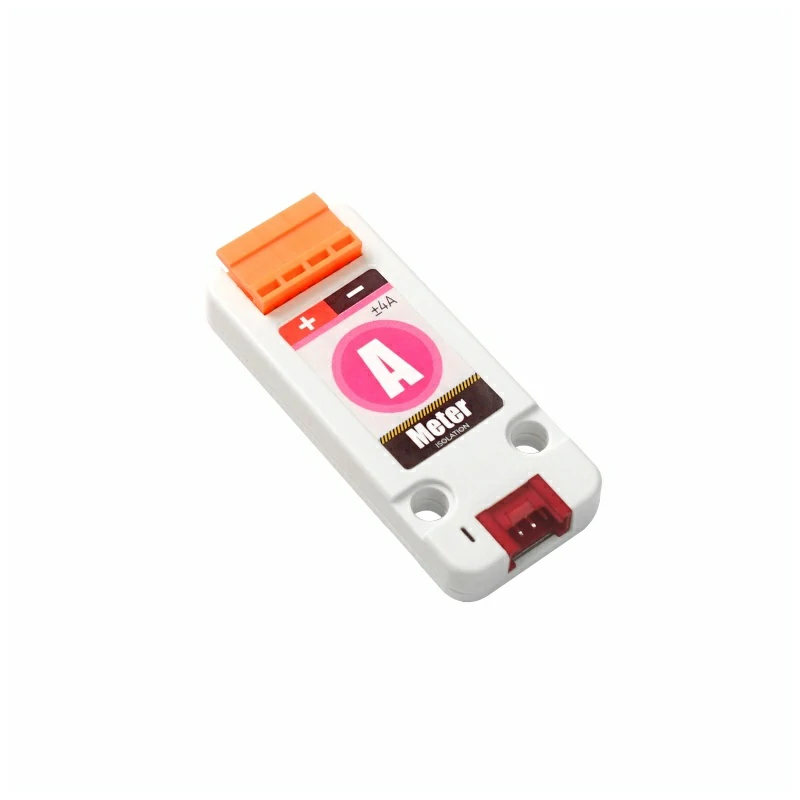
CURRENT METER I2C SENSOR ADS1115
VOLTAGE METER I2C ADS1115 16-BIT ADC
K-TYPE THERMOCOUPLE MAX31855KASA+T I2C
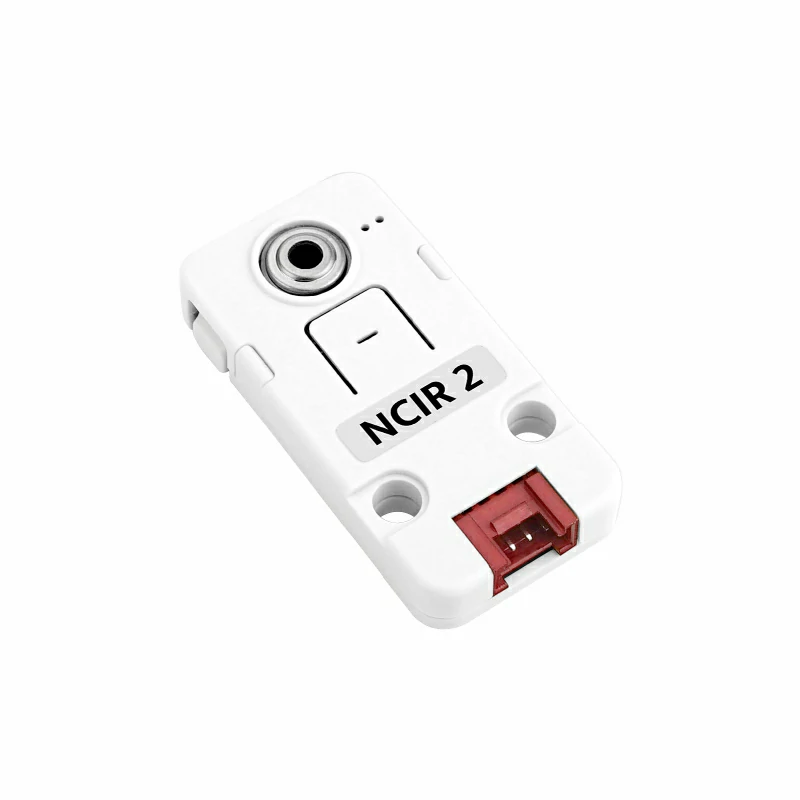
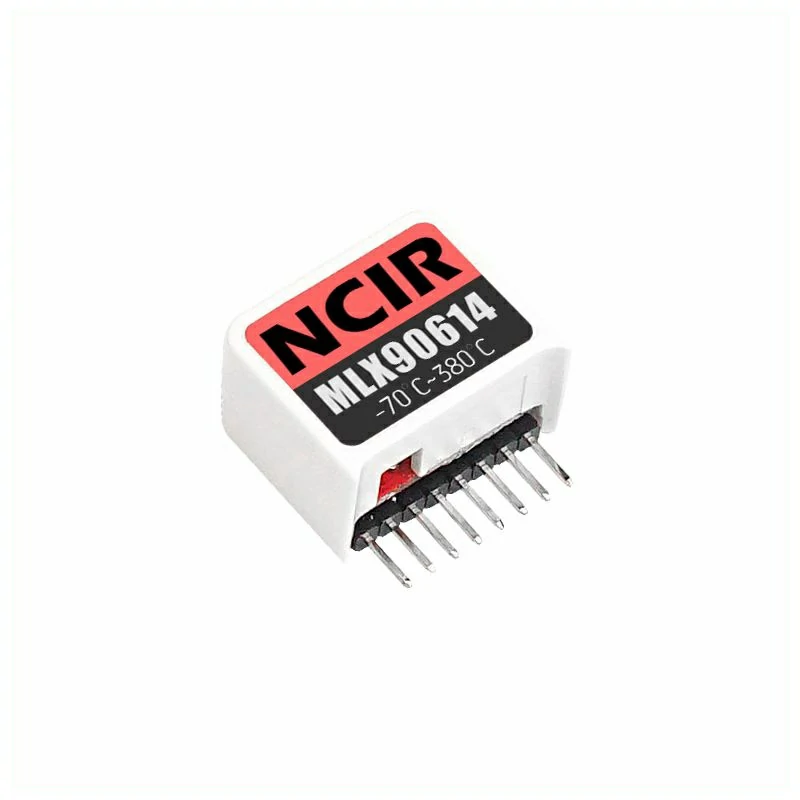
INFRARED TEMP MEASURE MLX90614 I2C
O2 HEART RATE MEASURE MAX30100 I2C
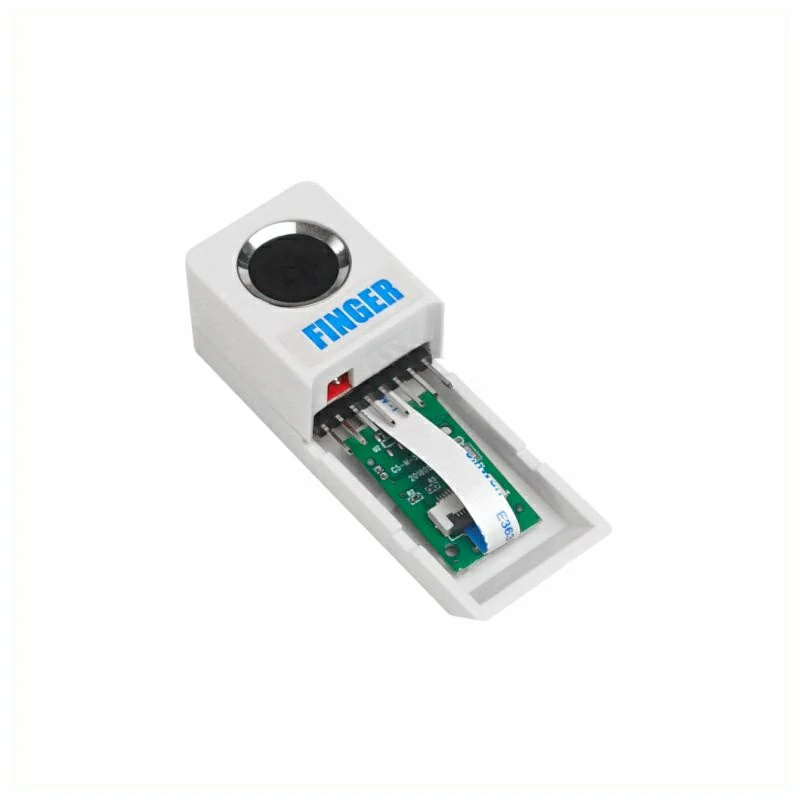
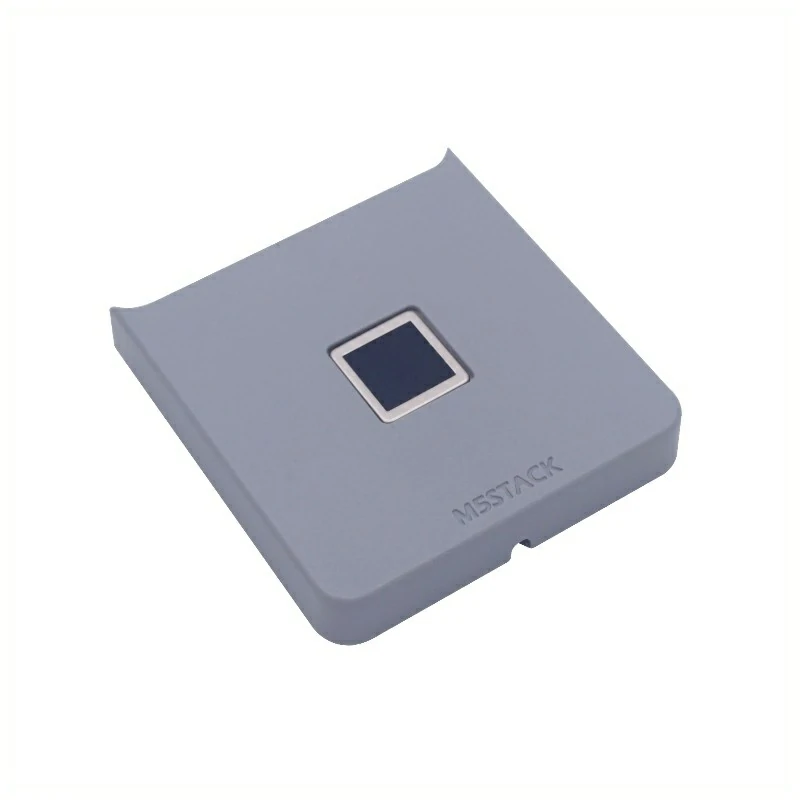
FINGERPRINT RECOGNITION FPC1020A UART
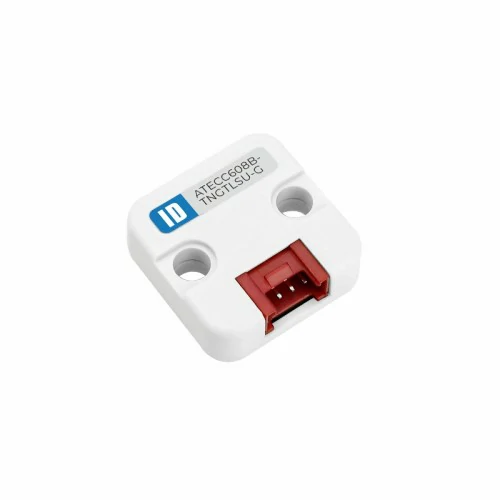
SECURE KEY STORAGE ATECC608B I2C
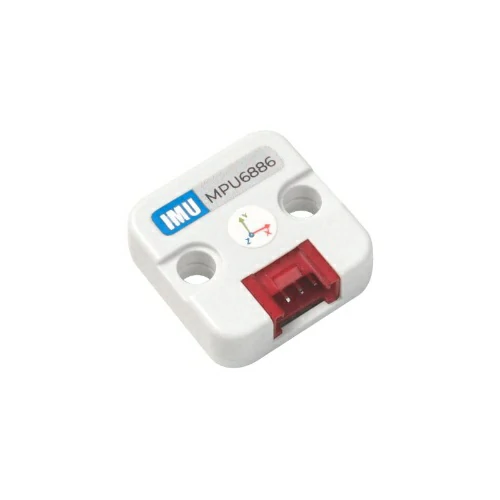
6-AXIS ATTITUDE MPU6886 I2C
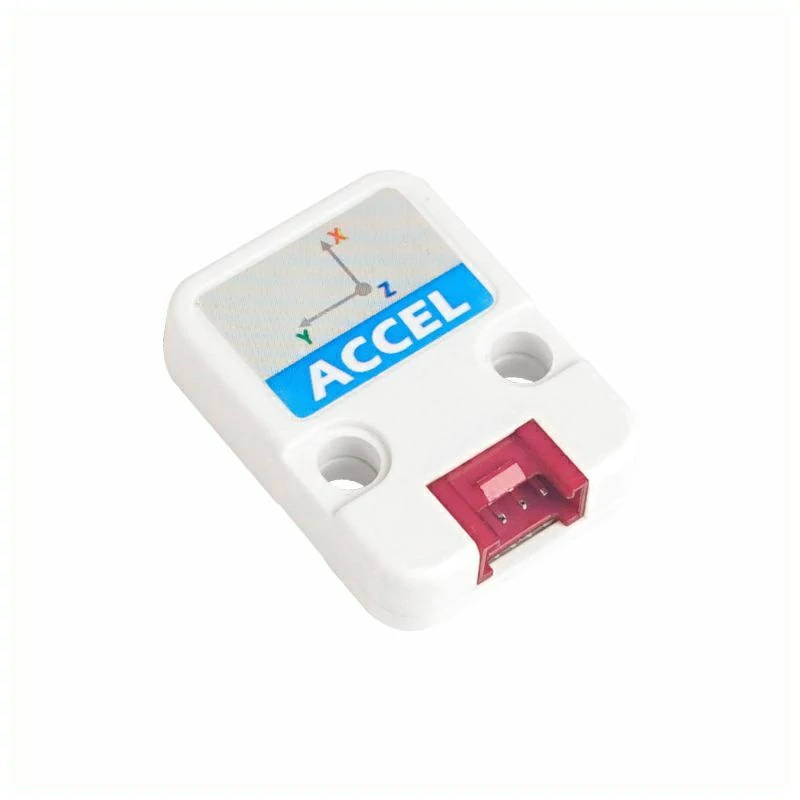
3-AXIS ACCELEROMETER ADXL345 I2C
ENVIRONMENTAL MONITOR DHT12 BMP280 I2C
ENVIRONMENTAL MONITOR SHT30 BMP280 I2C
ENVIRONMENTAL MONITOR SHT30 QMP6988 I2C
ENVIRONMENTAL TEMPERATURE HUMIDITY MOISTURE PRESSURE SHT40 BMP280 I2C ENVIV
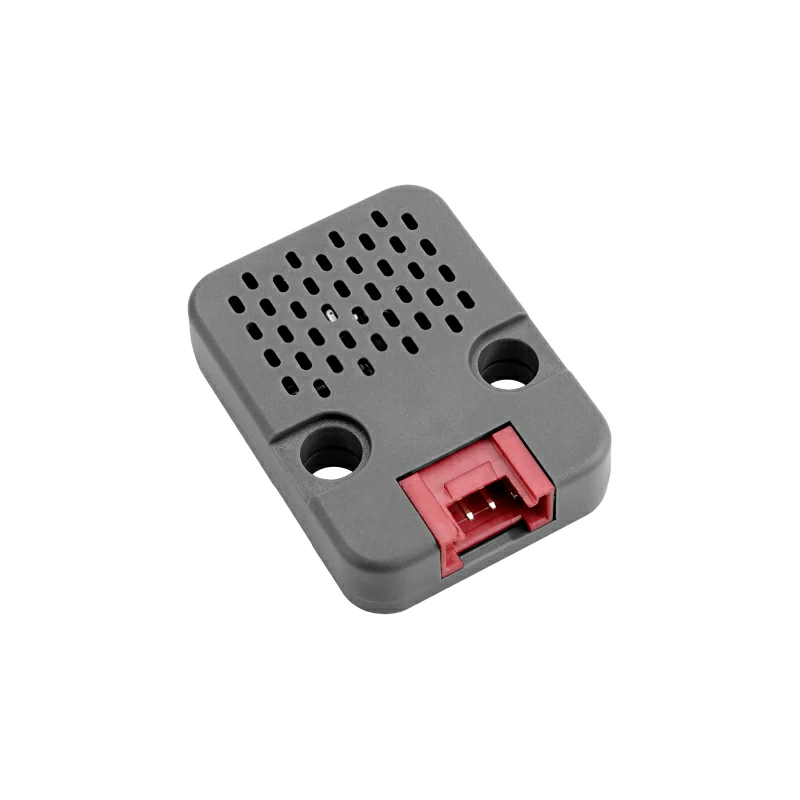
BME688 ENVIRONMENTAL TEMPERATURE HUMIDITY IAQ VOC PRESSURE I2C
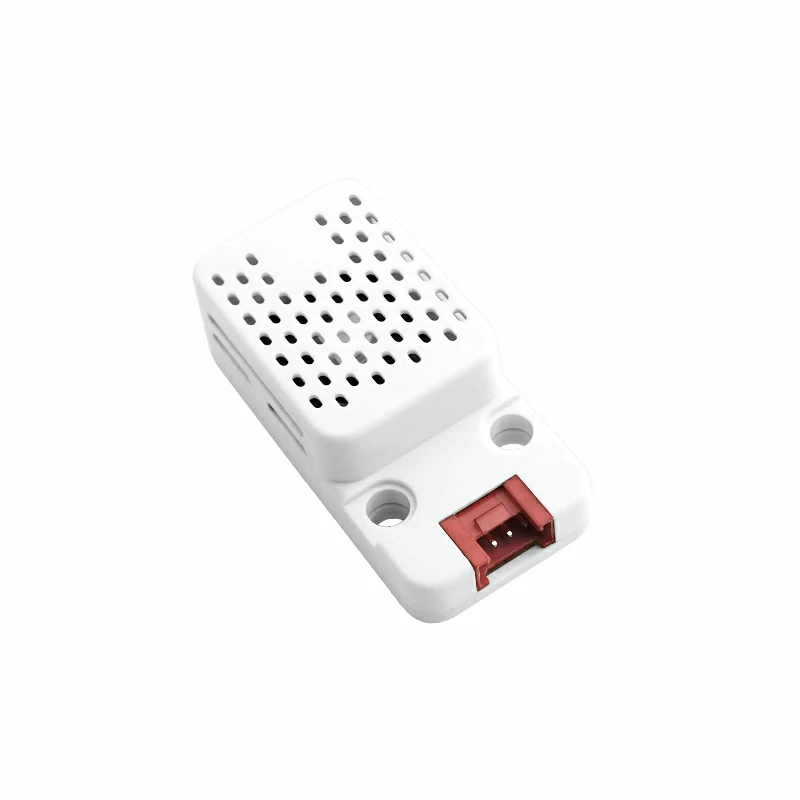
CO2 MONITOR SCD40 I2C
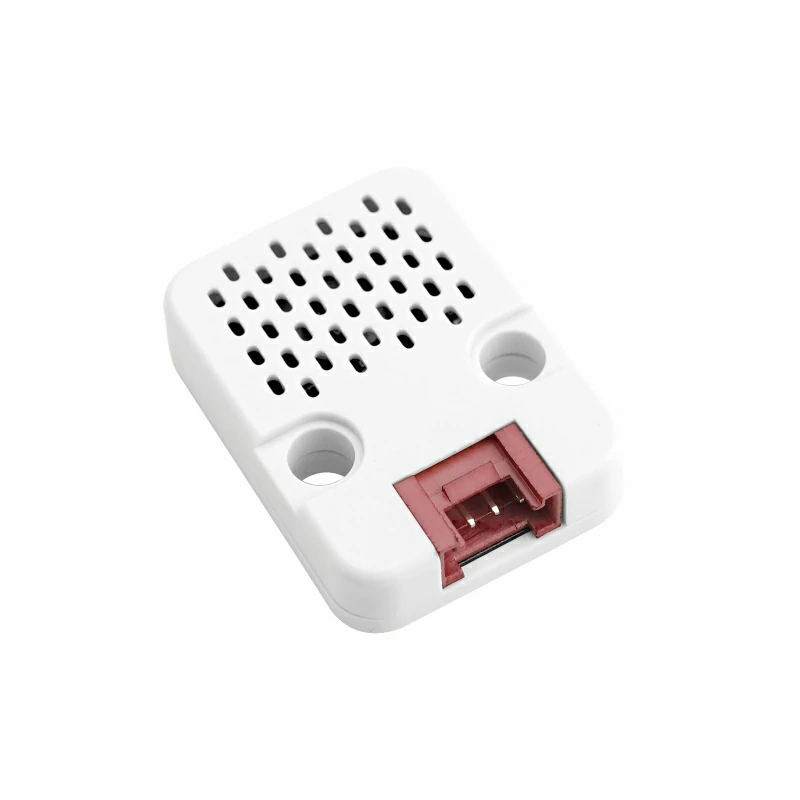
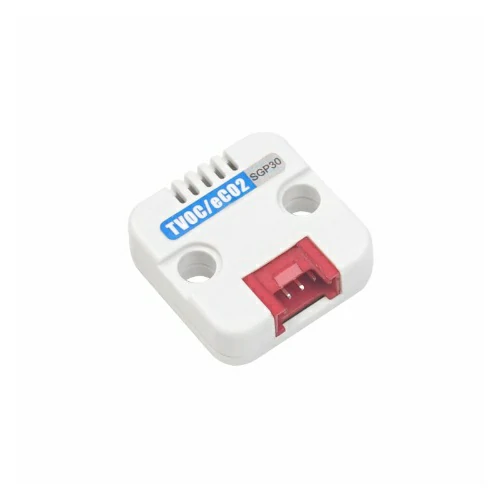
MULTI-PIXEL GAS SENSOR SGP30 I2C
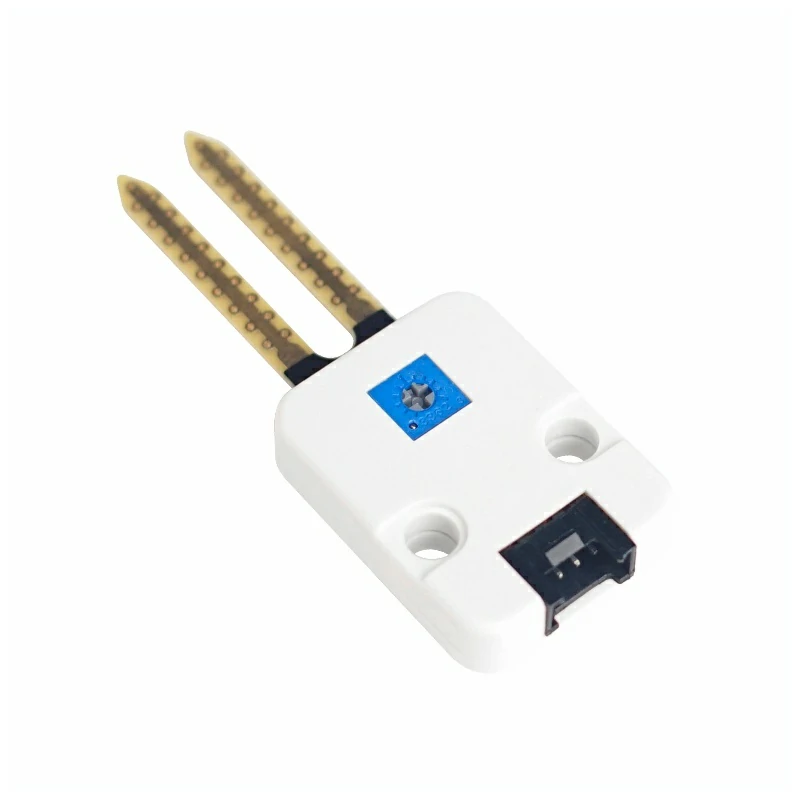
SOIL MOISTURE MEASURE ANALOG&DIGITAL OUTPUT
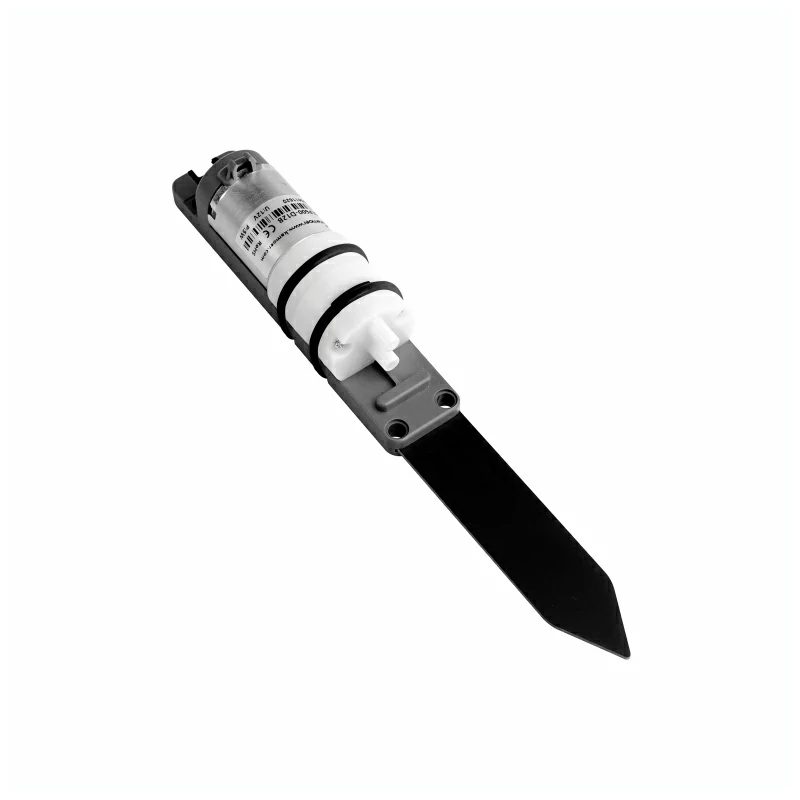
MOISTURE REGULATION CAPACITIVE PROBES GPIO
AIR PRESSURE MCP-H10-B200KPPN
BAROMETRIC PRESSURE BMP280 I2C
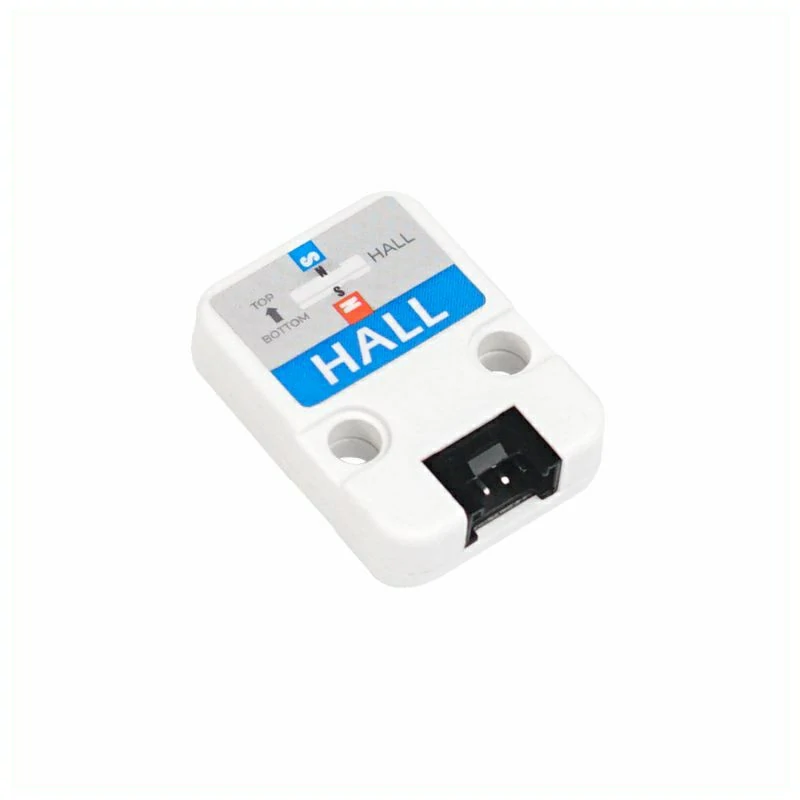
HALL SENSOR SWITCHES A3144E GPIO
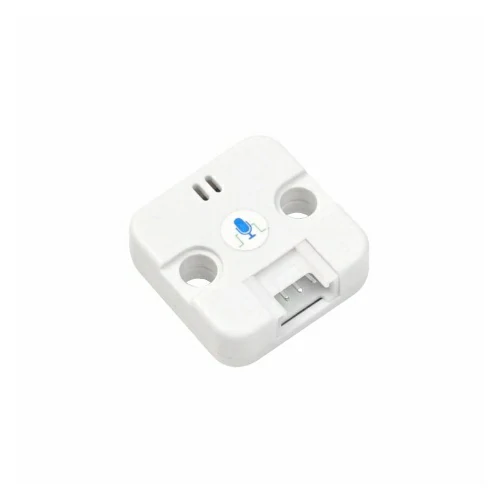
SOUND SENSOR GPIO LM393 MAX4466
PDM MICROPHONE I2S
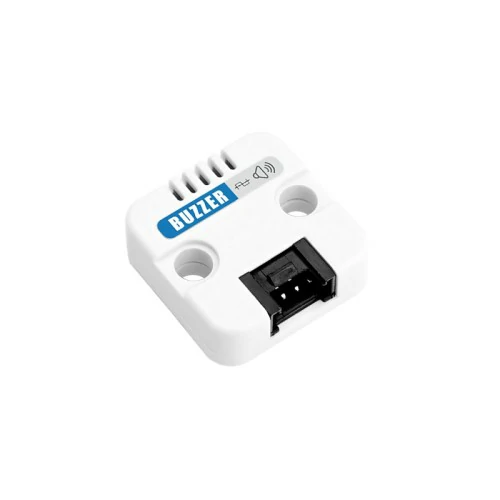
PASSIVE BUZZER GPIO
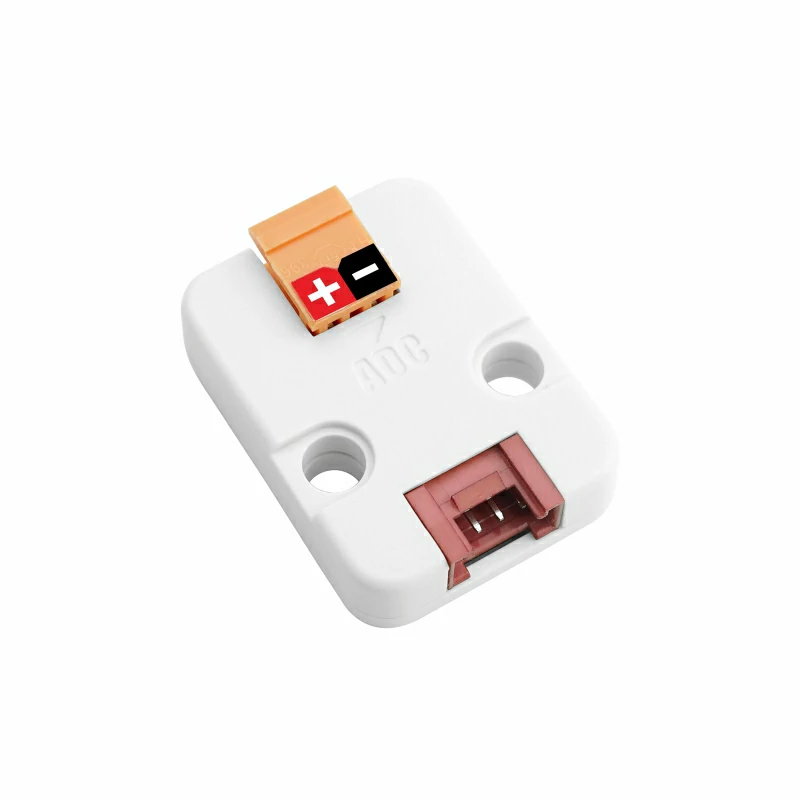
ANALOG/DIGITAL CONVERTE ADS1100 16-BIT I2C
D/A CONVERT MCP4725 I2C
MLX90640 ESP32 I2C THERMAL TEMPERATURE ALARM
MLX90614 STM32 I2C TEMPERATURE ALARM NCIR
BAROMETRIC PRESSURE TEMPERATURE HEIGHT TESTING QMP6988 I2C SENSOR AIR PRESSURE
ENVIRONMENTAL TEMPERATURE HUMIDITY MOISTURE I2C SCD41
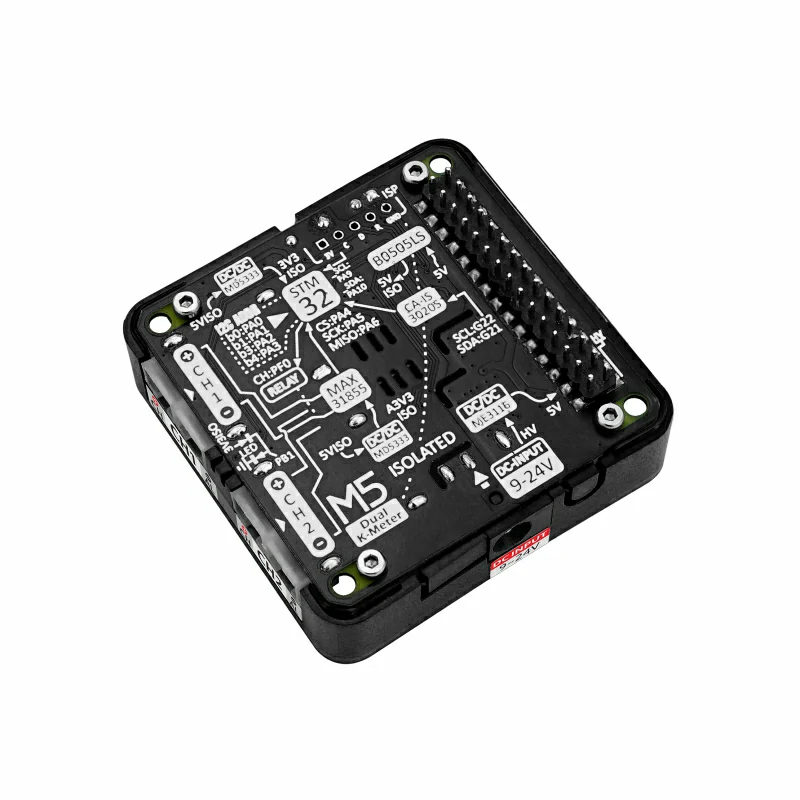
TEMP METER I2C SENSOR UNIT STM32F030 MAX31855 CA-IS3641HW
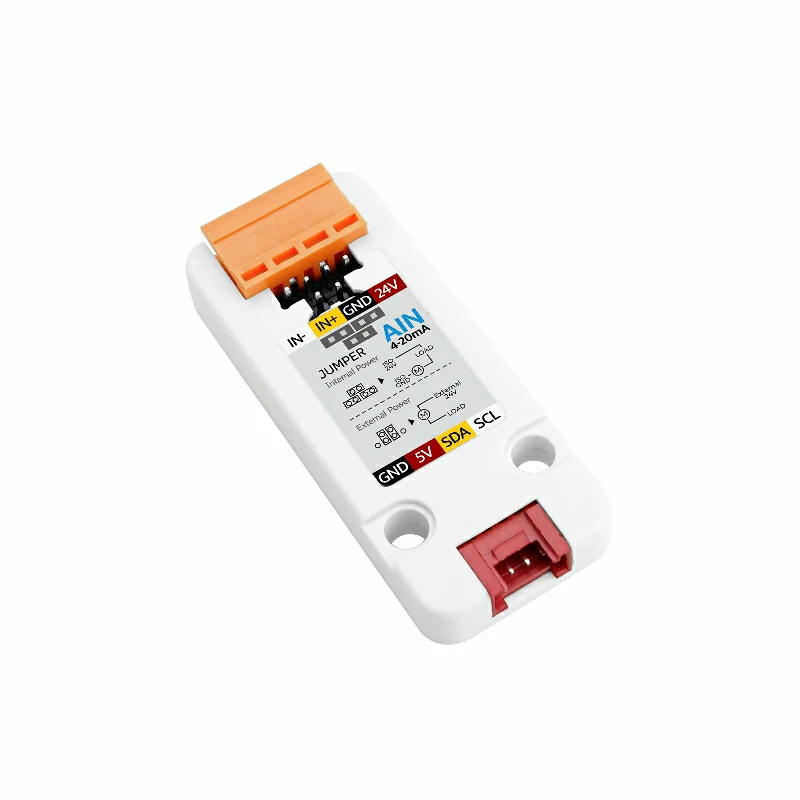
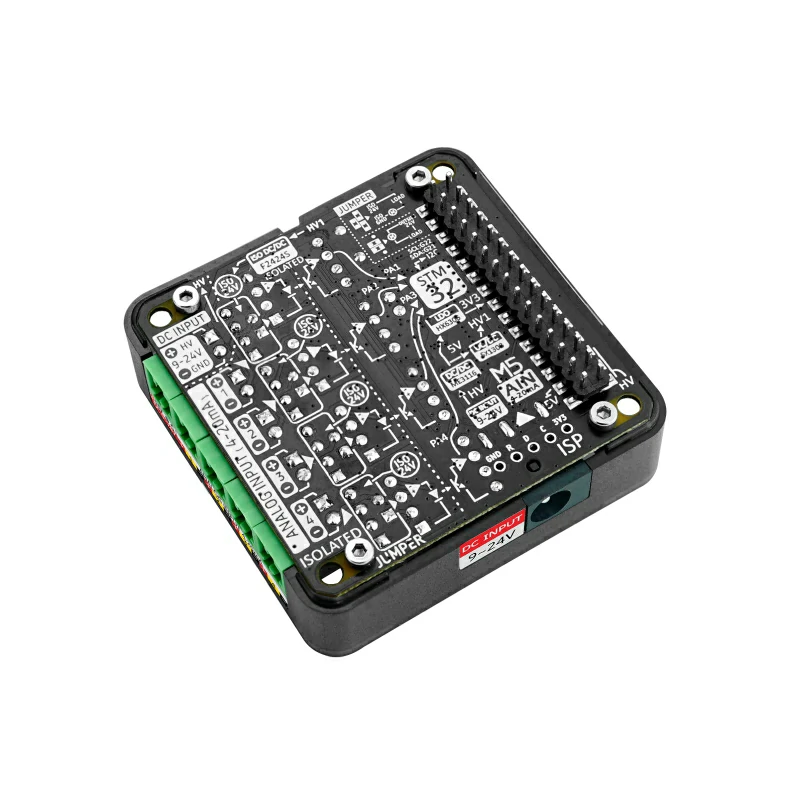
STM32G030F6 4-20MA MODULE AIN HCNR200
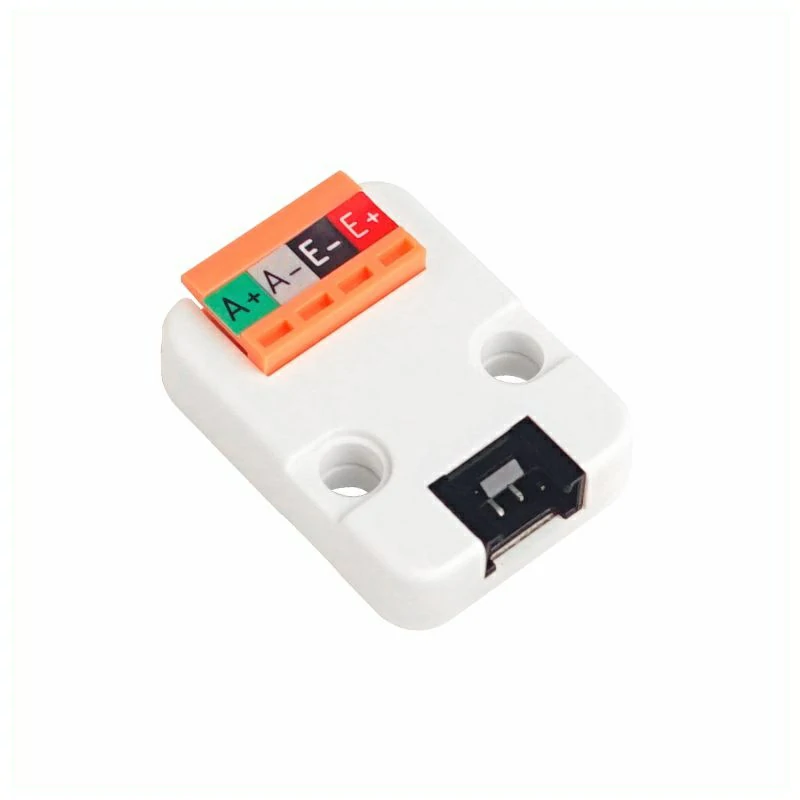
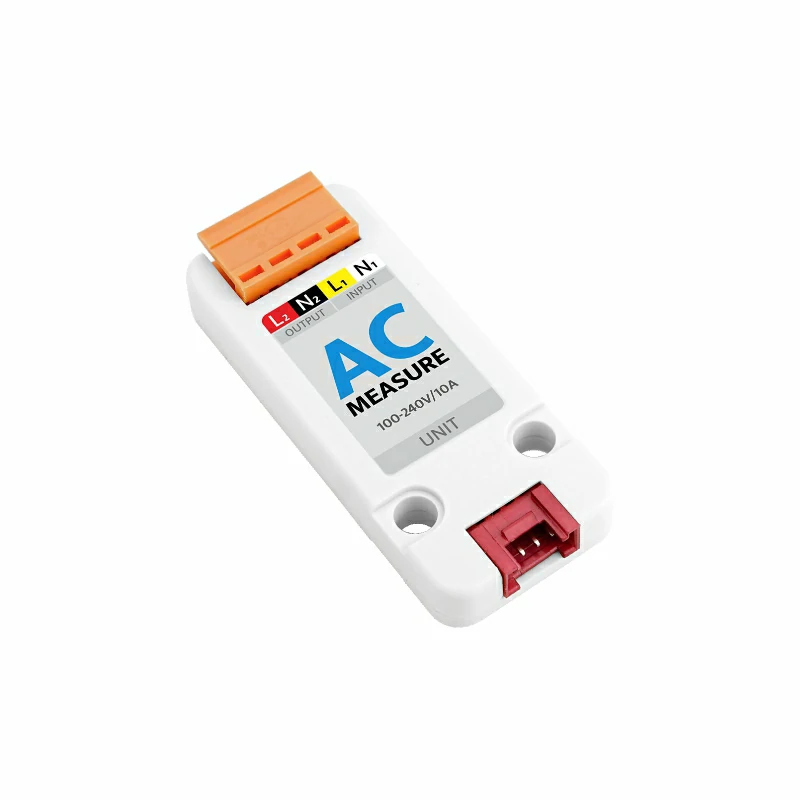
AC MEASURE UNIT SENSOR CURRENT VOLTAGE ISOLATED HJW8032
IMU BMP280 BMI270 BMM150 MINI PRO DOF 10 PRESSURE GYRO ACCELERATED
TOF 4M TOF4M VL53L1CXV0FY/1 I2C LASER DISTANCE SENSOR
IR TRACKING LINE FLLOWER REFLECTIVE UNIT ANALOG DIGITAL SENSOR
MINI SCALE HX711 STM32 I2C
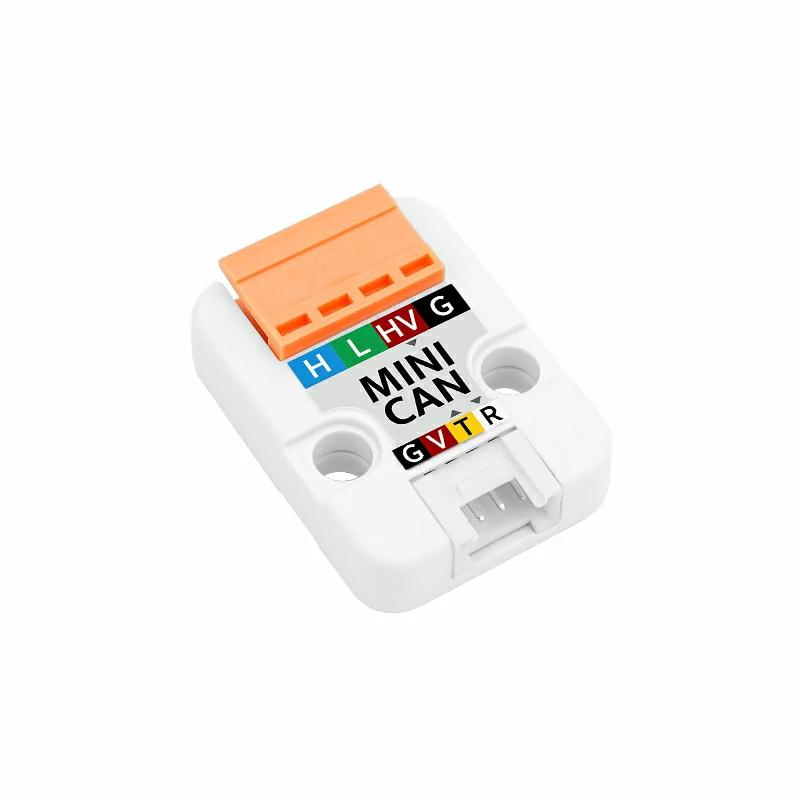
CAN TJA1051T MINI
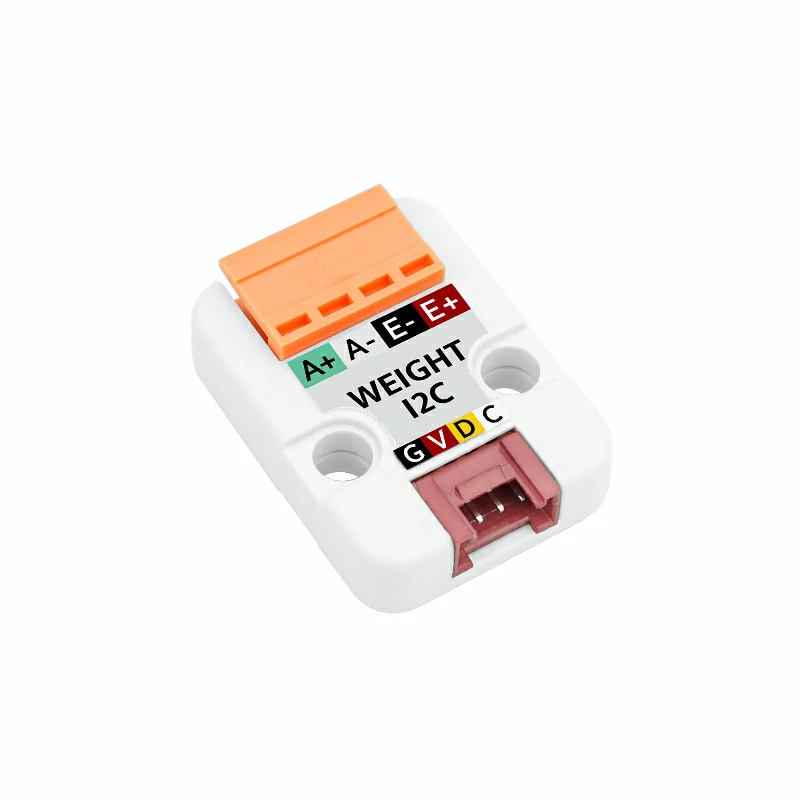
WEIGHT UNIT I2C HX711 STM32
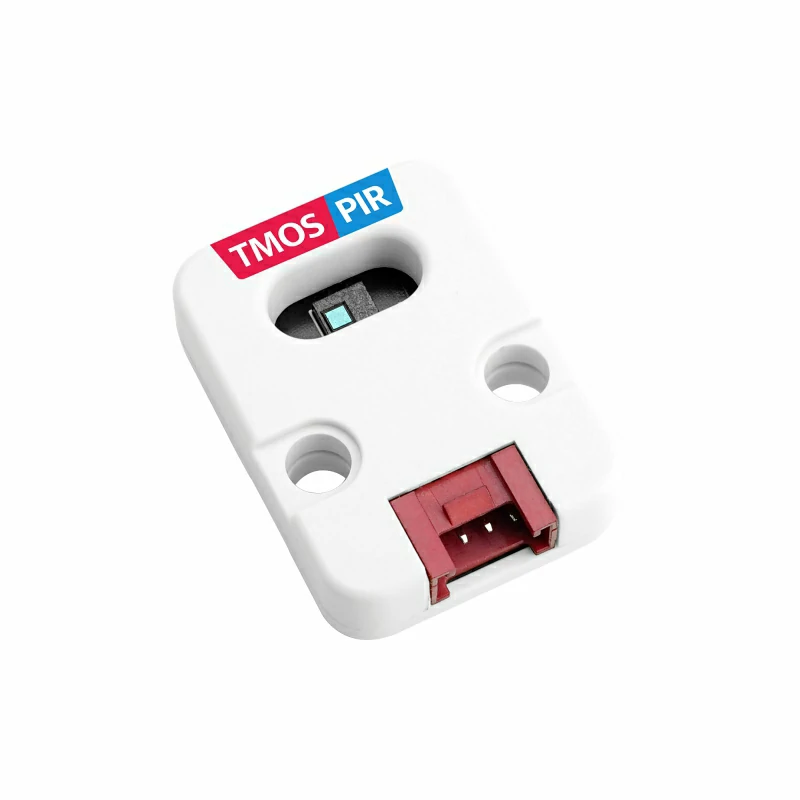
HEAT MOTION THERMAL I2C INFRARED DETECTION ALARM TMOS SENSOR STHS34PF80
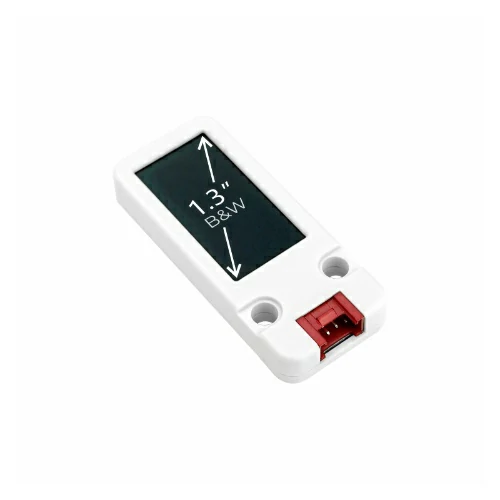
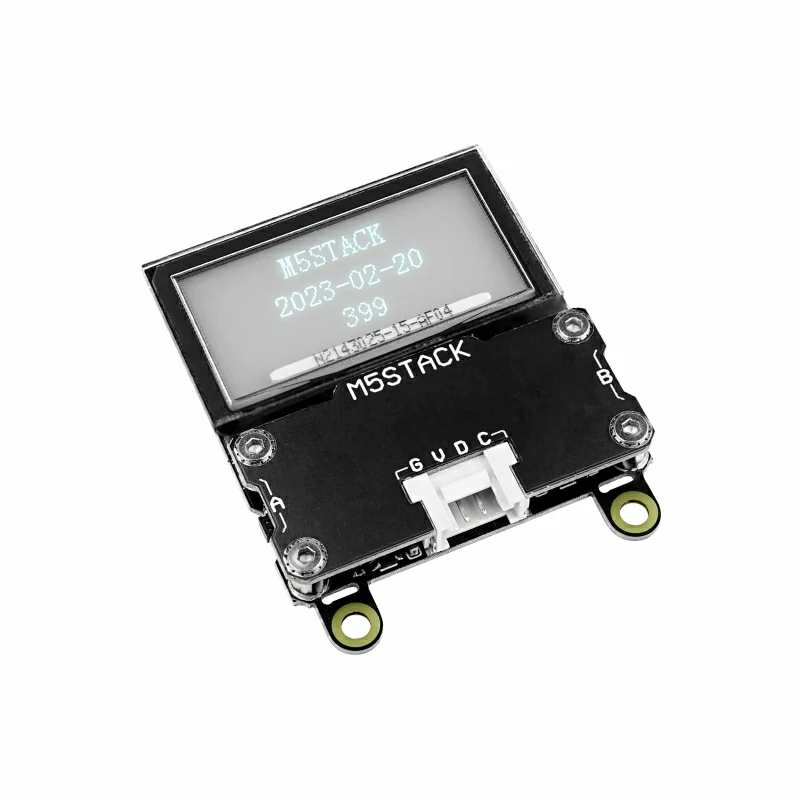
1.3-INCH B&W OLED SH1107 I2C
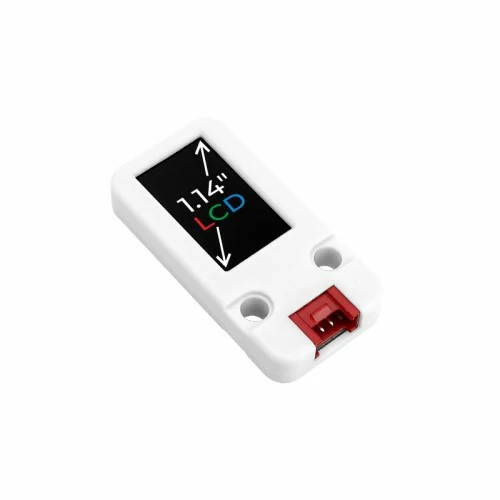
1.14" COLOR LCD ST7789V2 I2C
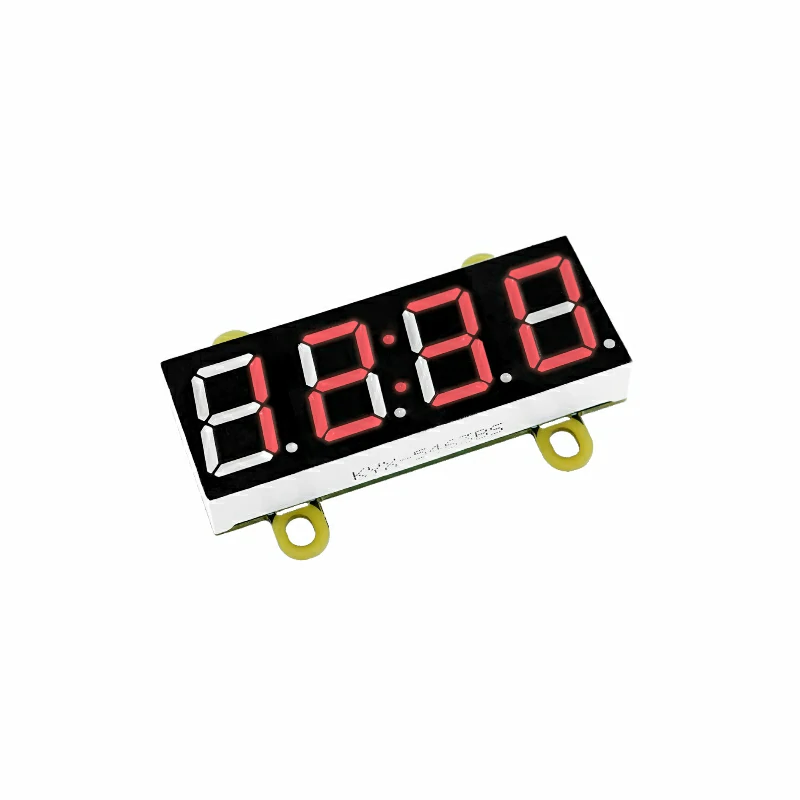
DIGITAL TUBE STM32F030 TM1637
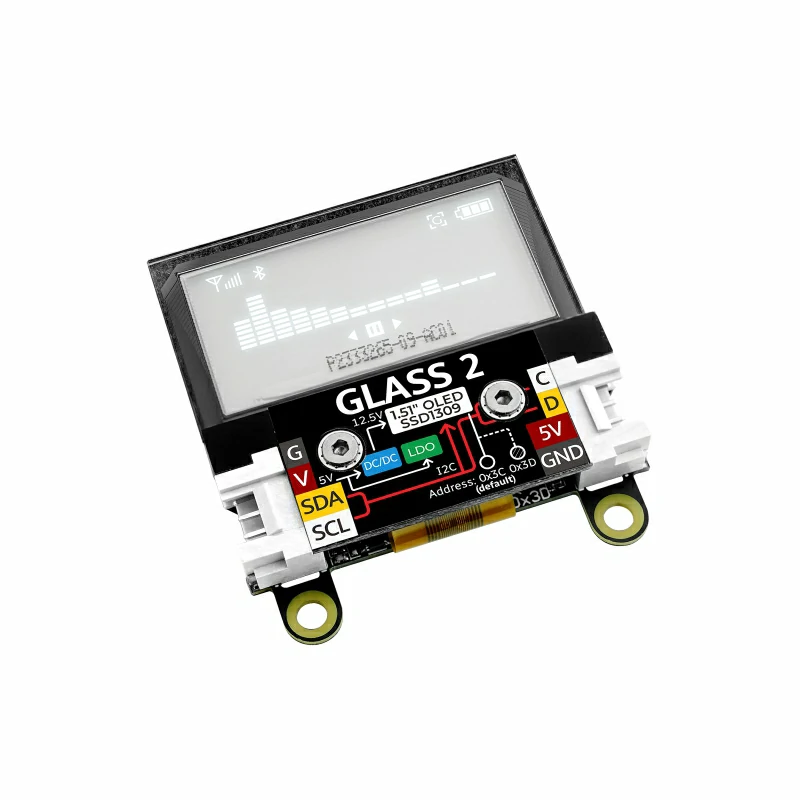
TRANSPARENT OLED 1.54 STM32F030F4P6 I2C SSD1309 BUZZER 128X64
MINIOLED 0.42 UNIT OLED I2C
TRANSPARENT OLED 1.54 I2C SSD1309 128X64
UNIDIRECTIONAL VIBRATION MOTORS
UNIDIRECTIONAL DC MOTORS
RGB LED@3 SK6812 GPIO
LIGHT STRIPS IP65 WATERPROOF
LIGHT STRIPS PROGRAMMABLE
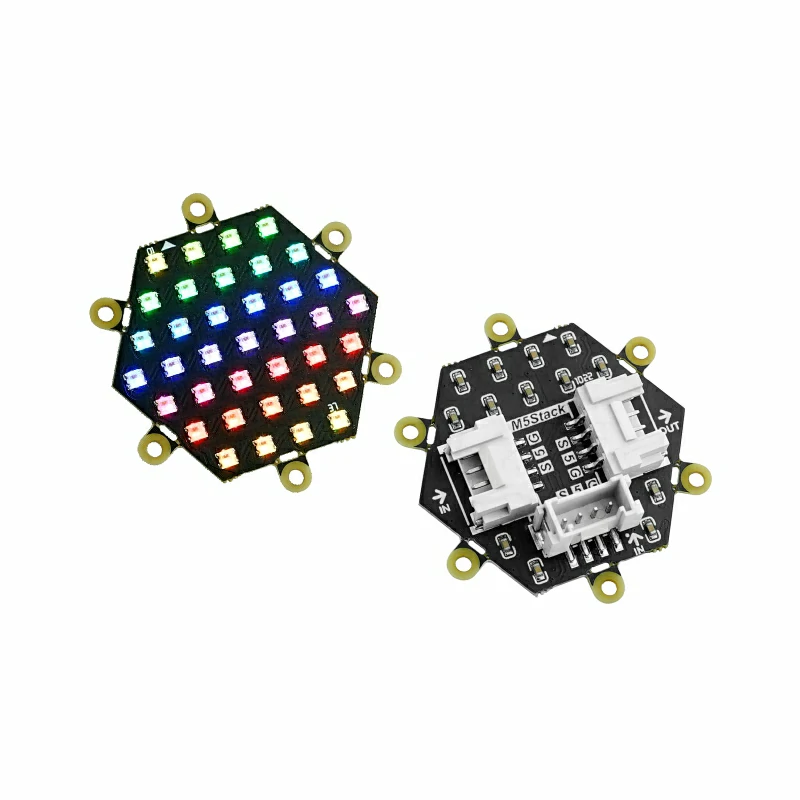
RGB LED LIGHT PANELS
FLASHLIGHT GPIO PORTB AW3641EDNR
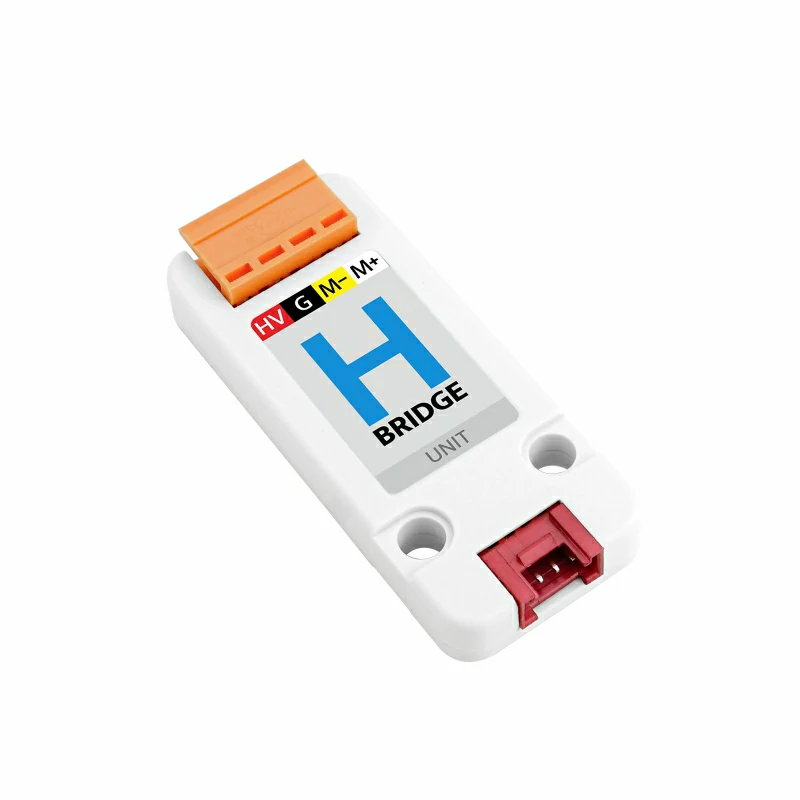
HBRIDGE STM32F030F4P6 RZ7899 DC MOTOR
WS2812C 2020 RGB NECO UNIT
STM32F030F4 MOTOR SERVO I2C CONTROLLER DRIVER UNIT
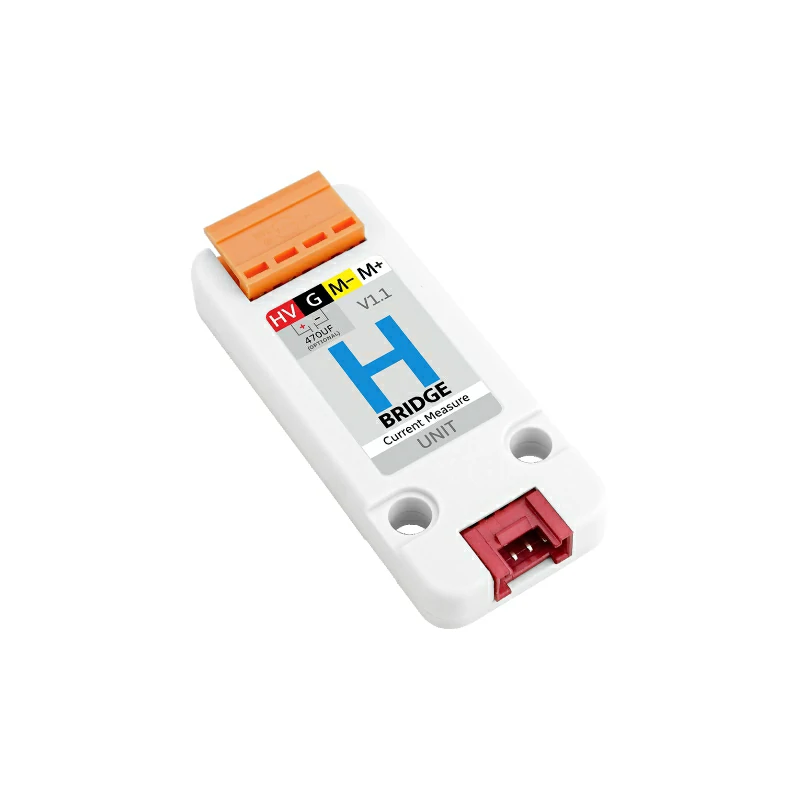
HBRIDGE STM32F030F4P6 RZ7899 DC MOTOR CURRENT INA199A
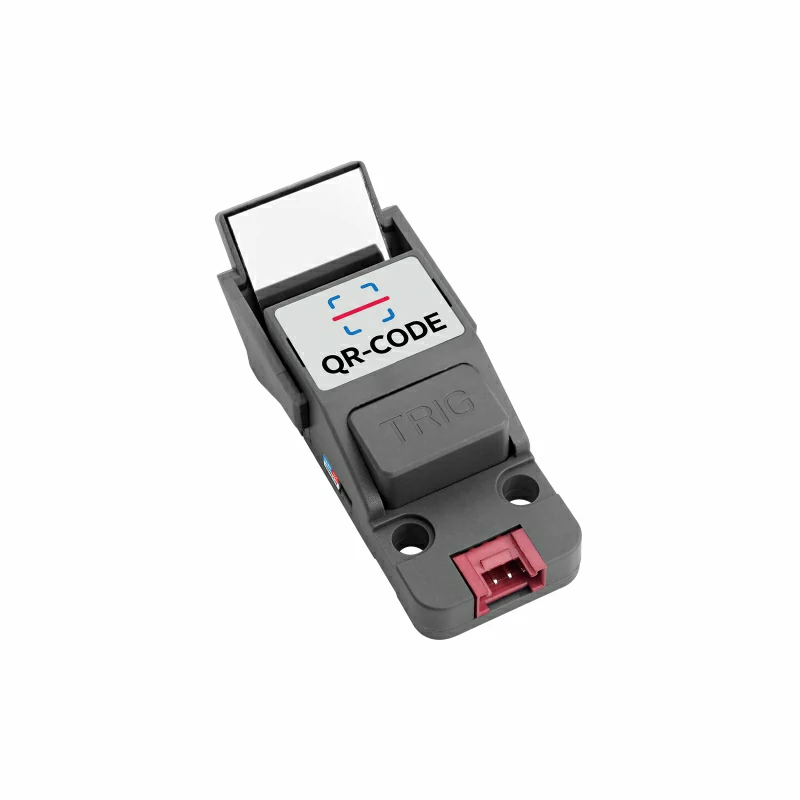
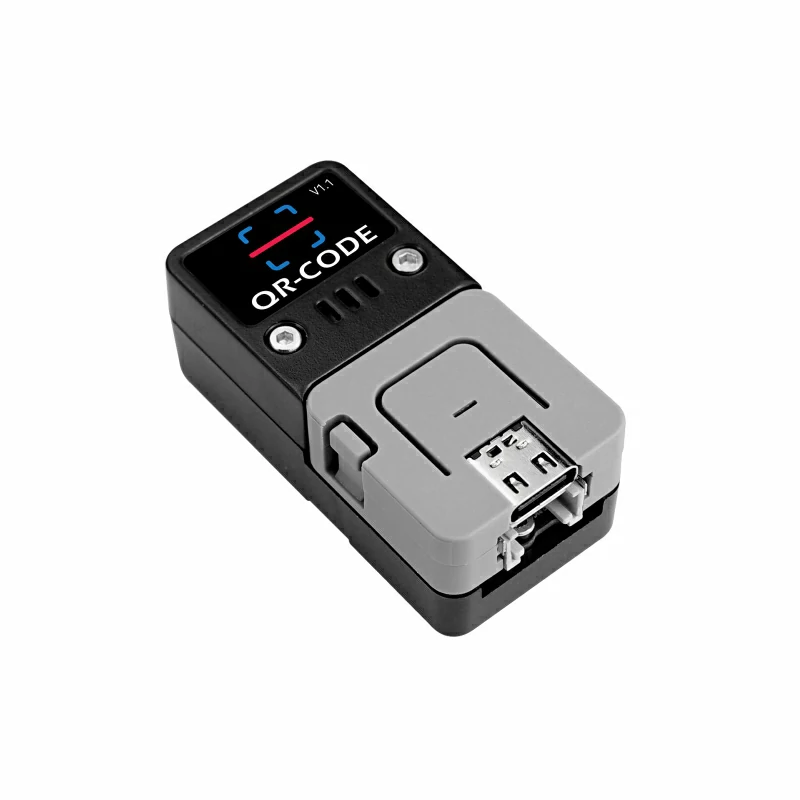
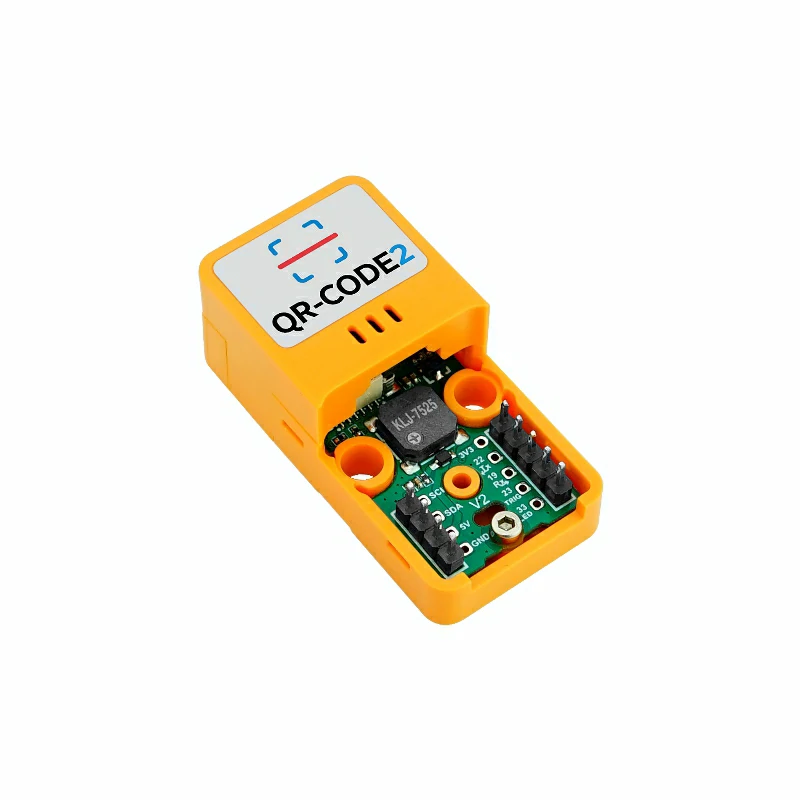
QR CODE I2C UART SCAN STM32
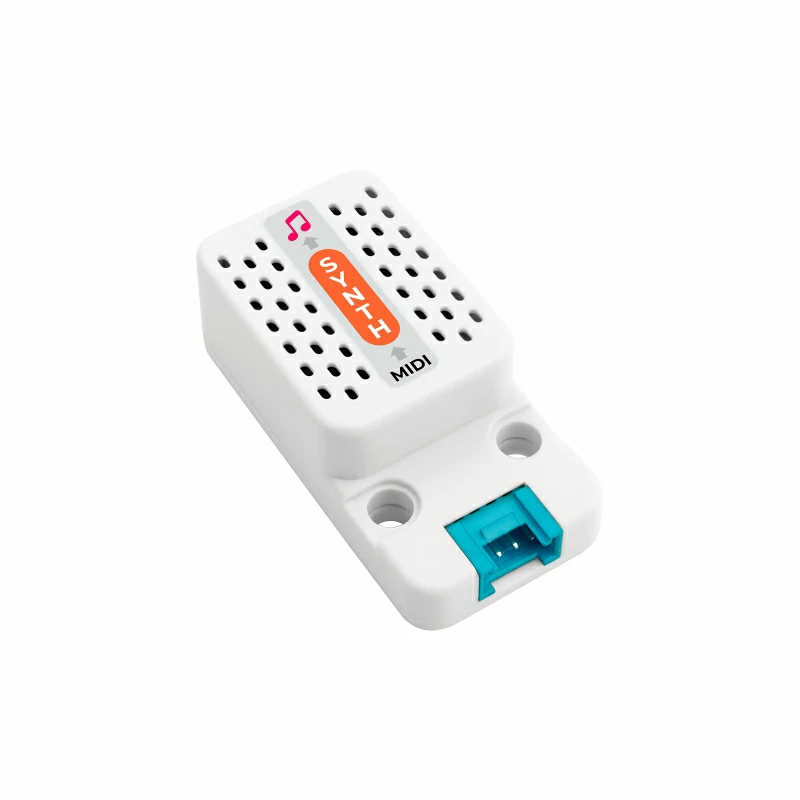
SYNTH MIDI AT SERIAL PIANO MUSIC SPEAKER
BLDC STM32 DRV11873PWPR DRIVER MOTOR
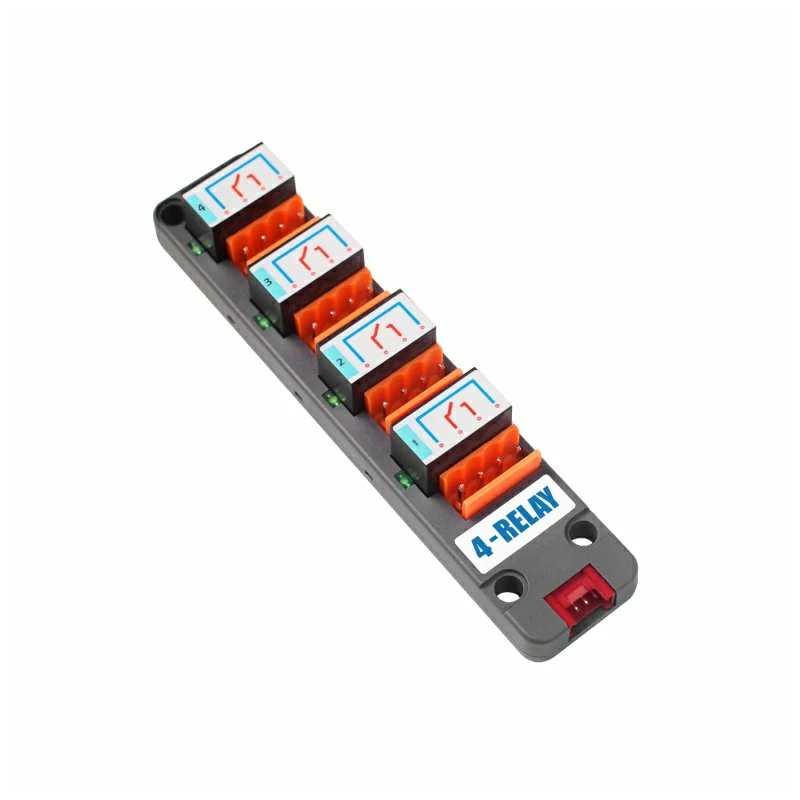
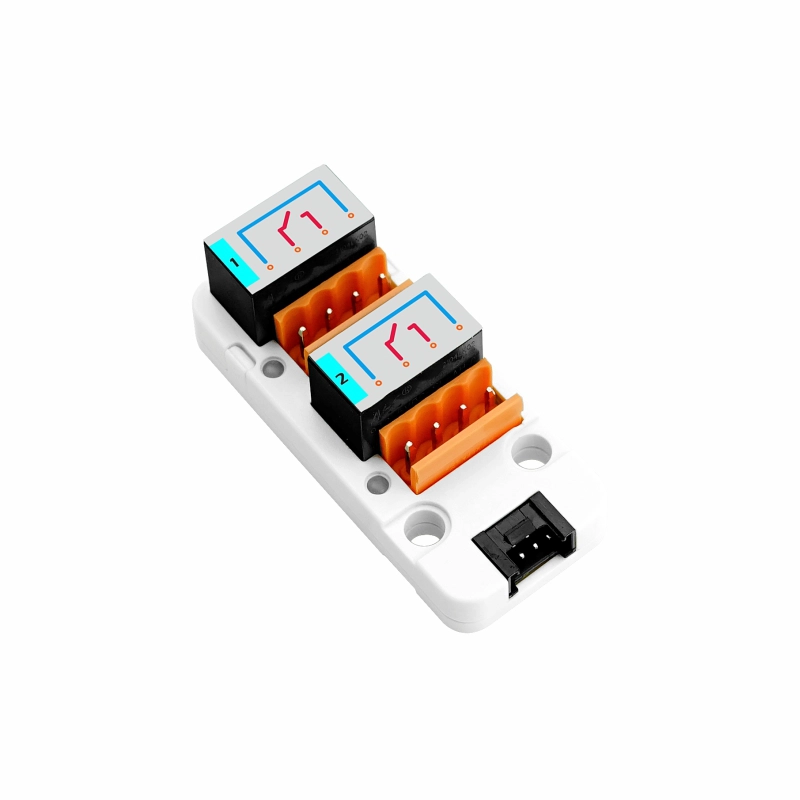
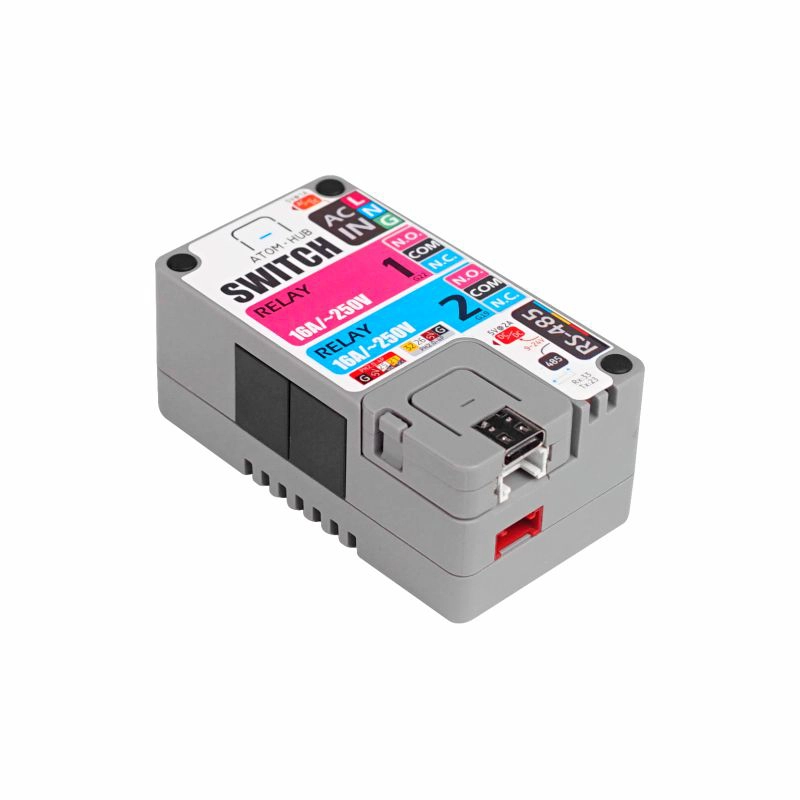
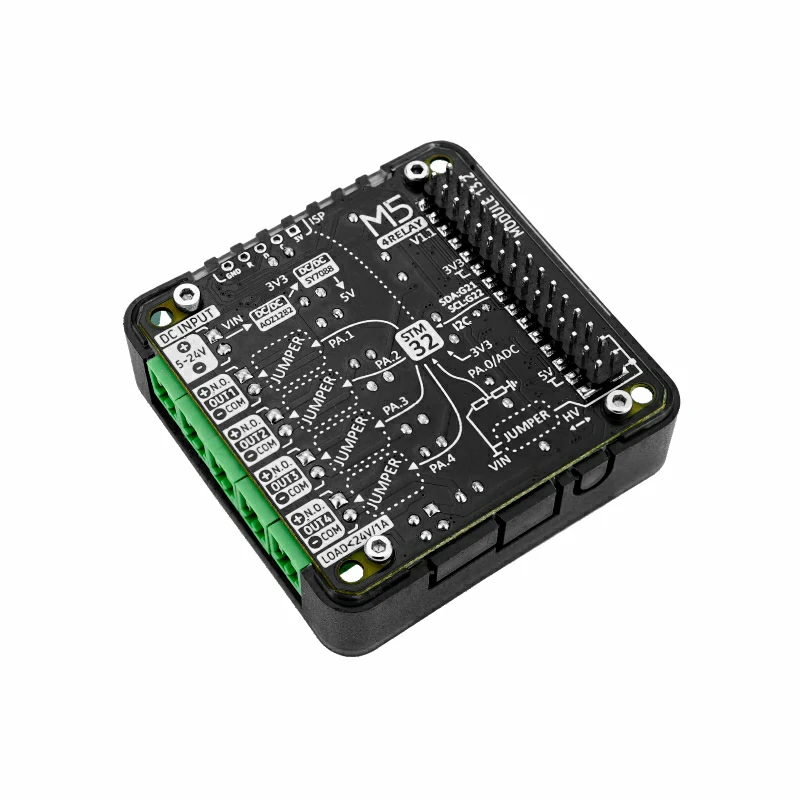
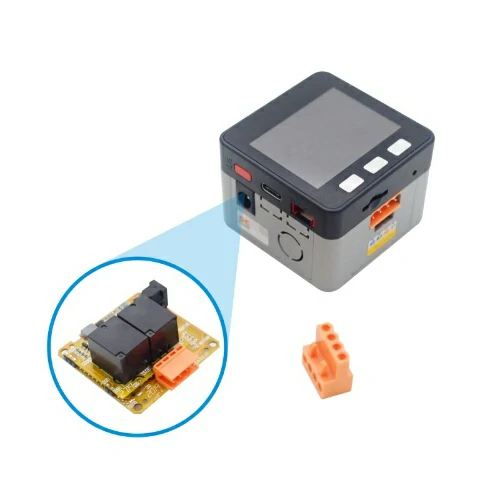
4-WAY RELAY I2C AC-250V/DC-28V
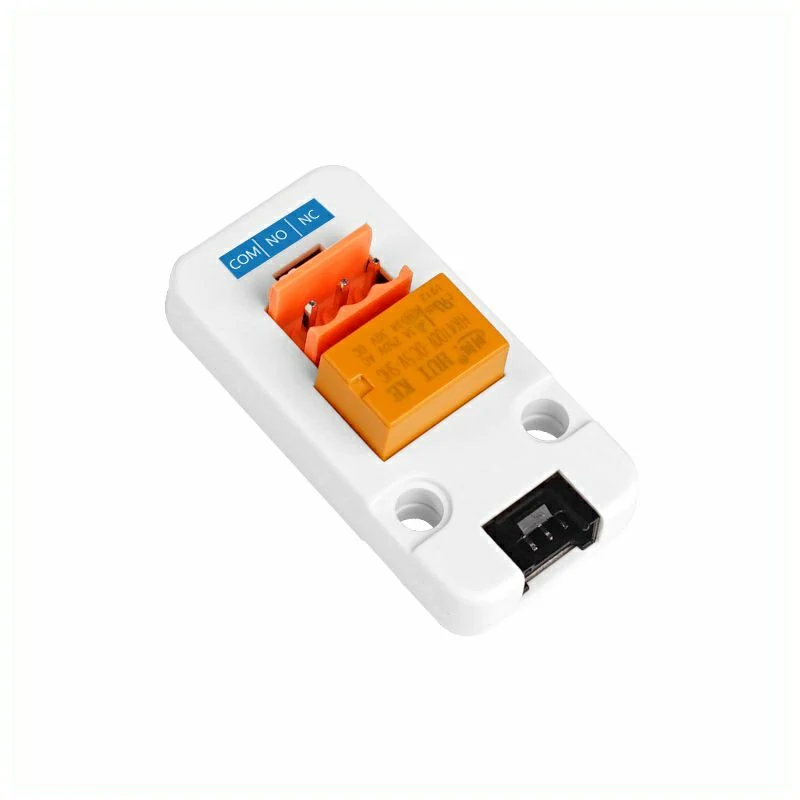
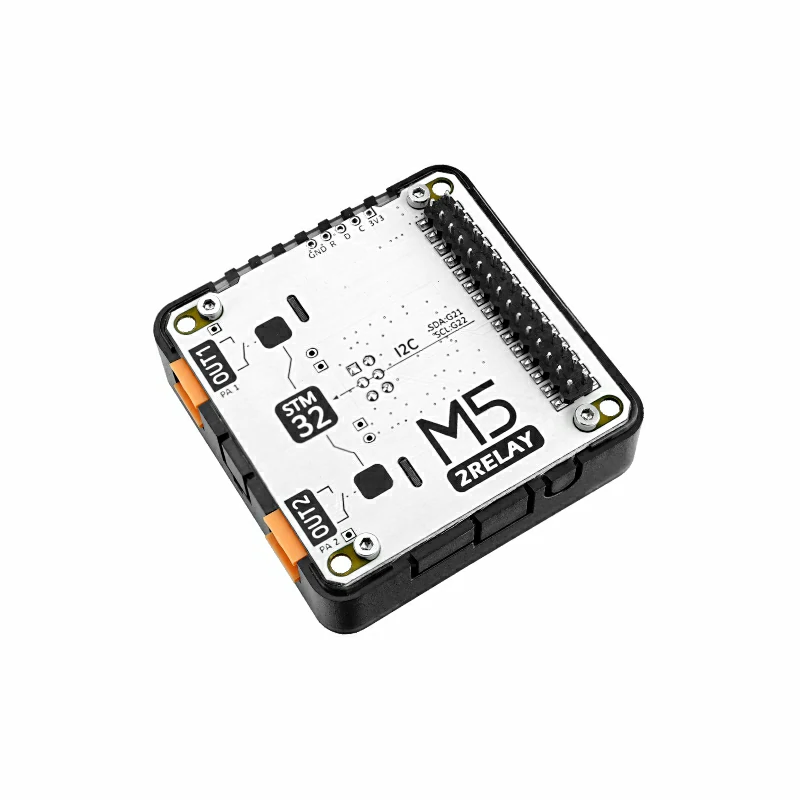
2-WAY RELAY GPIO AC-250V/DC-28V
RELAY GPIO AC-220V/DC-30V
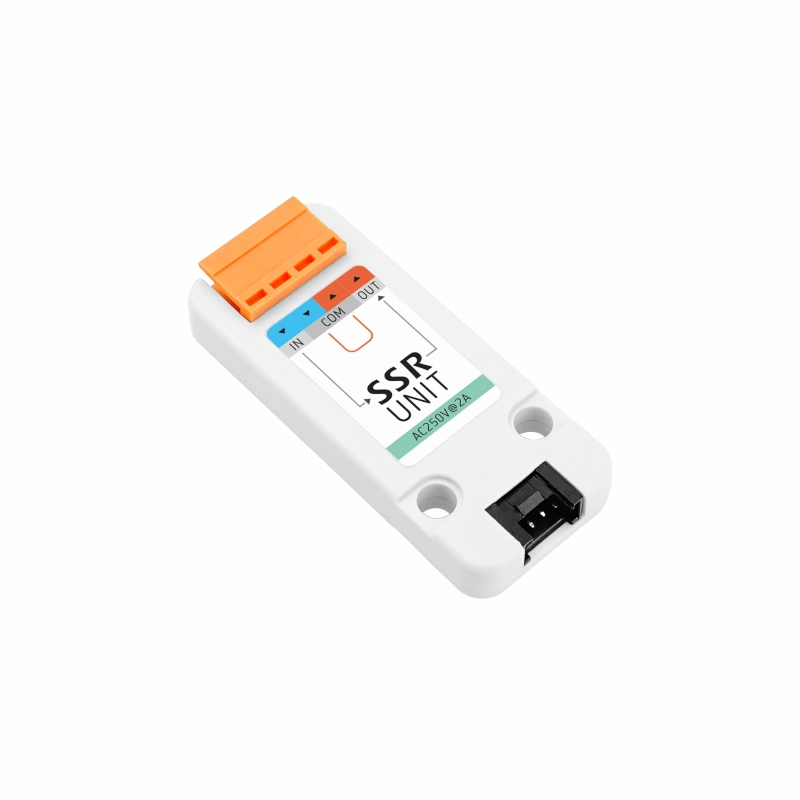
SOLID-STATE RELAYS AC-250V/DC-5V
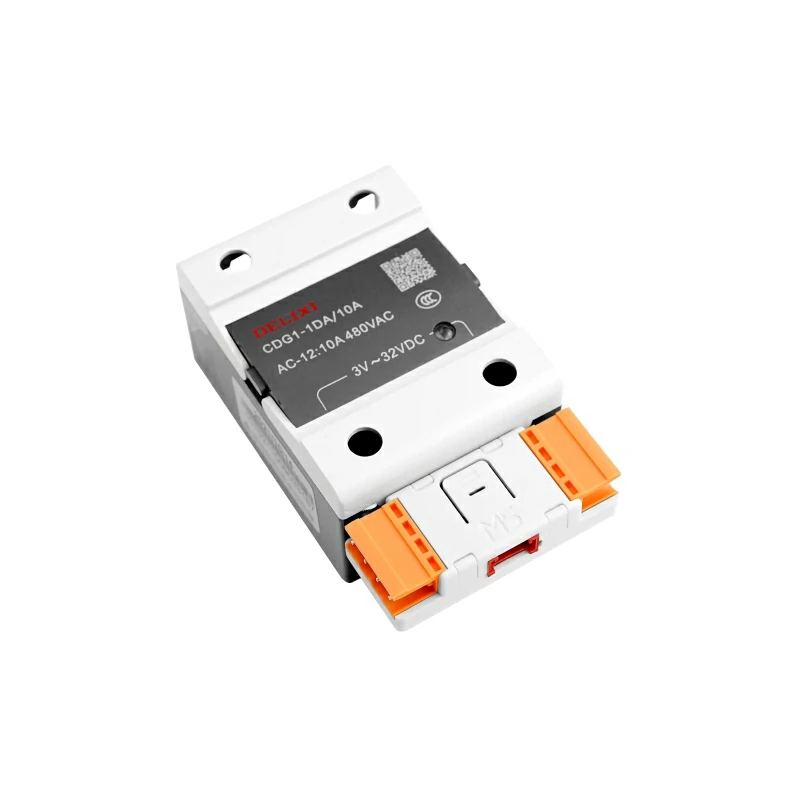
SINGLE PHASE SOLID STATE RELAYS
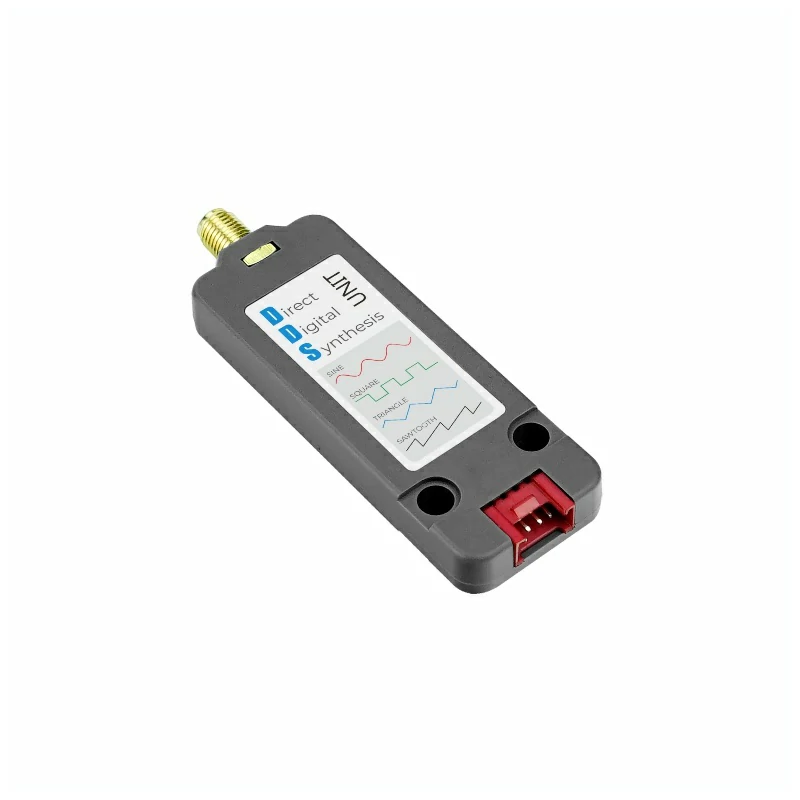
SIGNAL GENERATORS AD9833 I2C
GPIO EXPANDER PCA9554PW I2C
IO EXPANDER STM32F030 I2C
EXTENDED CONTROL MEASURE GPIO
INTERFACE EXPANSION
I2C SPLITTER TCA9548A I2C
I2C SPLITTER PCA9548AP I2C
GPIO EXPANDER MEGA328 I2C
GPIO EXPANDER STM32F030 I2C
INTERFACE CONVERTER TO HT3.96
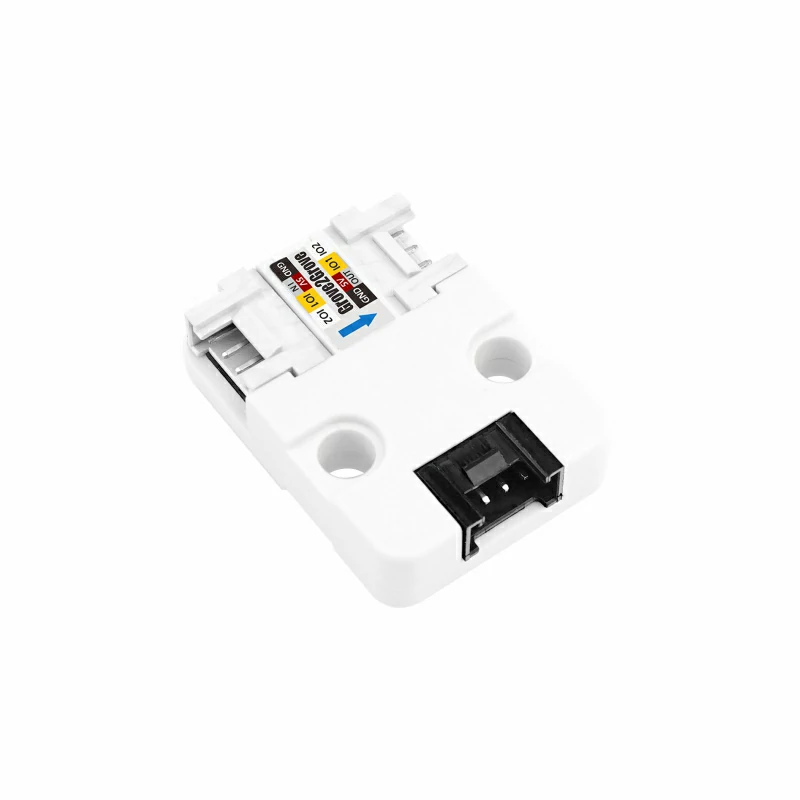
TYPEC TO GROVE POWER
THREE-AXIS INPUT MEGA8A I2C
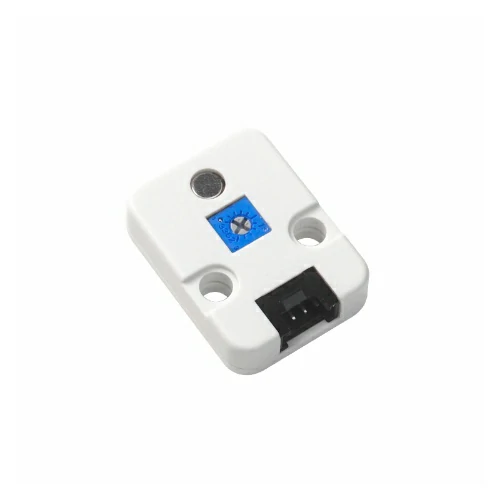
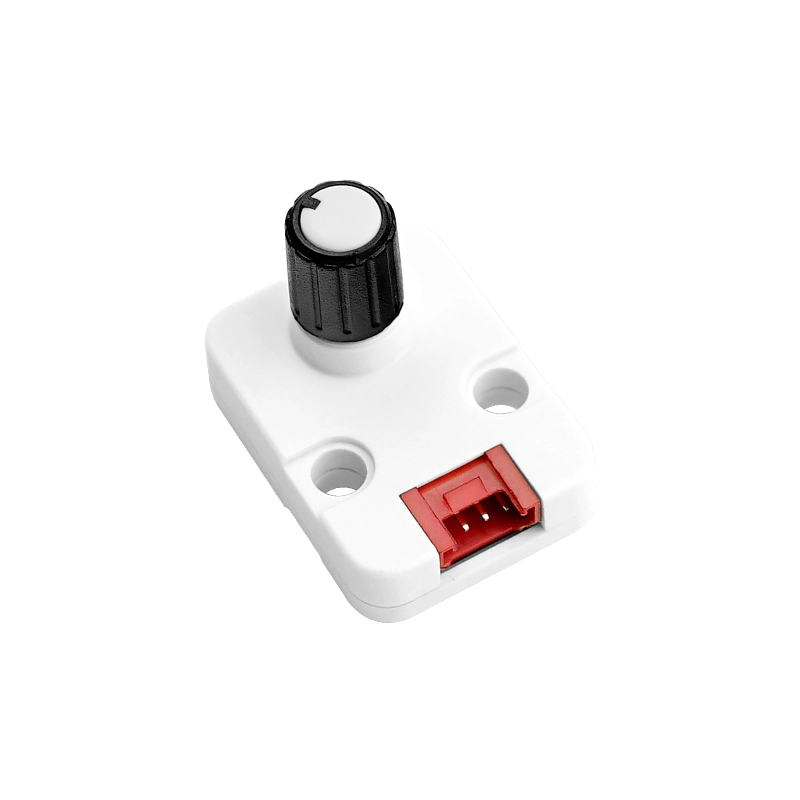
ROTARY POTENTIOMETERS GPIO
ROTARY POTENTIOMETERS 30BIT PLUSE I2C
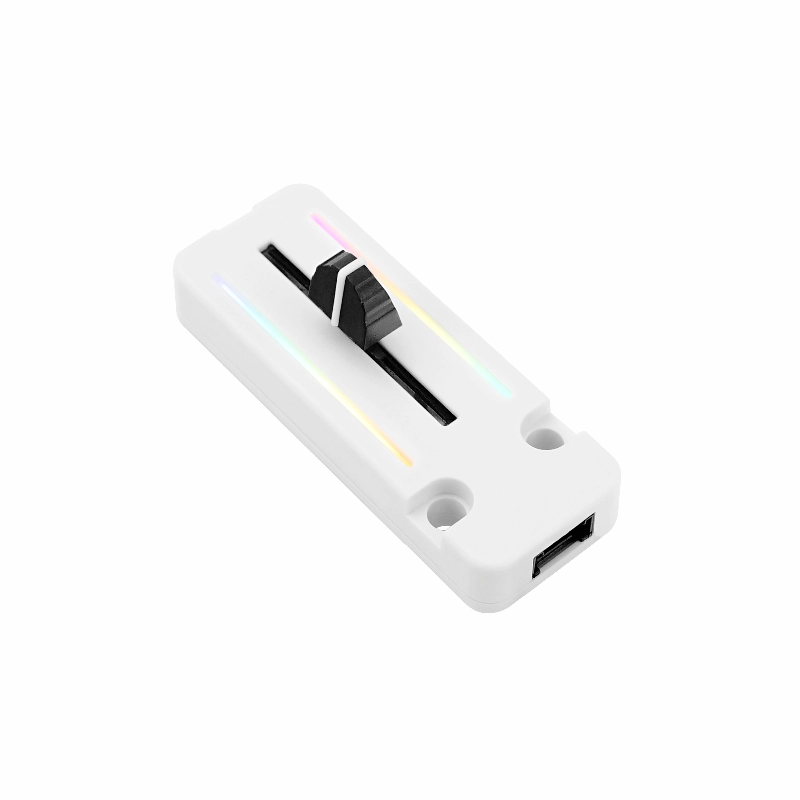
SLIDE POTENTIOMETERS SK6812 GPIO
MECHANICAL KEYS GREEN SHAFT
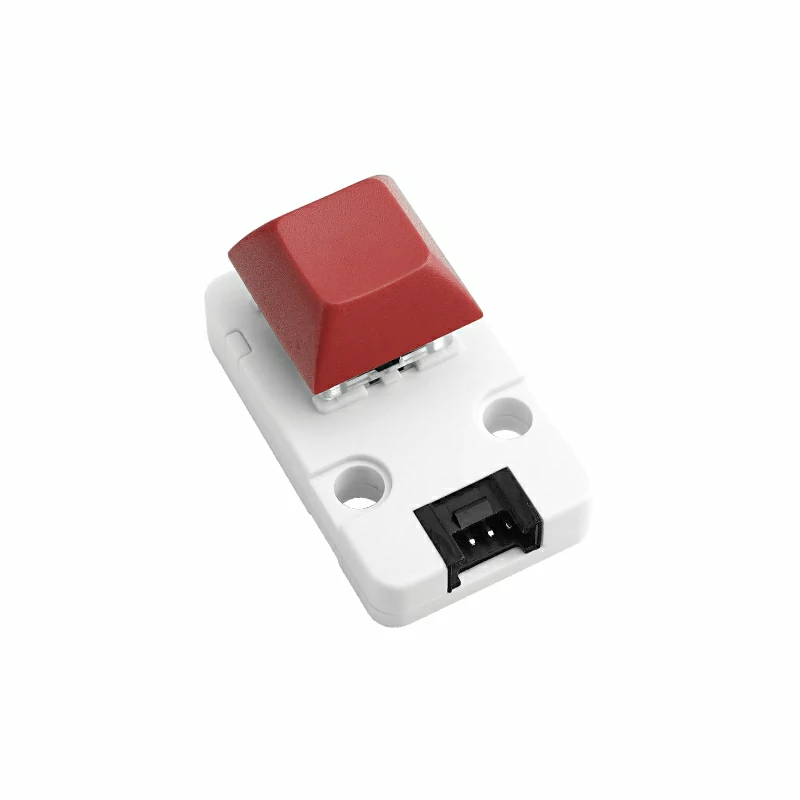
SINGLE BUTTON
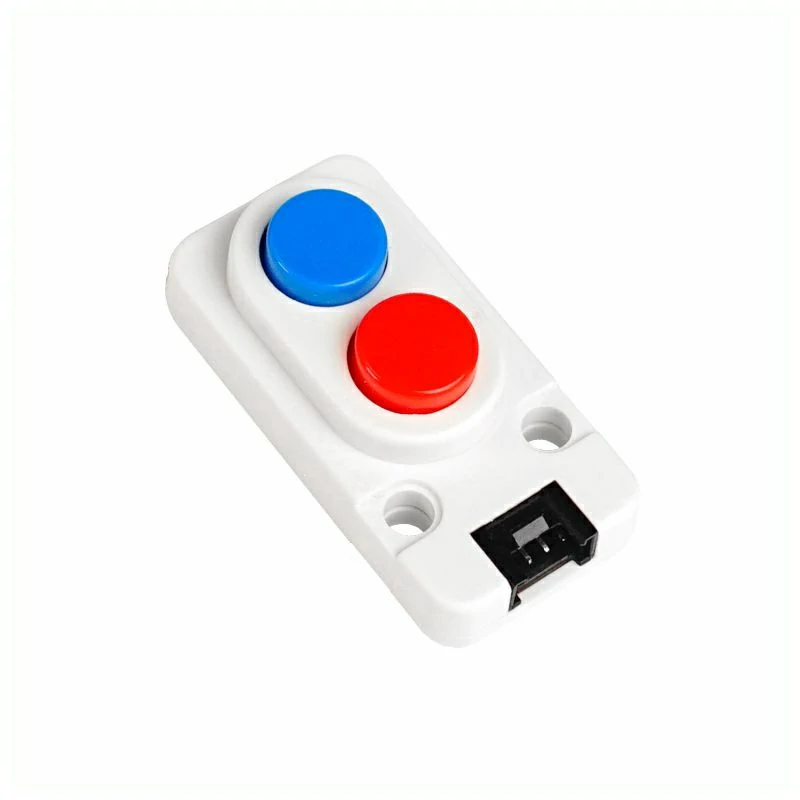
DOUBLE BUTTON
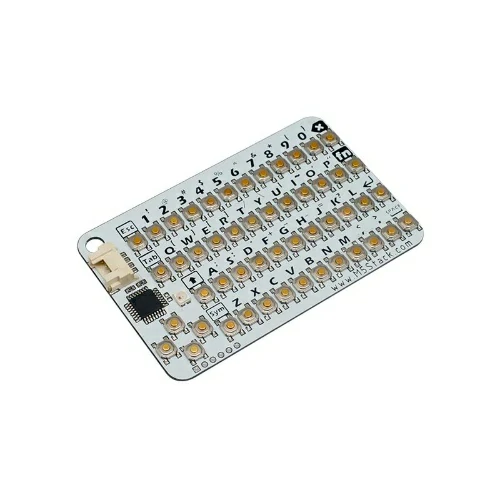
QWERTY KEYBOARD ATMEGA8A I2C
QWERTY KEYBOARD MEGA328P I2C
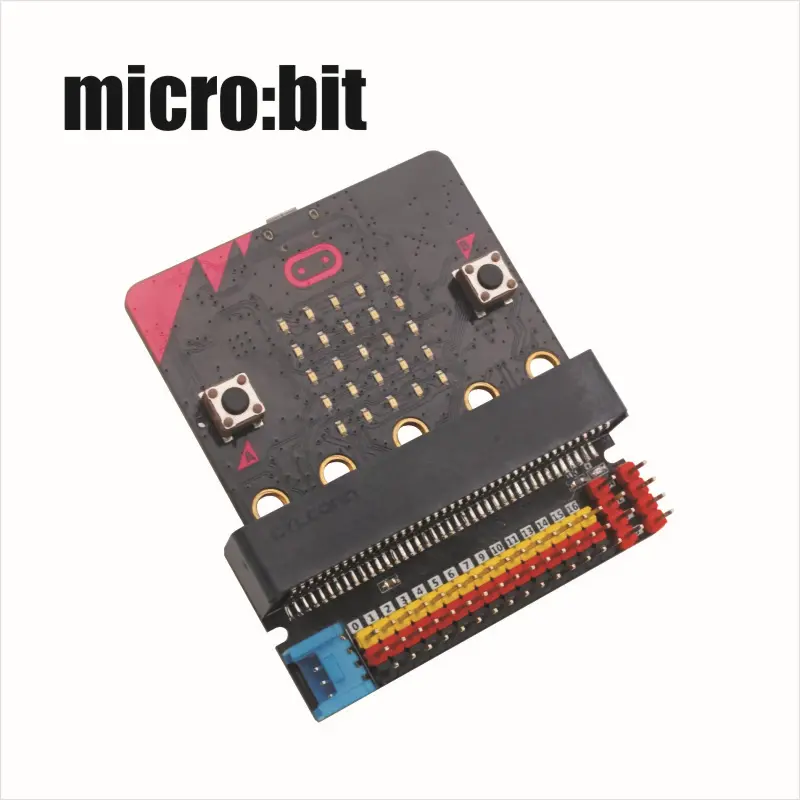
COMMUNICATION TRANSFER WITH MICRO:BIT
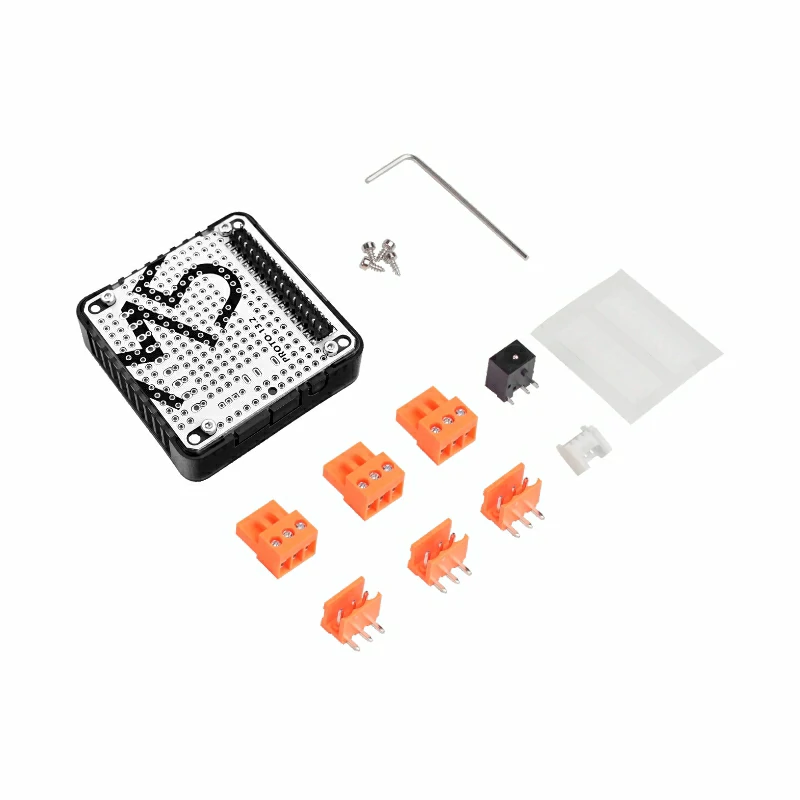
UNIVERSAL BOARD FREE DESIGN
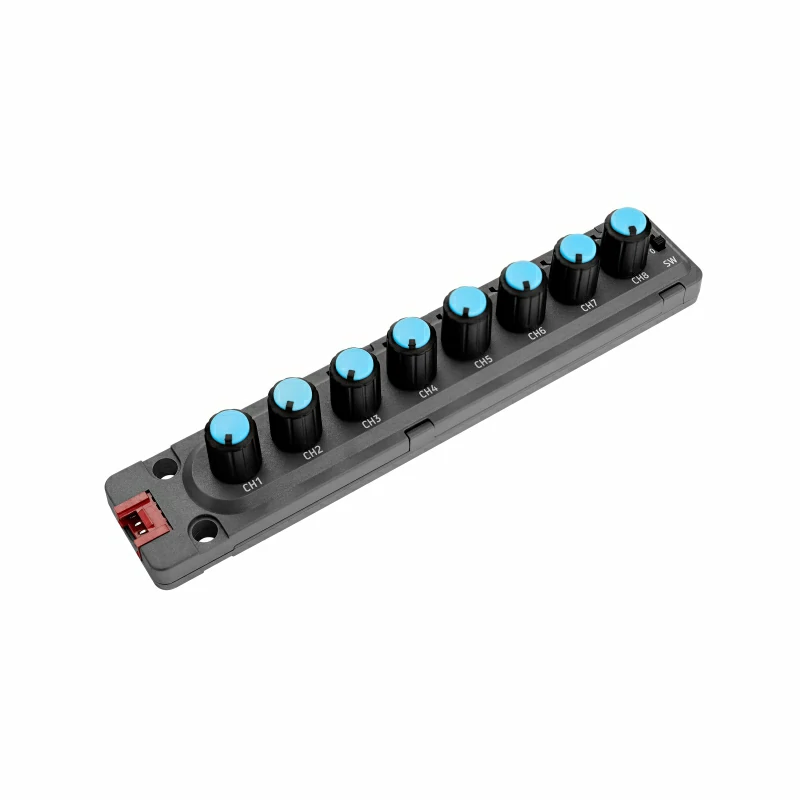
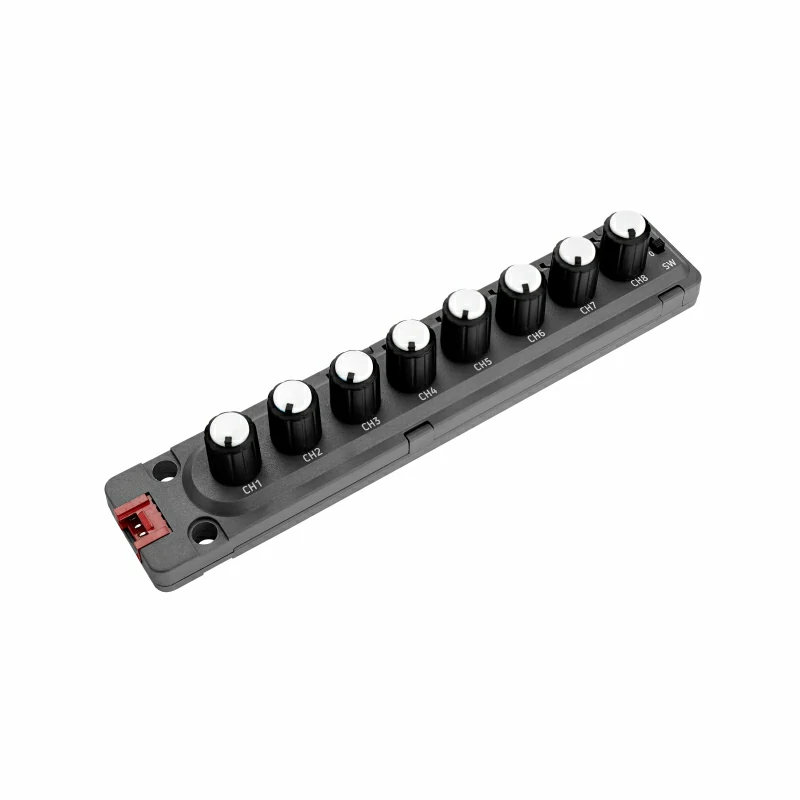
ANGLE ADJUSTABLE POTENTIOMETER I2C 8CH UNIT
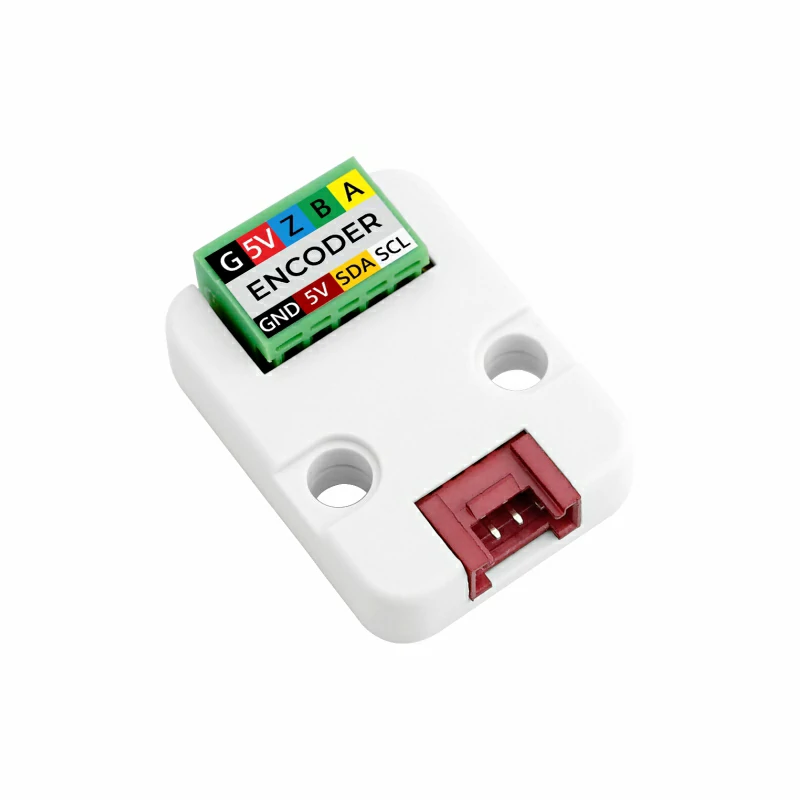
ENCODER I2C STM32F030 8CH
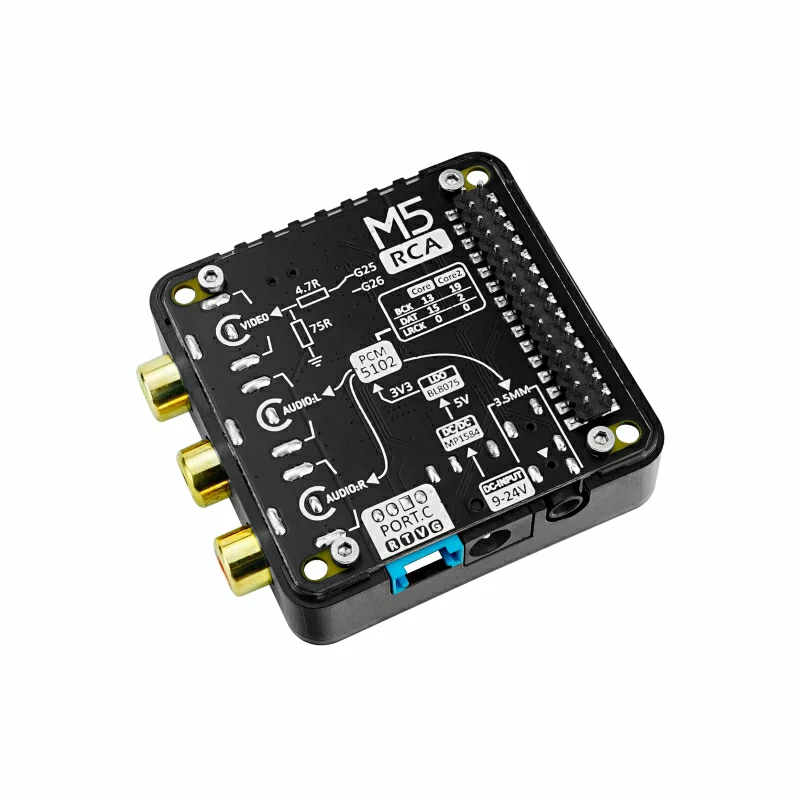
RCA A/V COMPOSITE VIDEO OR AUDIO
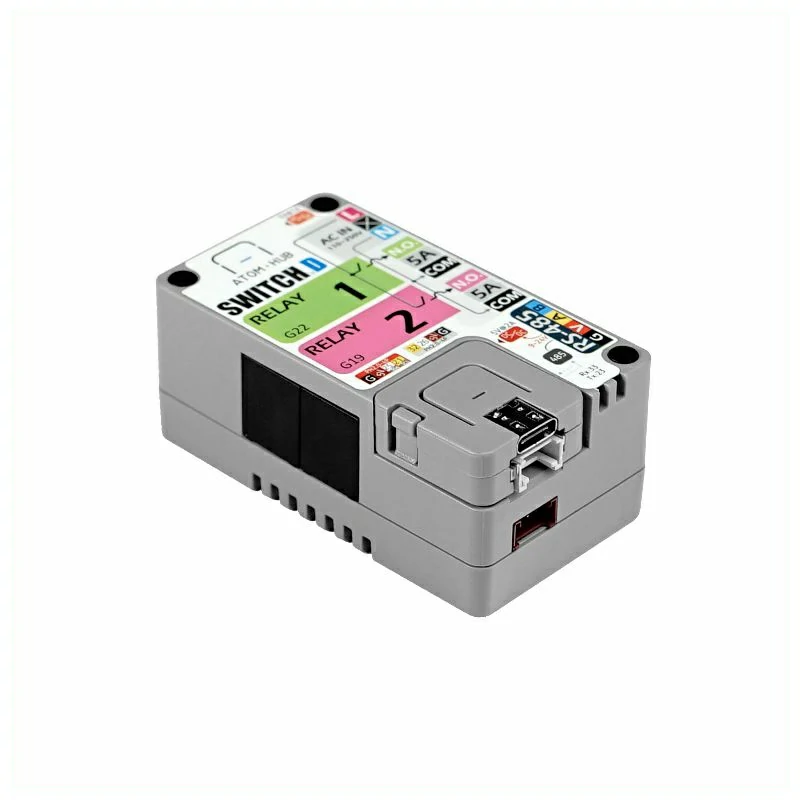
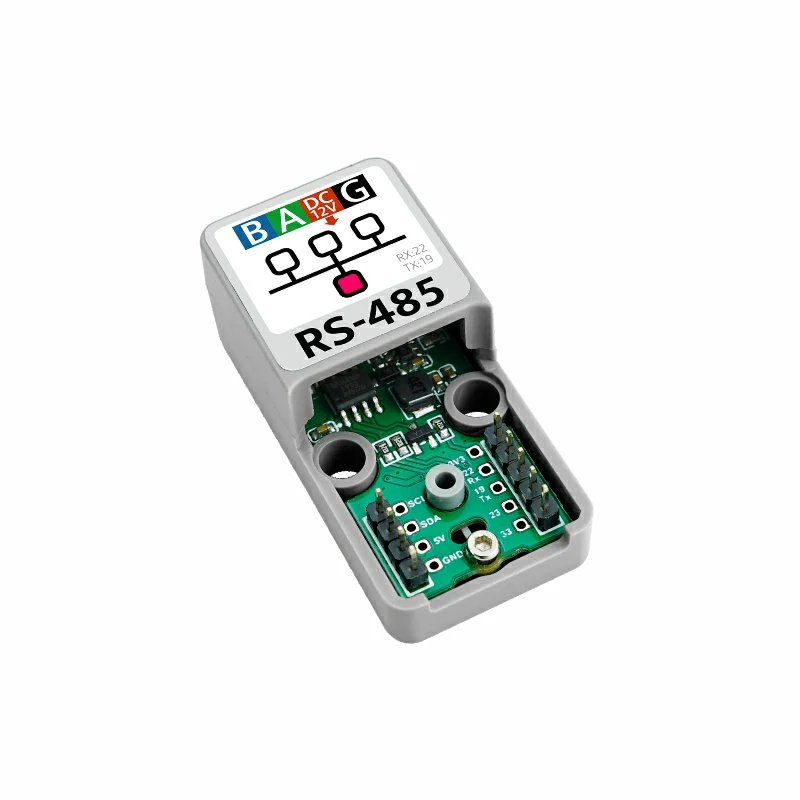
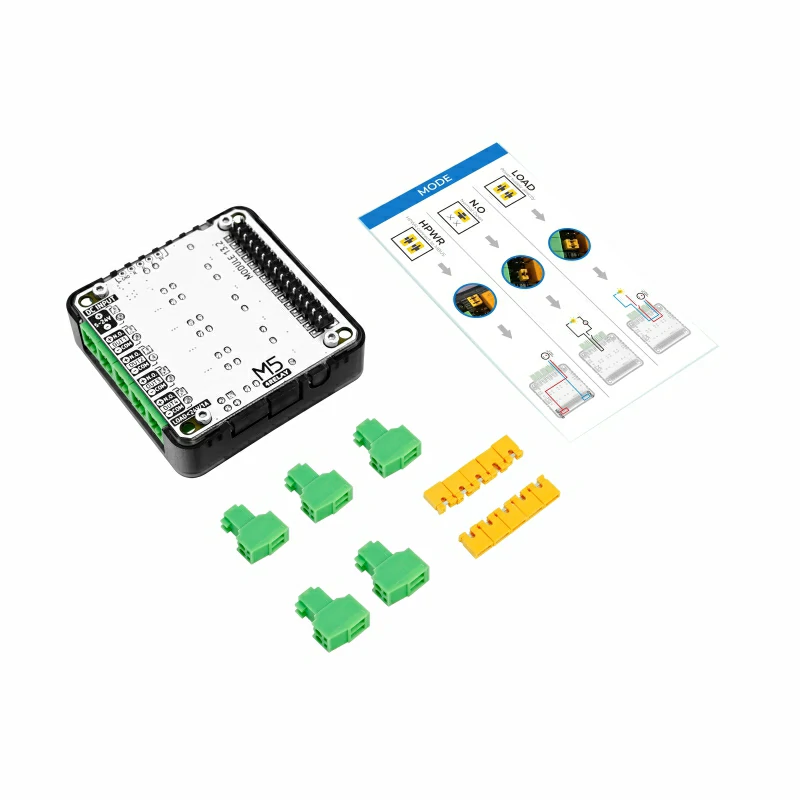
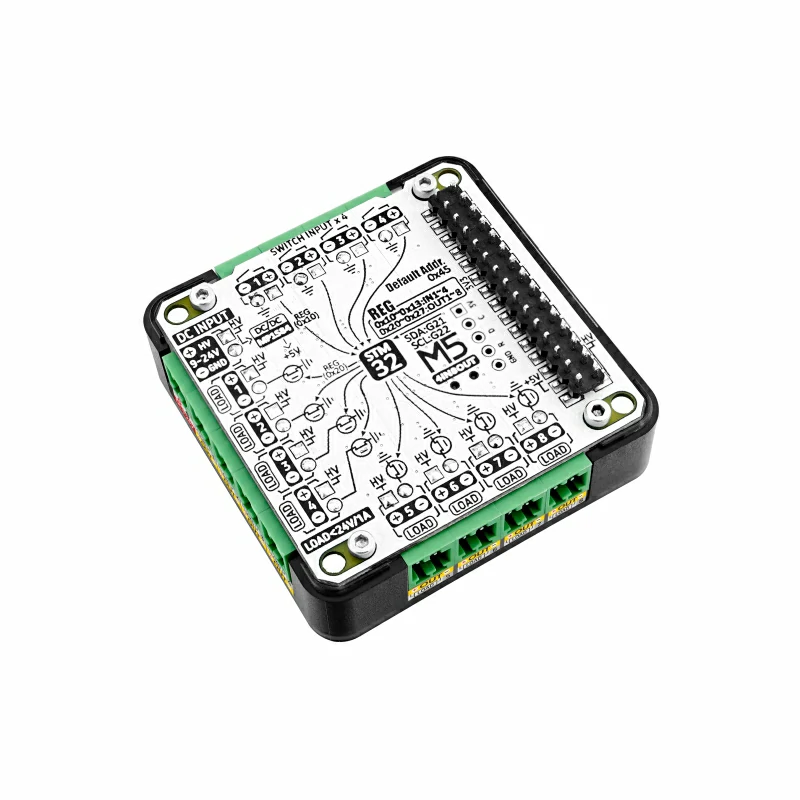
SWITCH MODBUS I2C RS485PWR RELAY DC
ENCODE STM32
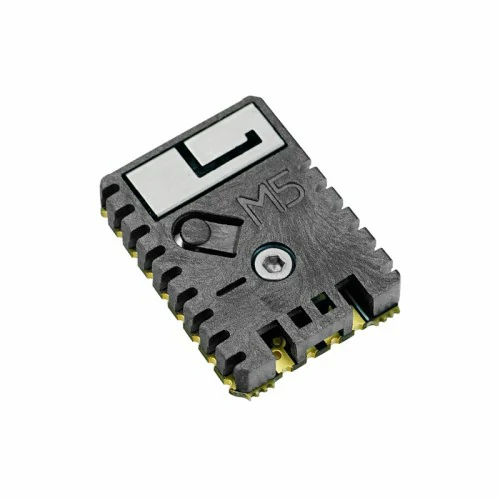
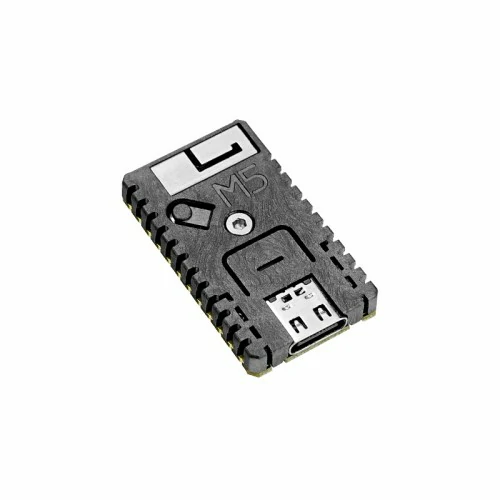
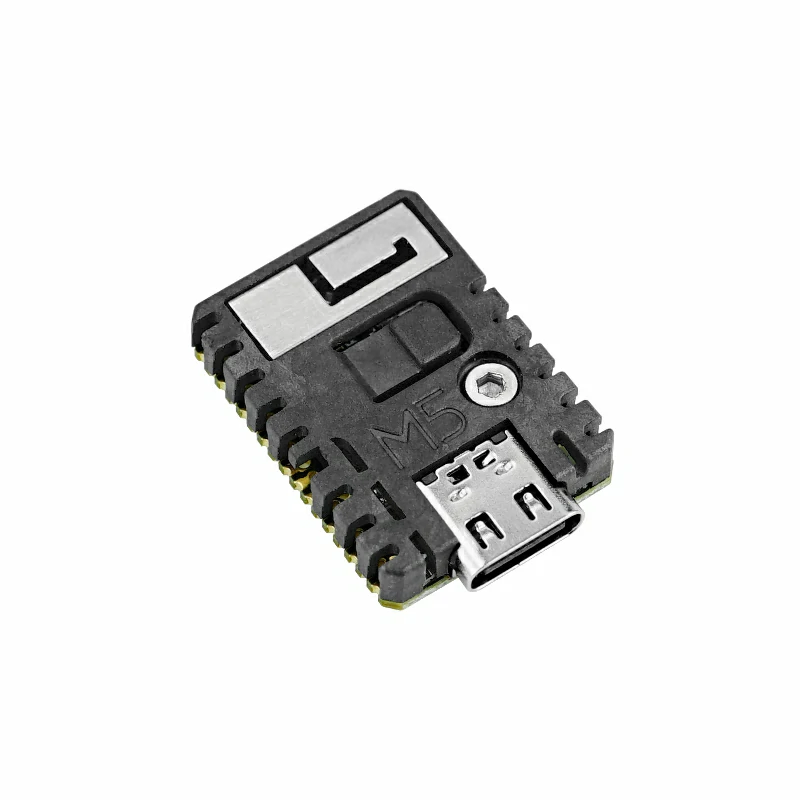
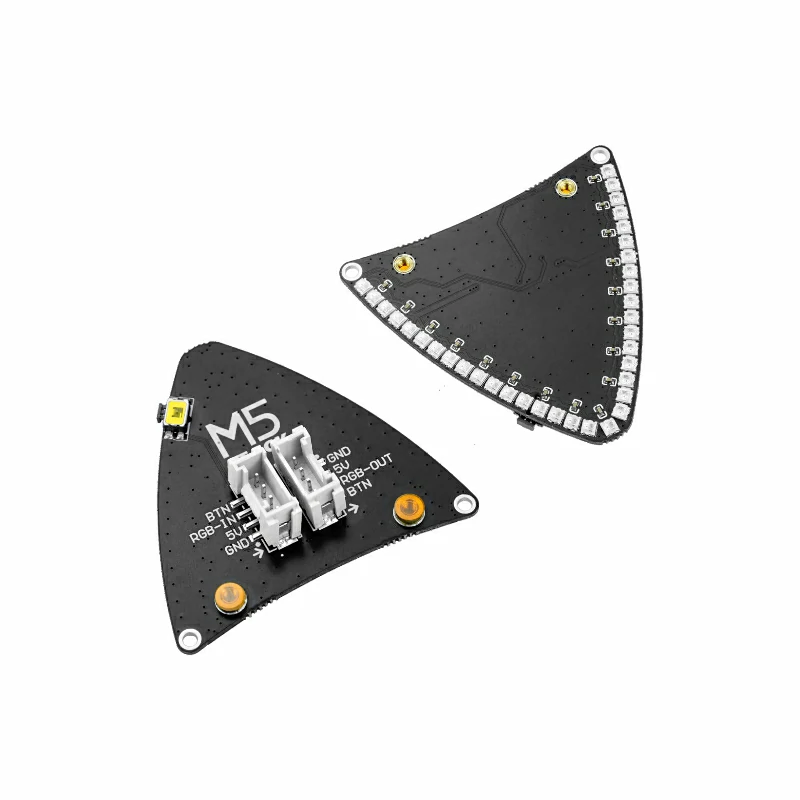
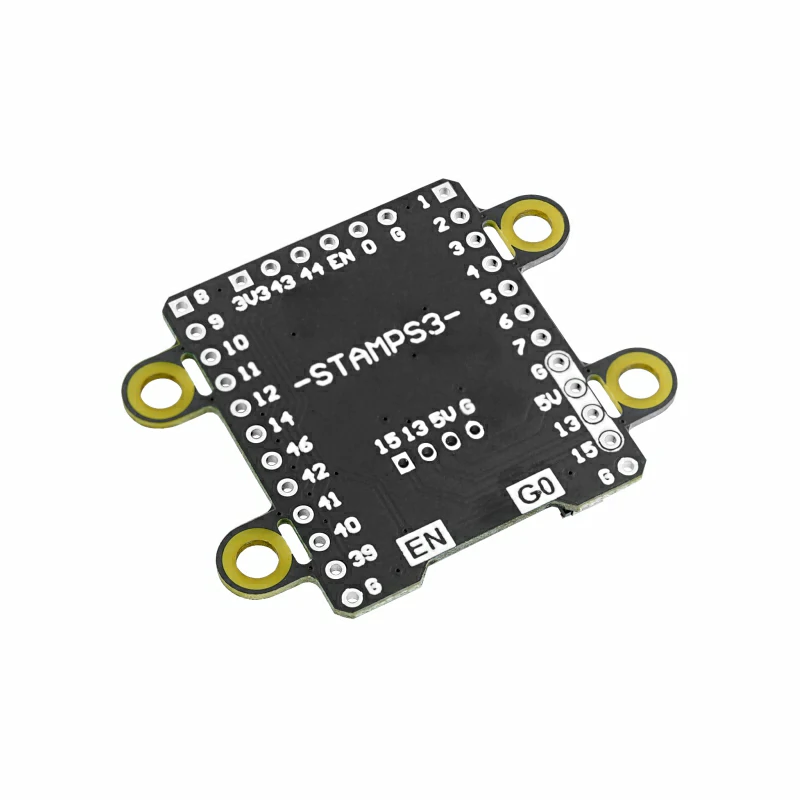
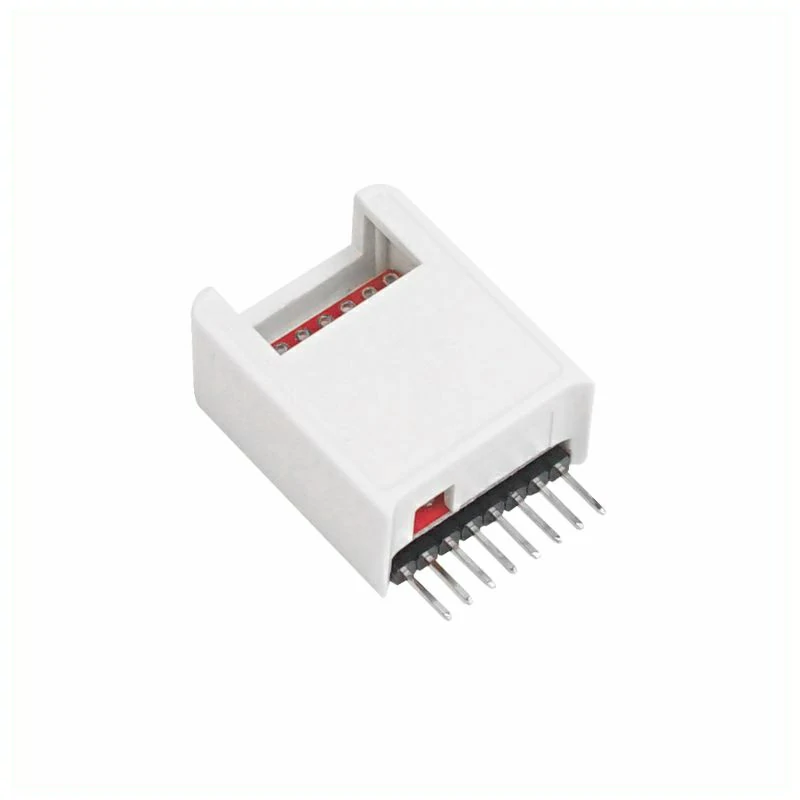
M5STAMPS3 BREAKOUT STAMP S3 1.27 2.54
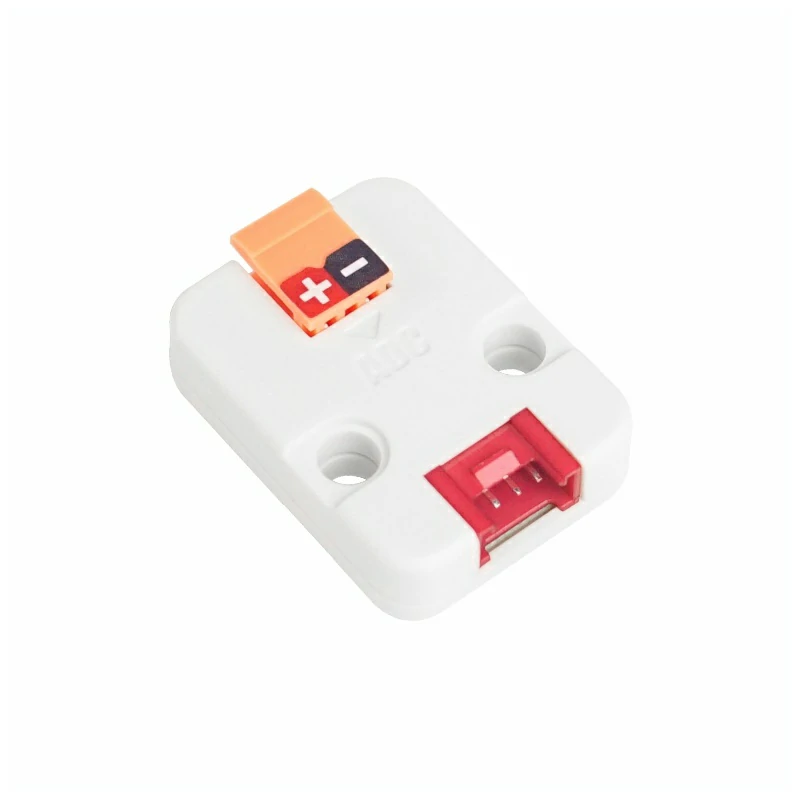
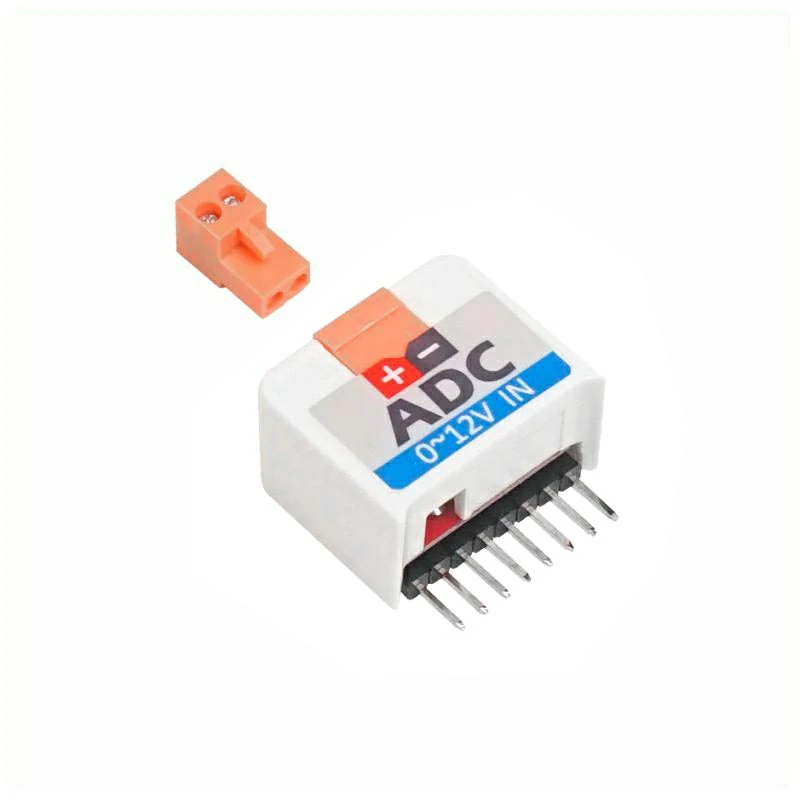
ADC RATE ADS1110 ANALOG DIGITAL
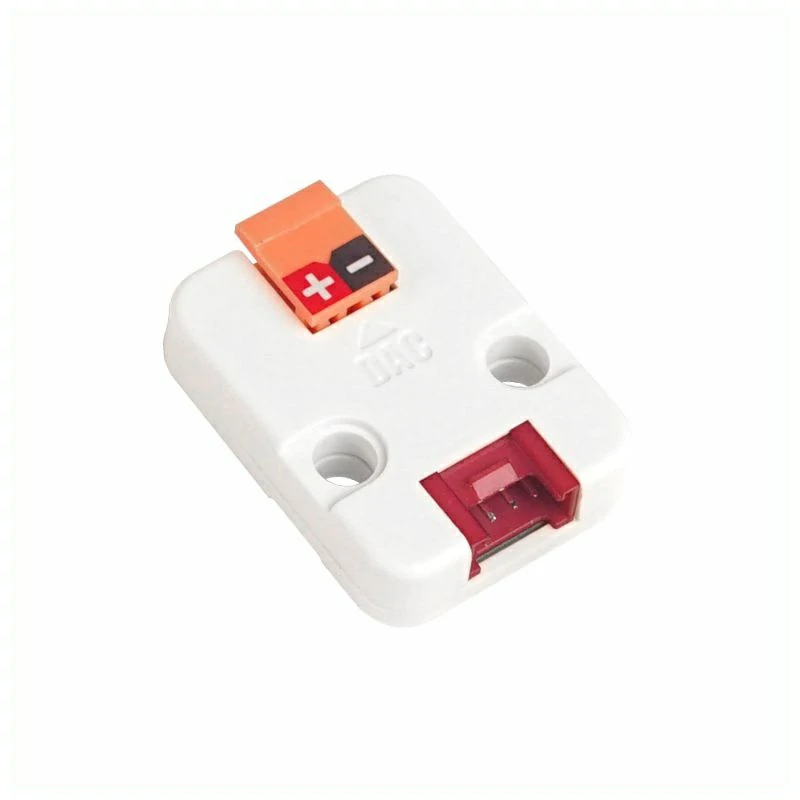
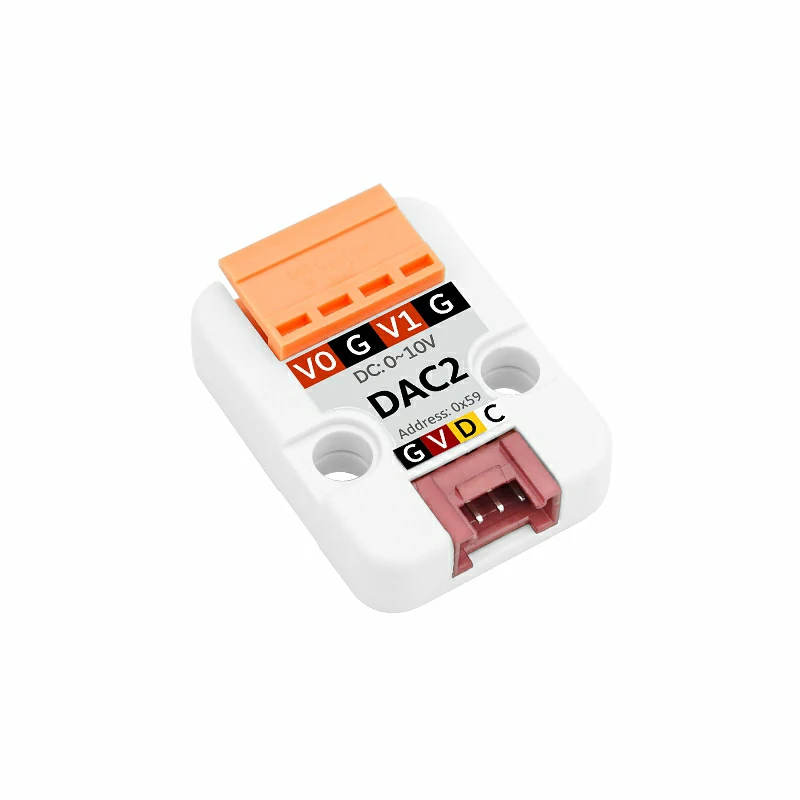
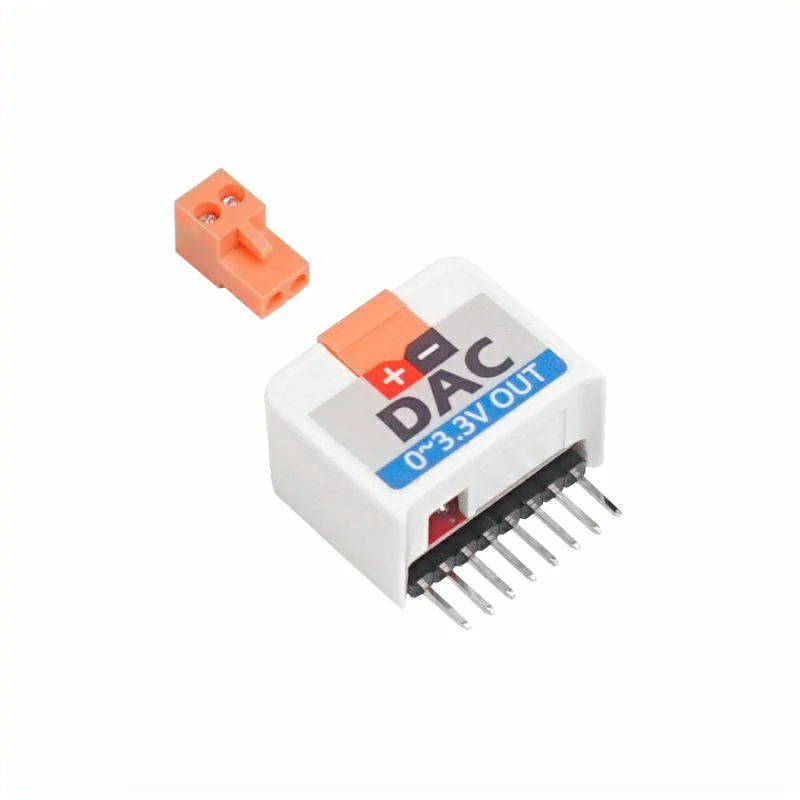
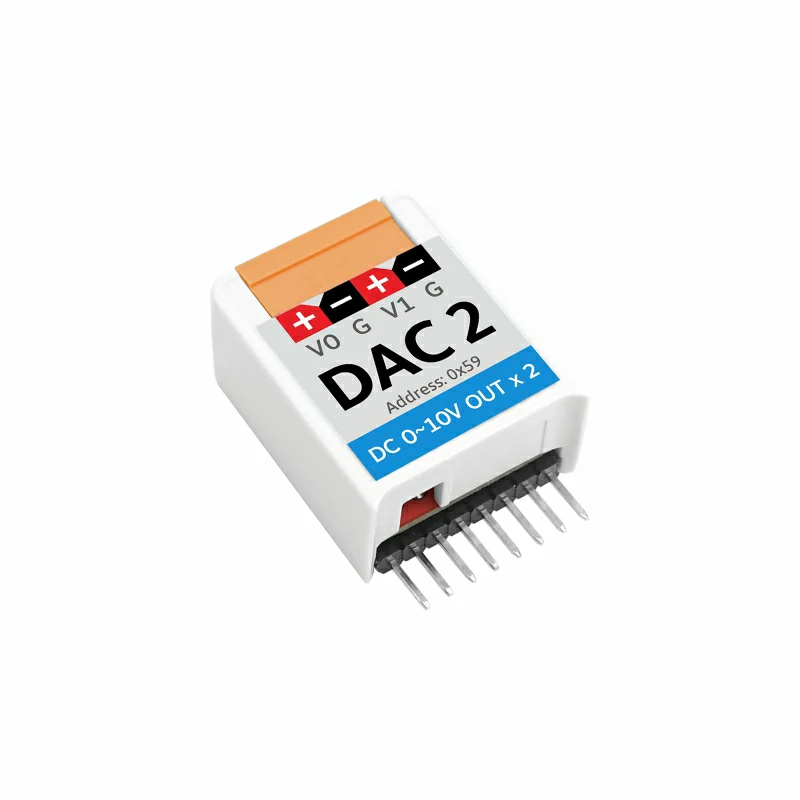
DAC UNIT DIGITAL ANALOG GP8413
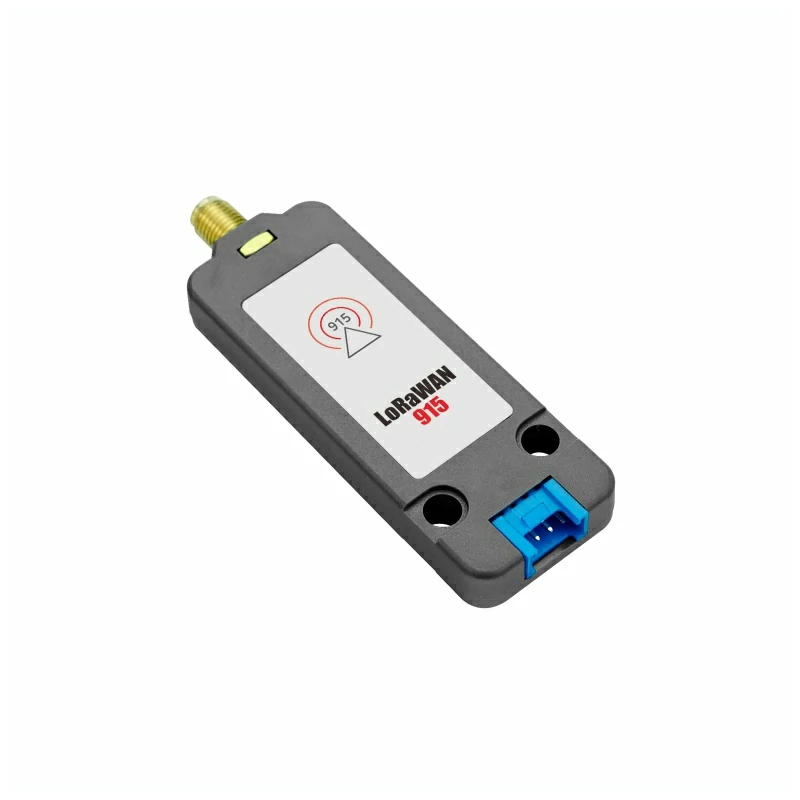
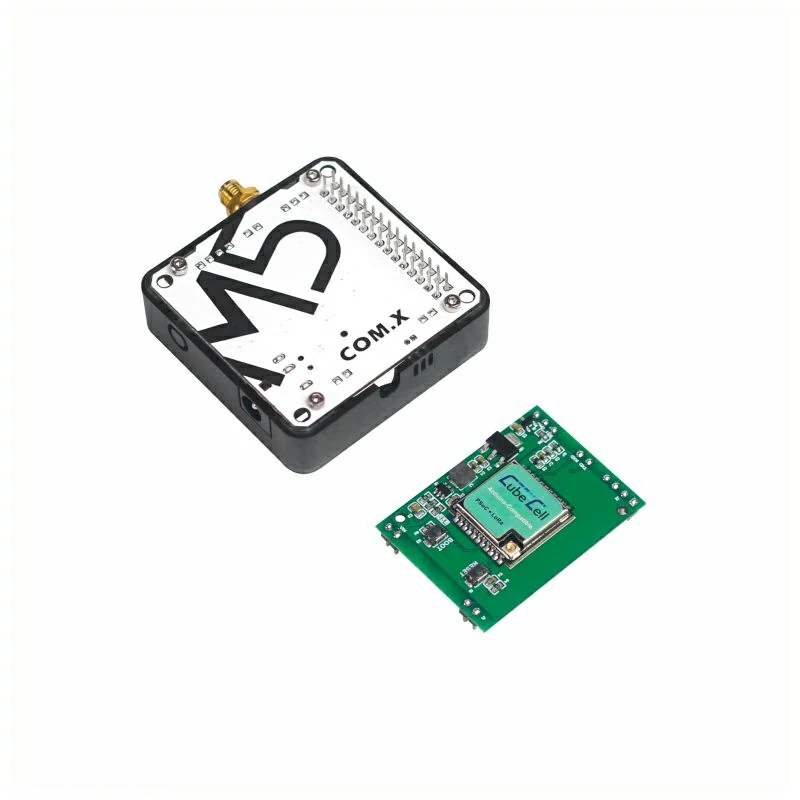
LORAWAN 915MHZ ASR6501 UART
LORAWAN 868MHZ ASR6501 UART
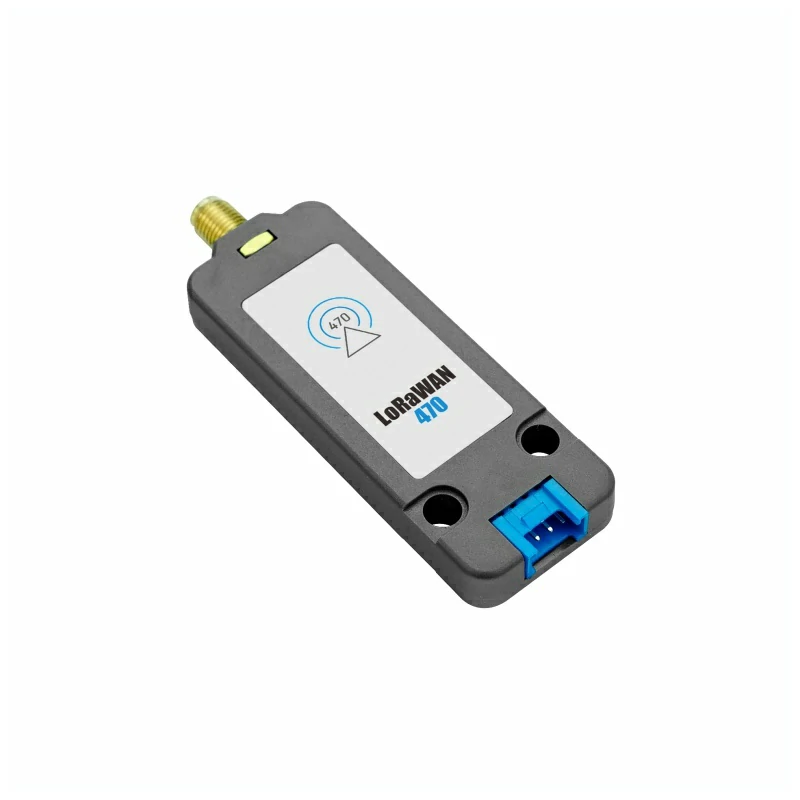
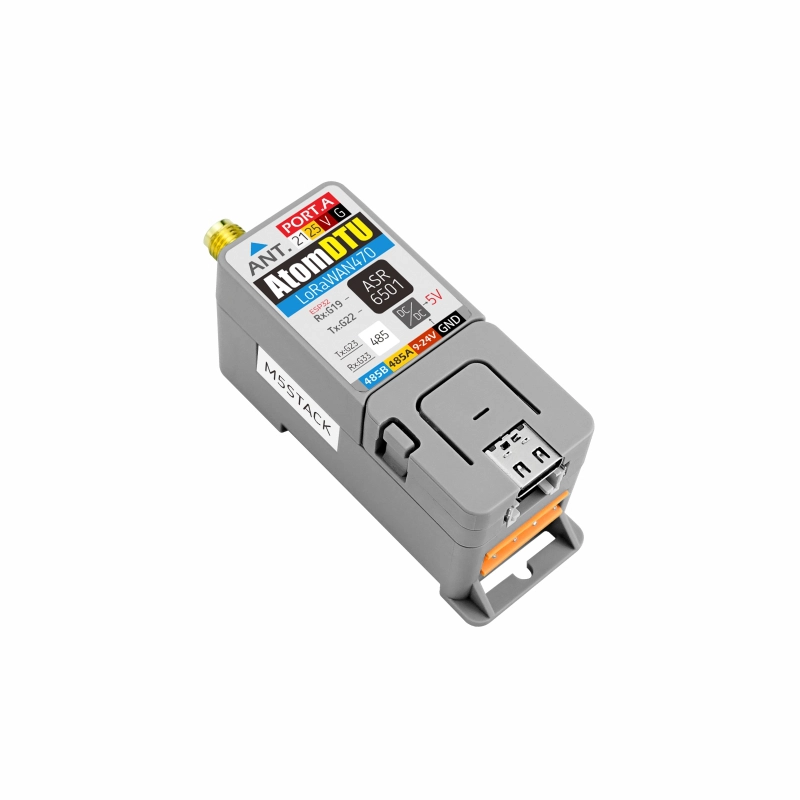
LORAWAN 470MHZ ASR6501 UART
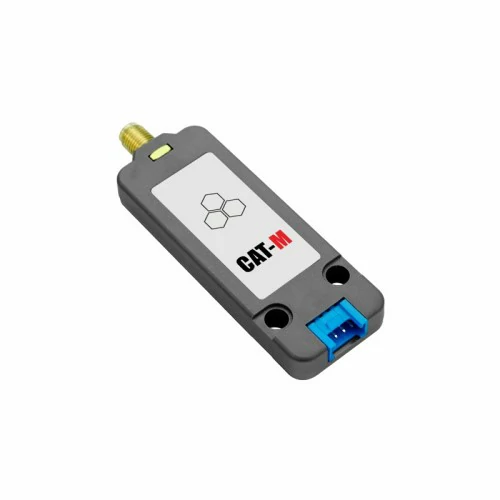
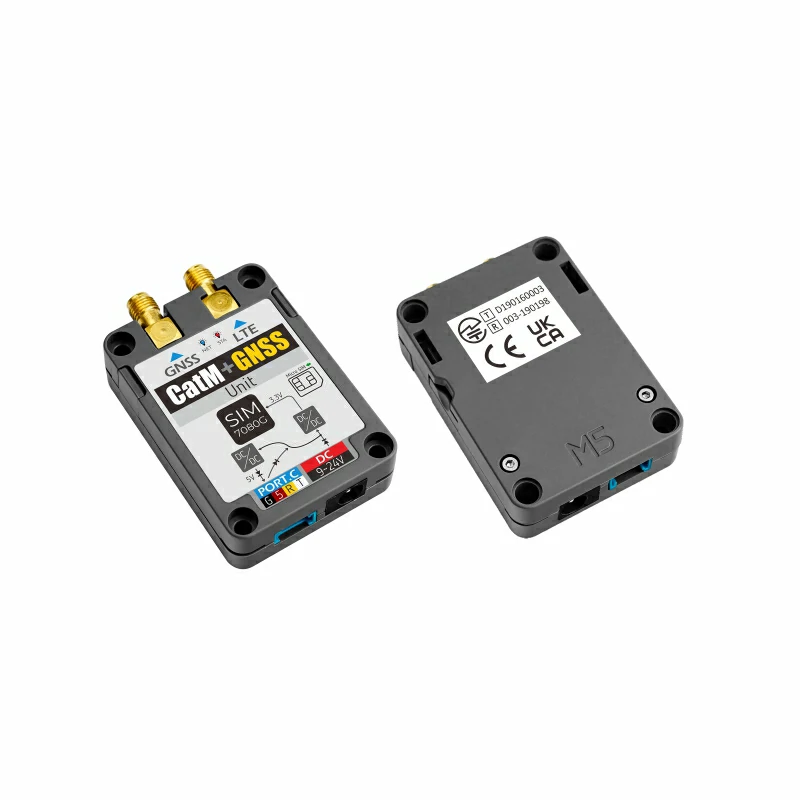
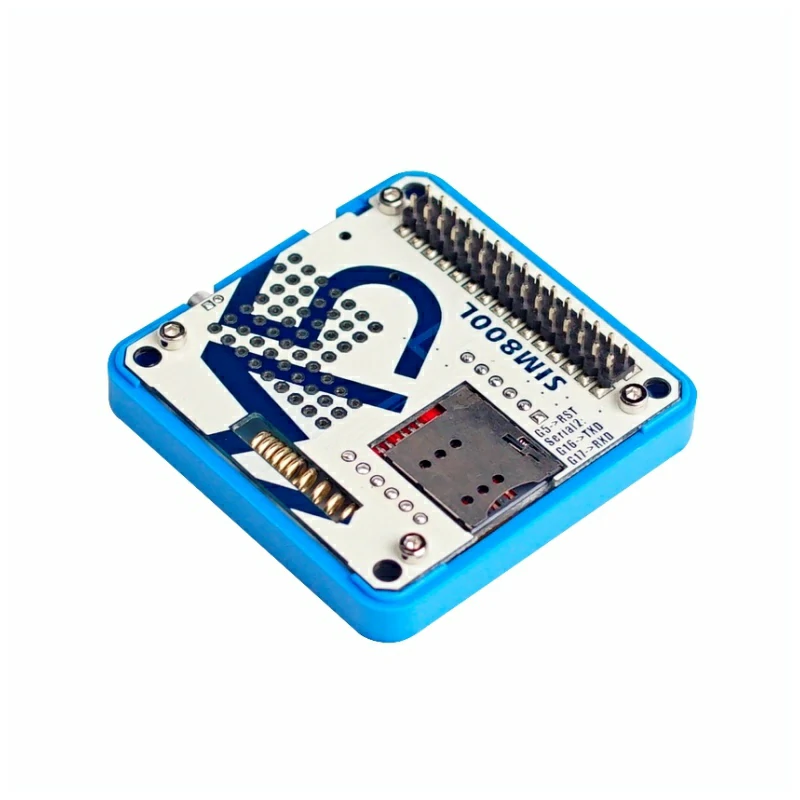
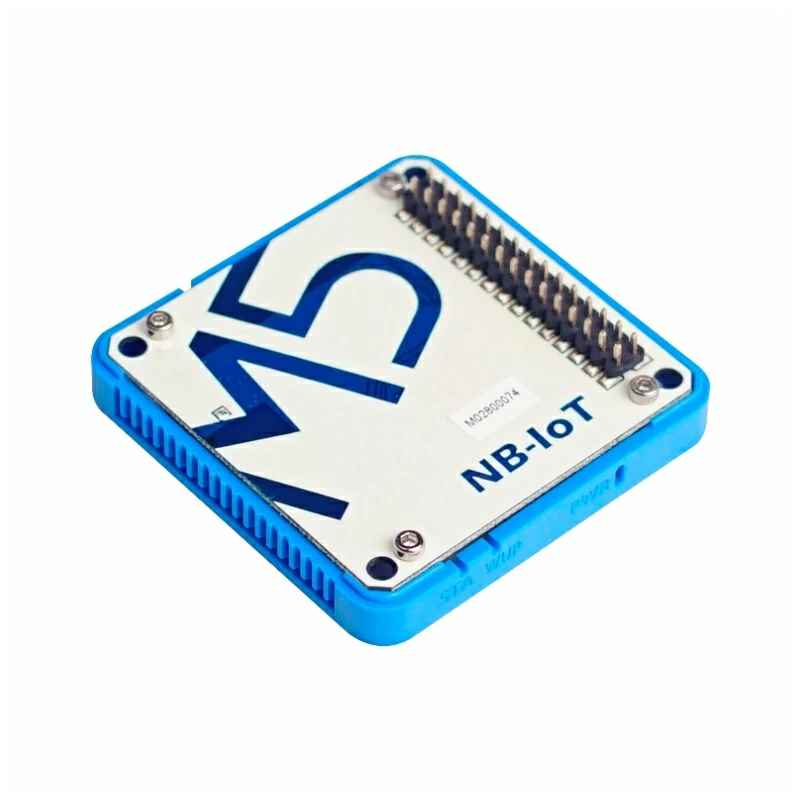
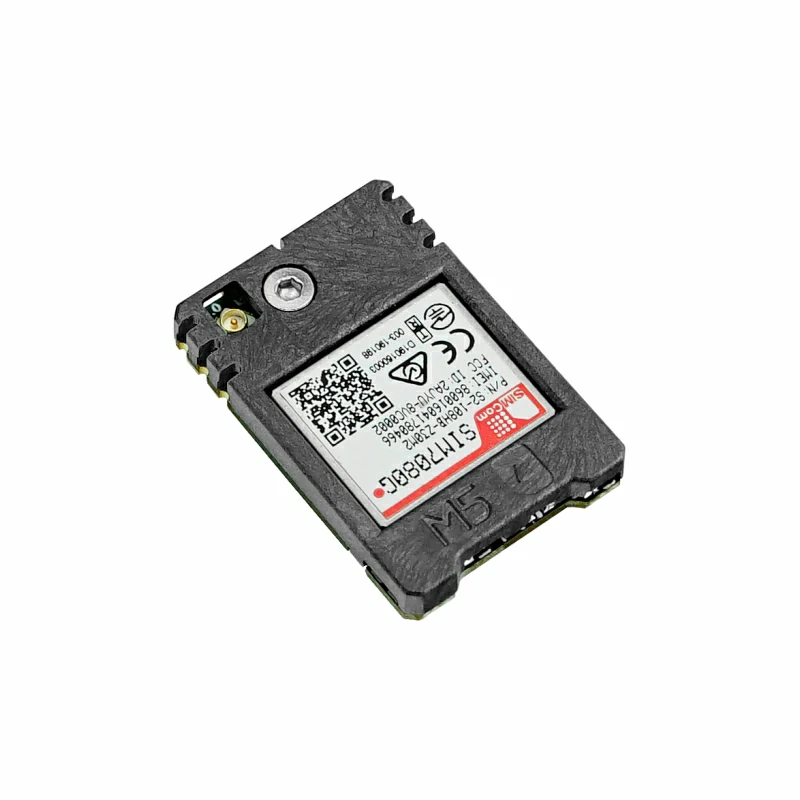
CATM NB-IOT SIM7080G UART
GLOBAL NB-IOT SIM7020G UART
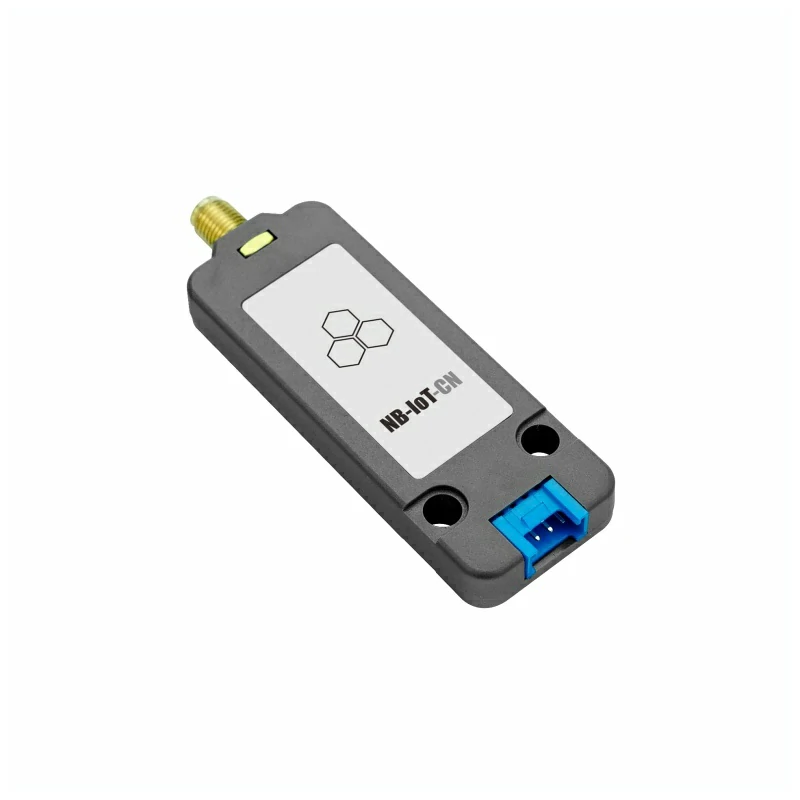
CHINA NB-IOT SIM7020C UART
SIM7028 NB-IOT AT NETWORK COMMUNICATION SERIAL UART
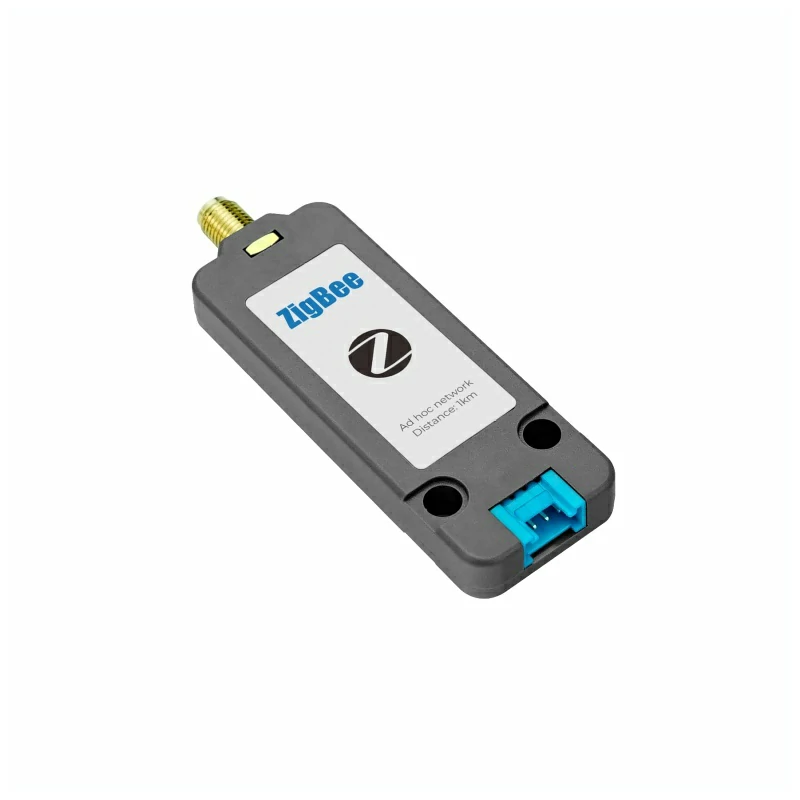
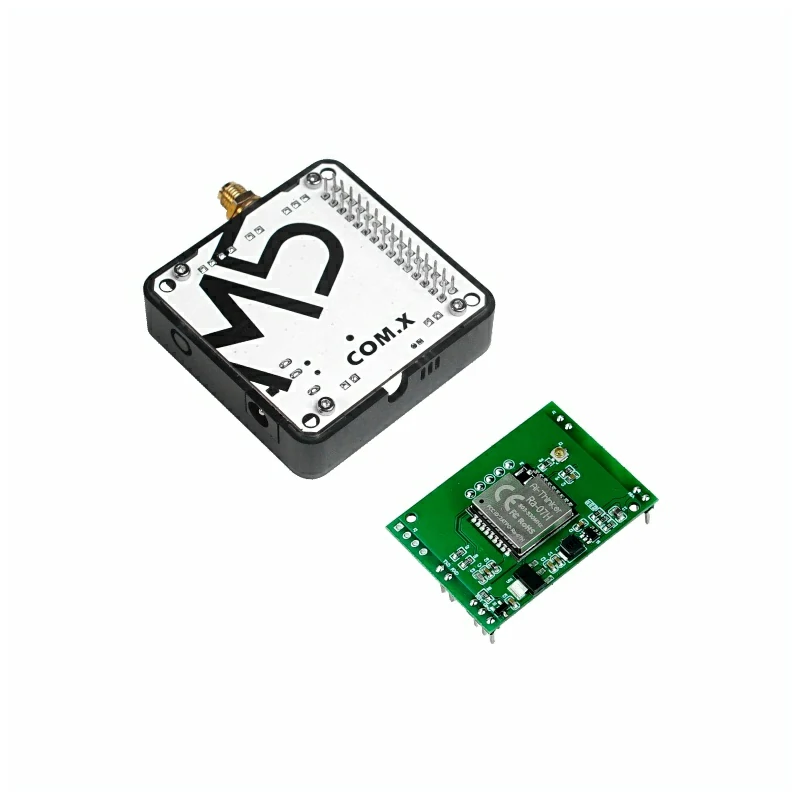
ZIGBEE COMMUNICATION CC2630 UART
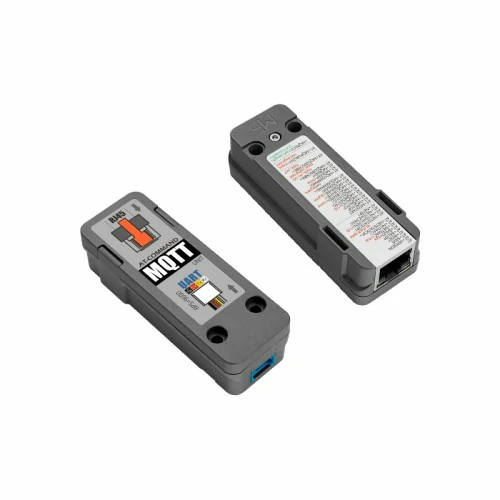
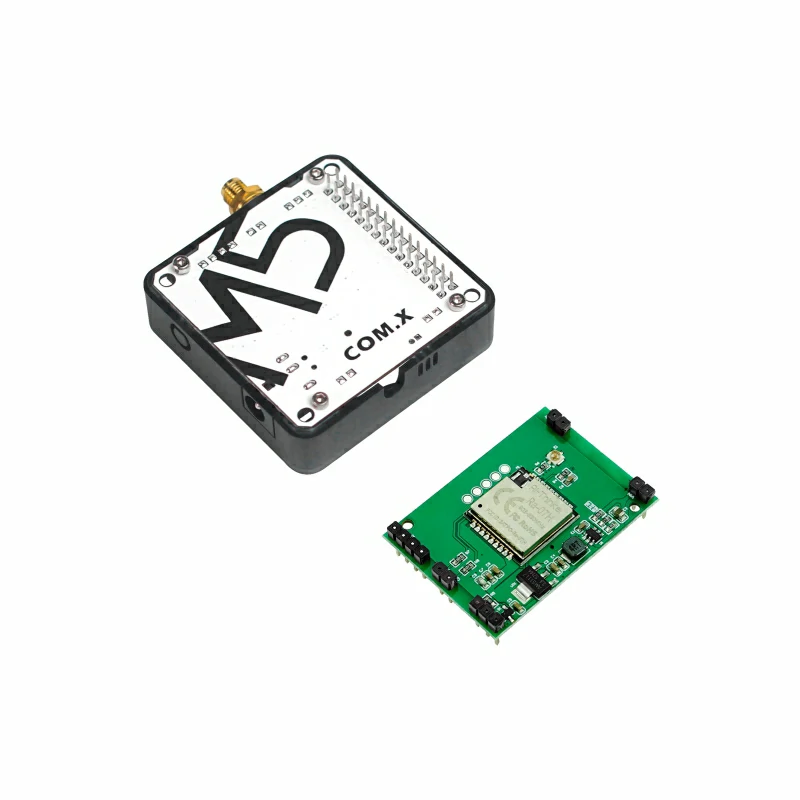
MQTT COMMUNICATION W5500 UART
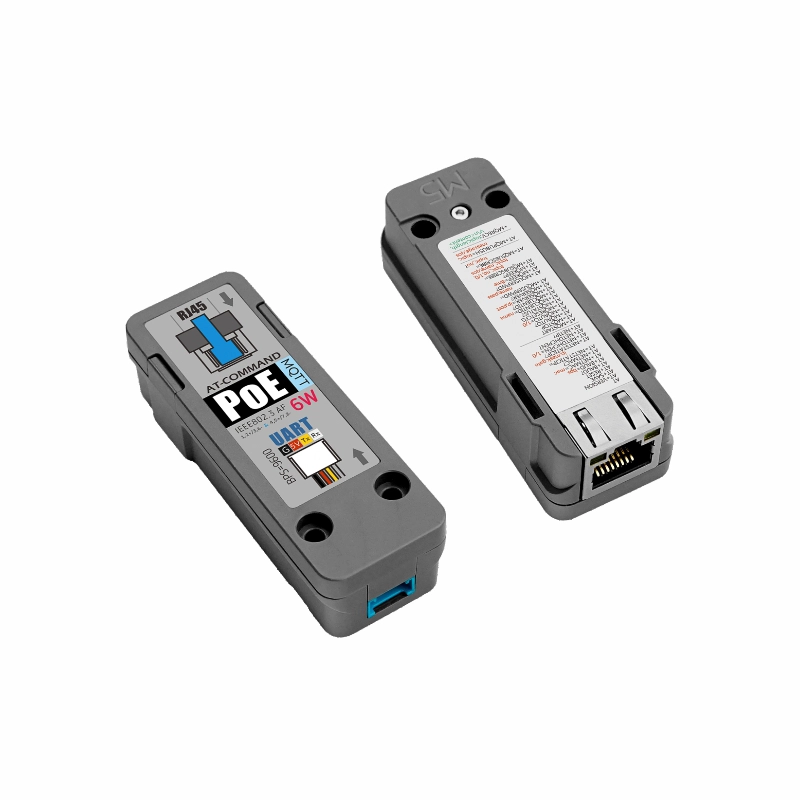
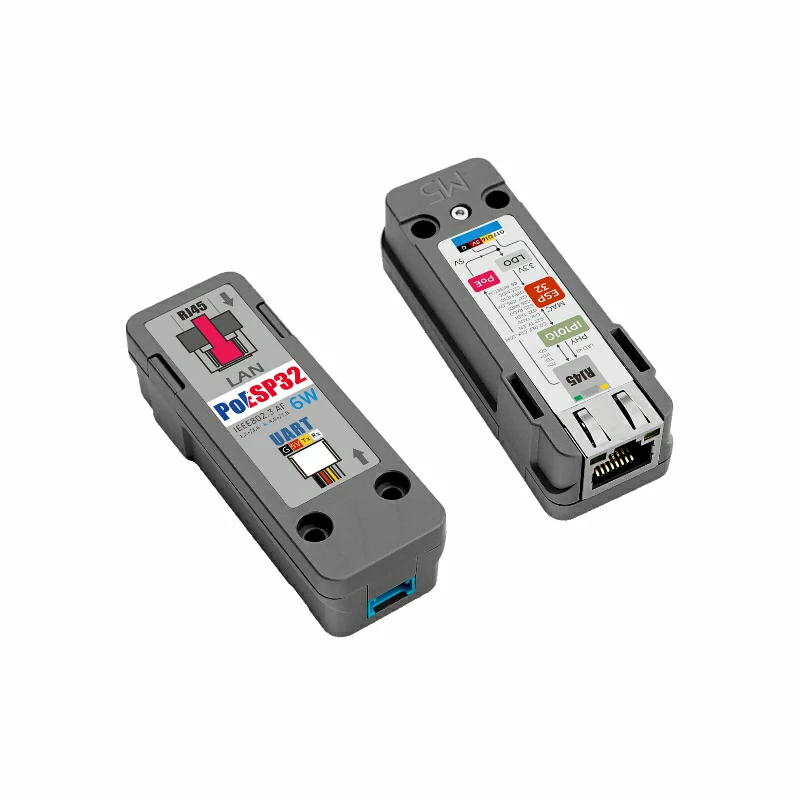
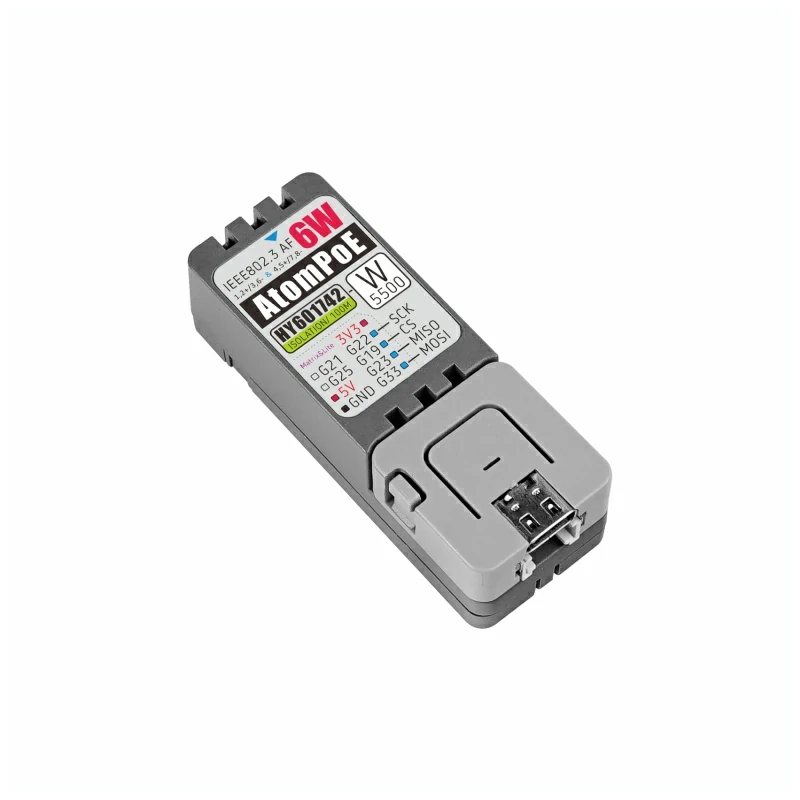
MQTT POE W5500 UART
DUAL-MODE COMMUNICATION GNSS LOCATION
ETHERNET CONTROLLER ESP32 POE
IR T/R GPIO
RF TRANSMITTERS SYN115 GPIO
RF RECEIVERS SYN531R GPIO
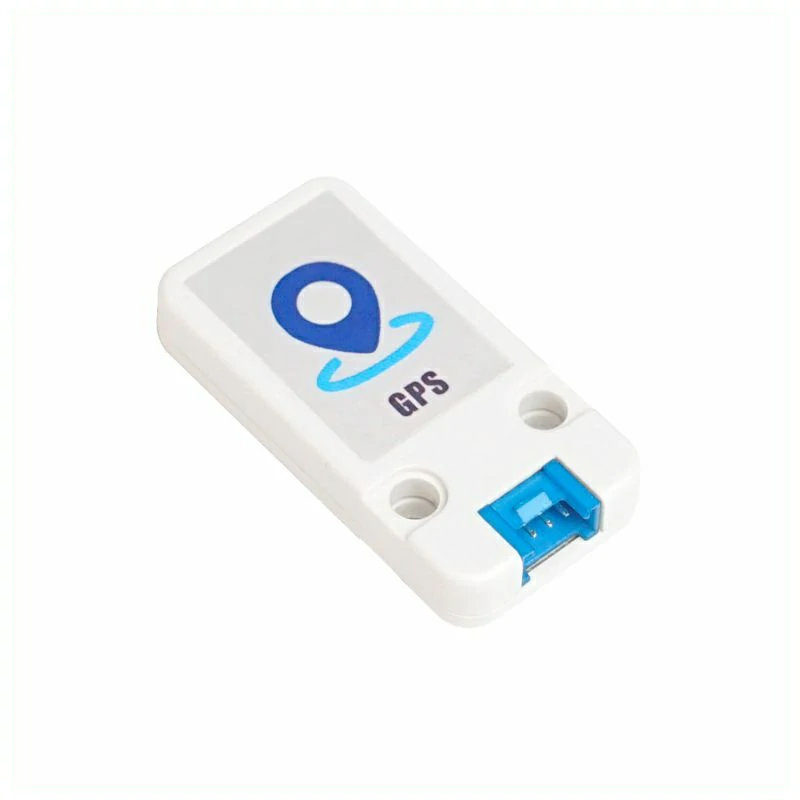
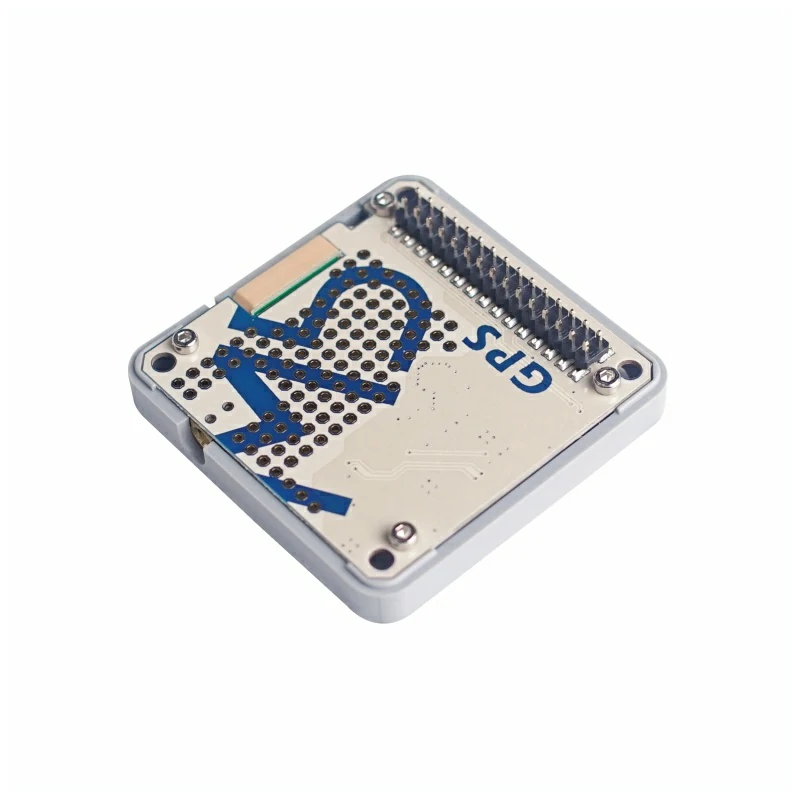
SATELLITE POSITION AT6558 UART
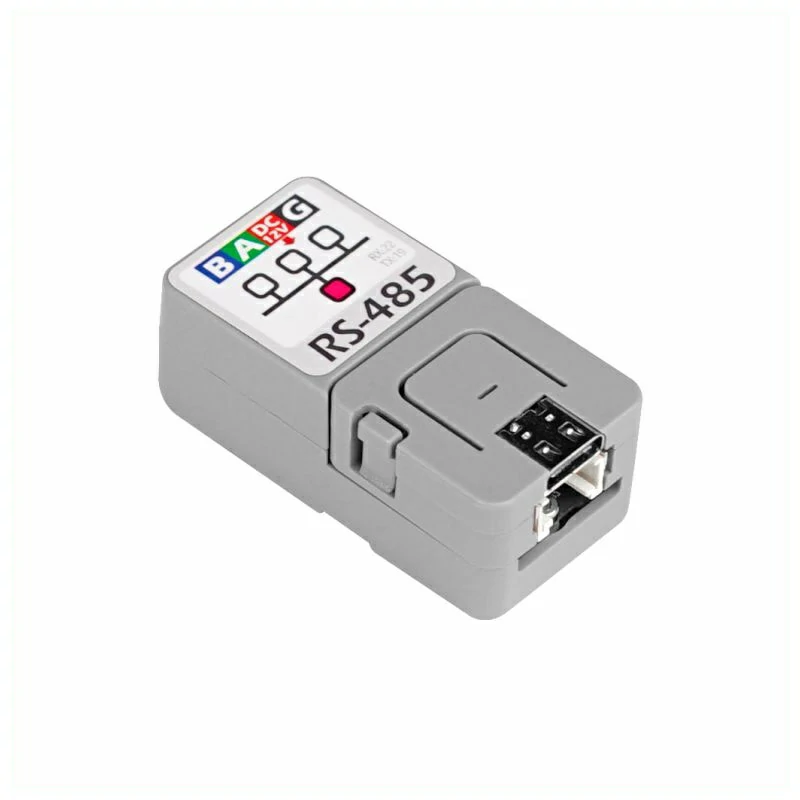
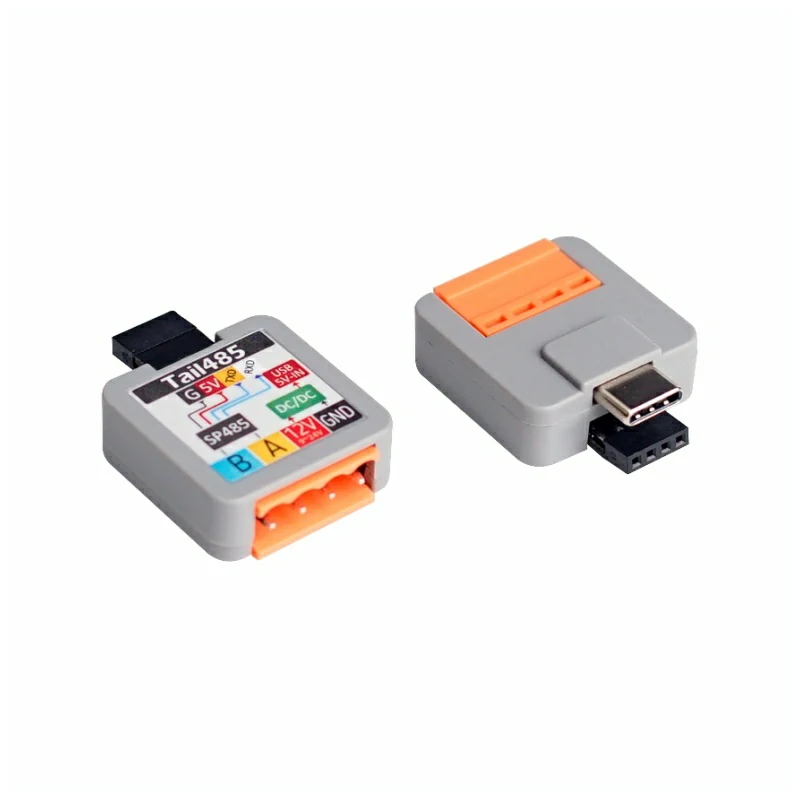
LEVEL CONVERTOR SP485EEN UART
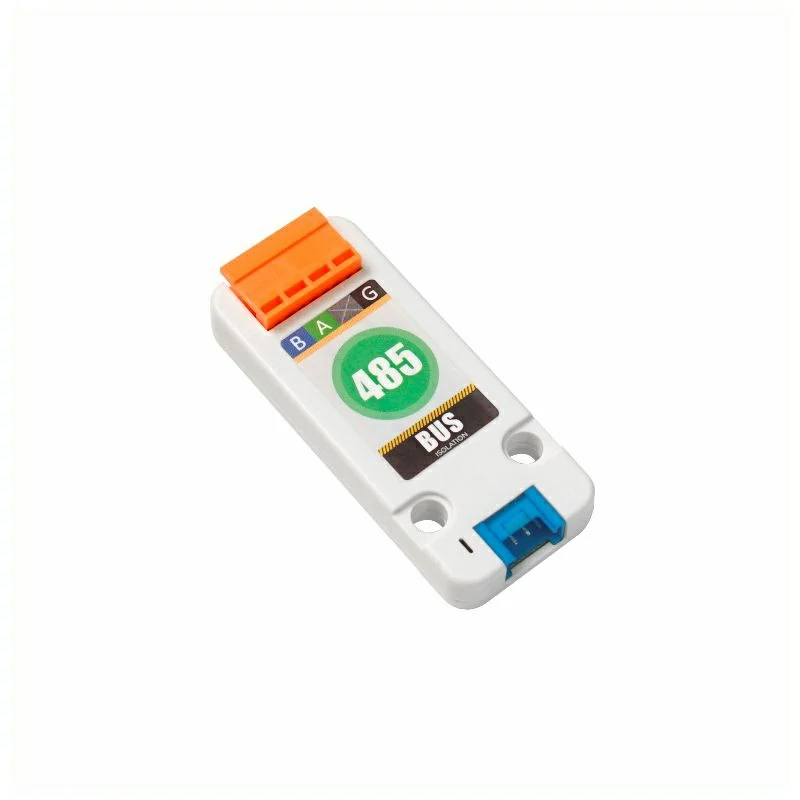
ISOLATED RS485 CA-IS3082W UART
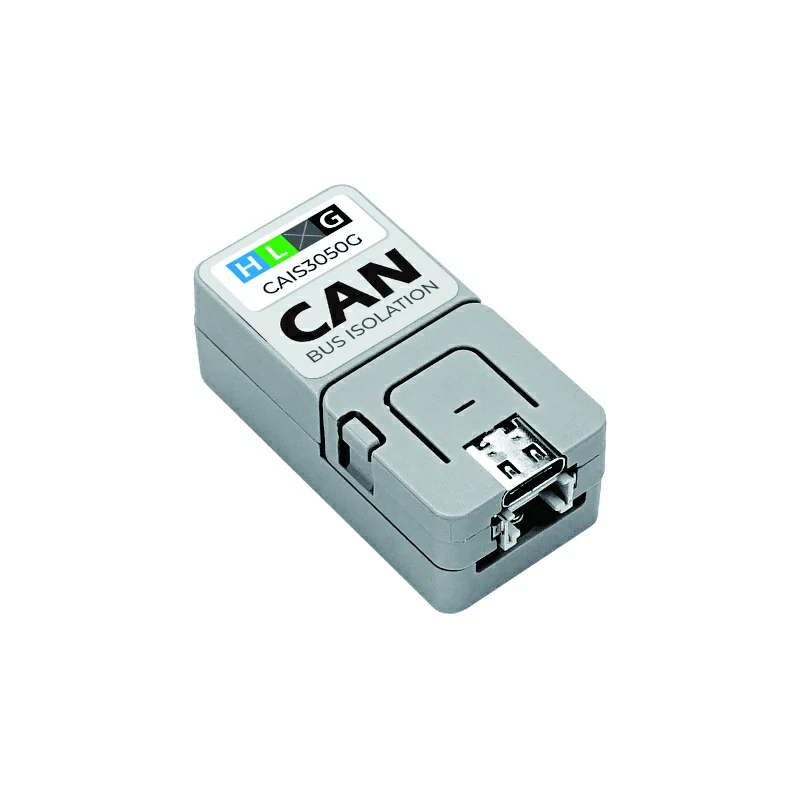
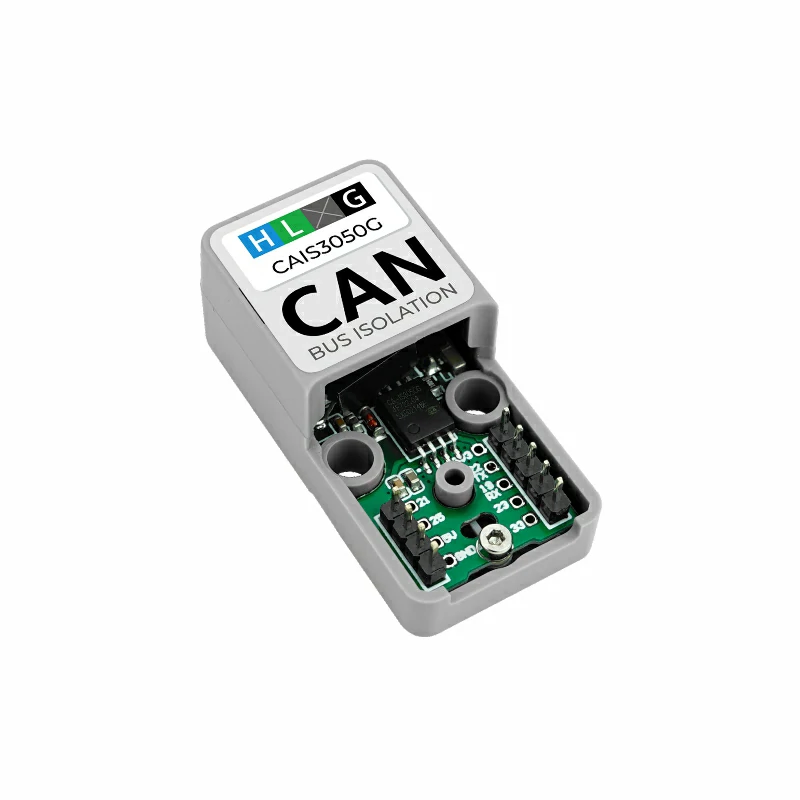
CAN BUS R/T CA-IS3050G
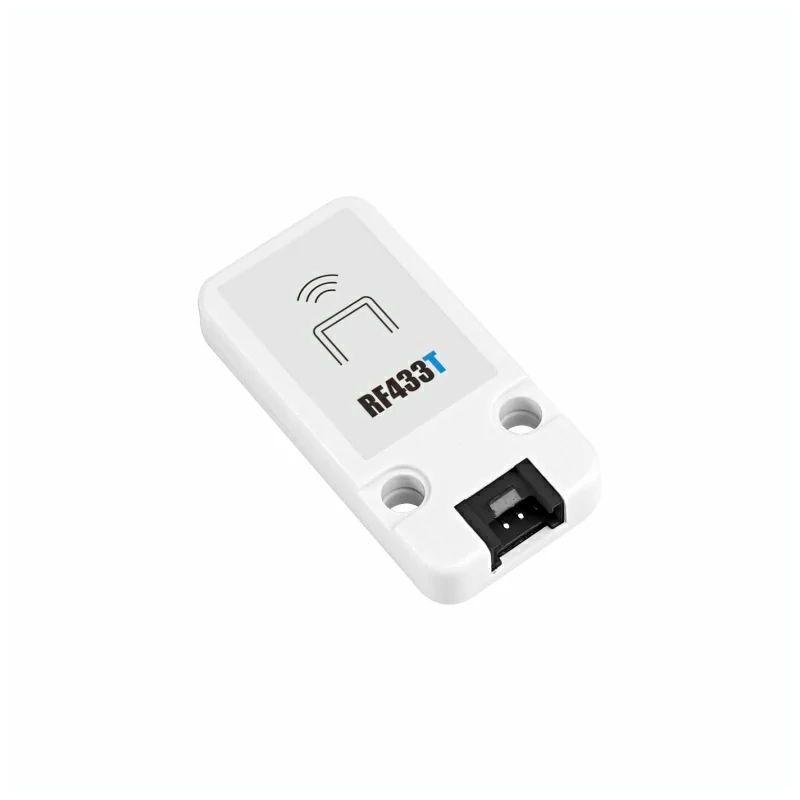
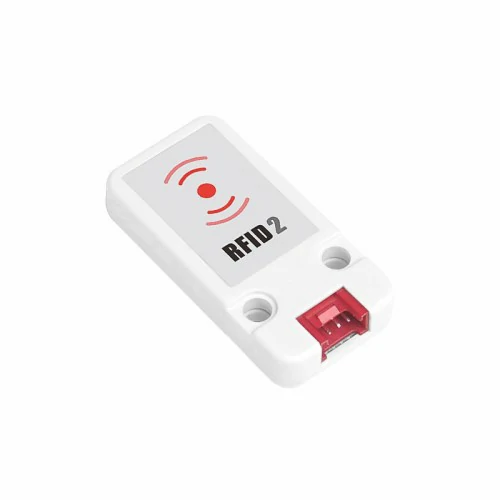
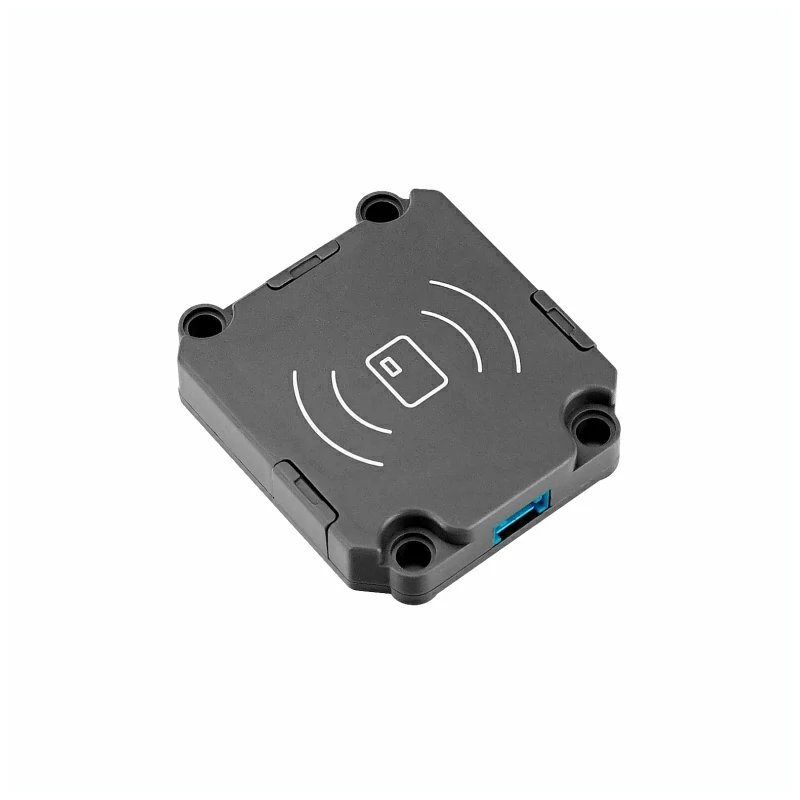
RADIO FREQUENCY MFRC522 I2C
RADIO FREQUENCY WS1850S I2C
RADIO FREQUENCY JRD-4035 UART
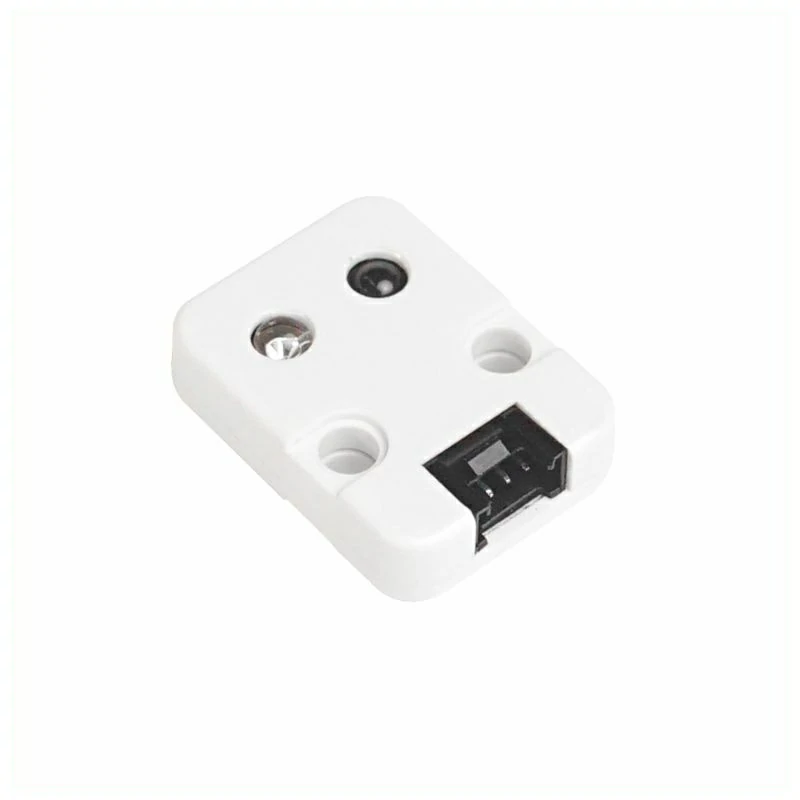
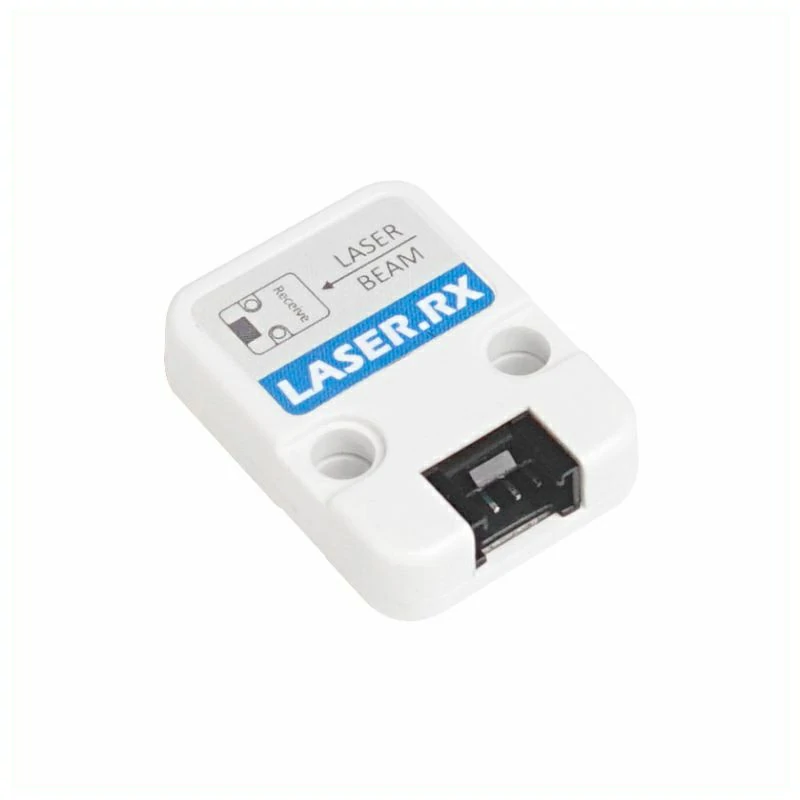
LASER RECEIVER GPIO
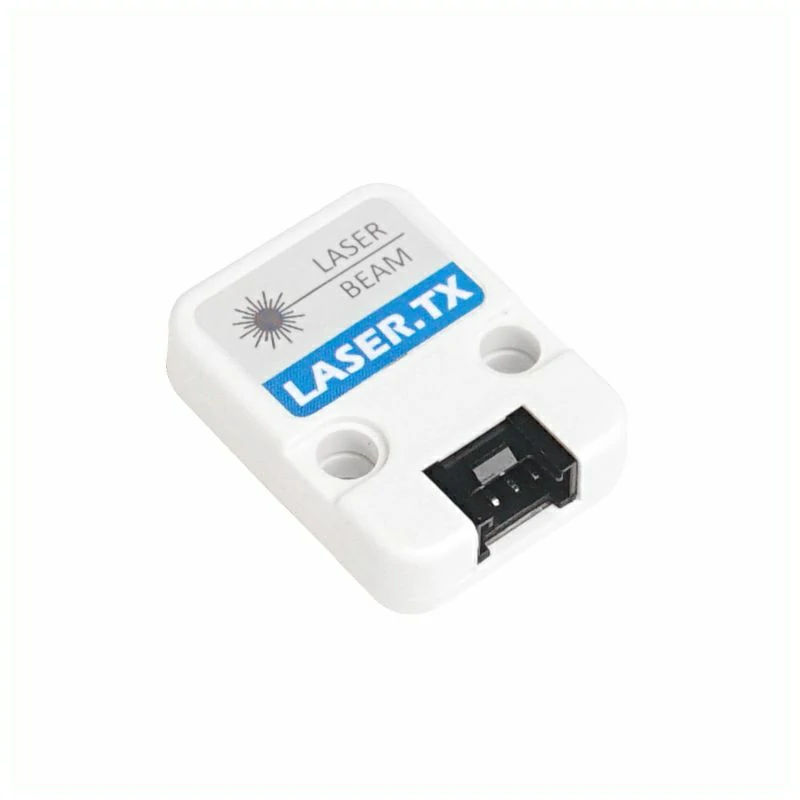
LASER EMITTER GPIO
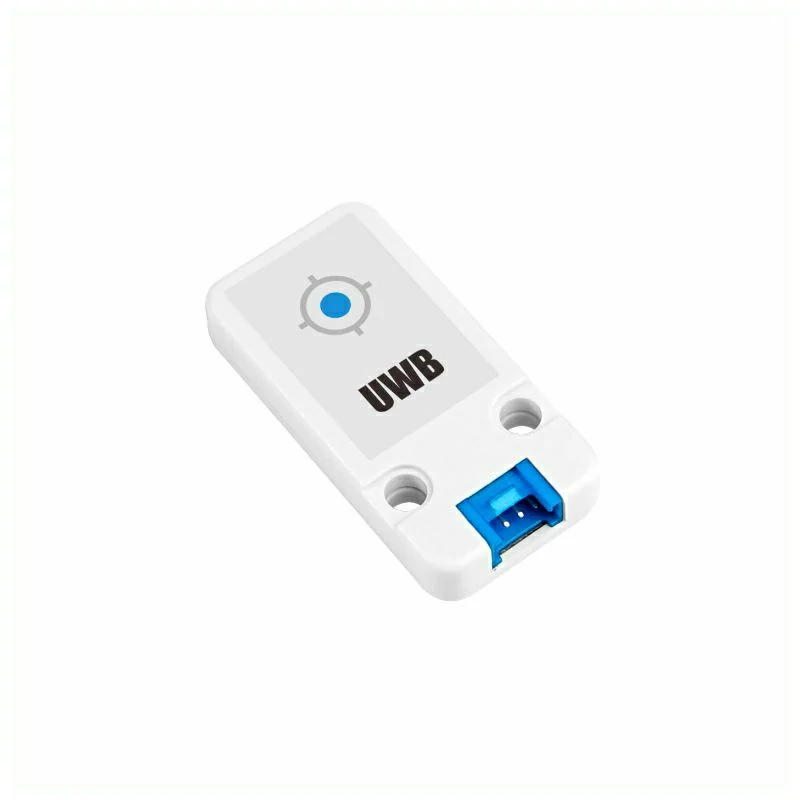
INDOOR POSITION DW1000 UART
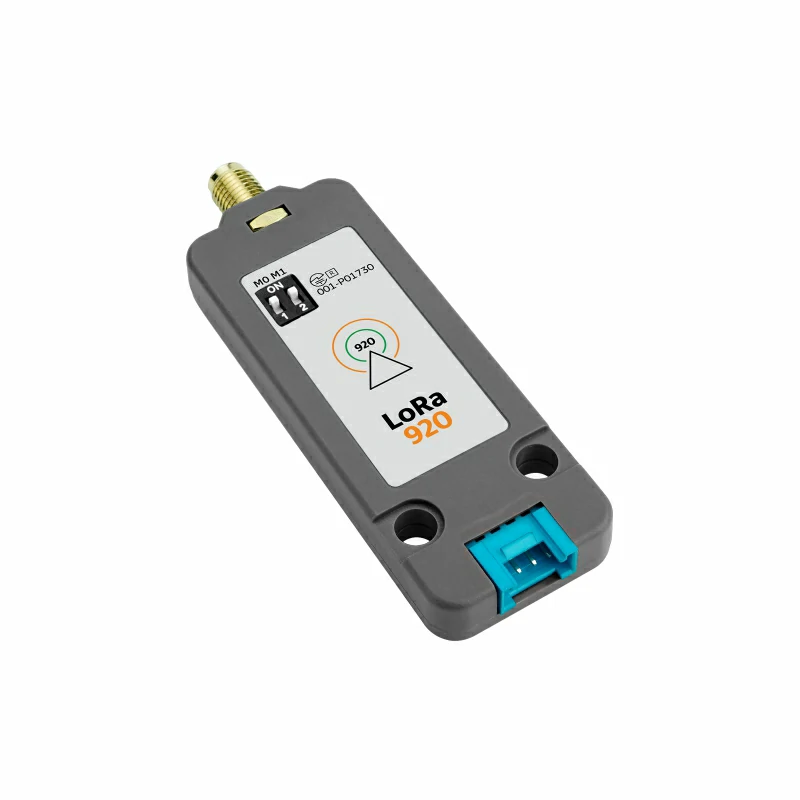
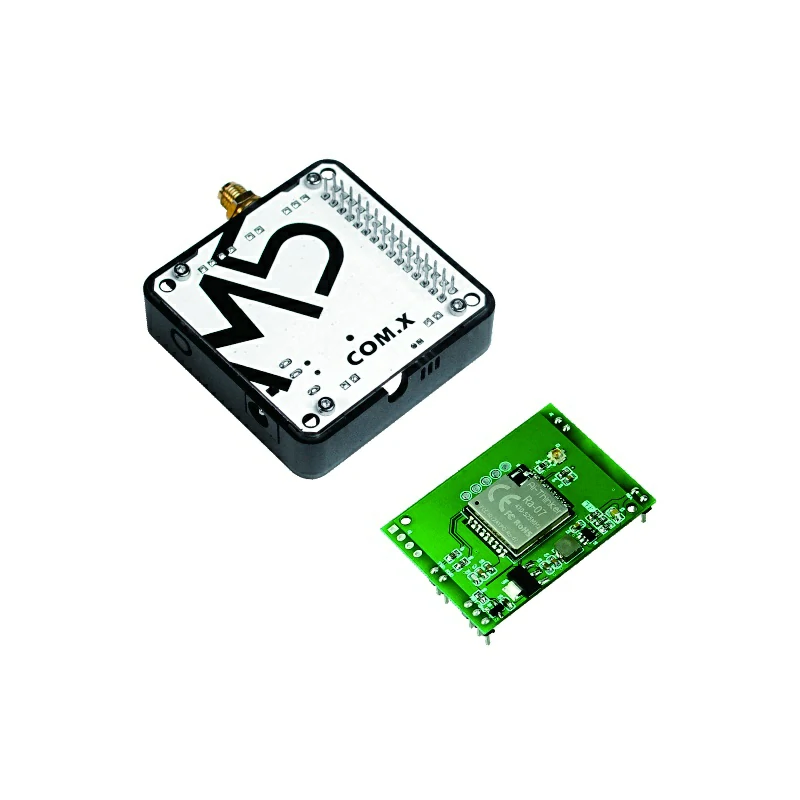
LORA E220 920MHZ COMMUNICATION SERIAL UART
LORAE220 433M AT UART SERIAL COMMUNICATE SX1262
O2 HEART RATE MEASURE MAX30102 I2C
HUMAN BODY INFRARED HUMAN MOTION GPIO
LASER DISTANCE MEASURE VL53L0X I2C
AMBIENT LIGHT I2C BH1750FVI 16-BIT ADC
INFRARED IMAGING MLX90640 I2C
ENVIRONMENTAL MONITOR DHT12 BMP280 BMM150
ENVIRONMENTAL MONITOR SHT30 BMP280 BMM150
SPEAKER PAM8303
ANALOG/DIGITAL CONVERTER ADS1100 16-BIT I2C
THREE-AXIS INPUT STM32F030F4 I2C
FINGERPRINT RECOGNITION FPC1020SC UART
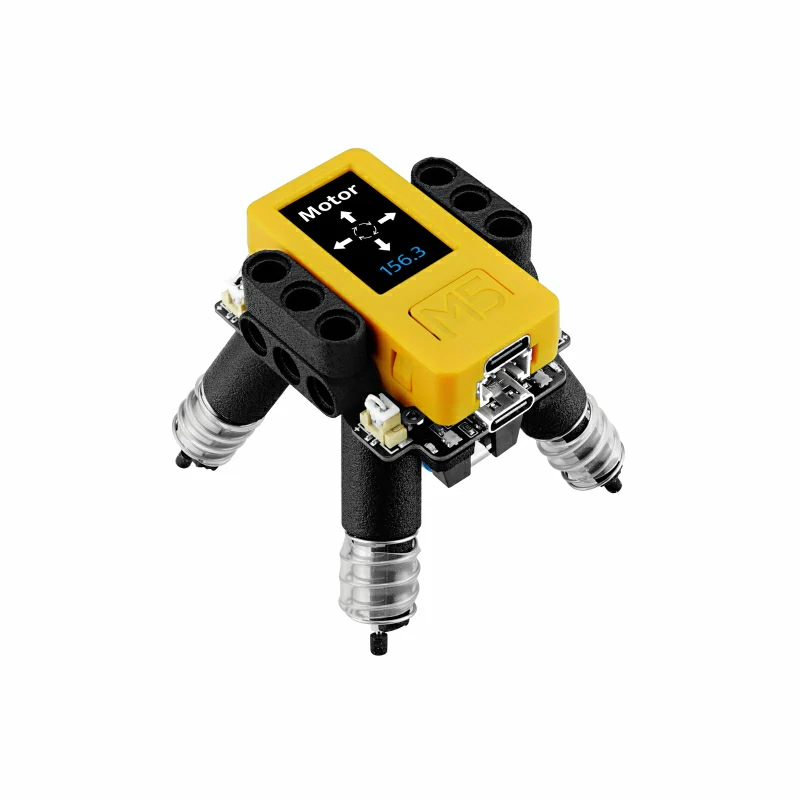
SERVO MOTORS ES9251II
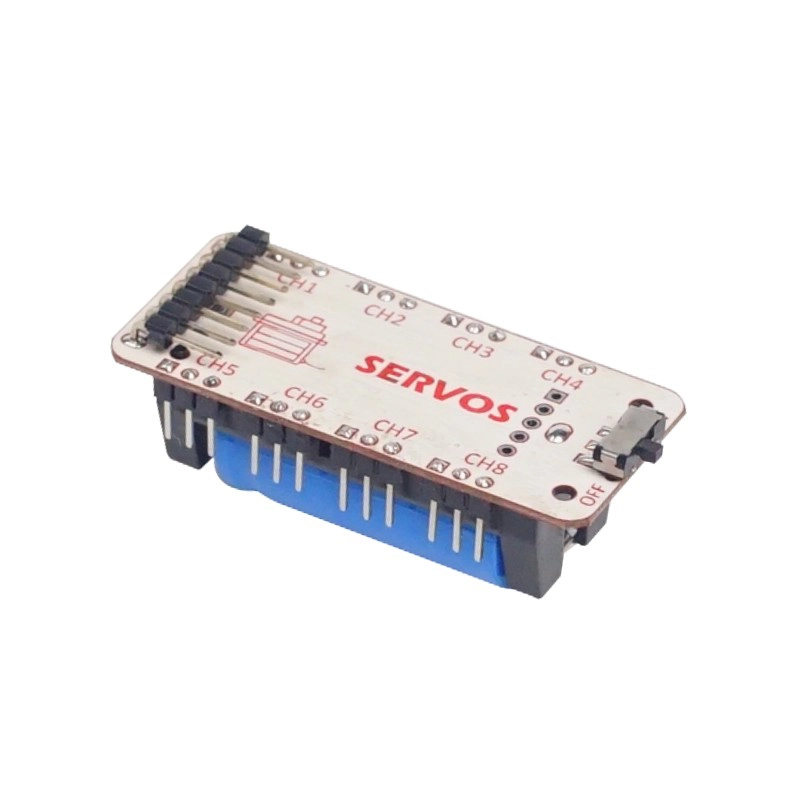
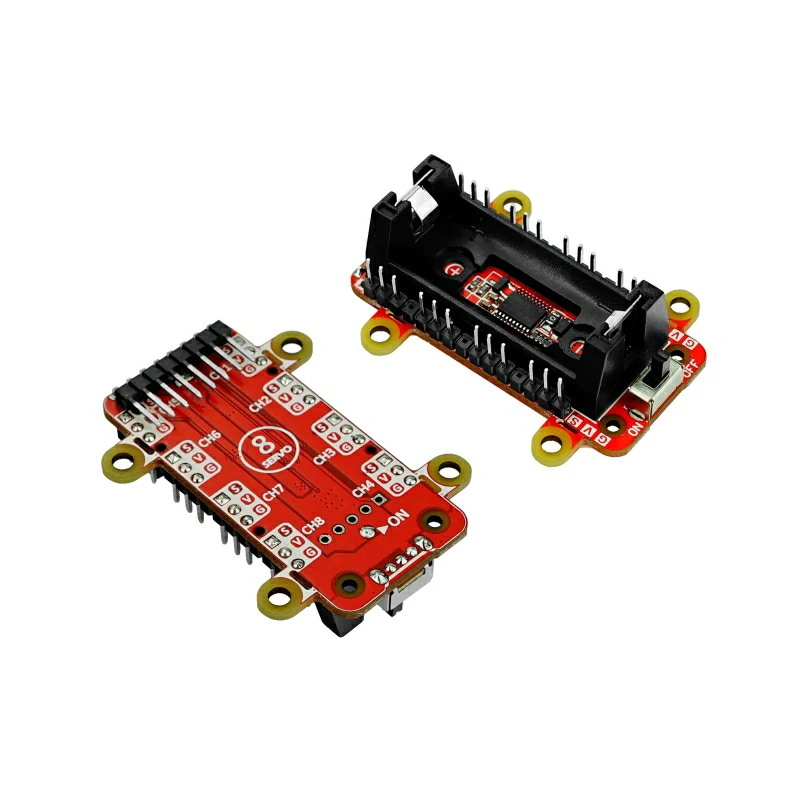
8-SERVO DRIVER STM32F030F4 I2C
4-SERVO DRIVER STM32F030F4P6 I2C
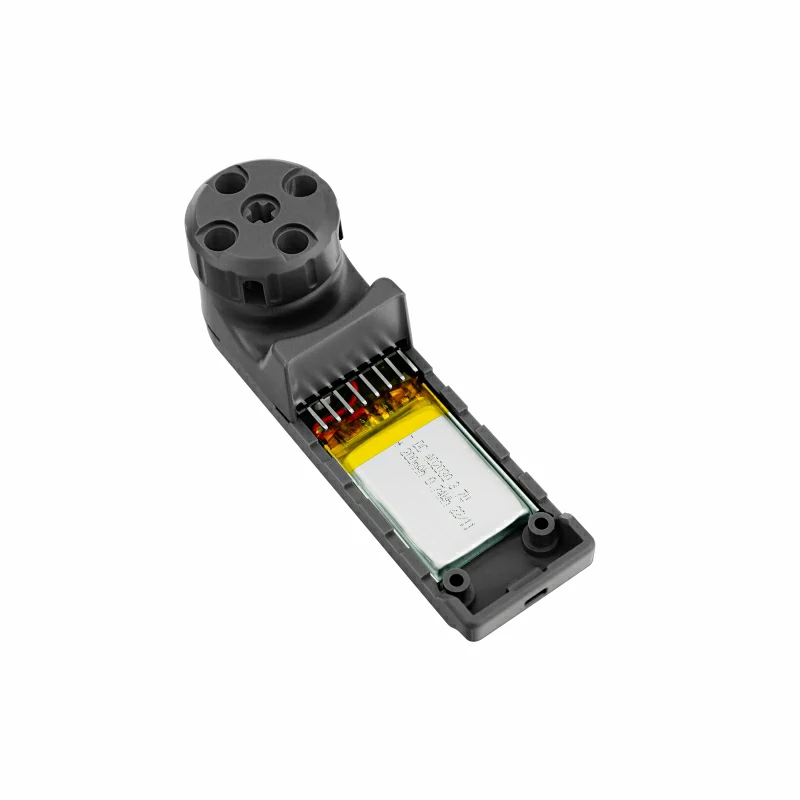
RECHARGEABLE BATTERY HOLDER
THREE-AXIS INPUT@2 STM32F030F4 I2C
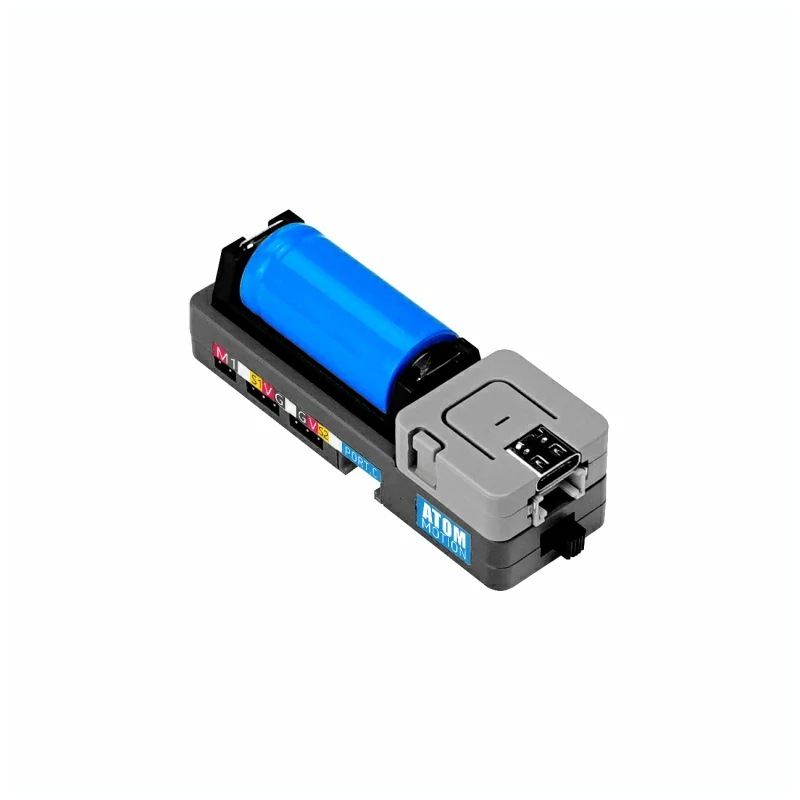
RECHARGEABLE 16340 BATTERY
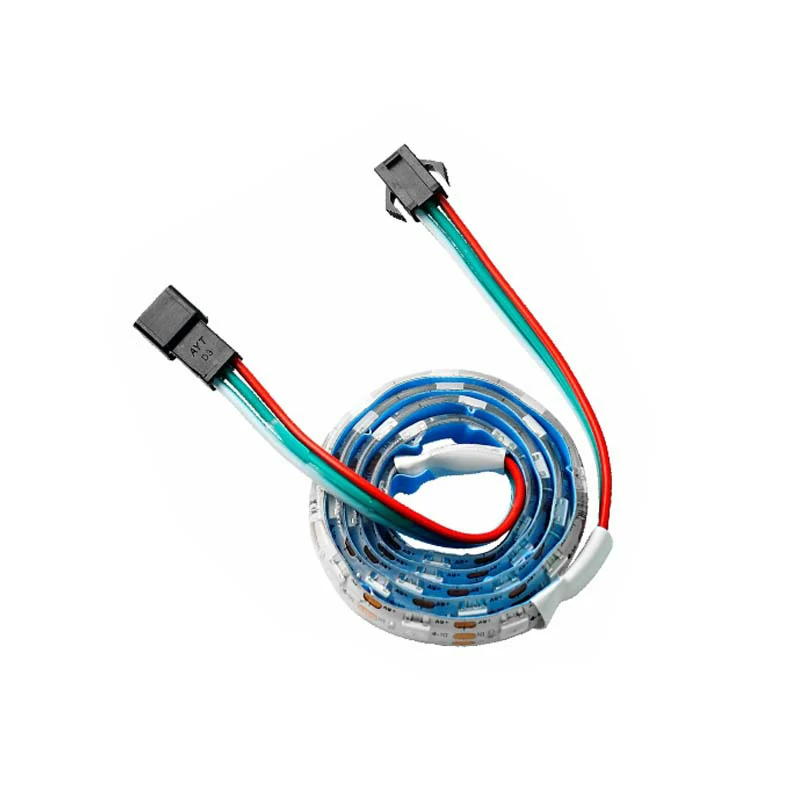
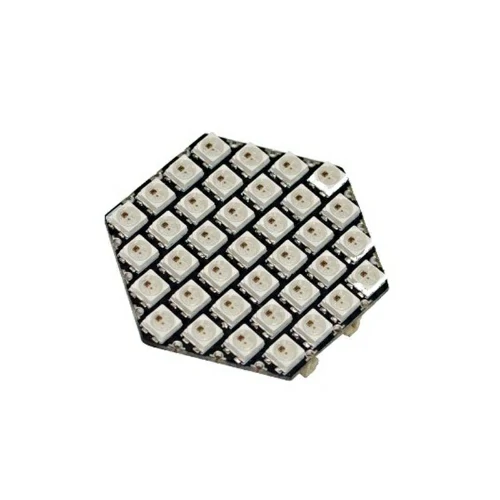
MATRIX RGB WS2812
SIM7020G NB-IOT NETWORK COMMUCATION SERIAL UART
ROTARY I2C HAT STM32F030 SENSOR
STM32F030 HAT SK6812
DC MOTOR VIBRATOR HAT
MAX98357 SPEAKER HAT I2S
DAC HAT DIGITAL ANALOG
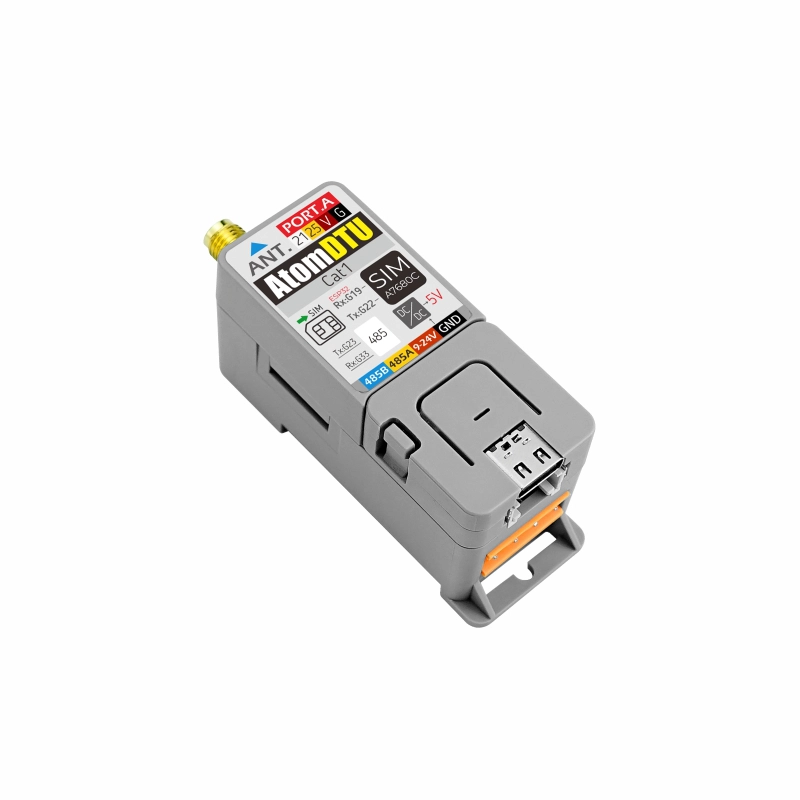
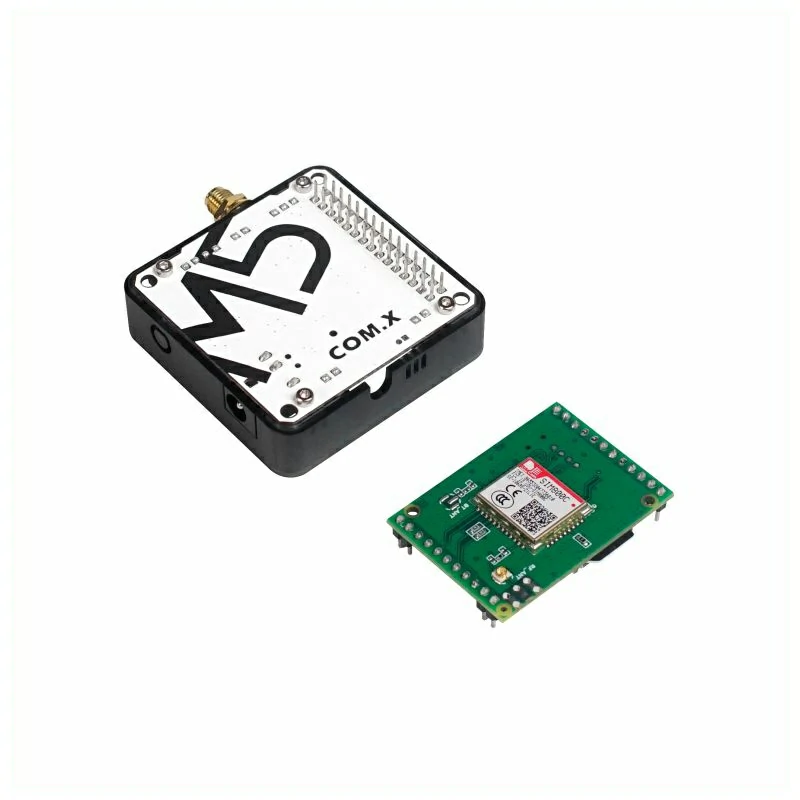
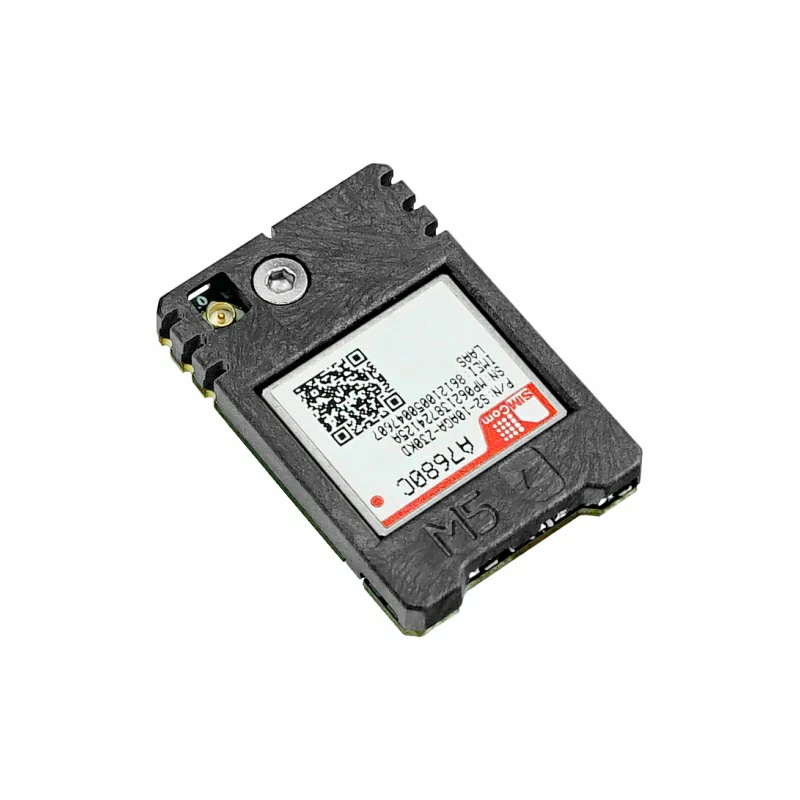
CHINA LTE-CAT1 RS485 SIMA7680C
NB-IOT RS485 SIM7020G UART
SIM7028 NB-IOT AT NETWORK COMMUNICATION SERIAL UART DTU RS485 CAT-NB I2C
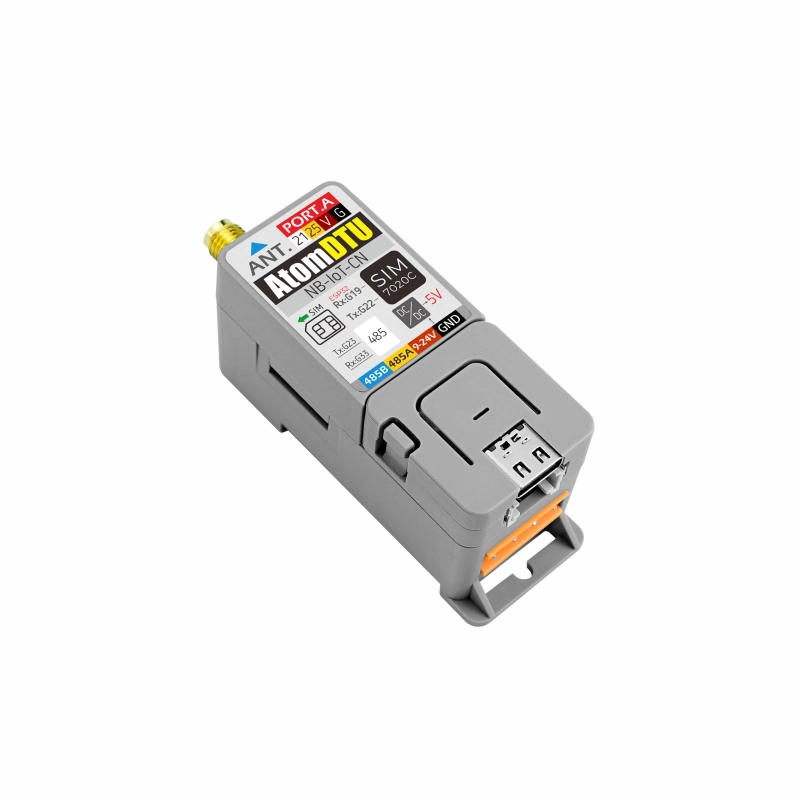
NB-IOT RS485 SIM7020C UART
ETHERNET CONTROL POE W5500
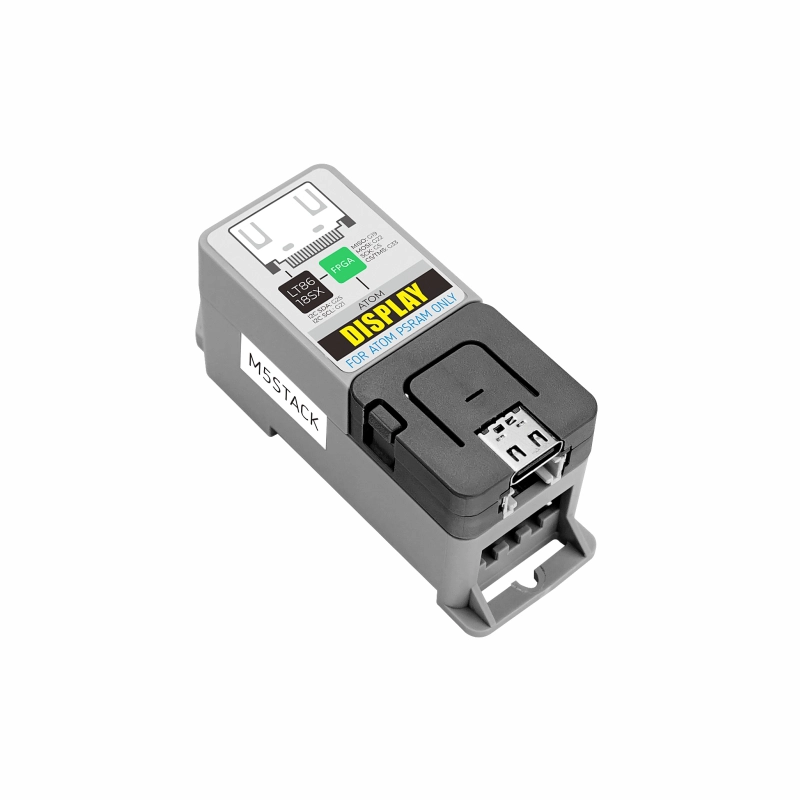
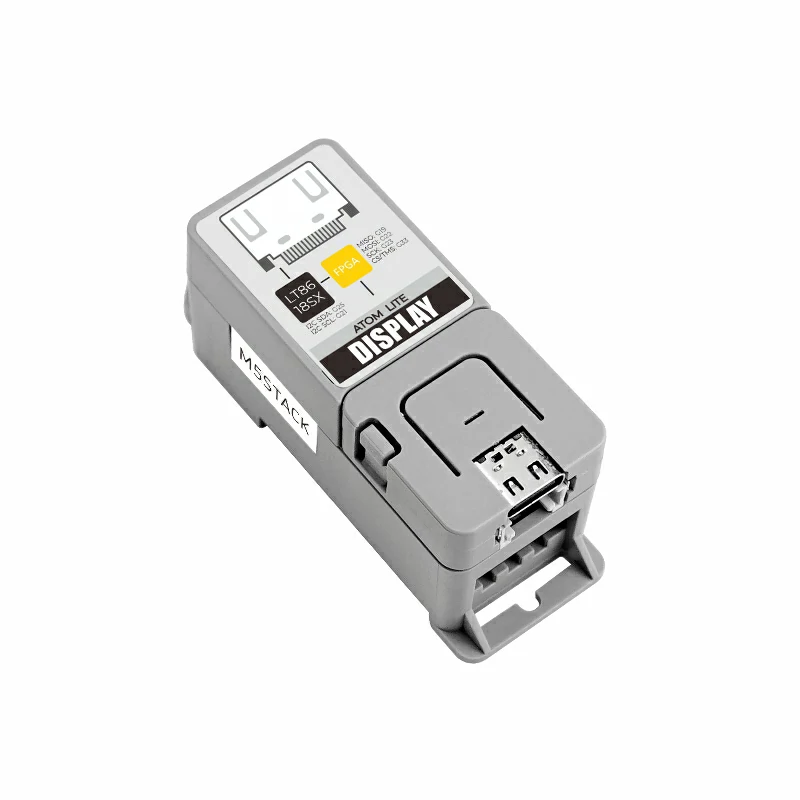
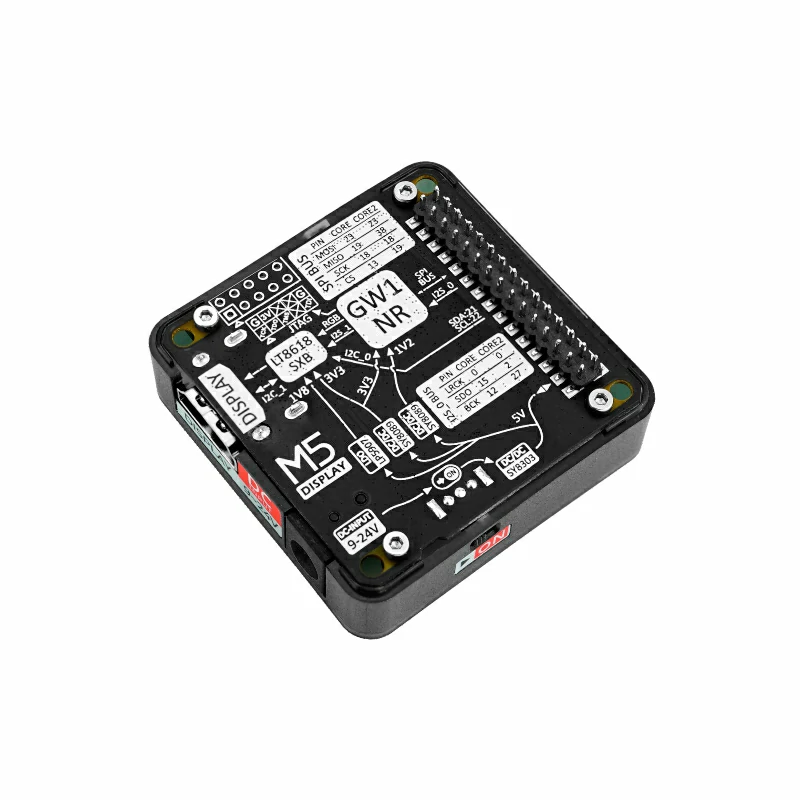
DISPLAY DRIVERS FPGA HDMI
LEVEL CONVERTOR SP3485EE UART
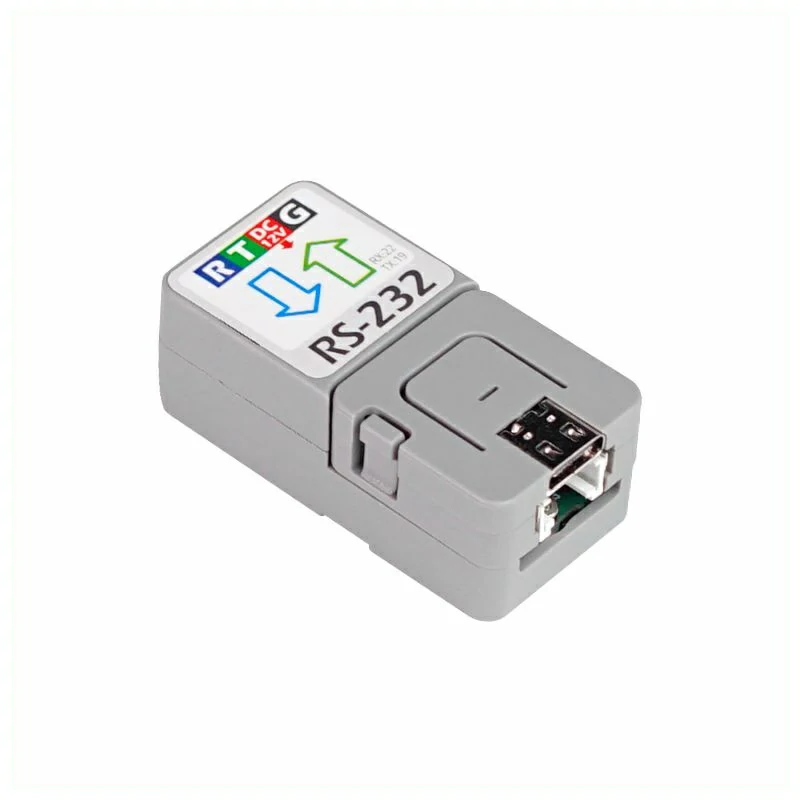
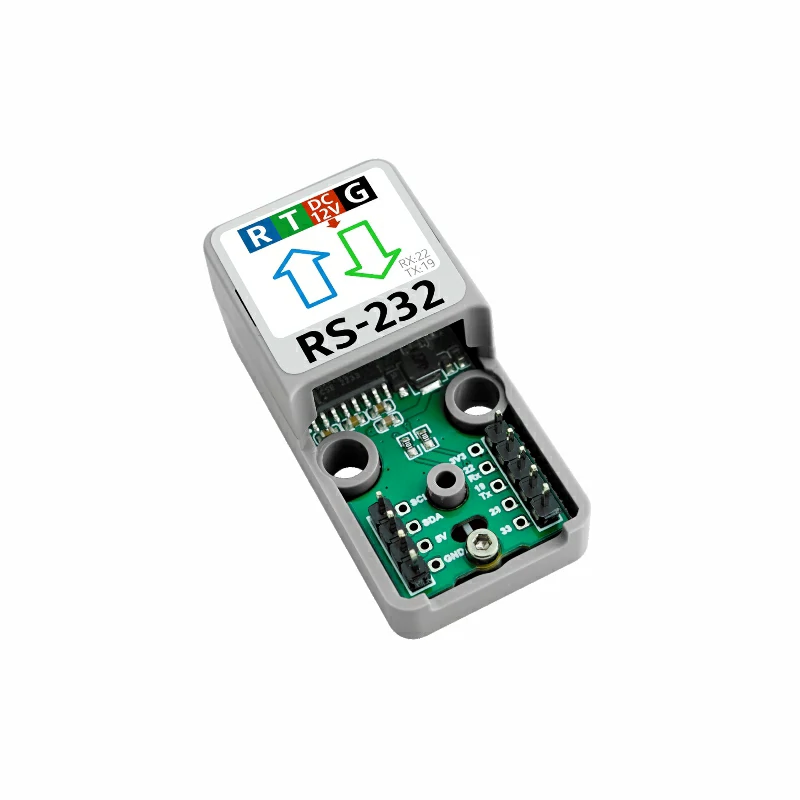
TTL-RS232 MAX232 A0Z1282CI
TWO-WAY SWITCH SP485EE RS485
LEVEL CONVERTOR SP485EEN
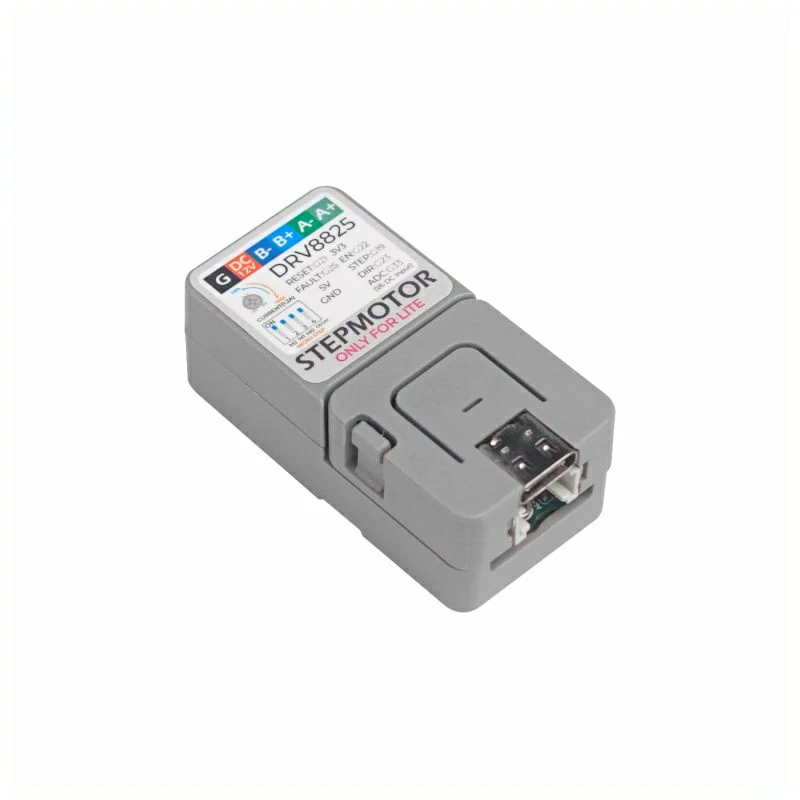
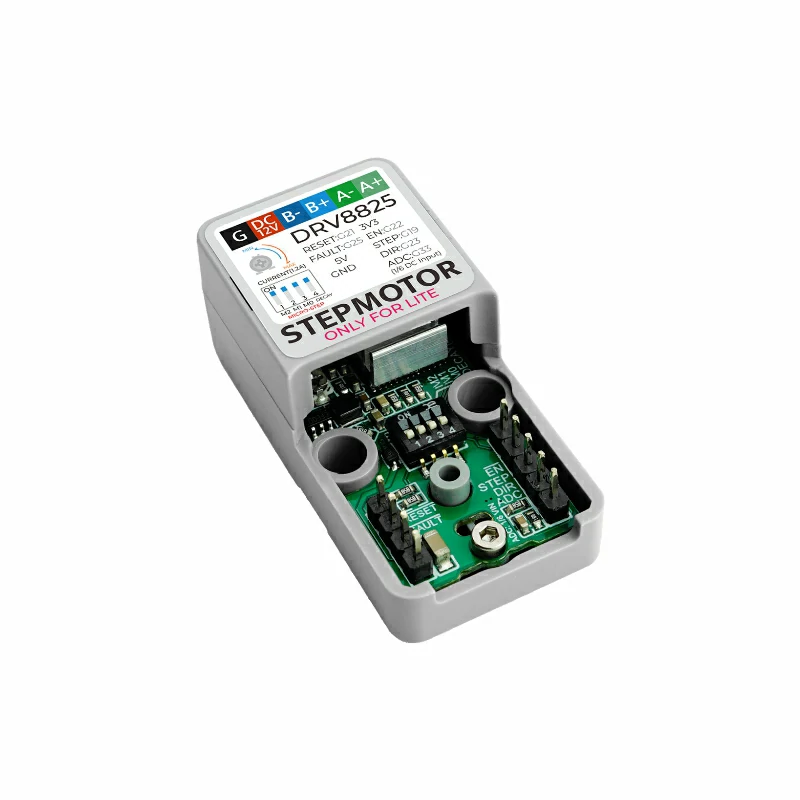
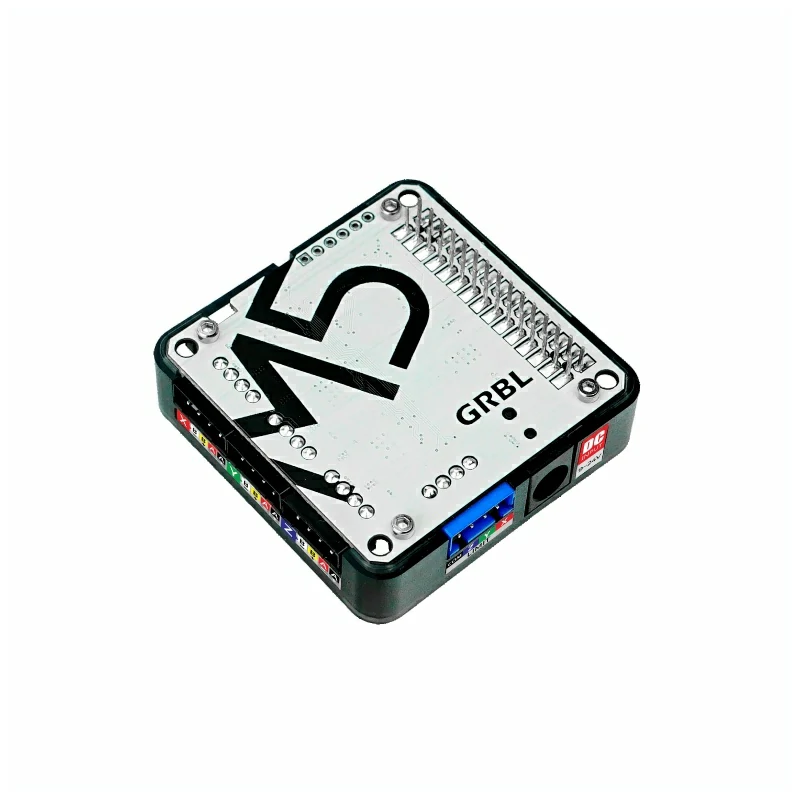
STEPMOTOR DRIVER DRV8825 GPIO
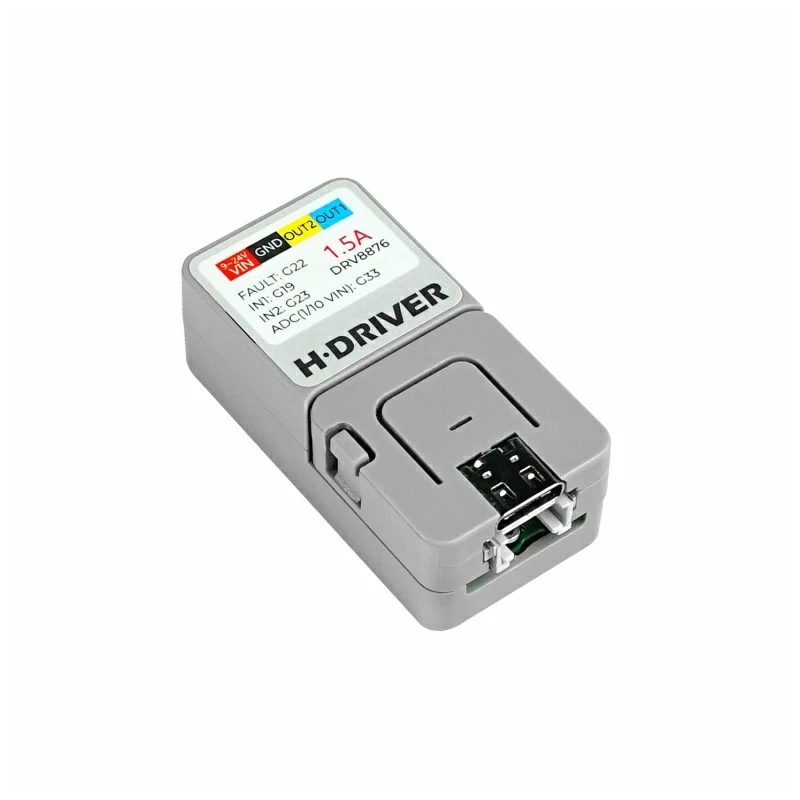
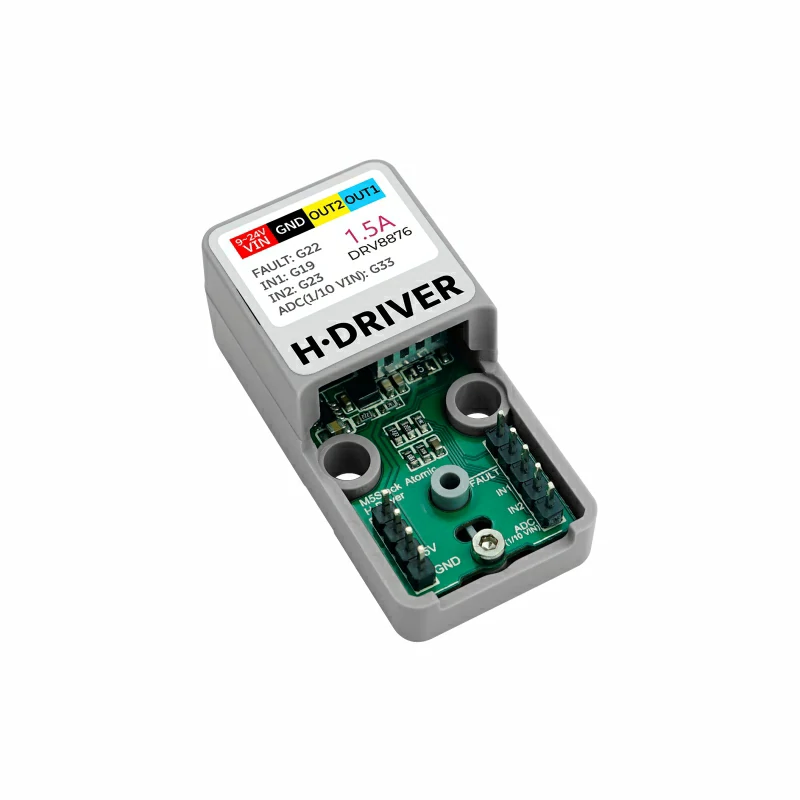
MOTOR DRIVER DRV8876 ADC
ADJUST DC DRIVER EG27324 MOSFET
SERVO & MOTOR DRIVER RZ7899 ETA9740 STM32
QR CODE CMOS UART/TTL
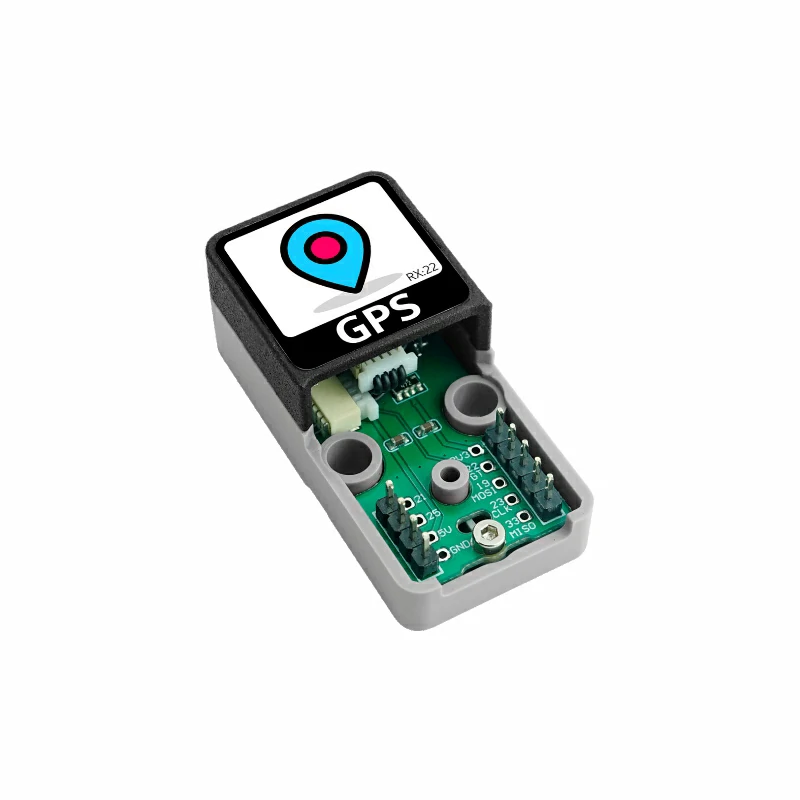
SATELLITE POSITION M8030-KT UART
EXTERNAL STORAGE
AUDIO PLAYBACK
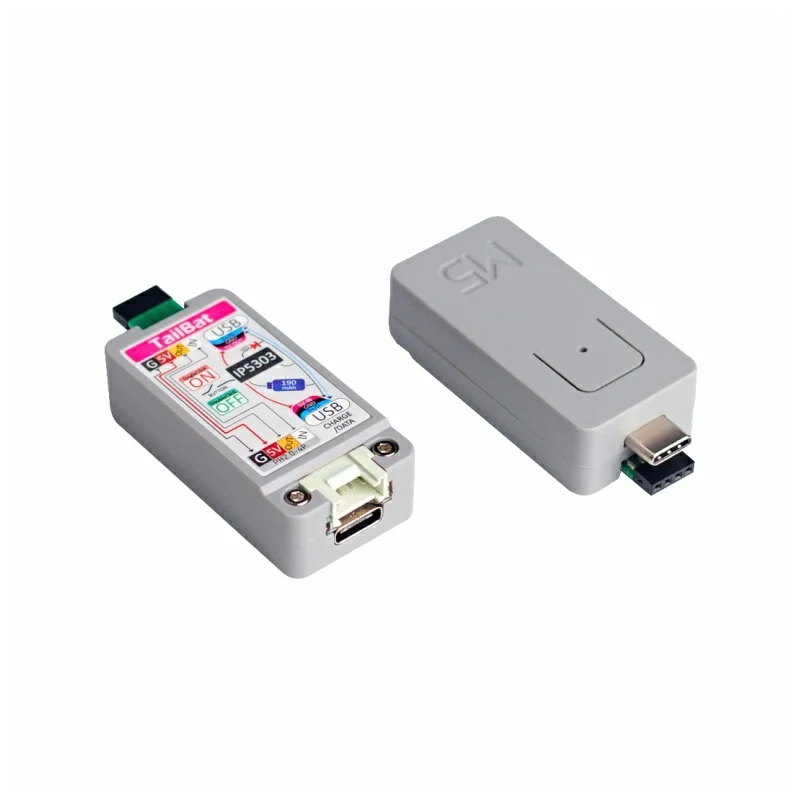
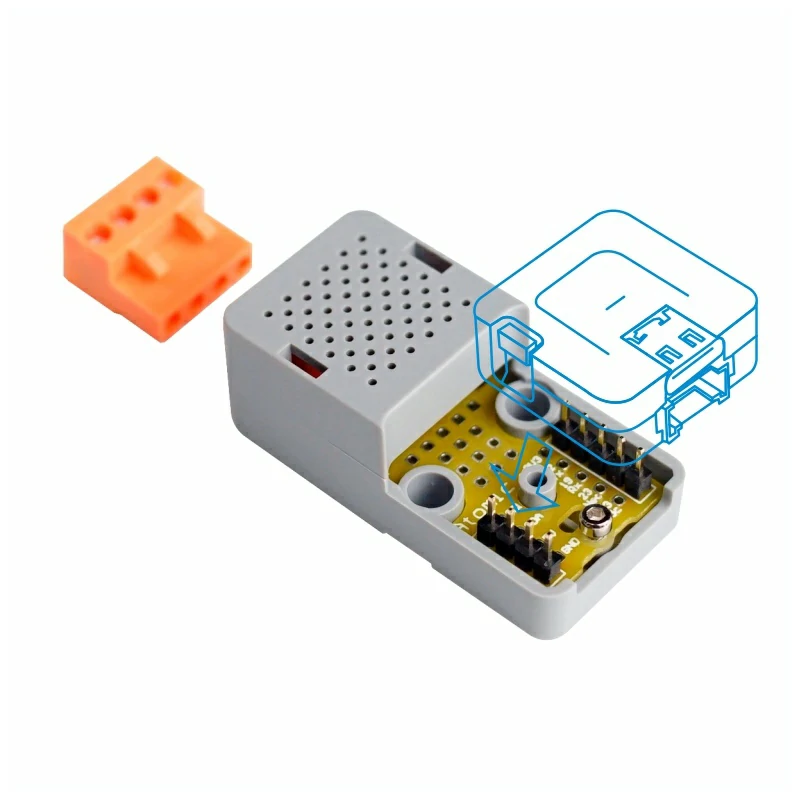
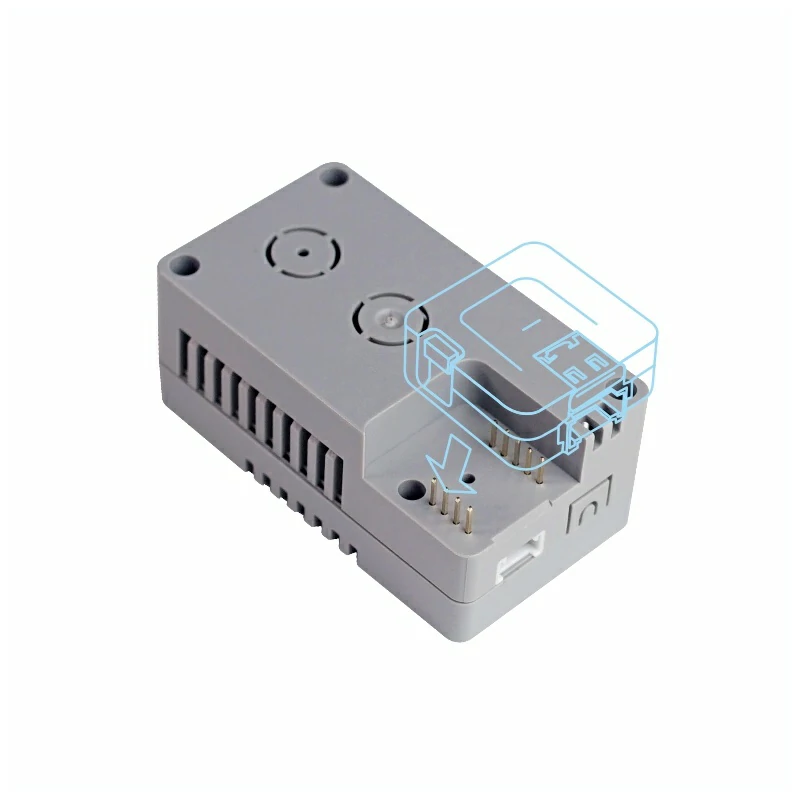
EXTERNAL BATTERY IP5303
EXPANSION BOARD FREE DESIGN
EXTENSION KITS
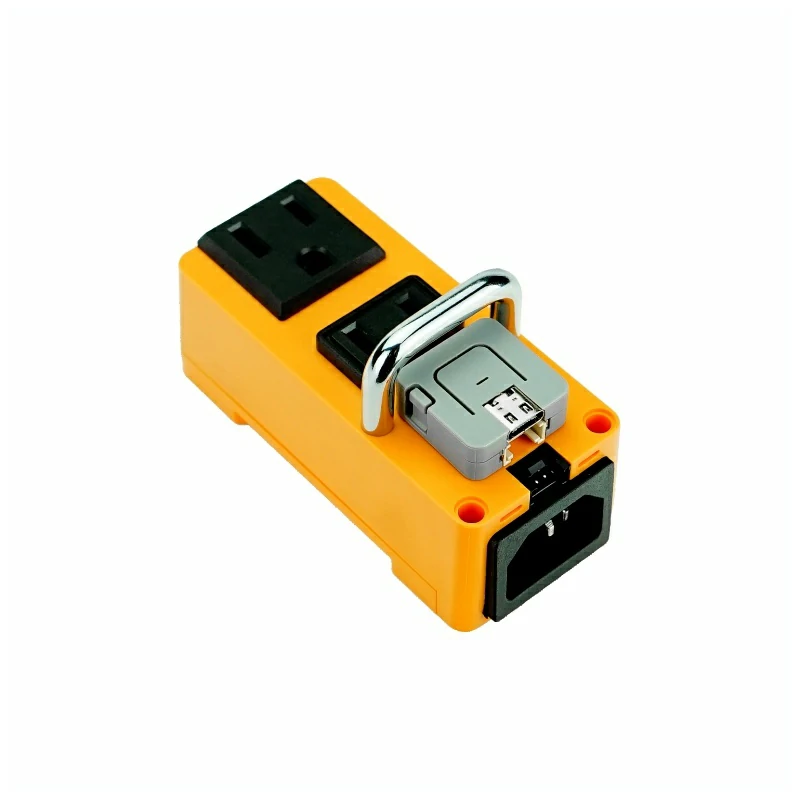
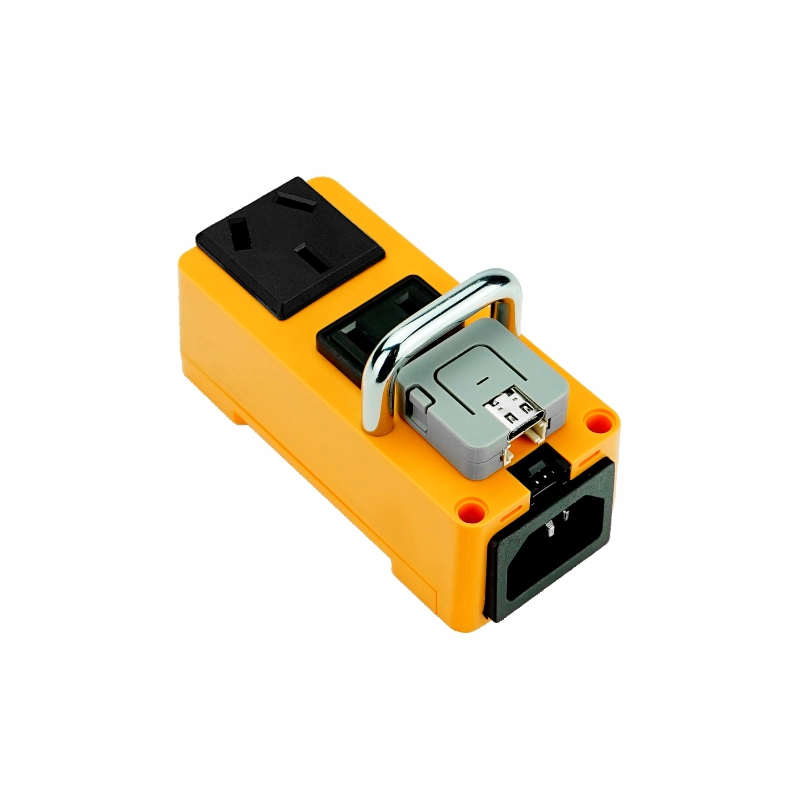
SMART SOCKET HLW8032 UART
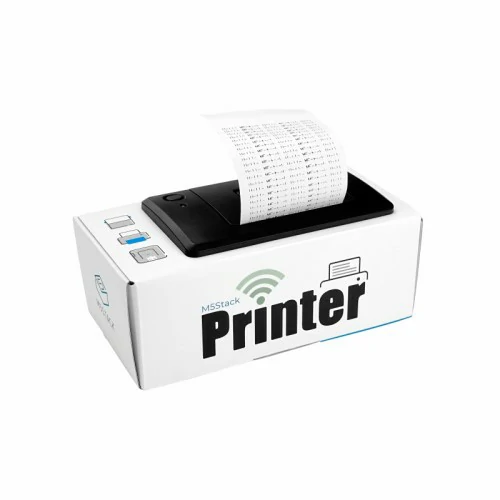
THERMAL PRINTER ESP32 AP+MQTT
QR CODE SCAN TTL-232
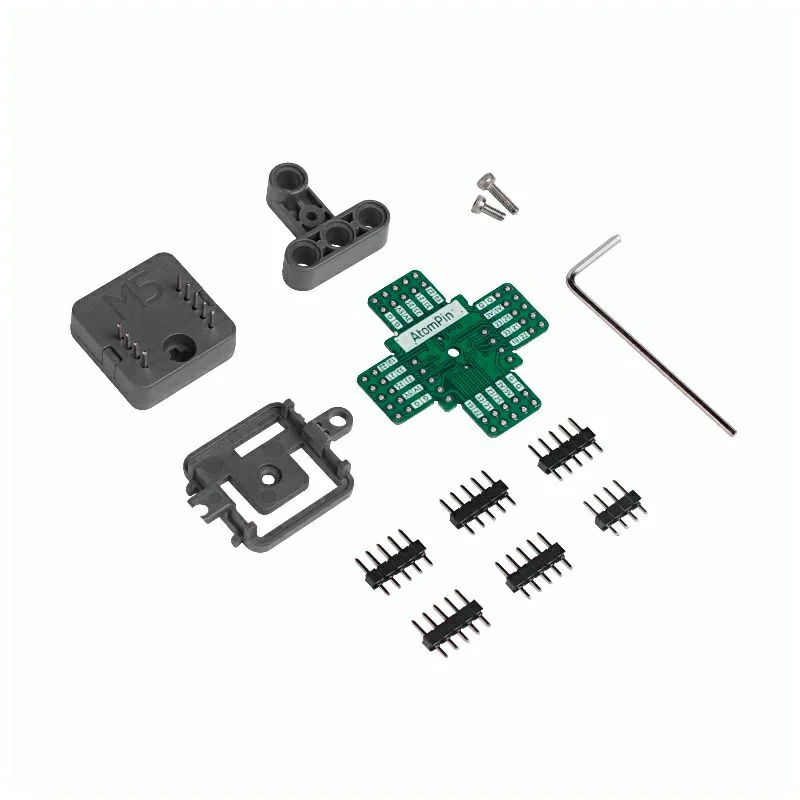
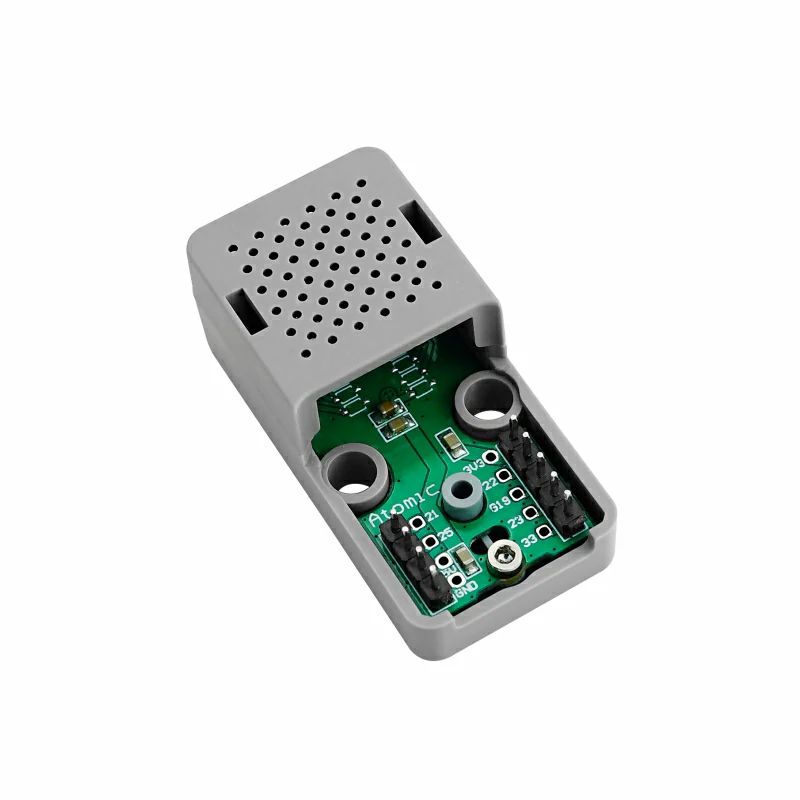
ATOM PORTA PORTB PORTC I2C UART ADC
QR CODE SACN TTL ATOM
ATOM QR QRCODE BASE SCAN
TTL RS485 CONVERTOR SP3485EE A0Z1282CI UART
ATOM RS232 MAX232 A0Z1282CI CONVERTER
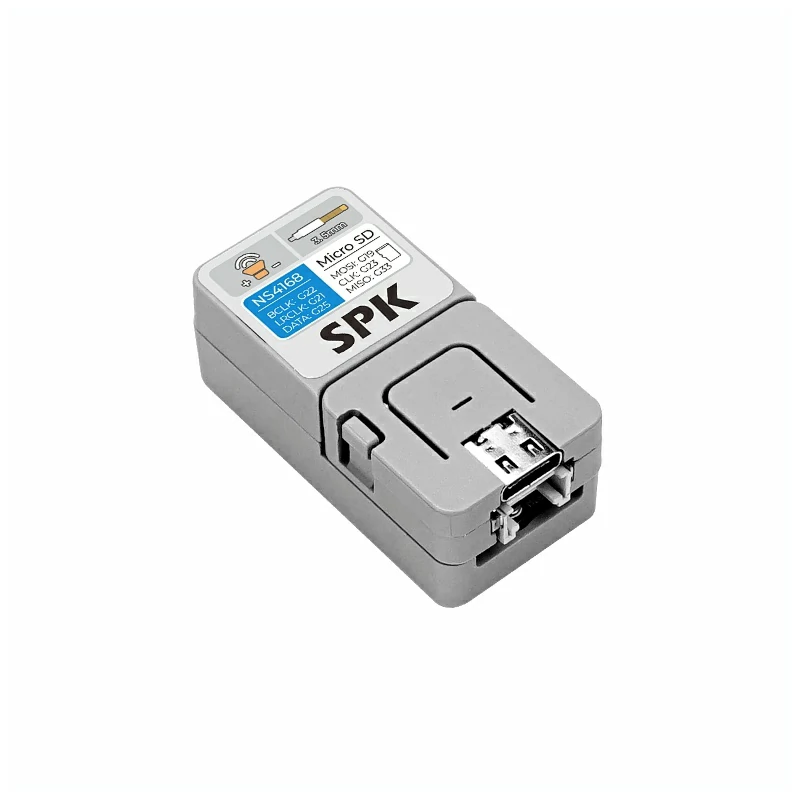
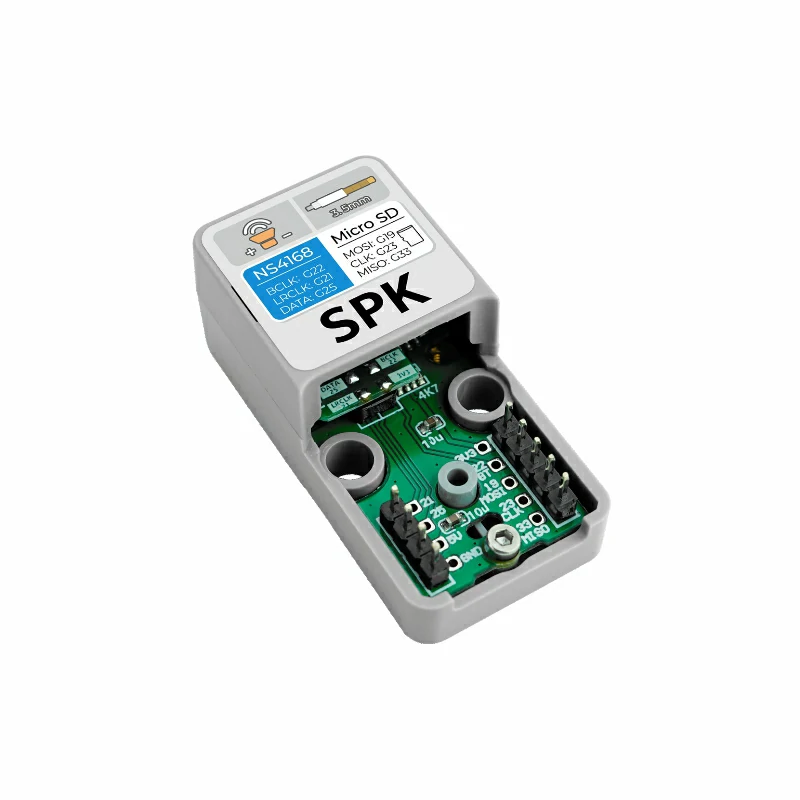
SPK SPEAKER NS4168 TFCARD SD ATOMIC
ATOM STEPMOTOR DRIVER DRV8825
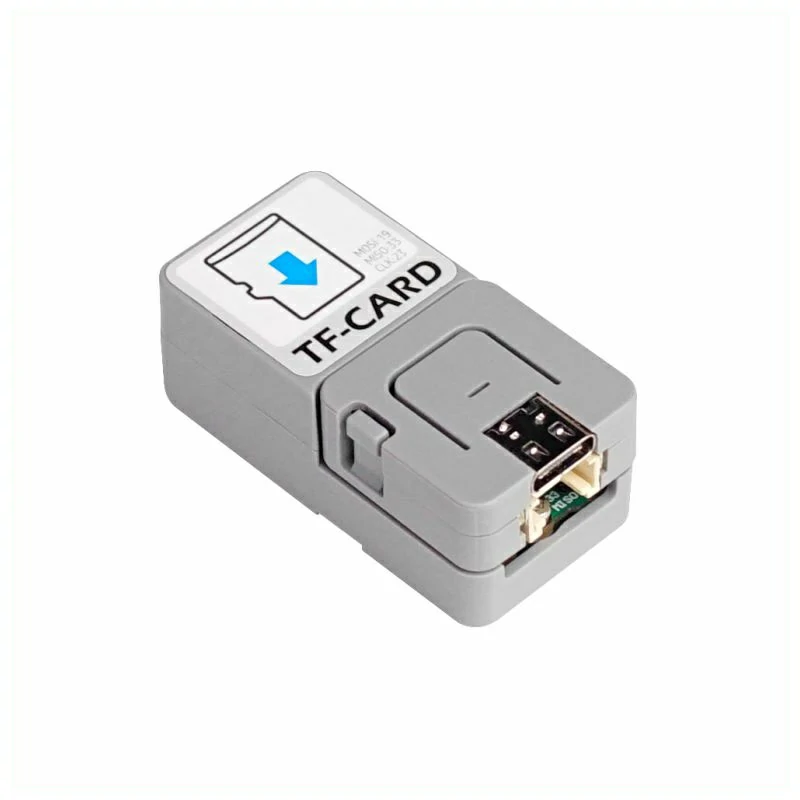
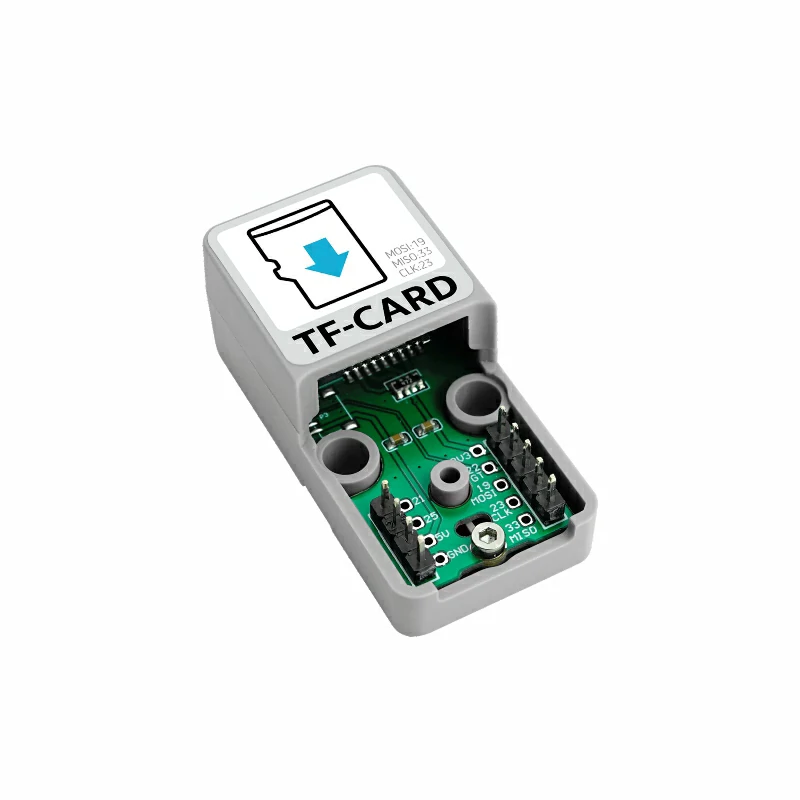
ATOM TF TFCARD EXTERNAL STORAGE FILE SD SDCARD
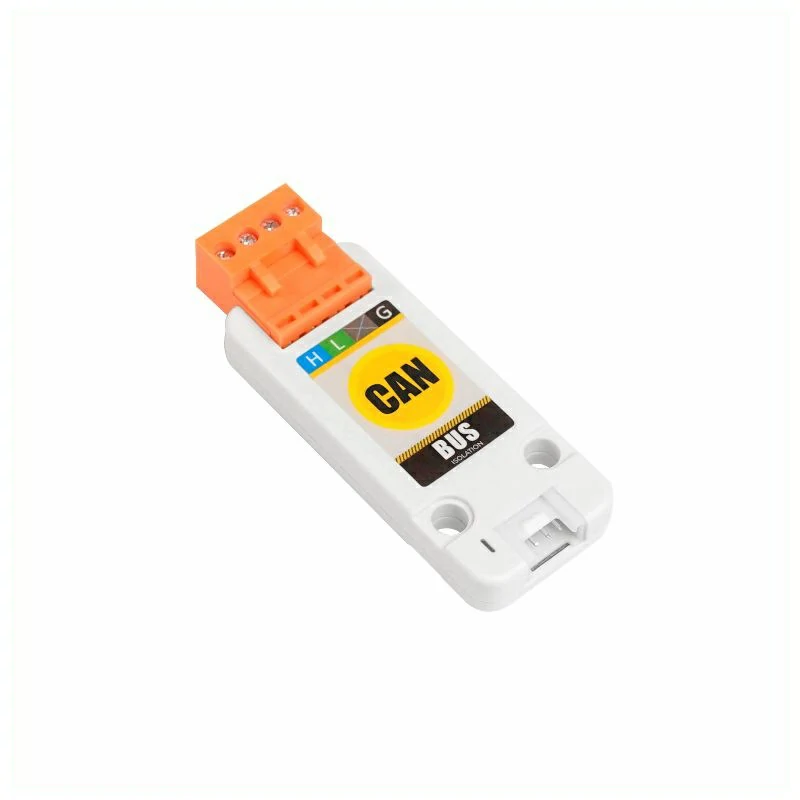
CAN BUS CA-IS3050G RECEIVER TRANSMITTER
MOSFET DC MOTOR DRIVER FDD8447L EG27324 PWM ATOM ATOMIC
ETHERNET CONTROL POE W5500 TCP ATOM ATOMIC
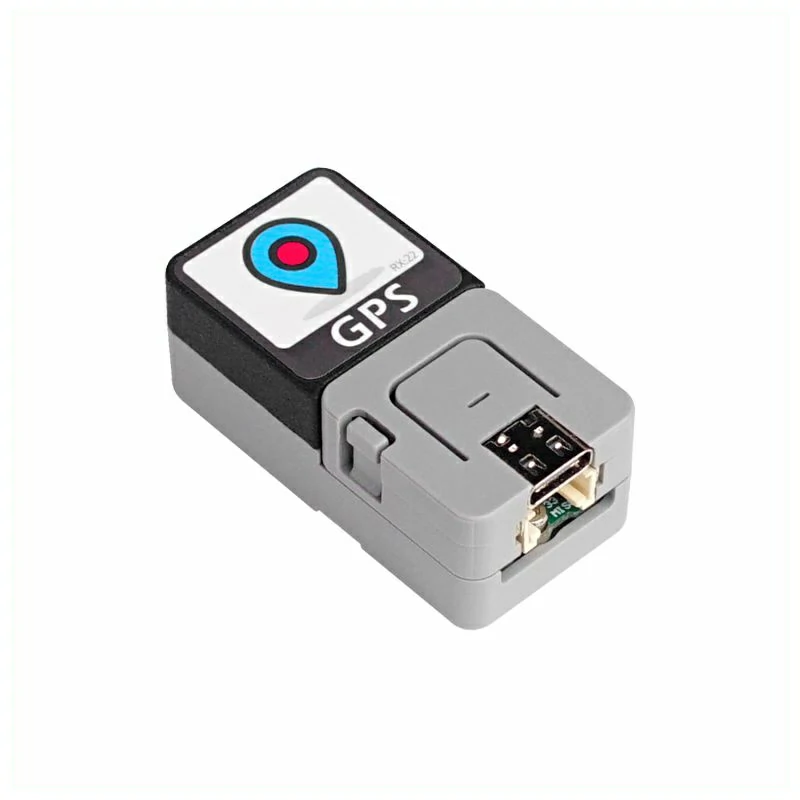
M8083-KT GPS TF LOCATION POSITION SATELLITE GNSS UART ATOM ATOMIC
HD BRIDGE MOTOR DRIVER DRV8876
SERVO MOTOR ATOM BATTERY
SATELLITE POSITION M8N UART
2G COMMUNICATION SIM800C UART
LORAWAN EU868MHZ ASR6501 UART
LORAWAN CN470MHZ ASR6501 UART
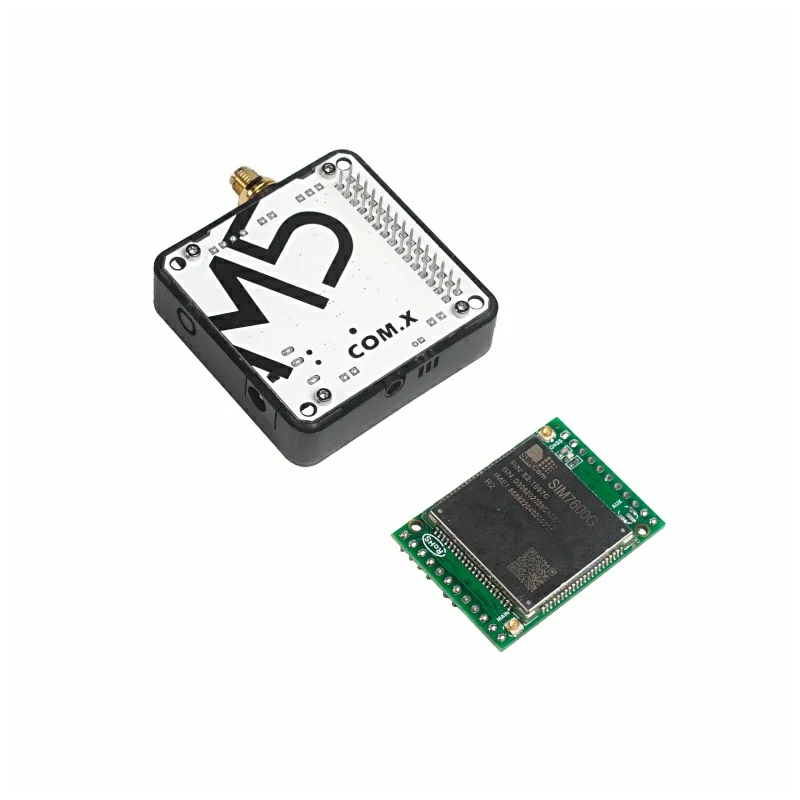
LTE COMMUNICATION SIM7600G UART
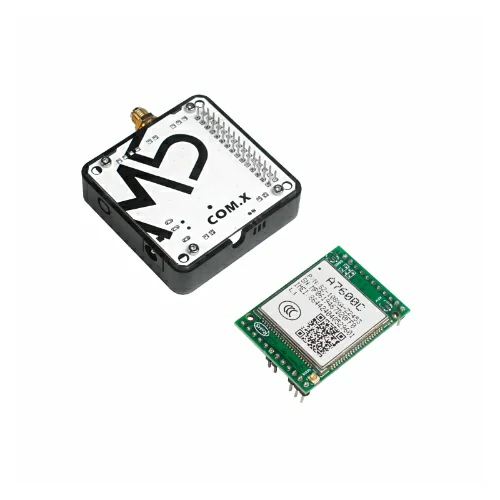
LTE COMMUNICATION A7600C1 UART
LORAWAN 433MHZ SX1278 SPI
LORAWAN 868MHZ SX1276 SPI
SATELLITE POSITION NEO-M8N UART
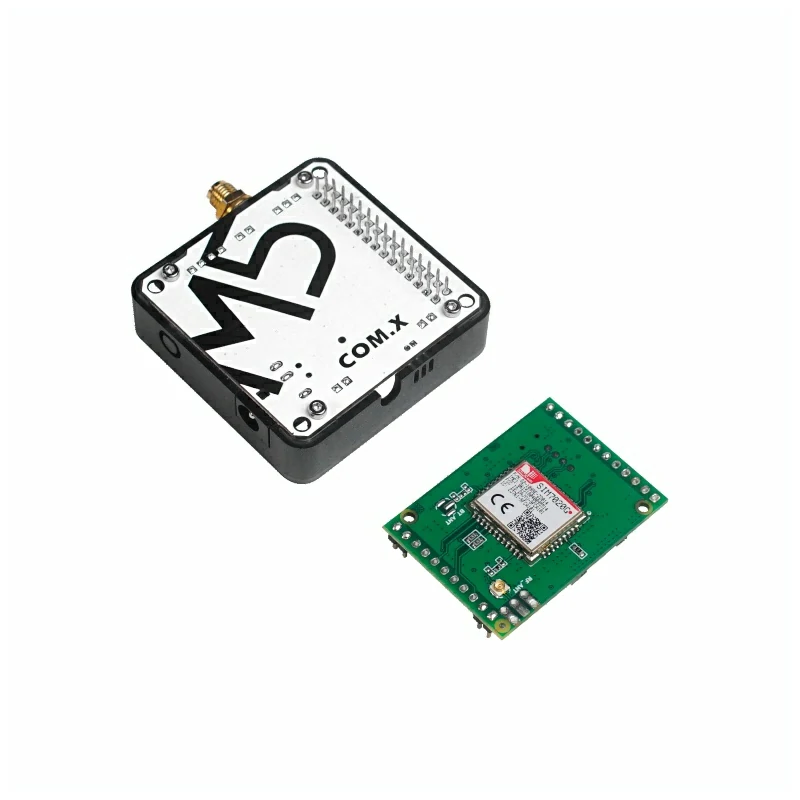
2G COMMUNICATION SIM800L UART
COMM CONVERT MCP2515 SP3485
M2M COMMUNICATION M6315 UART
CHINA NB-IOT M5311LV UART
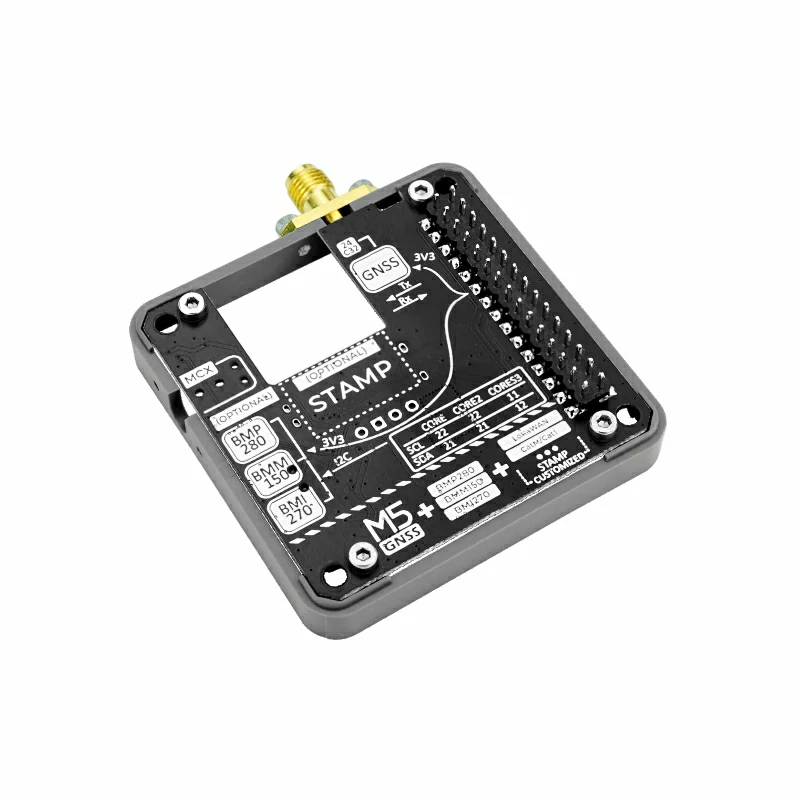
GNSS GPS NEO LOCATION POSITION SATELLITE UART I2C BMI270 BMM150 BMP280 M9N
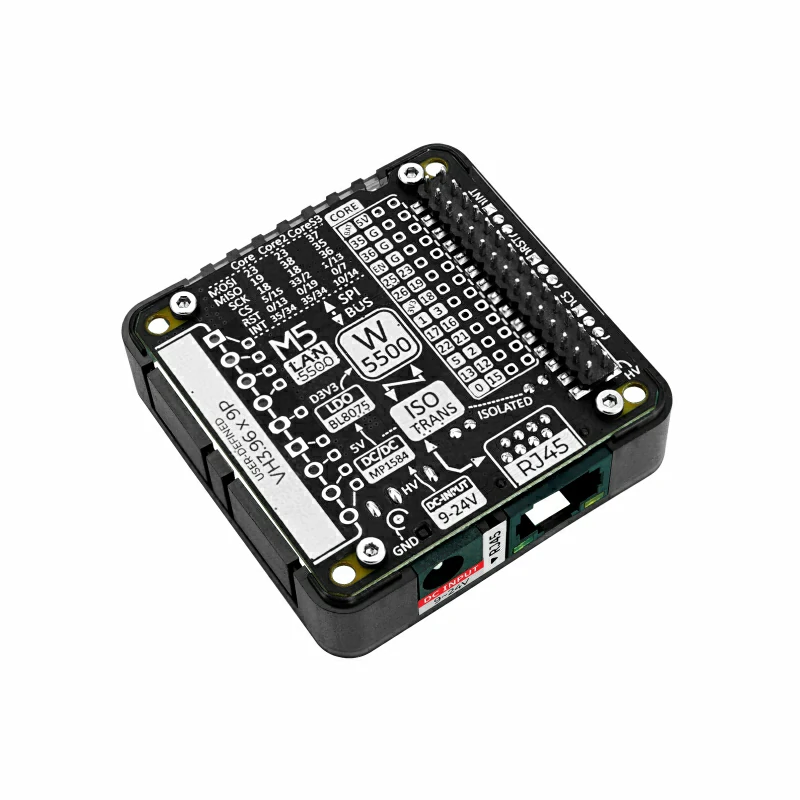
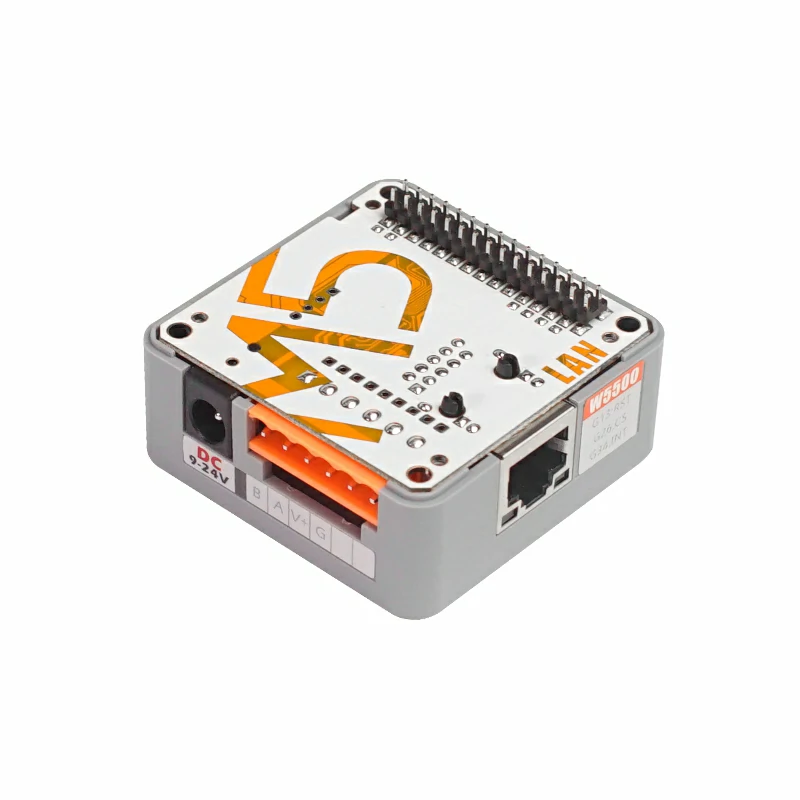
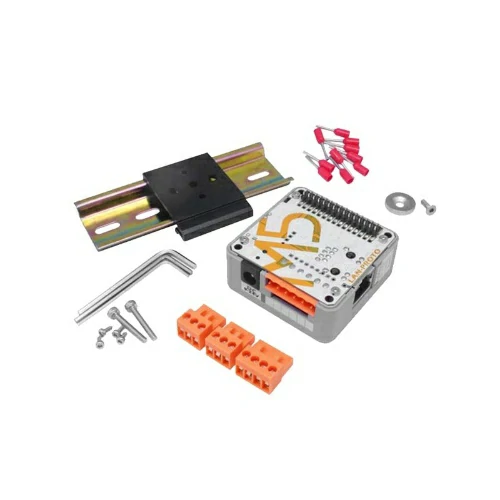
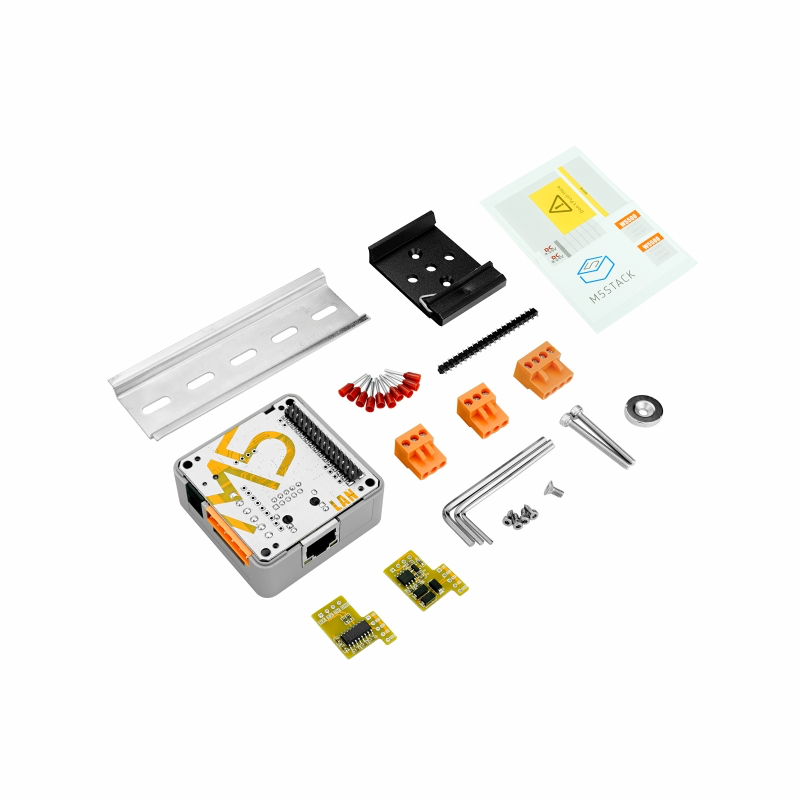
W5500 EHTERNET NETWORK RJ45 LAN
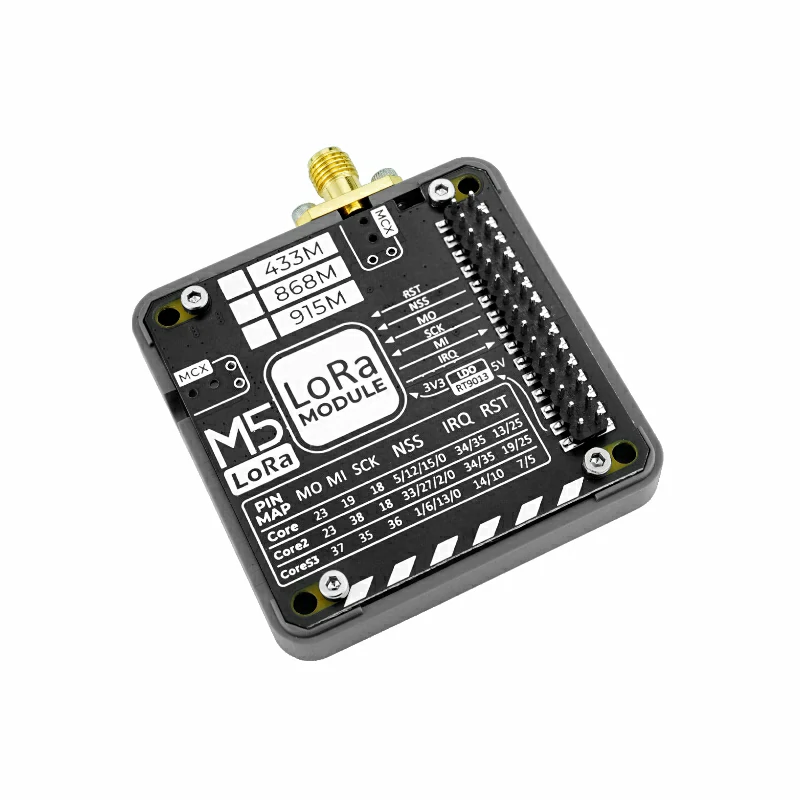
868MHZ LORA MODULE SMA
433MHZ LORA MODULE ANT SX1278 RA02
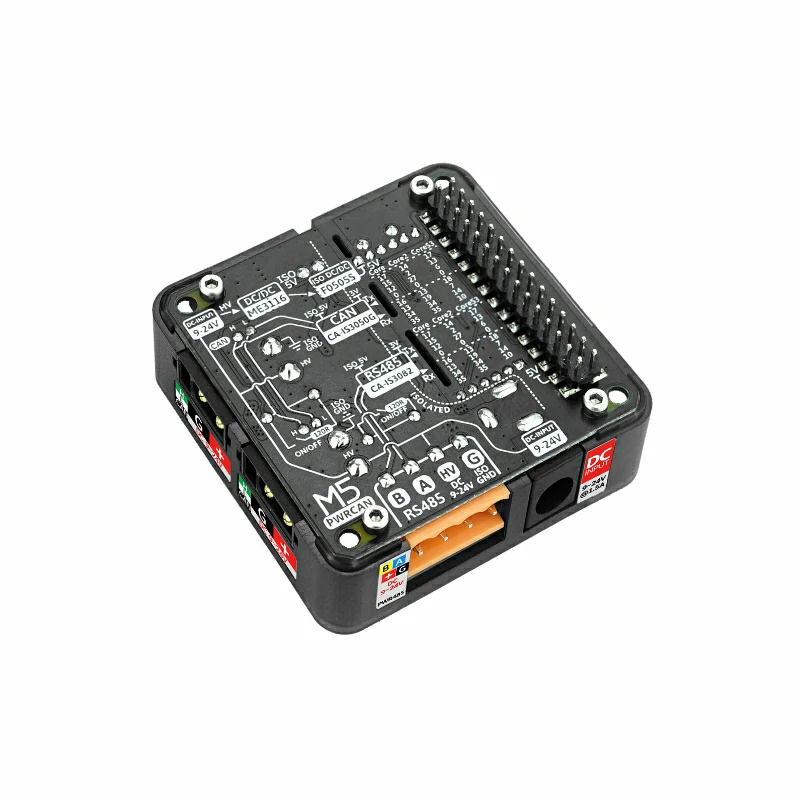
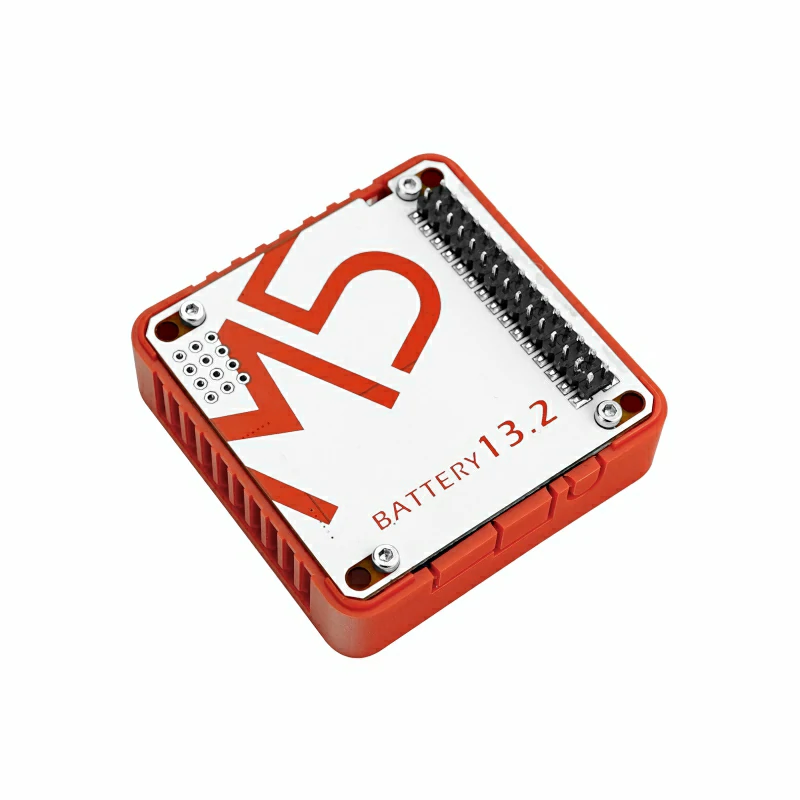
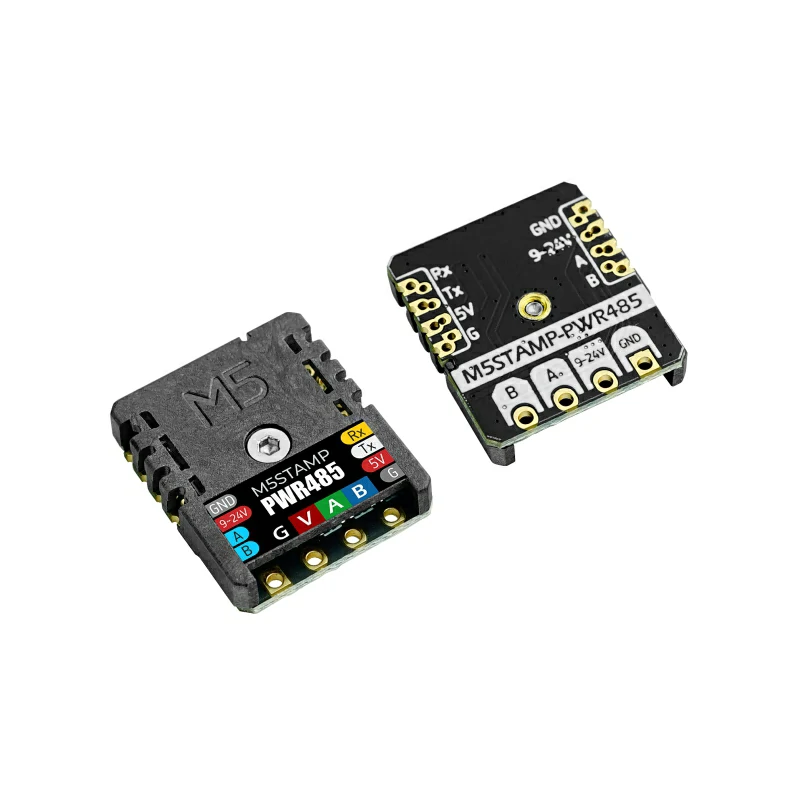
PWR MODULE 485 CAN 13.2
STEPMOTOR DRIVE DRV8825PWPR I2C
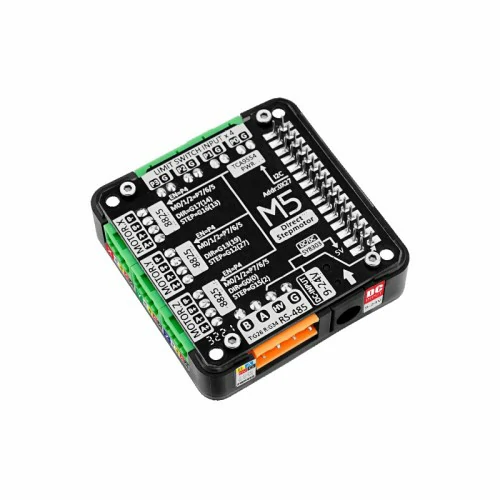
STEPMOTOR DRIVE HR8825 GPIO+I2C
STEPMOTOR DRIVE DRV8825 UART+I2C
SERVO DRIVE DRV8301 UART
SERVO DRIVE PCA9685 I2C
STEPMOTOR DRIVE LM2596SX I2C
DCMOTOR DRIVE L293DD I2C
MECHANICAL RELAY@4 STM32F030F4 I2C
SWITCH & PASSIVE I/O STM32F030 I2C
MECHANICAL FAN
RELAY STM32 I2C AC RELAY
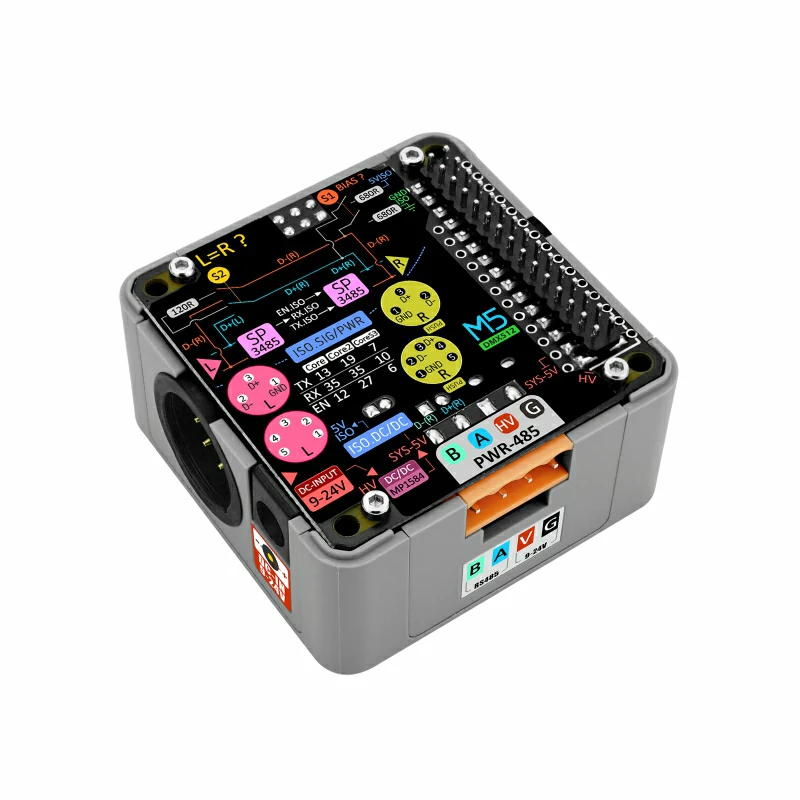
DMX BASE RS485 XLR
HR8825 STEPMOTOR DIRVER PWR485 RS485 DC STM32 STM32F030F4P6
REALY STM32F030F4 DC I2C 1N4148WS AOZ1282CI
MODULE ENCODER STM32F030C8T6 I2C
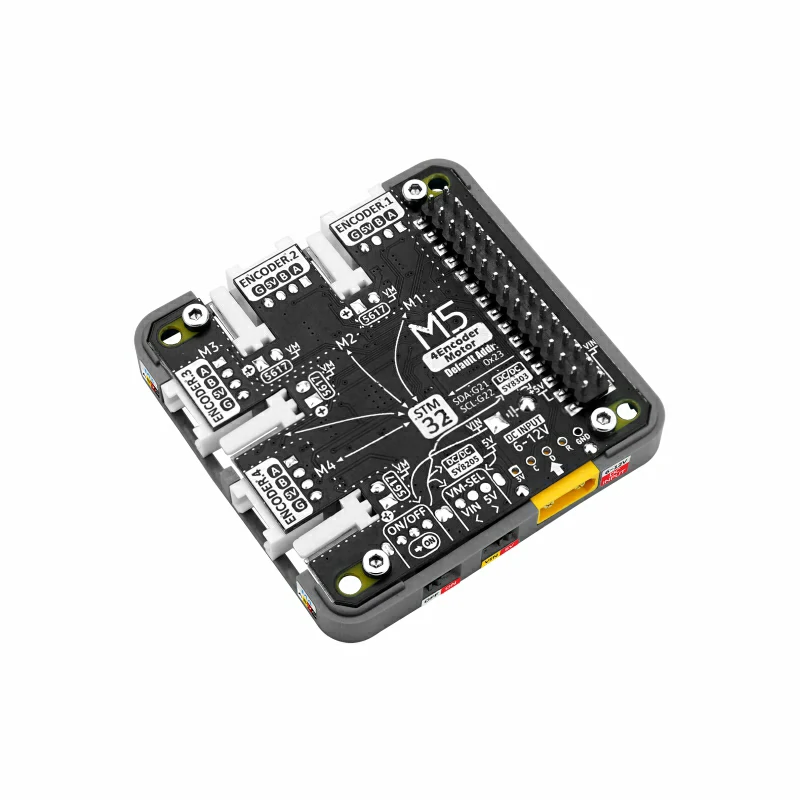
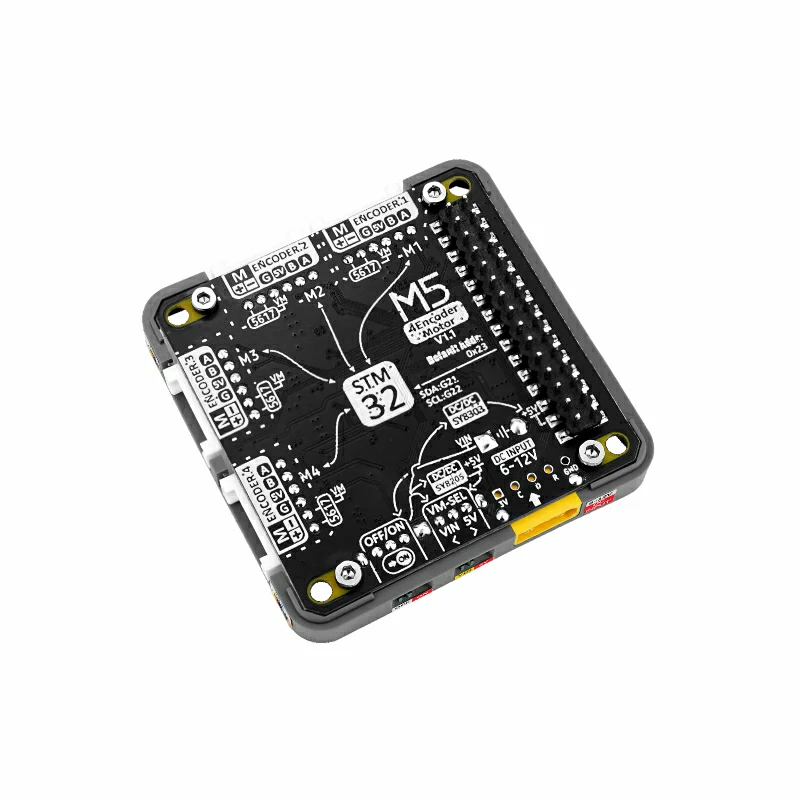
ENCODER MOTOR MODULE STM32 BL5617 I2C PULSE POSITION SPEED INA199
GROVE EXPANSION
MOTOR & SERVO DRIVER DRV8833 I2C
FUNCTIONAL ENHANCE MEGA328 I2C
LI-ION BATTERIES 750 MAH
LI-ION BATTERIES 1500 MAH
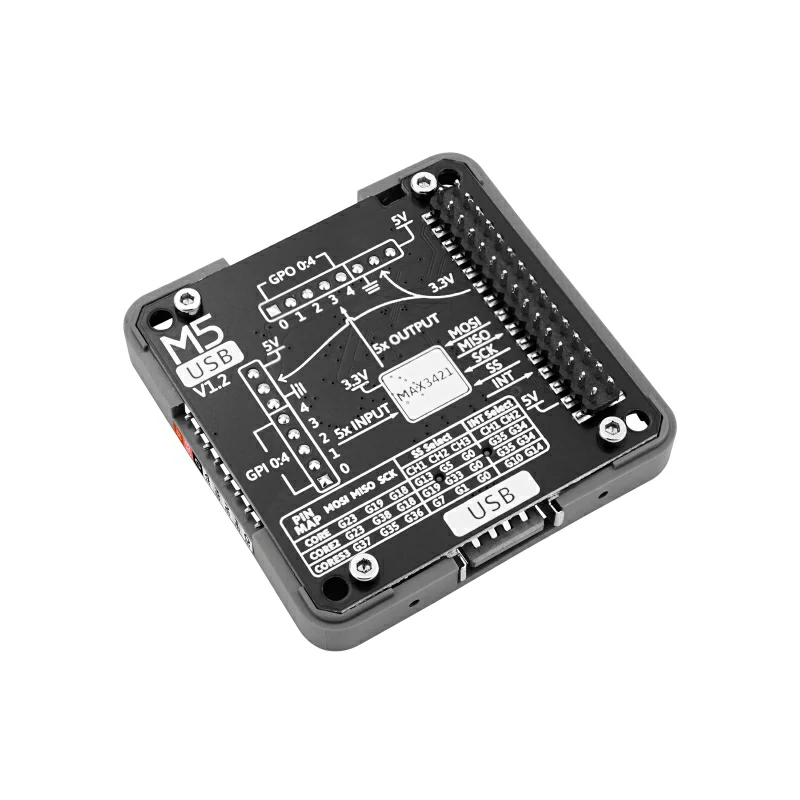
USB DRIVE MAX3421E SPI
I/V MEASUREMENT FREE DESIGN
BUS EXPANSION FREE DESIGN
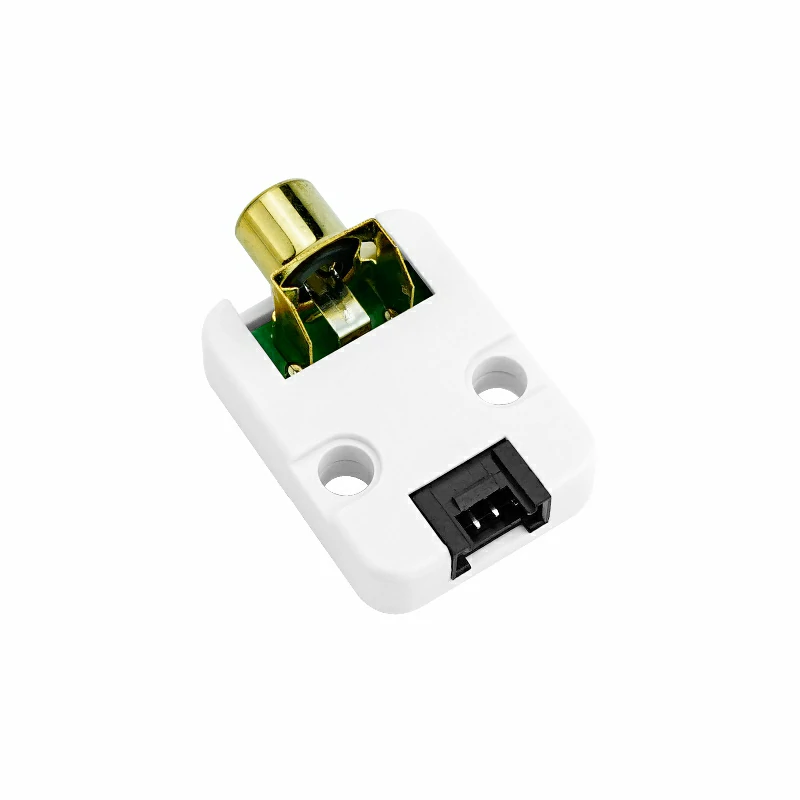
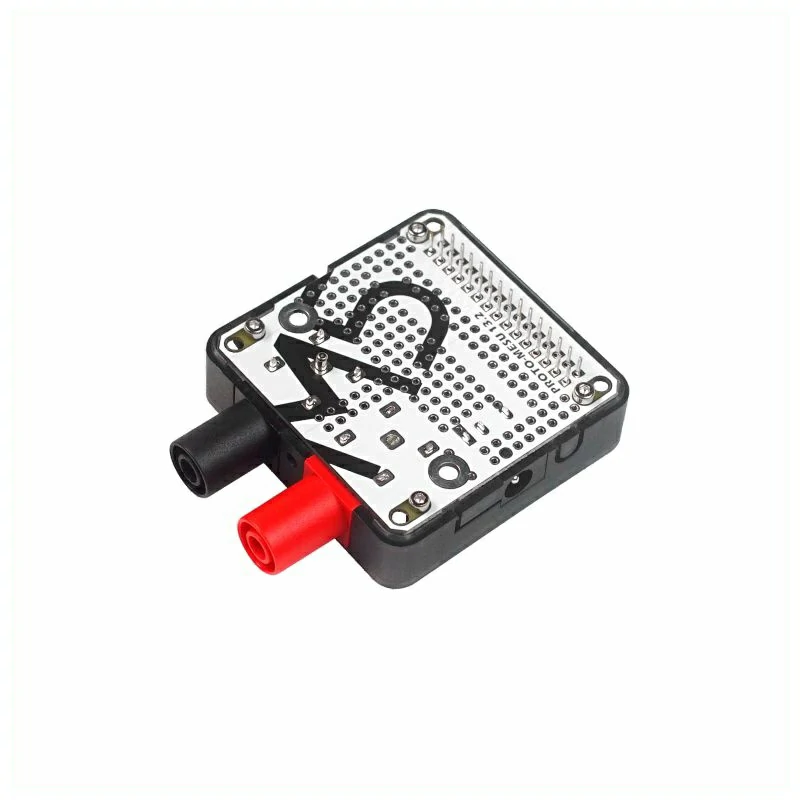
RCA A/V COMPOSITE VIDEO AND AUDIO
GW1NR LT8618SXB HDMI
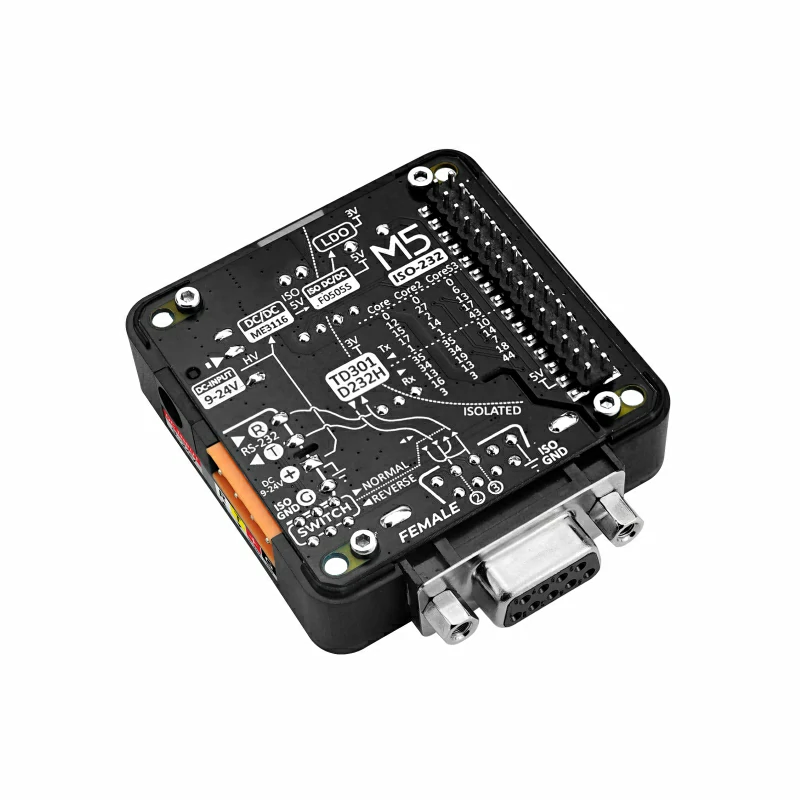
RS232 FEMALE DB9 UART F0505S-2WR3 TD301D232H TTL
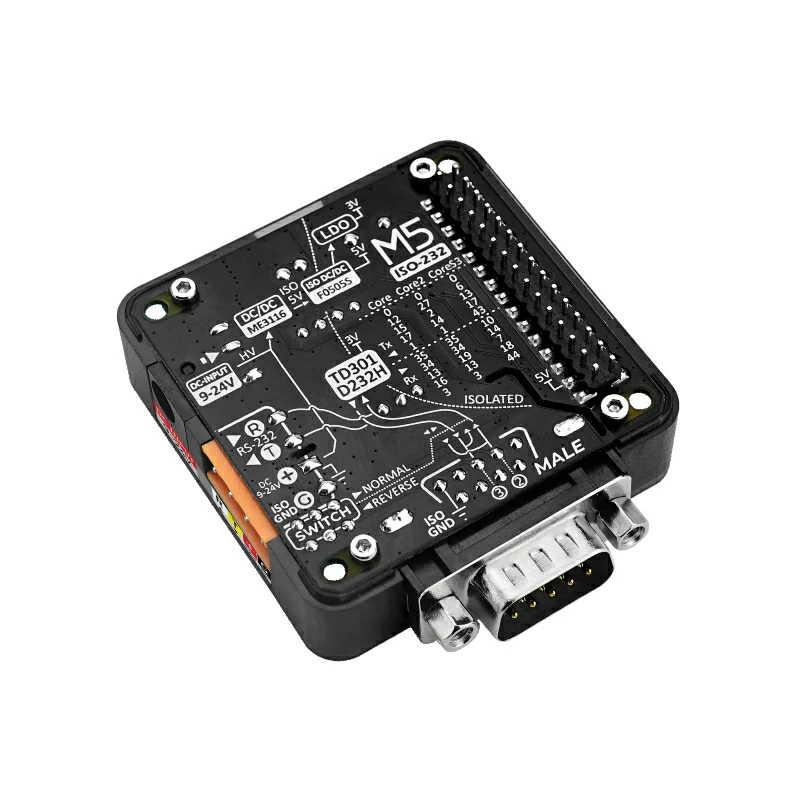
RS232 MALE DB9 UART F0505S-2WR3 TD301D232H TTL
HMI MODULE ENCODER STM32F030F4P6
MAX3421E SPI DRIVER USB MODULE
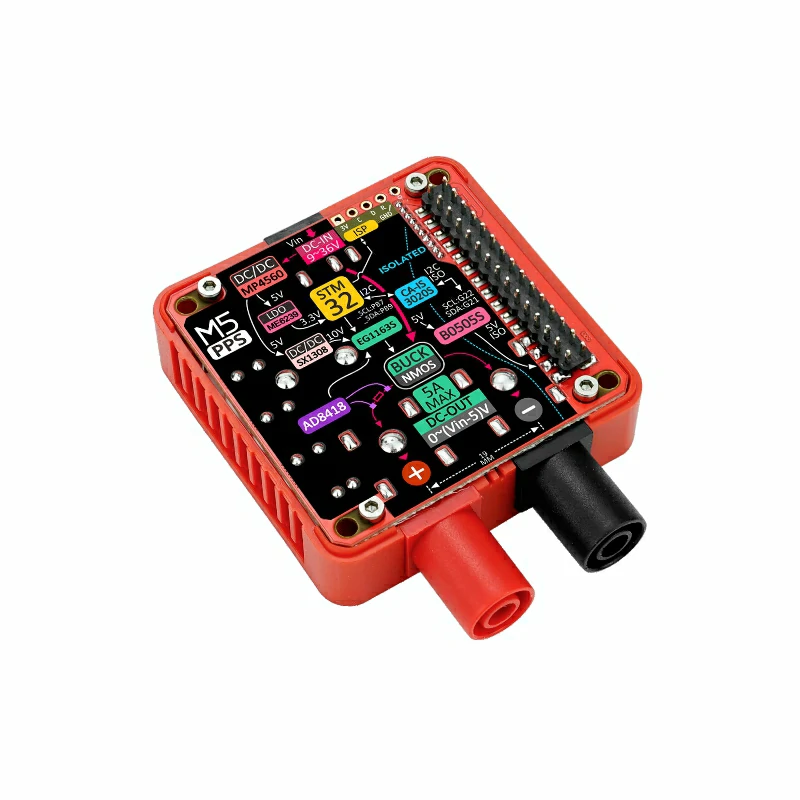
PPS POWER MODULE STM32 AD8418 STEP-DOWN DC
CATM NB-IOT SIM7080G PWR485
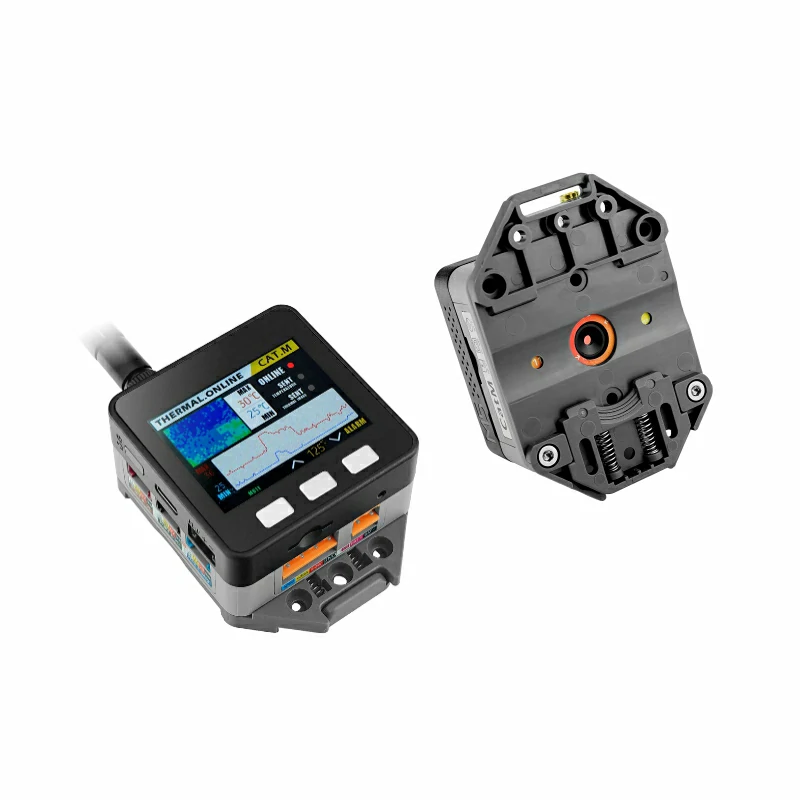
THERMAL IMAGING MLX90640 SIM7080G
POE ETHERNET W5500 UART
ETHERNET RS485 W5500 UART
ETHERNET RS485/RS232 W5500 SPI
TEMPERATURE & HUMIDITY BASE I2C
INDUSTRIAL CONTROL
UNIVERSAL BOARD FREE DESIGN RS485
AC 100 ~ 230V TO DC 5V/12V
BASIC BATTERY BASE
ENHANCED BATTERY BASE MIC LED BAR
ENHANCED BATTERY BASE MPU6886 MIC LED
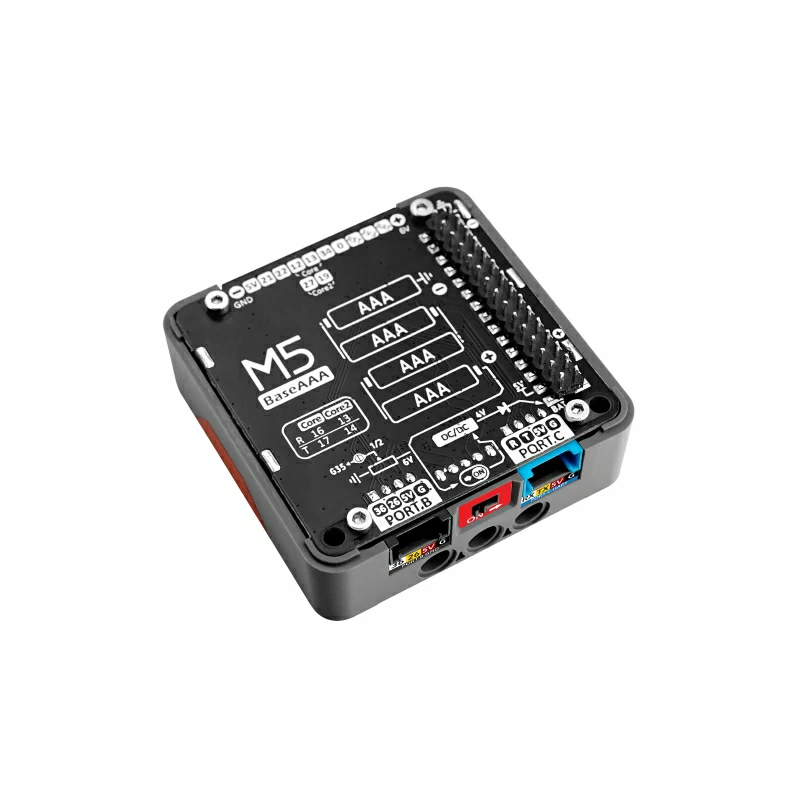
DRY BATTERIES DC-DC POWER SUPPLY
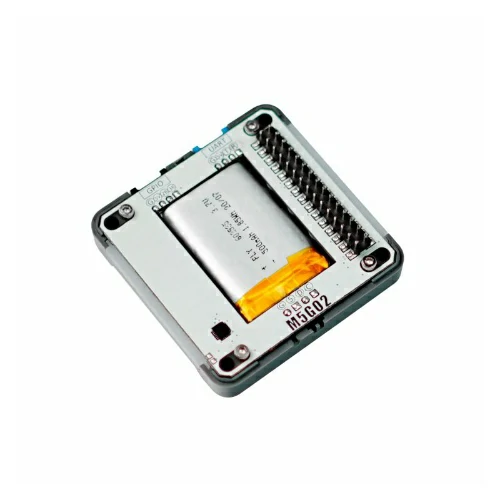
CHARGING BASE
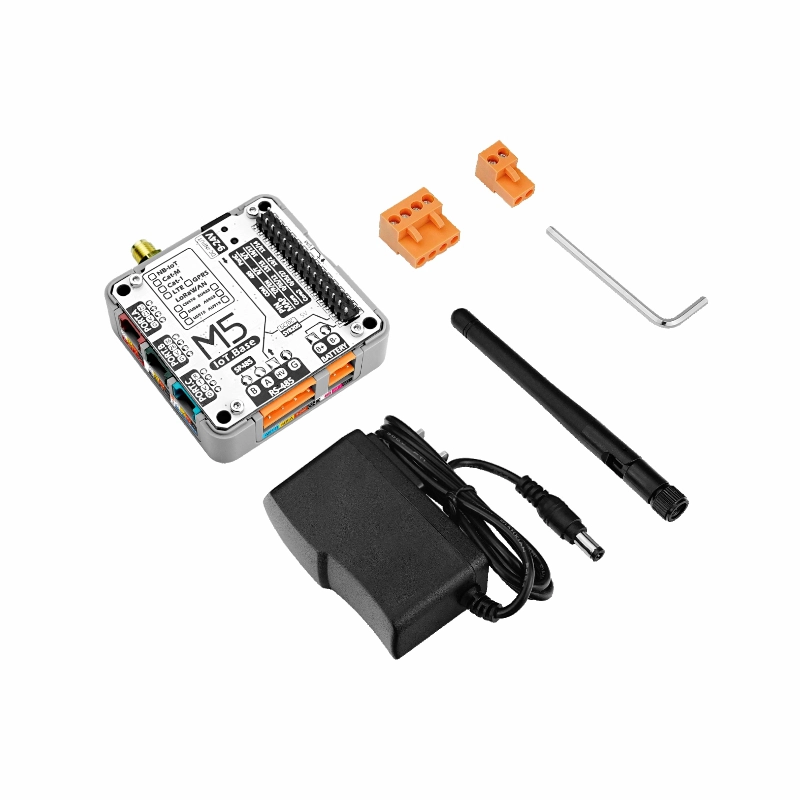
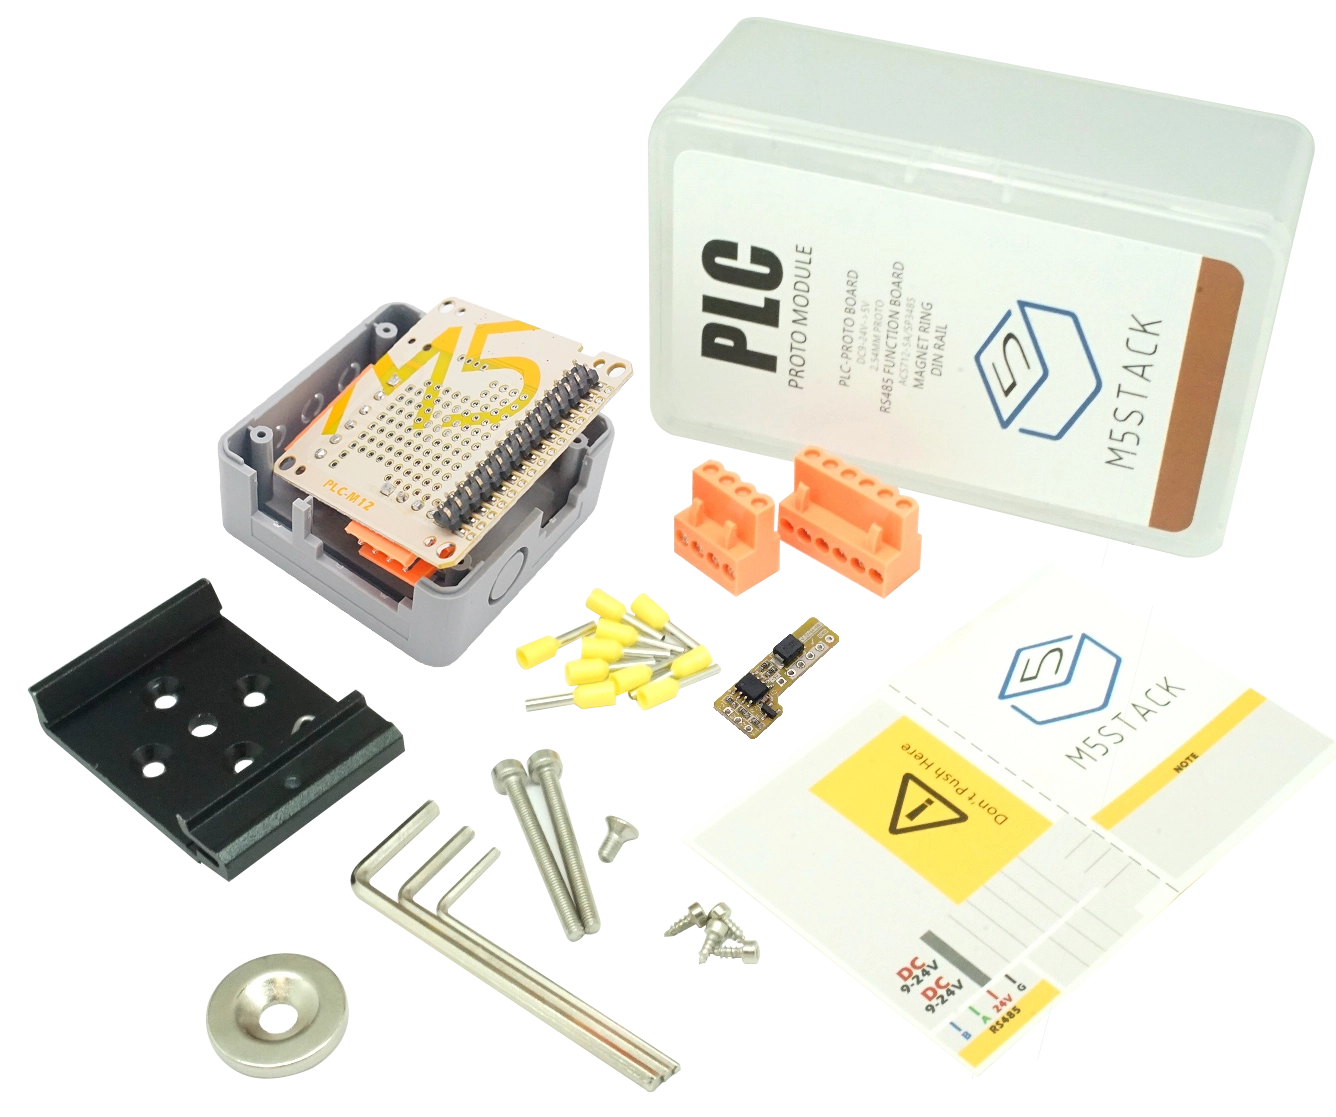
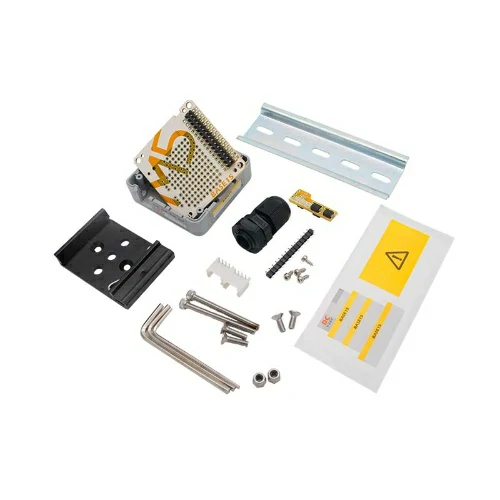
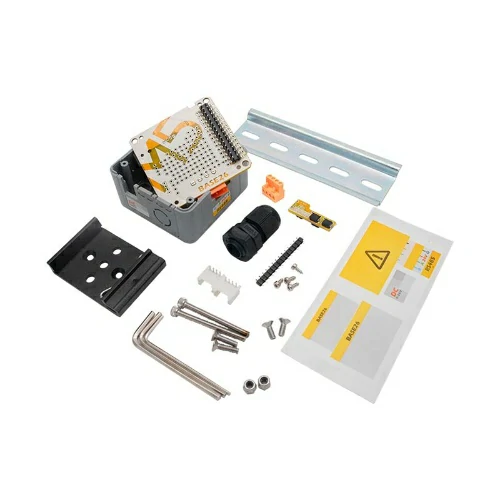
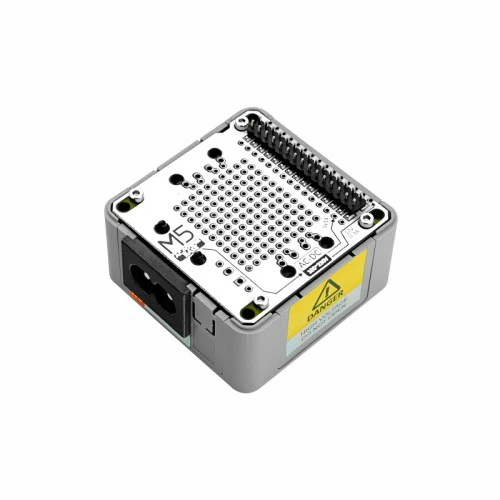
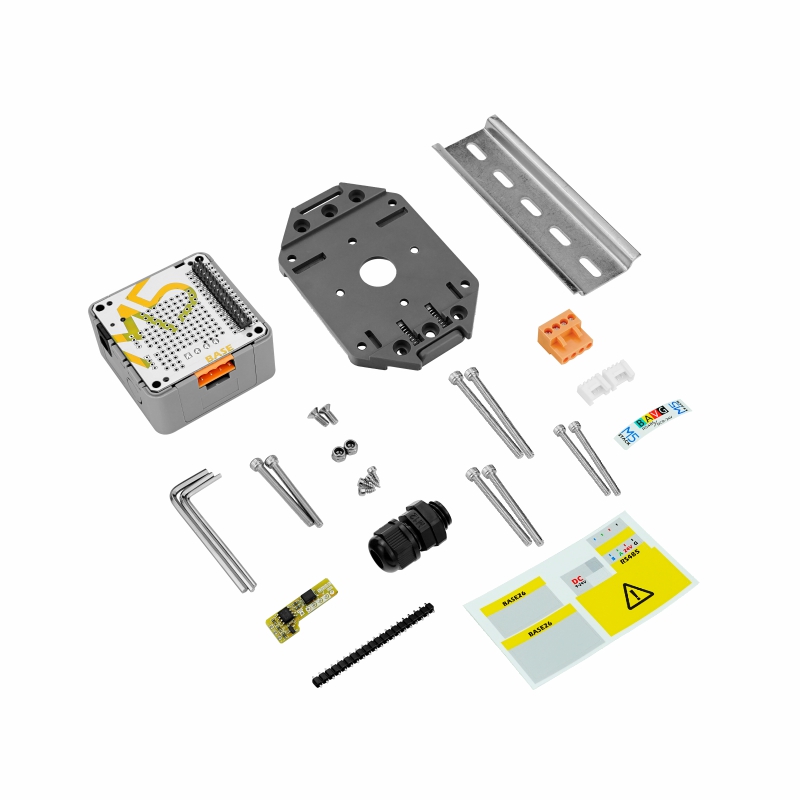
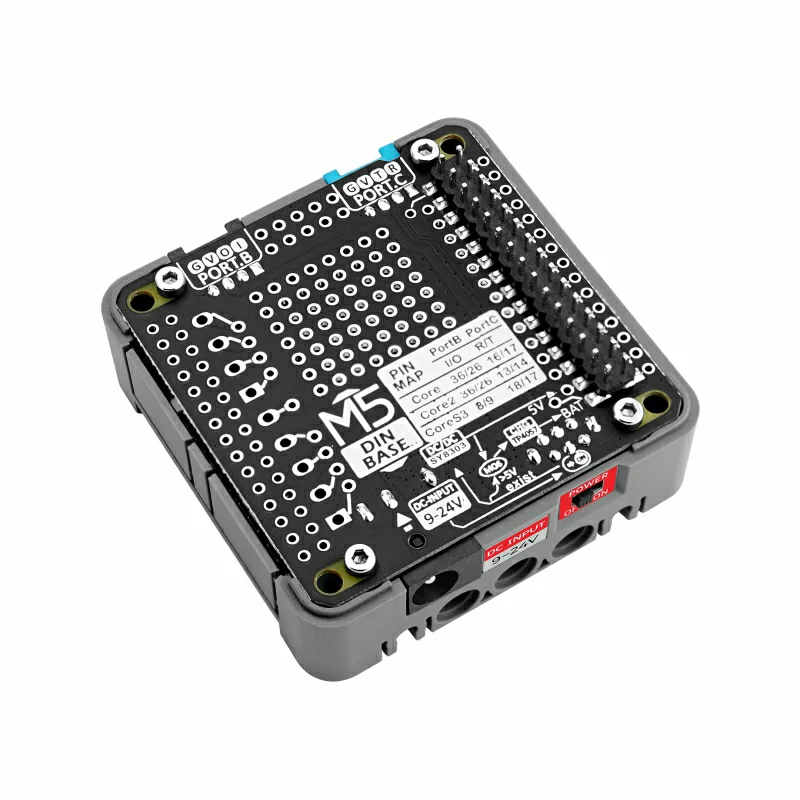
UNIVERSAL HOLE PROTOTYPE TTL RS485 PWR485 DIY 2.54 DCDC M12 SMA BASE 26 DIN DIN-RAIL
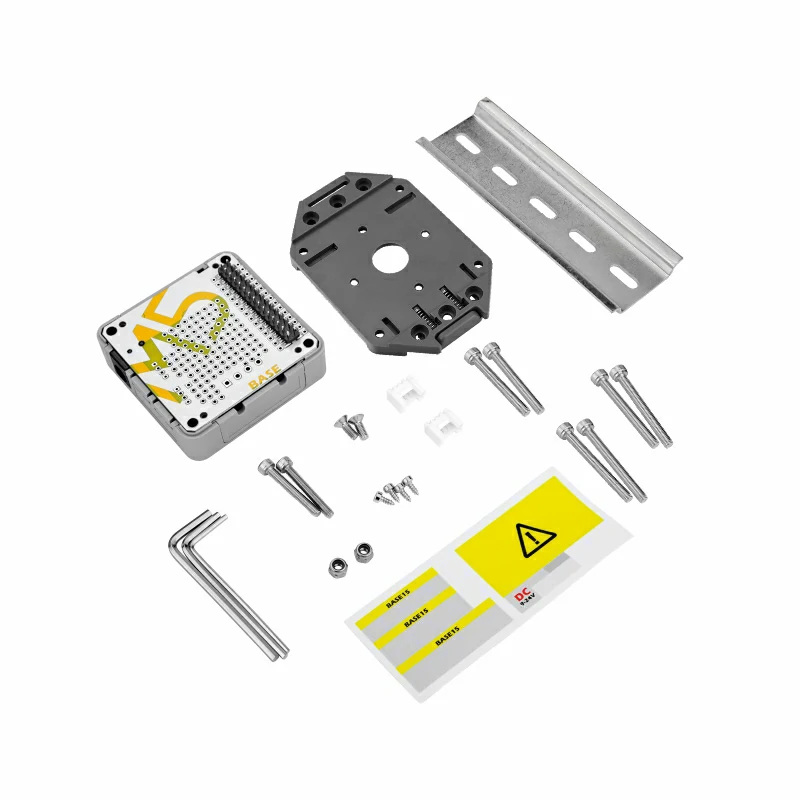
UNIVERSAL HOLE PROTOTYPE BASE DCDC DIY 2.54 DIN-RAIL DIN
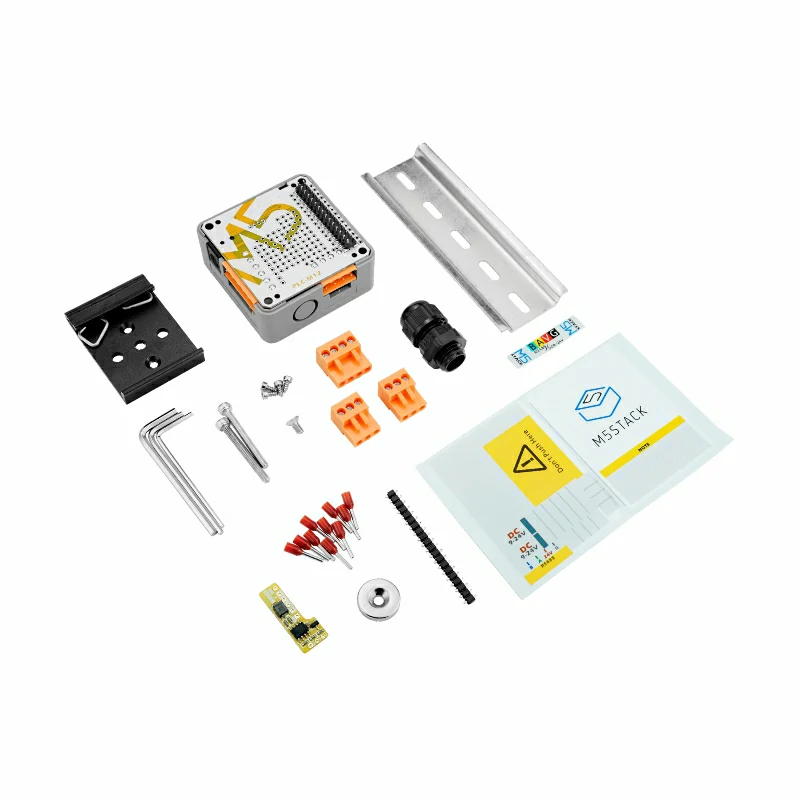
RS485 TTL" DC
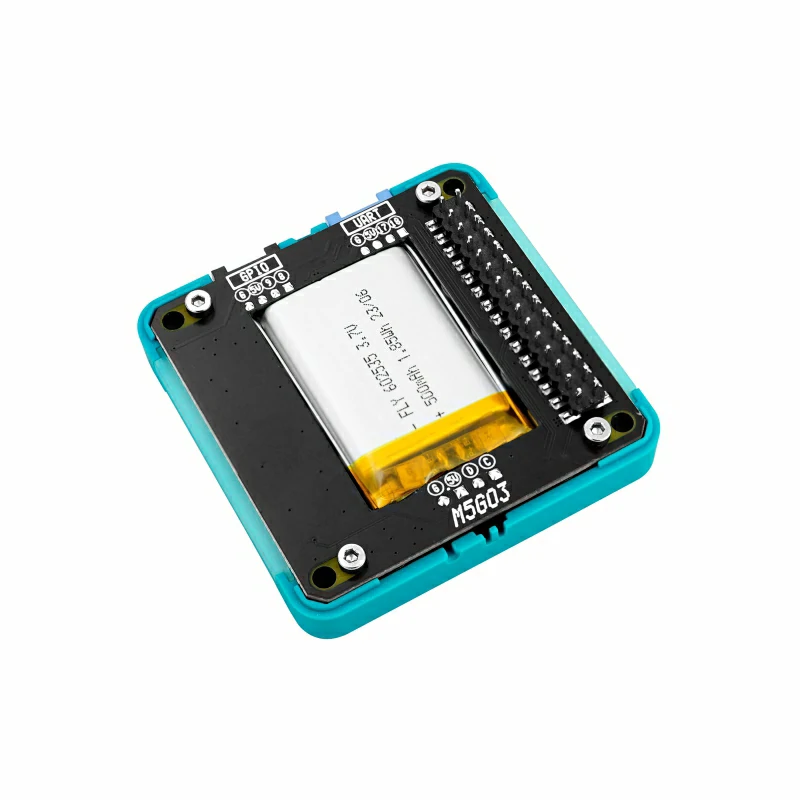
DINBASE BATTERY DIY BASE
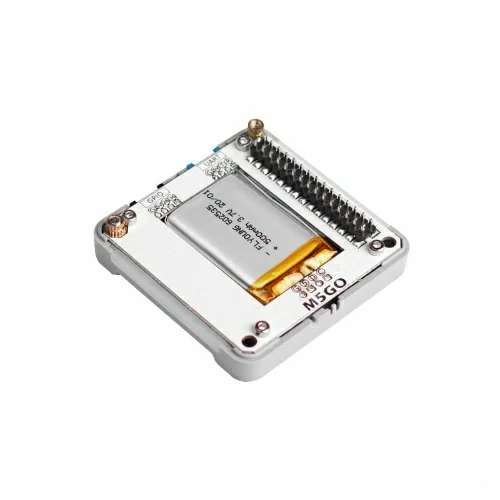
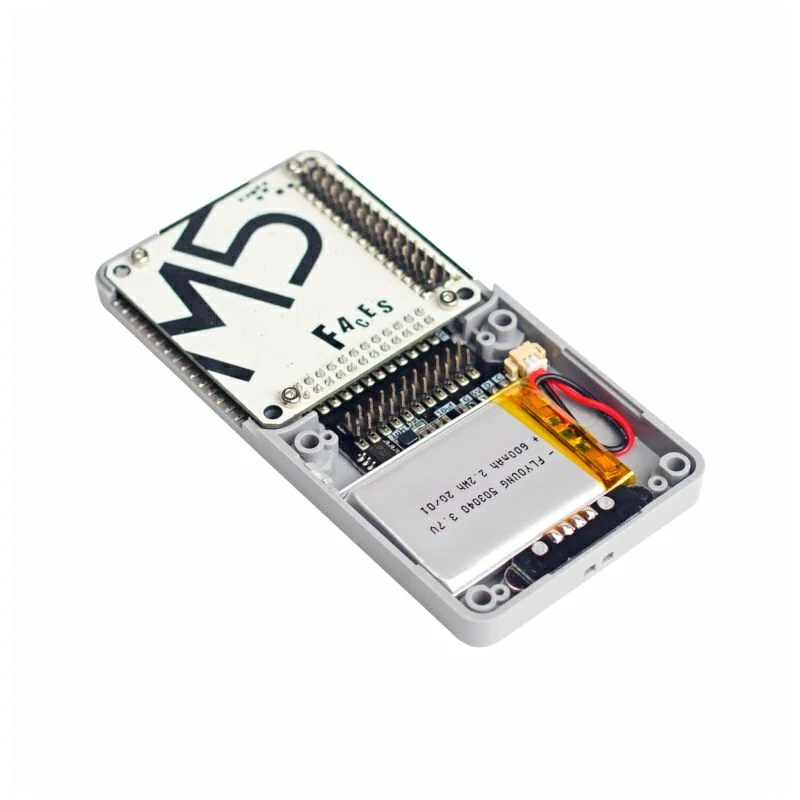
POWER SUPPLY M5 GO M5GO LI LIPO BATTERY BOTTOM IR TP4057 WS2812
BOTTOM BASIC BLACK CORE
ROTARY ENCODER MEGA328 I2C
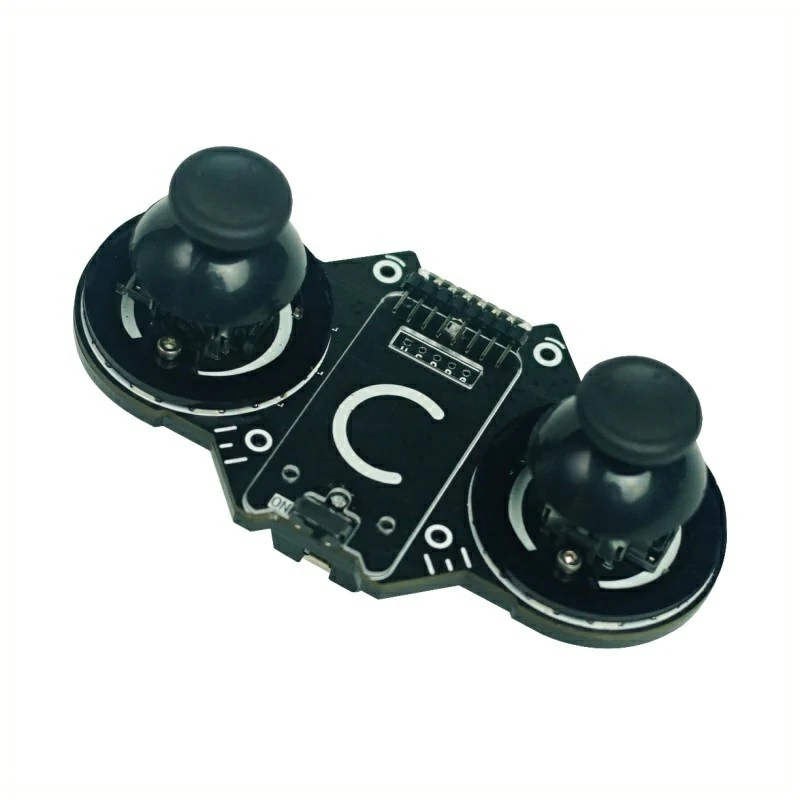
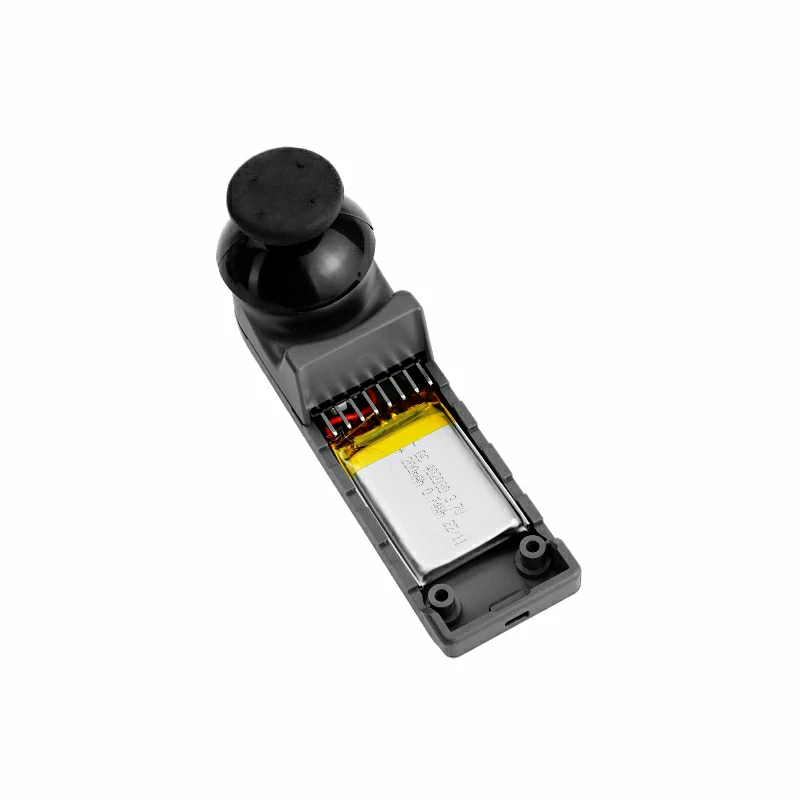
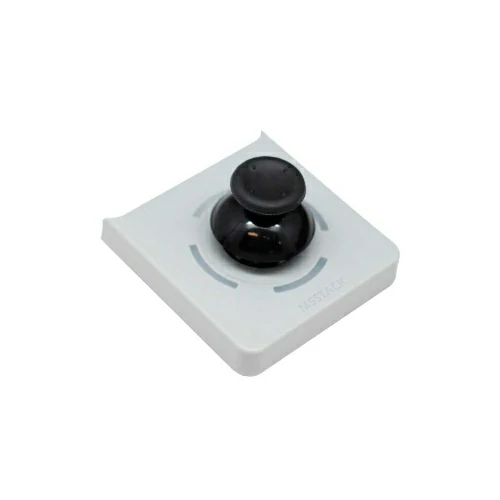
FACES JOYSTICK MEGA328 I2C
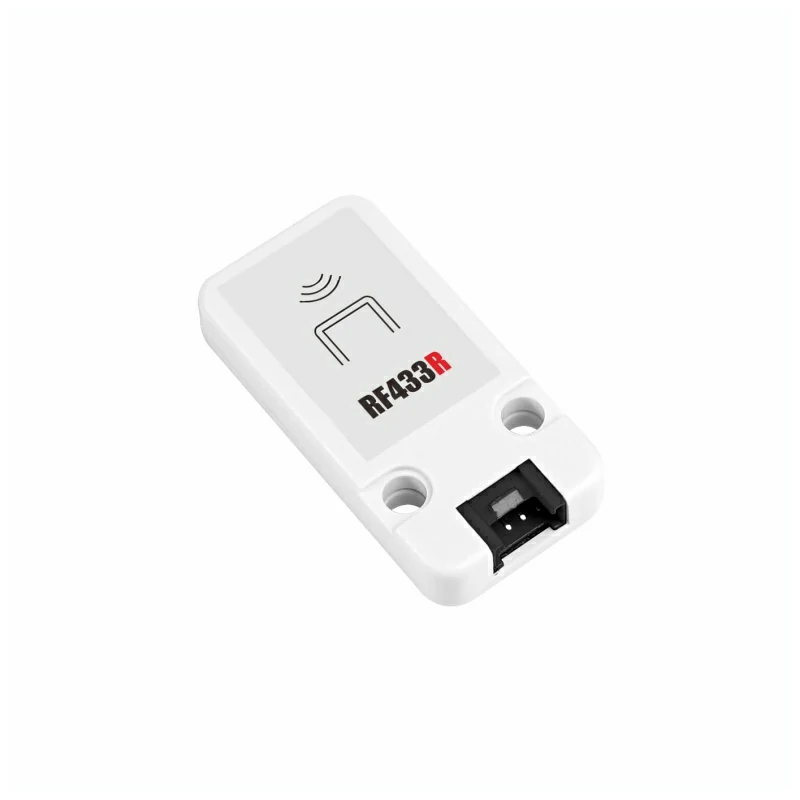
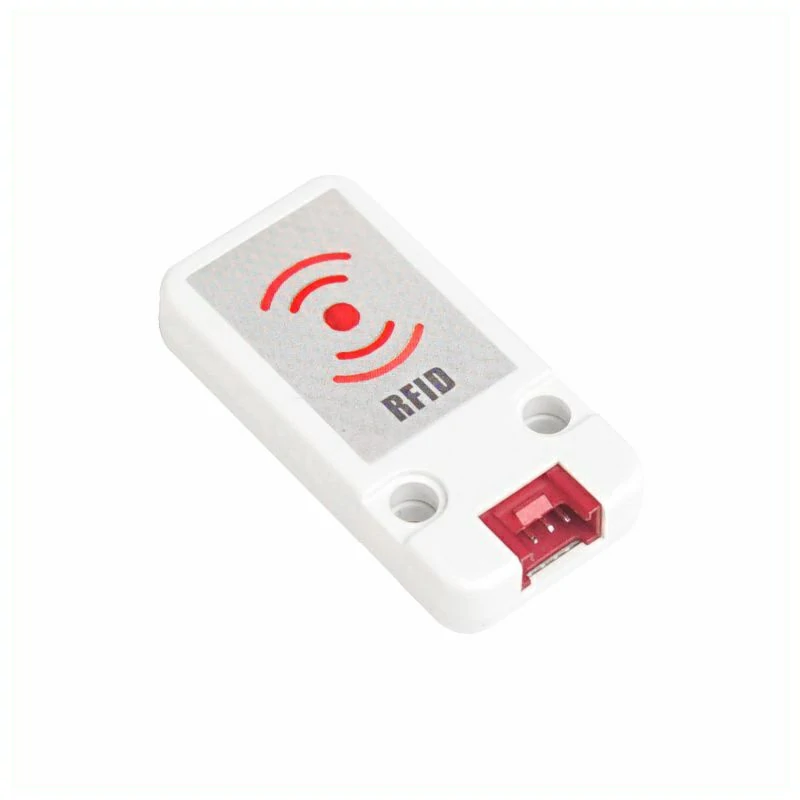
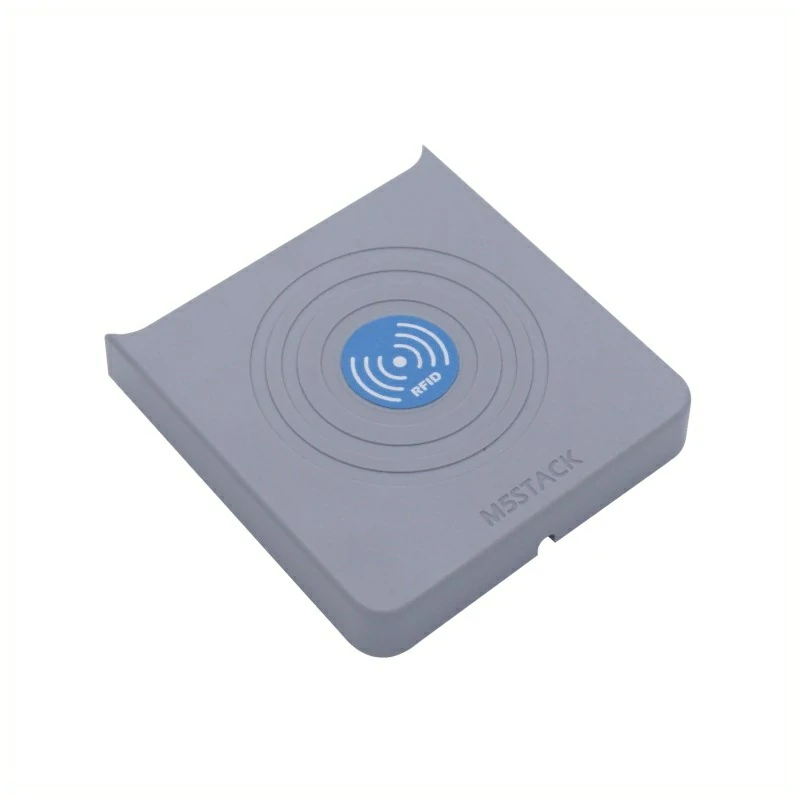
RADIO FREQUENCY IDENTIFICATION I2C
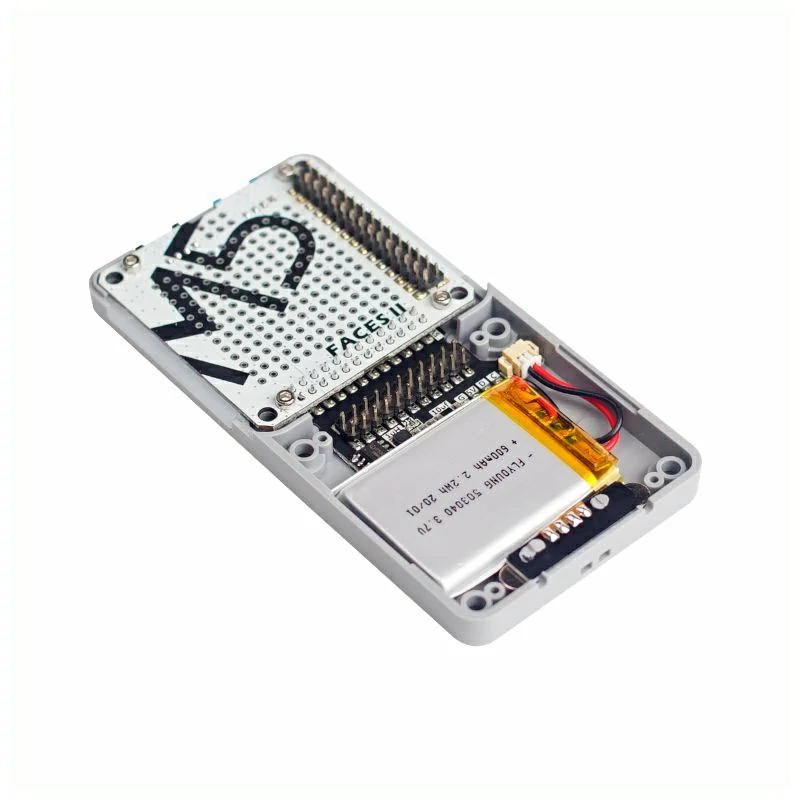
MULTI-FUNCTIONAL EXPANSION LIPO
MULTI-FUNCTIONAL EXPANSION LIPO GROVE
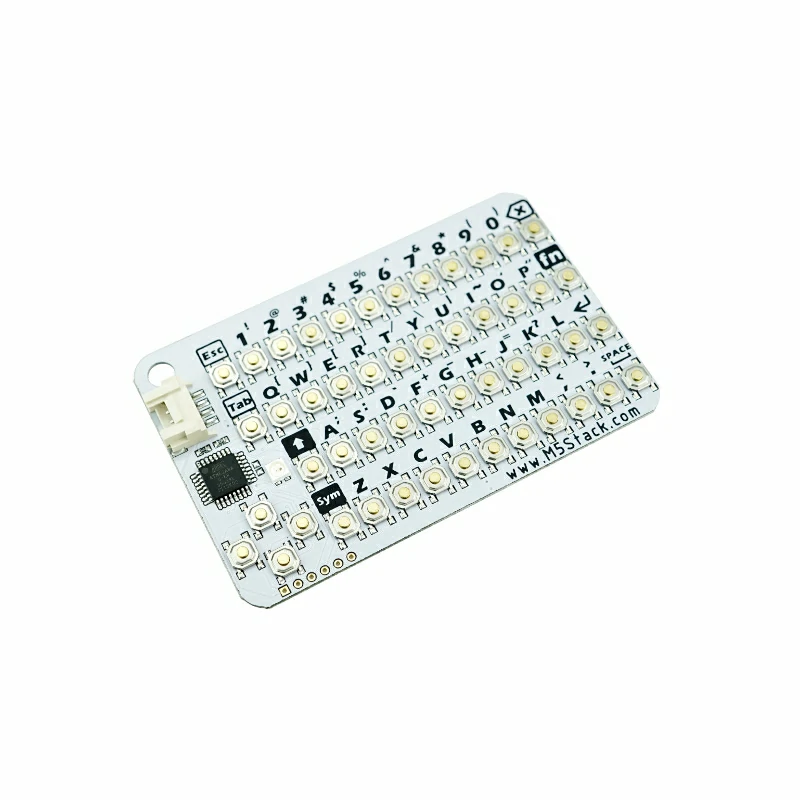
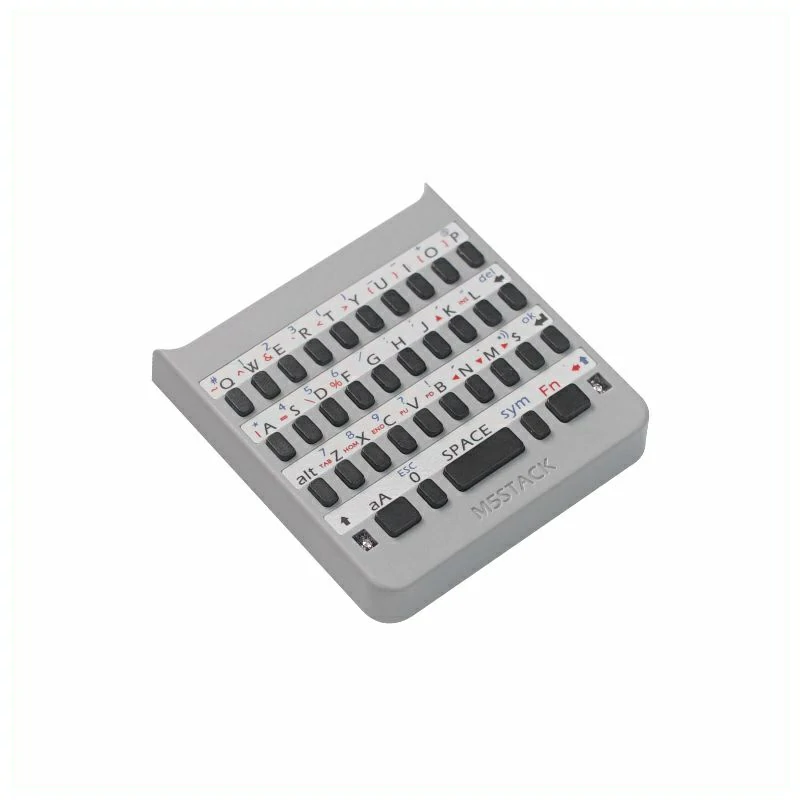
QWERTY KEYBOARD MEGA328 I2C
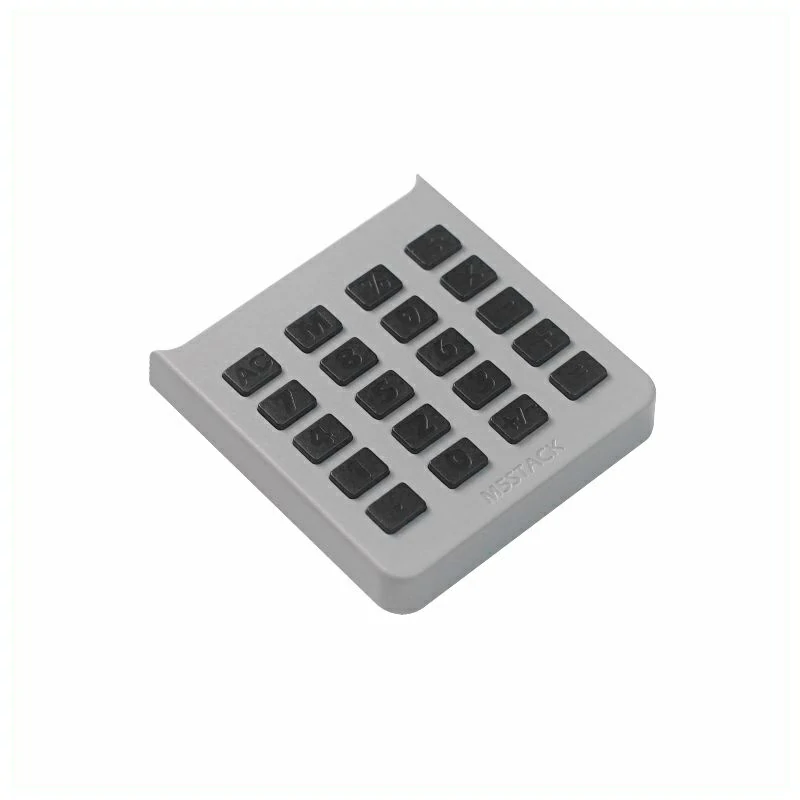
CALCULATOR KEYBOARD MEGA328 I2C
GAME KEYBOARD MEGA328 I2C
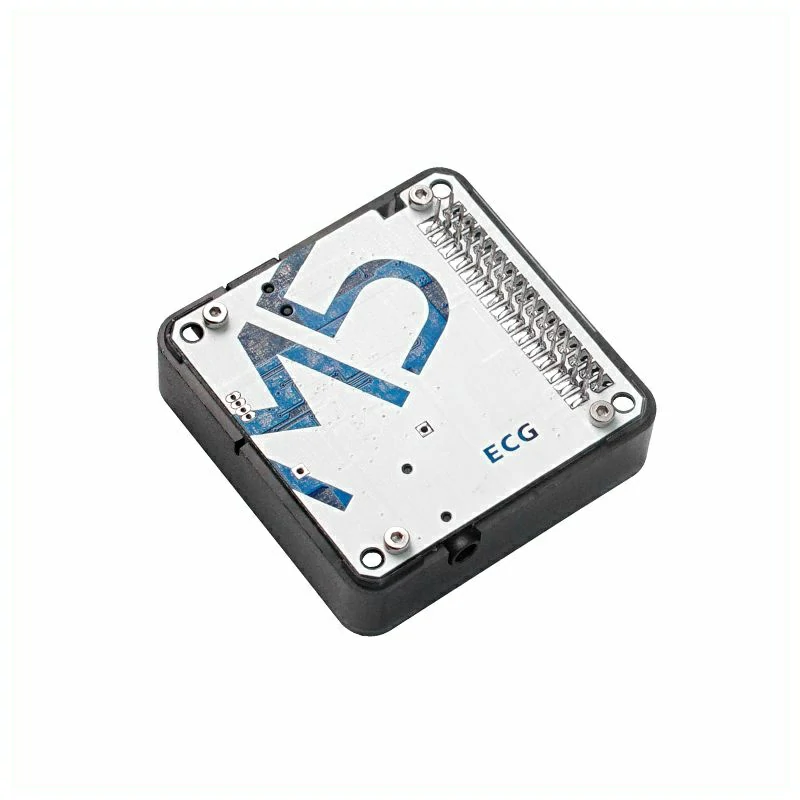
PORTABLE ECG AD8232 UART
TEMP MODULE I2C SENSOR UNIT STM32F030 MAX31855 CA-IS3020S
4-20MA STM32G030F6 MODULE AIN HCNR200
ENVIRONMENTAL PM2.5 PMSA003 I2C AIR QUALITY
GPIO EXPANER STM32F030 I2C
RS485 COMMUNICATION SP485EEN UART
CHINA LTE-CAT1 SIMA7680C AT
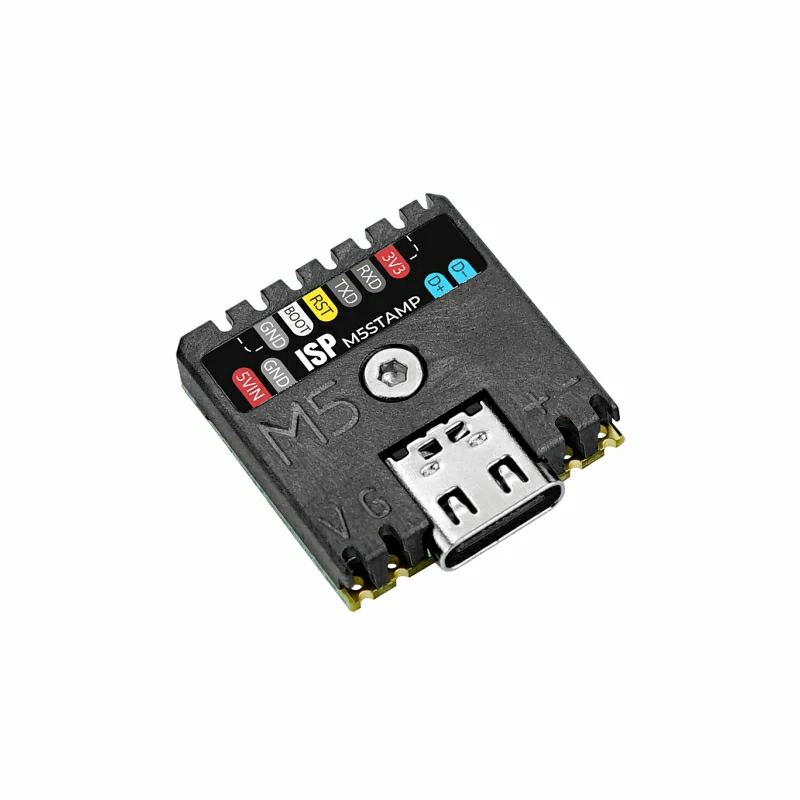
ISP DOWNLOADER UART USB ESP-TOOLS M5BURNER STAMP
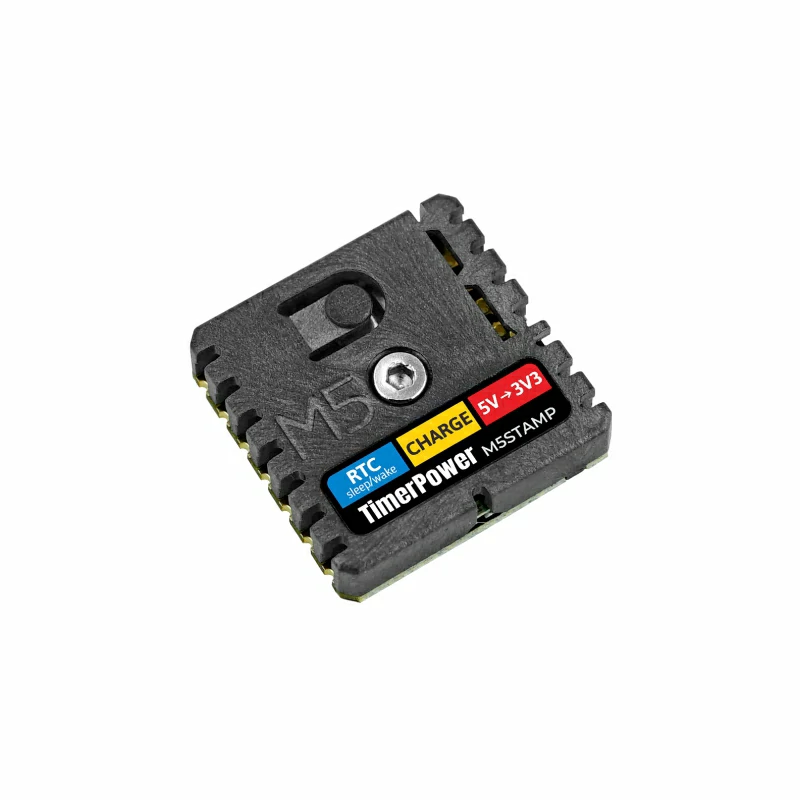
LOW POWER CONSUMPTION STAMP BM8563 I2C RTC WAKE SLEEP 5V CHARGE
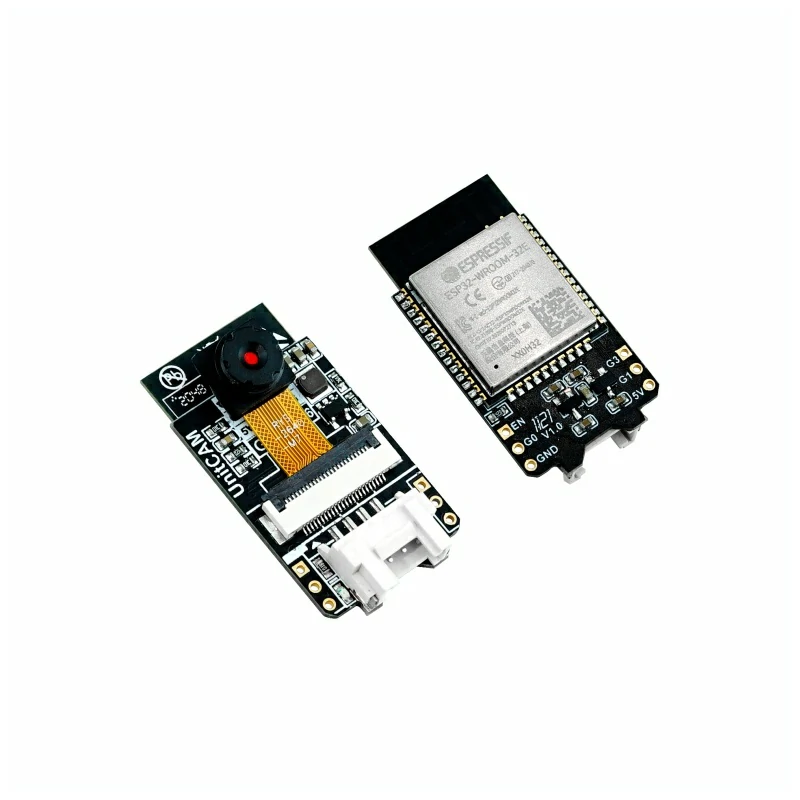
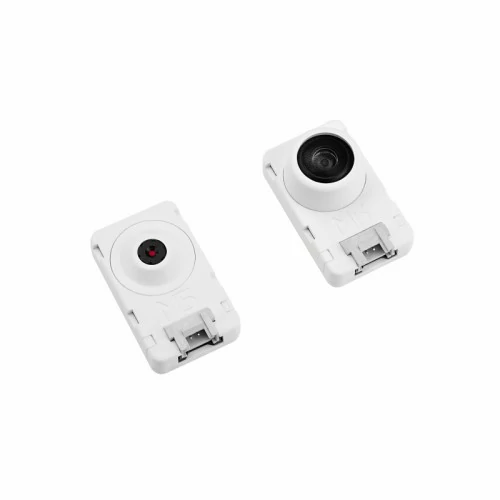
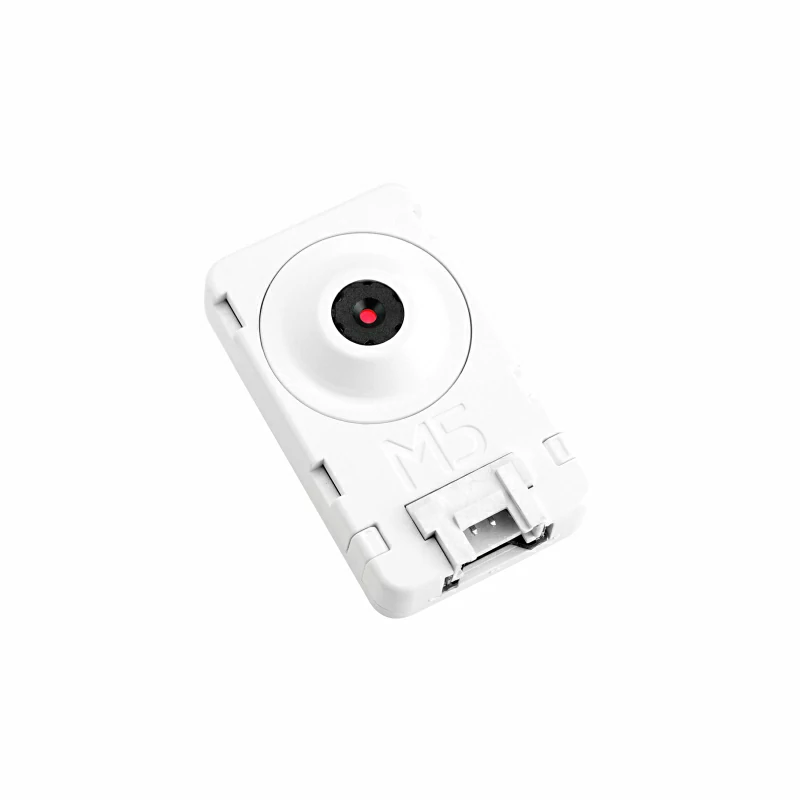
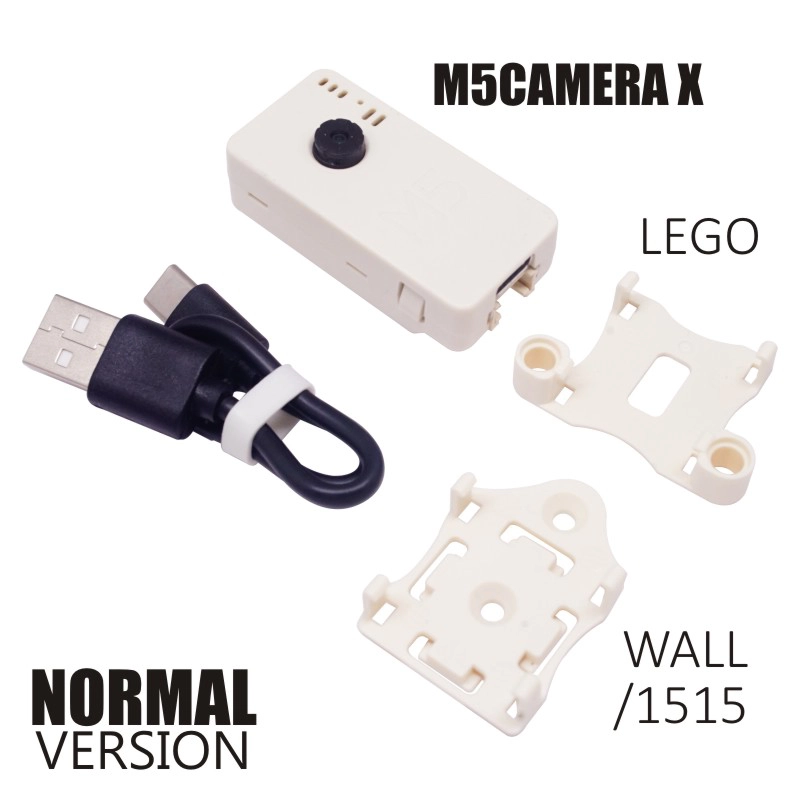
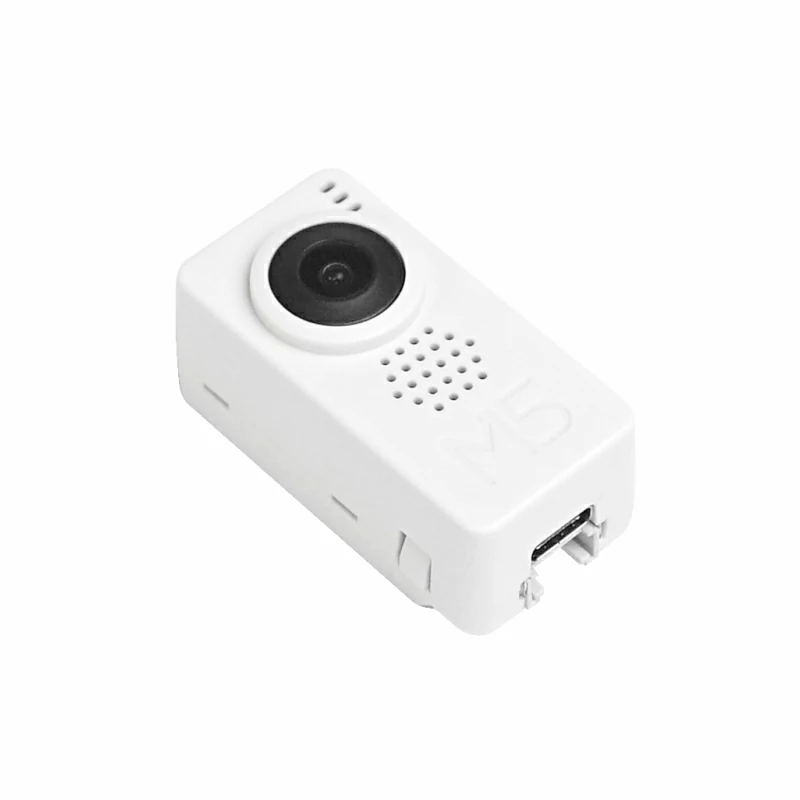
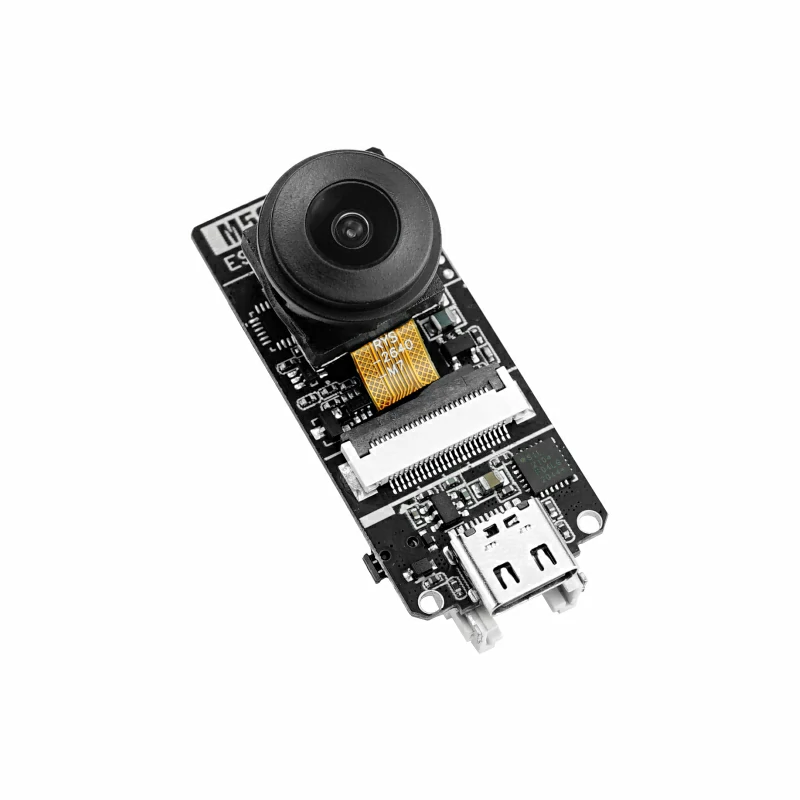
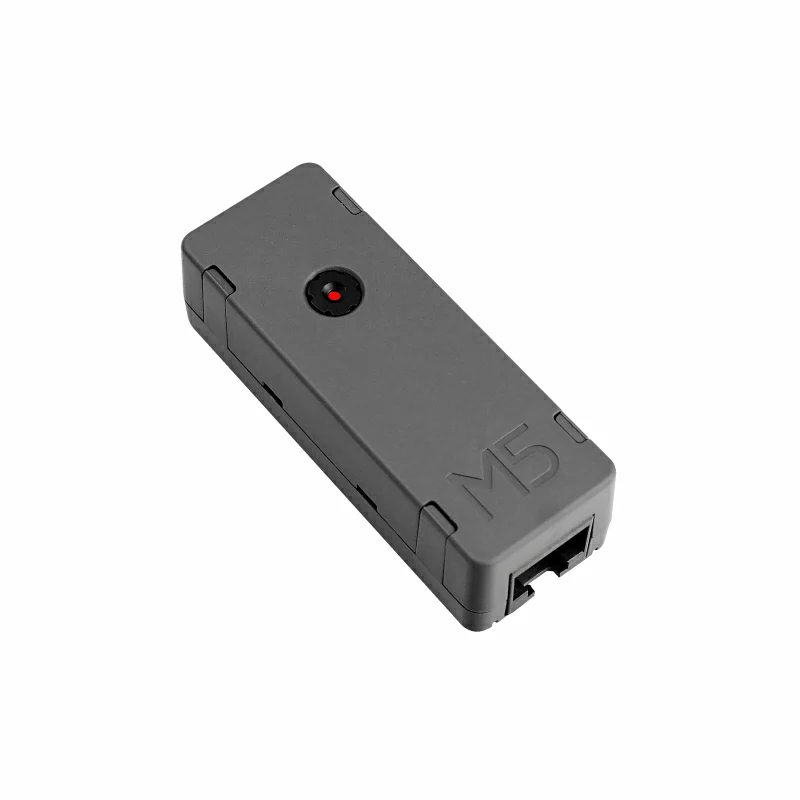
WIFI CAMERA ESP32+OV2640
DIY WIFI CAMERA ESP32+OV2640
CAMERA OV2640 WIFI IMAGE UIFLOW UART
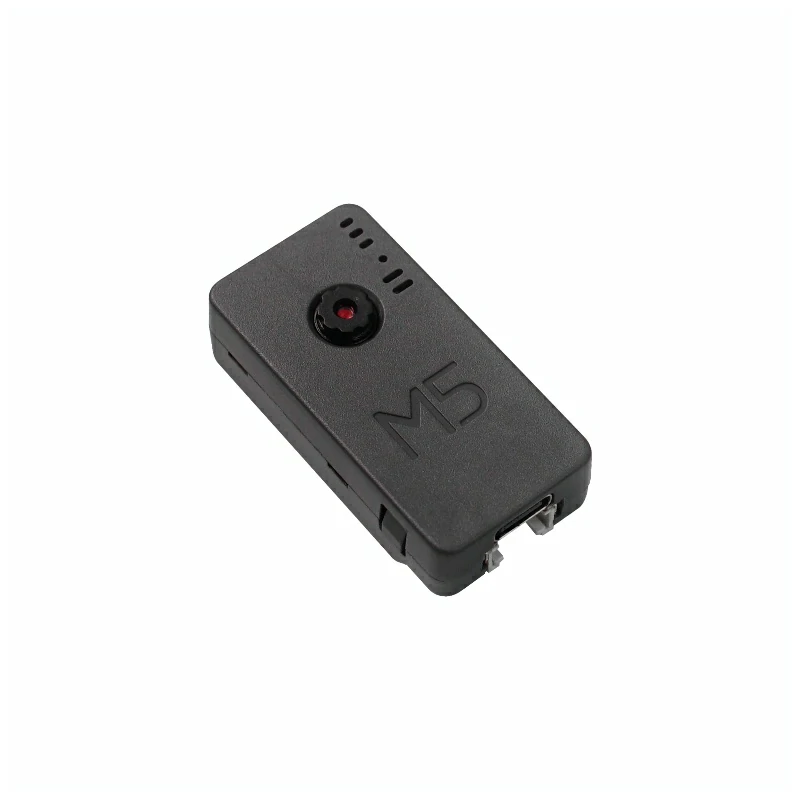
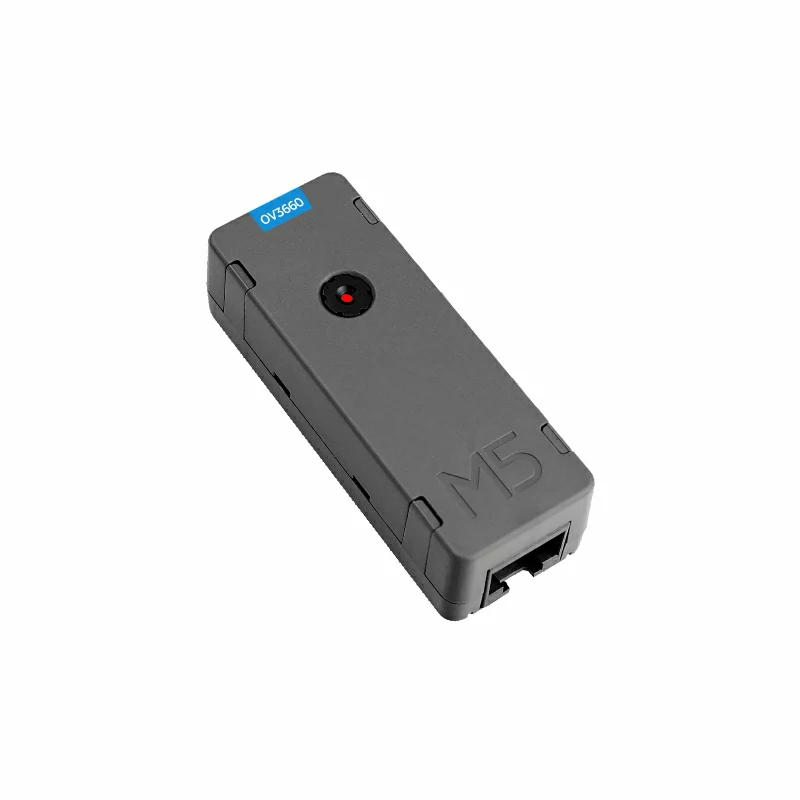
LOW-POWER CAMERA ESP32+OV3660
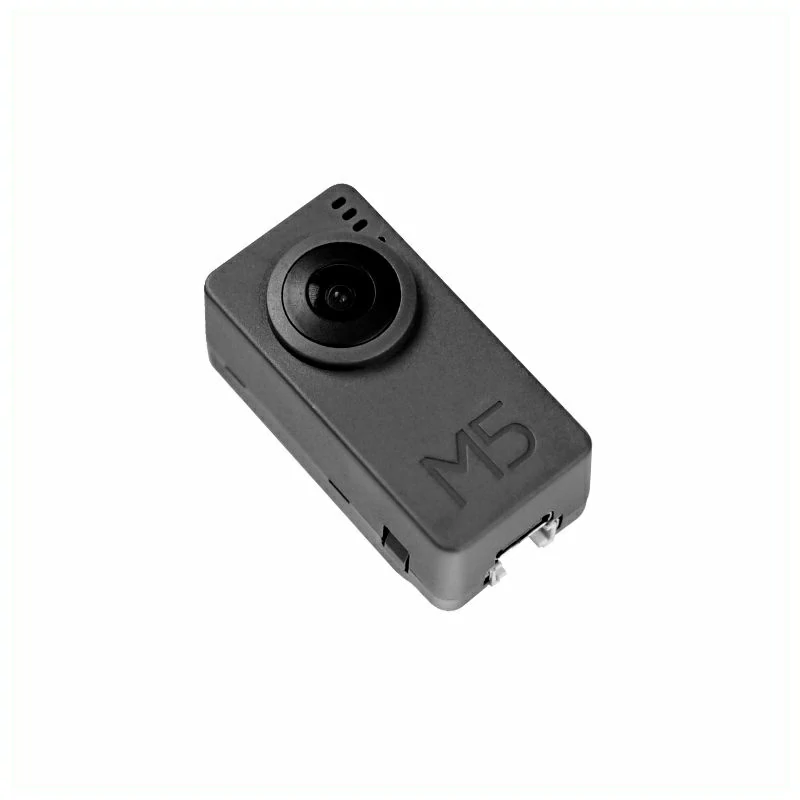
WIFI CAMERA(FISHEYE) ESP32+OV2640
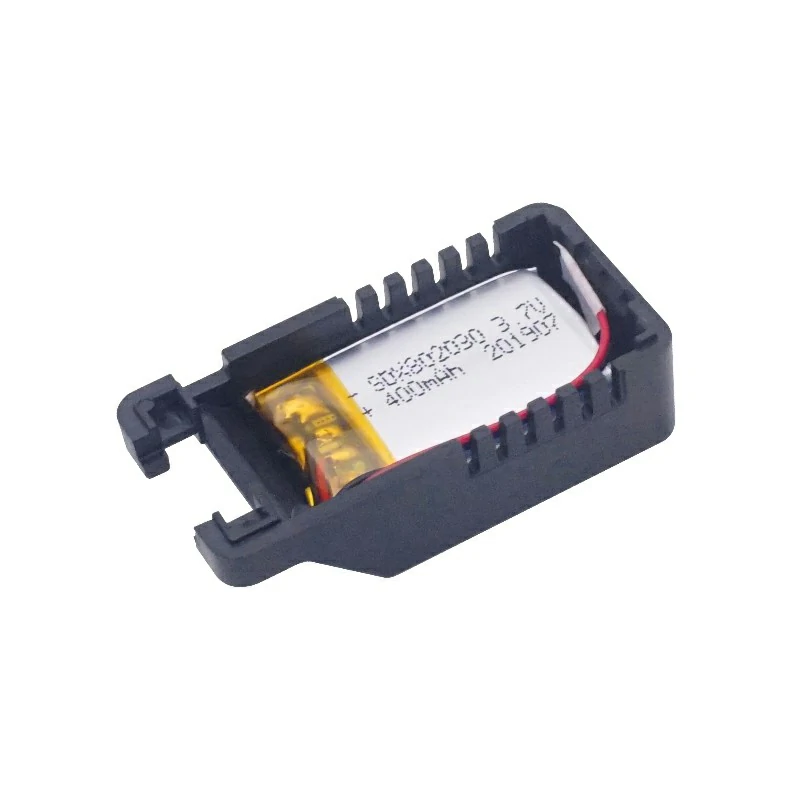
CAMERA BATTERY BASE
ESP32 CAM
ESP32S3 2MEGAPIXEL OV2640 UART EADATA CAMERA CAM 200W WIFI
AI RECOGNITION SIGMSTAR SSD202D(GC2145)
AI RECOGNITION SIGMSTAR SSD202D(GC2053)
AI RECOGNITION SIGMSTAR SSD202D
AI VISION KENDRYTE K210(OV2640)
AI VISION KENDRYTE K210(OV7740)
AI CAMERA KENDRYTE K210(OV7740)
KENDRYTE RISC AI M12 K120 CAMERA TFCARD BUTTON RECONGNITION CNC MACHING LEARNING UIFLOW
PROGRAMMABLE WEBCAMS ESP32 OV2640
POE CAMERA ESP32 WIFI
POE CAM CAMERA OV3660 W5500
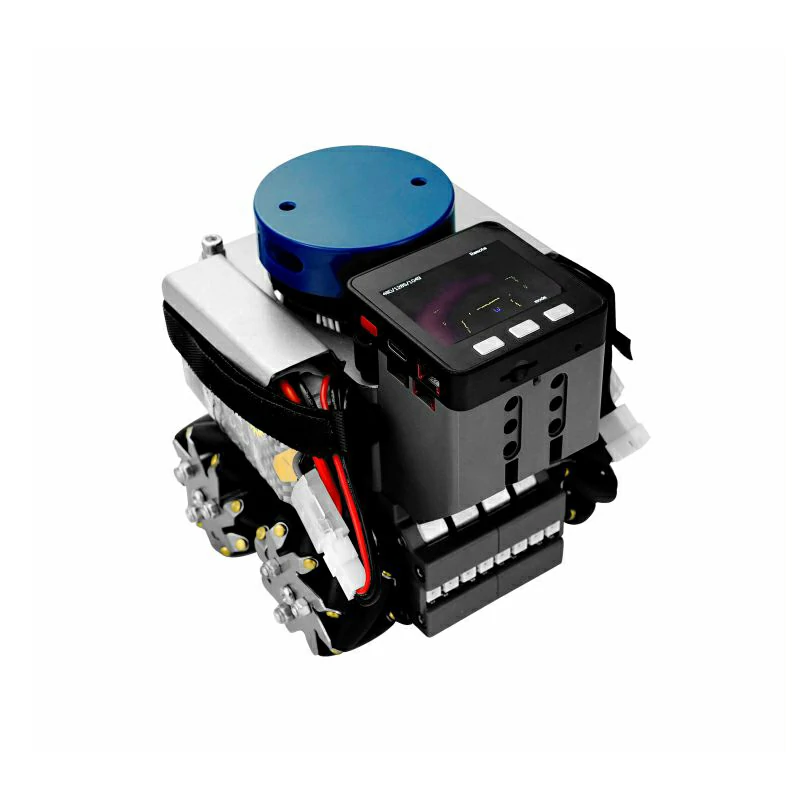
LIDAR TROLLEY
MULTIFUNCTIONAL DEVELOPMENT BOARD
ELECTRONIC WEIGHING HX711 GPIO 24 BITS A/D
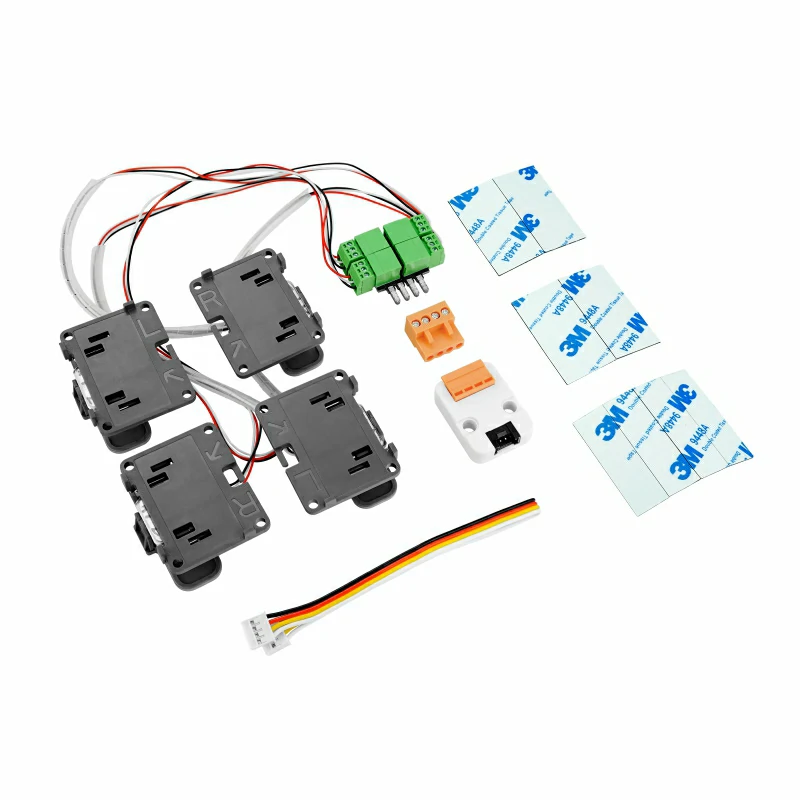
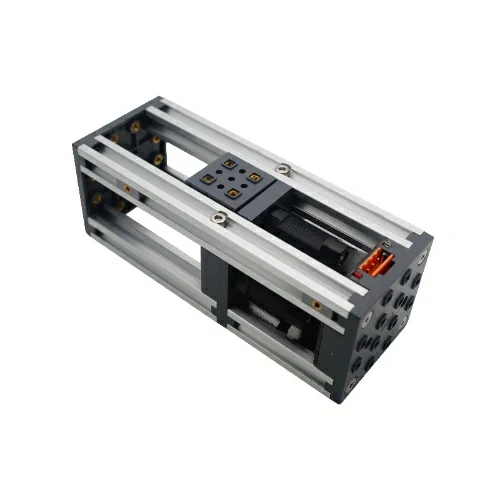
MOTION CONTROL
ENVIRONMENTAL MONITOR SHT20 PMSA003 I2C
2-WAY RELAY GPIO AC-250V/DC-24V
ENVIRONMENTAL TEMPERATURE HUMIDITY MOISTURE SHT30 PMSA003 I2C AIR QUALITY
ESP32-PICO-D4 LCD IMU MPU6886 AXP192 MIC APM1423 BUZZER INFRARED IMAGING MEASURE MLX90640 I2C SENSOR
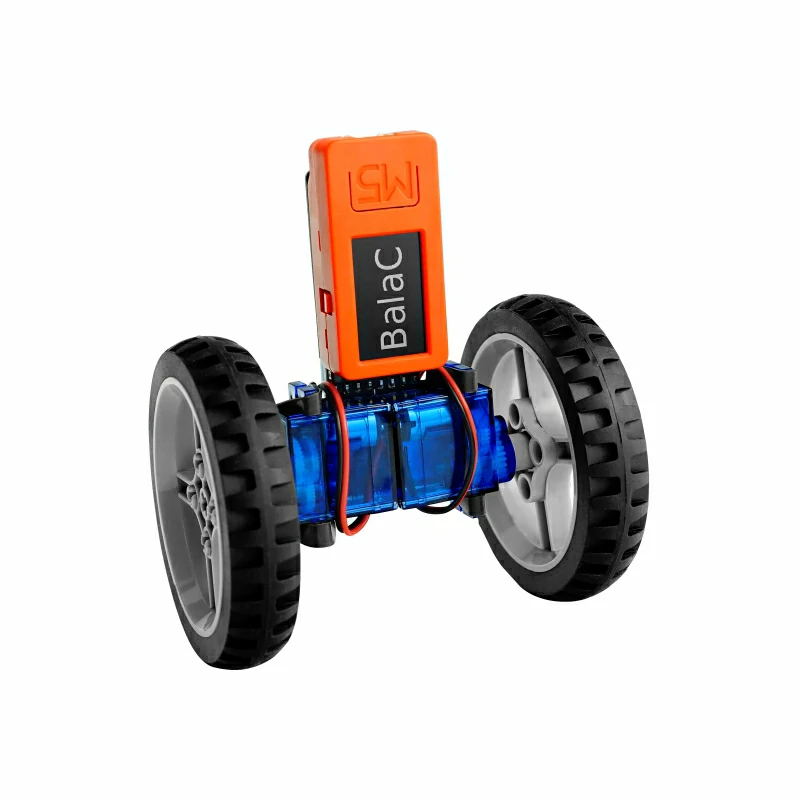
BALANCE CAR STM32F030C8T6 MOTOR
BALANCE CAR STM32F030F4P6 MOTOR
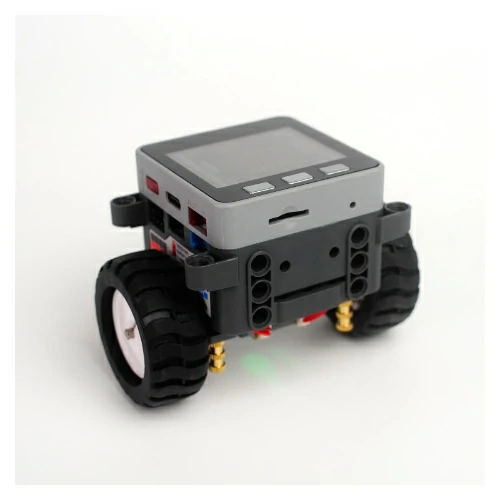
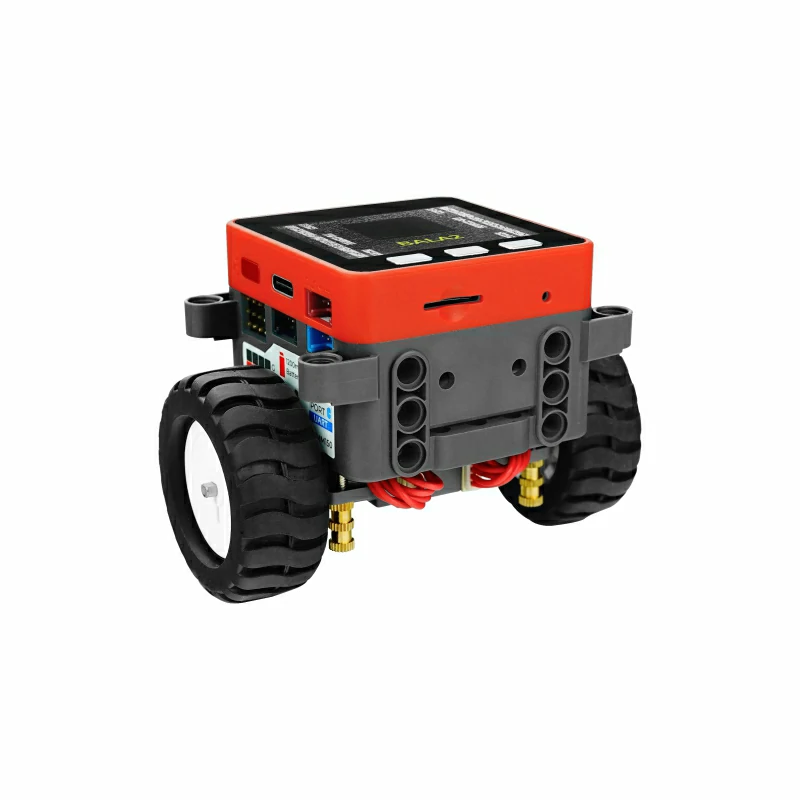
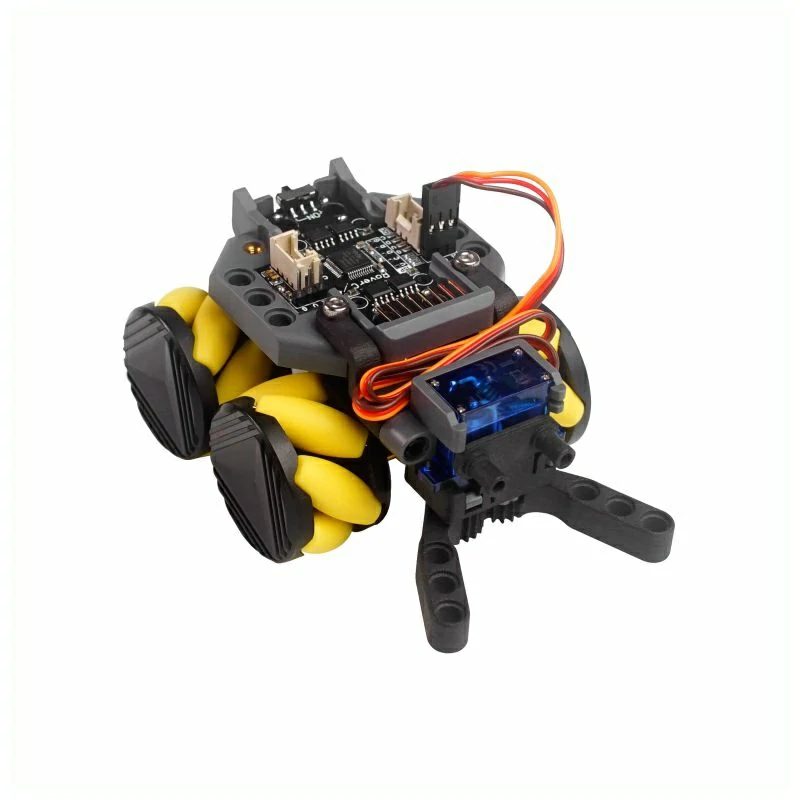
OMNI-DIRECTIONAL MOBILE TROLLEY
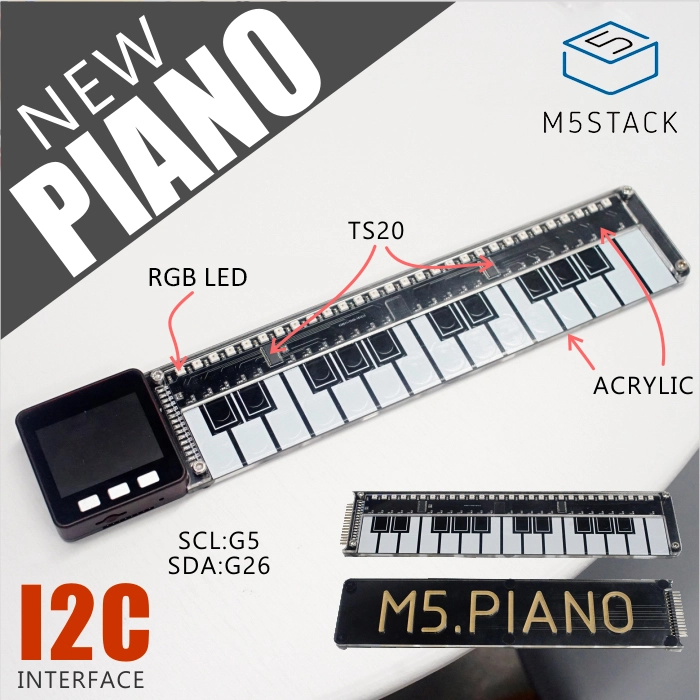
TOUCHPAD PIANO TS20 I2C
ENVIRONMENTAL COLLECTION SHT20 BMP280 I2C
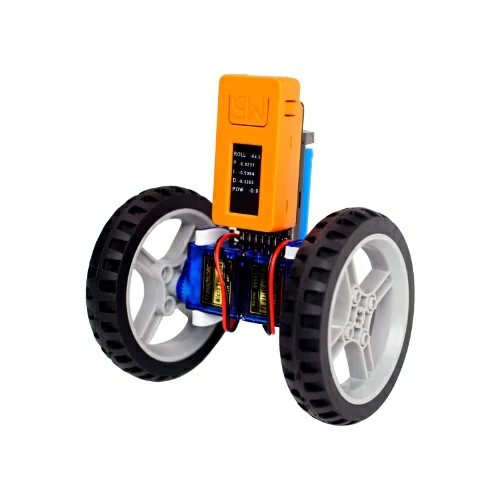
BOUNCING ROBOT
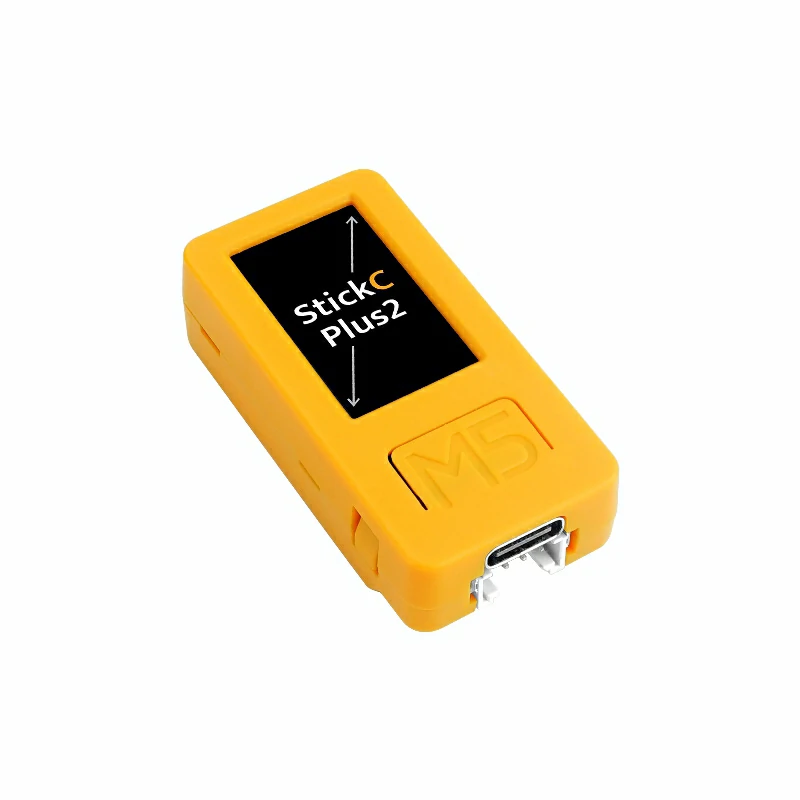
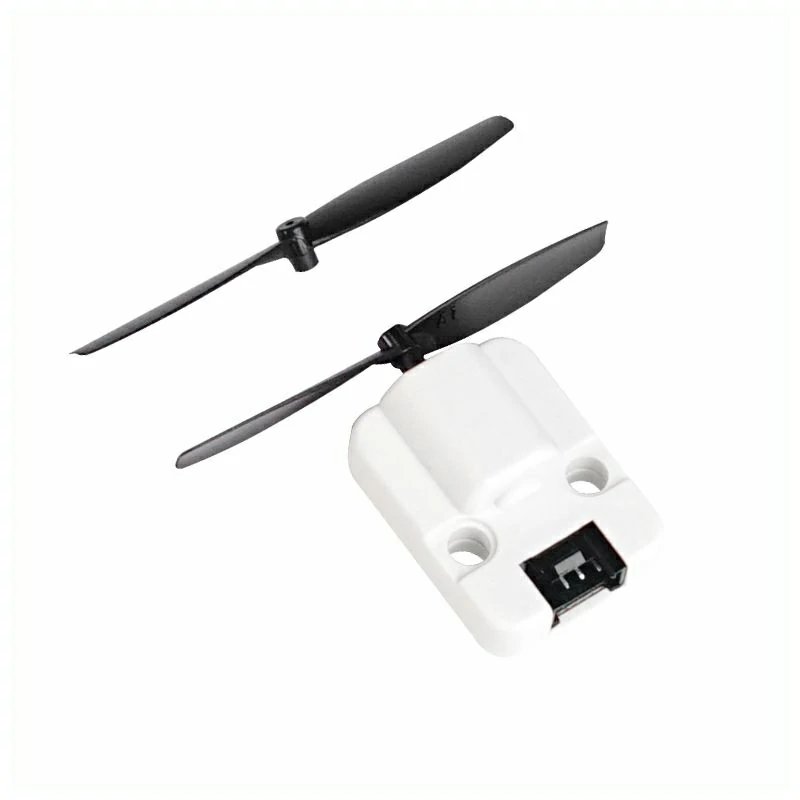
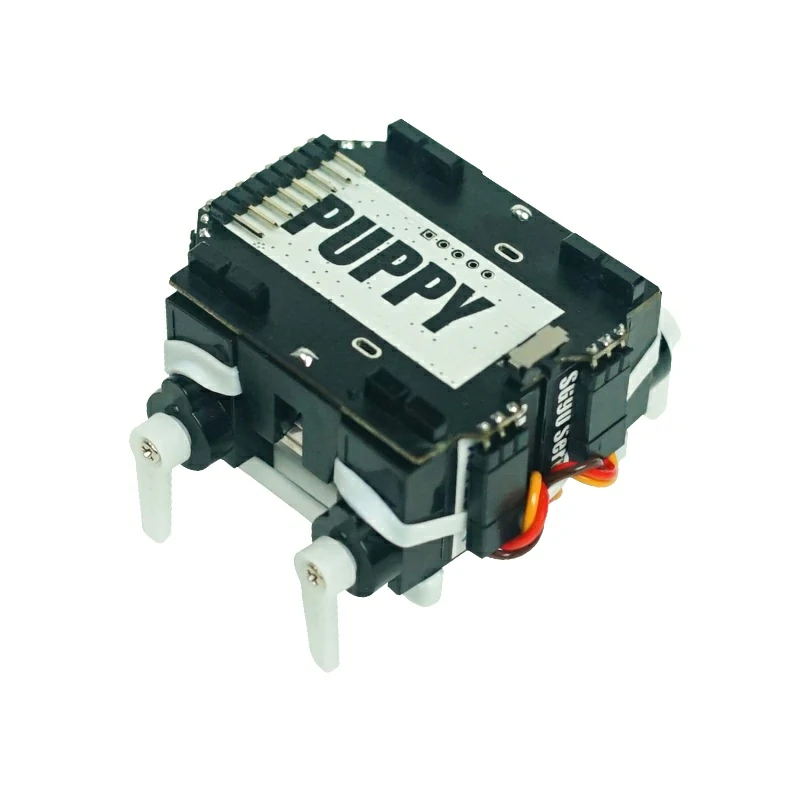
BUG BUGC BUGC2 C2 STICKC SITCKCPLUS2 MOTOR ROBOT IR L9110S
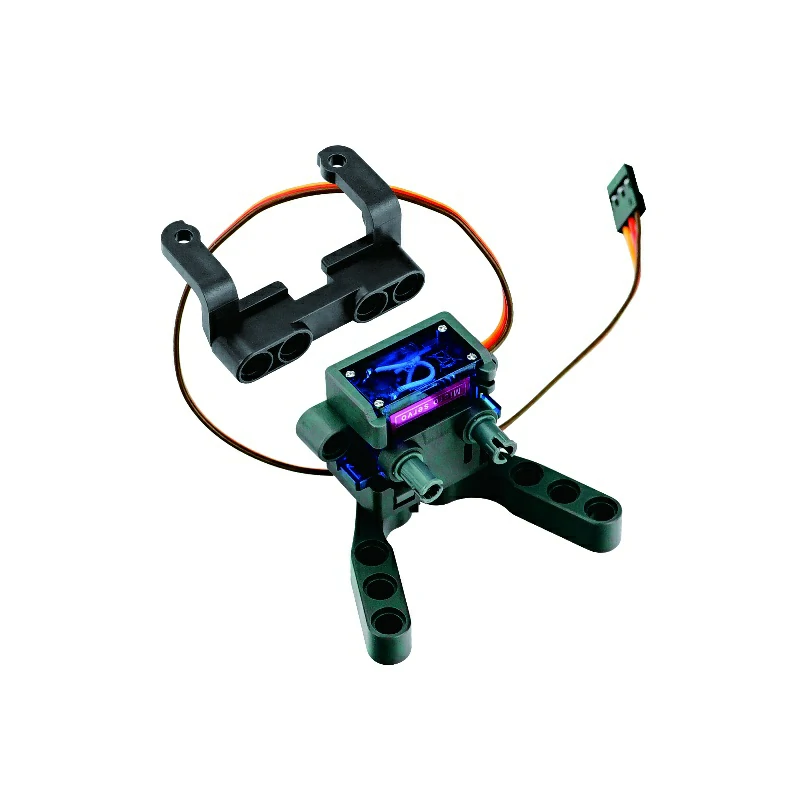
MECHANICAL GRIPPER SG92R PWM
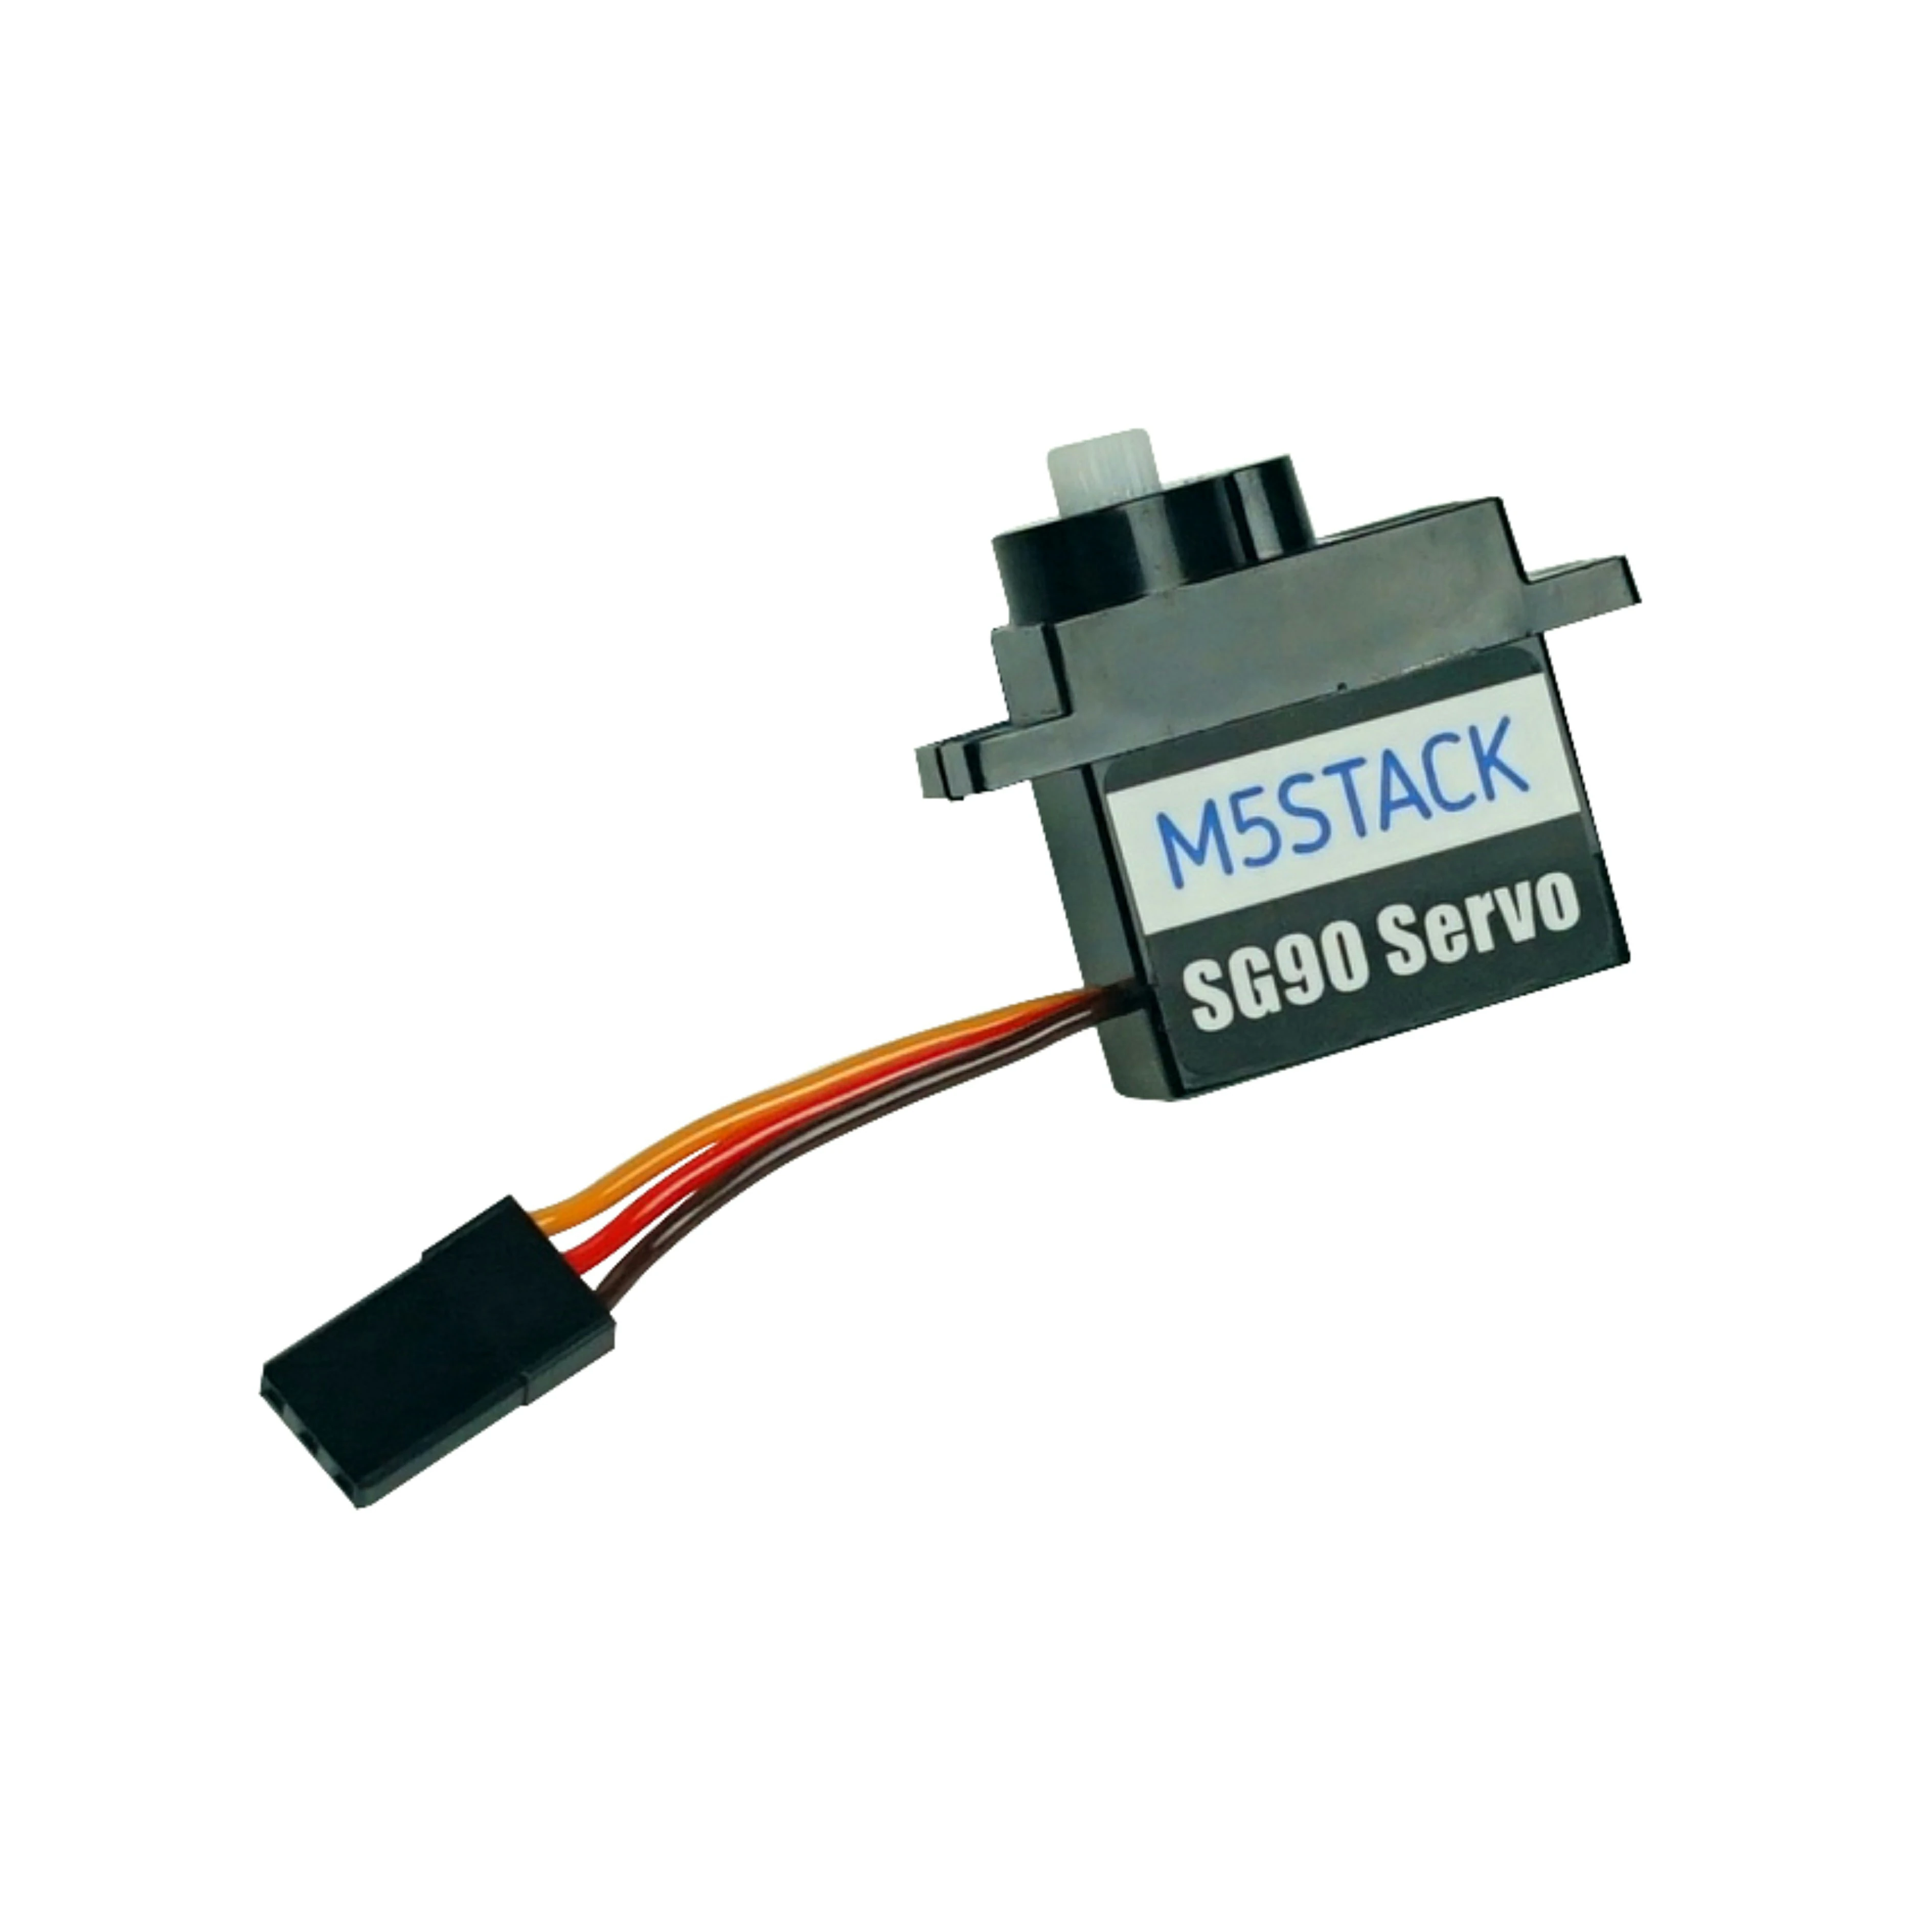
SG90 SERVO
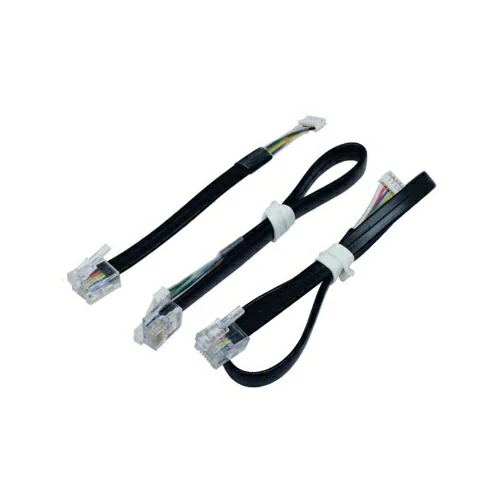
GROVE CABLE
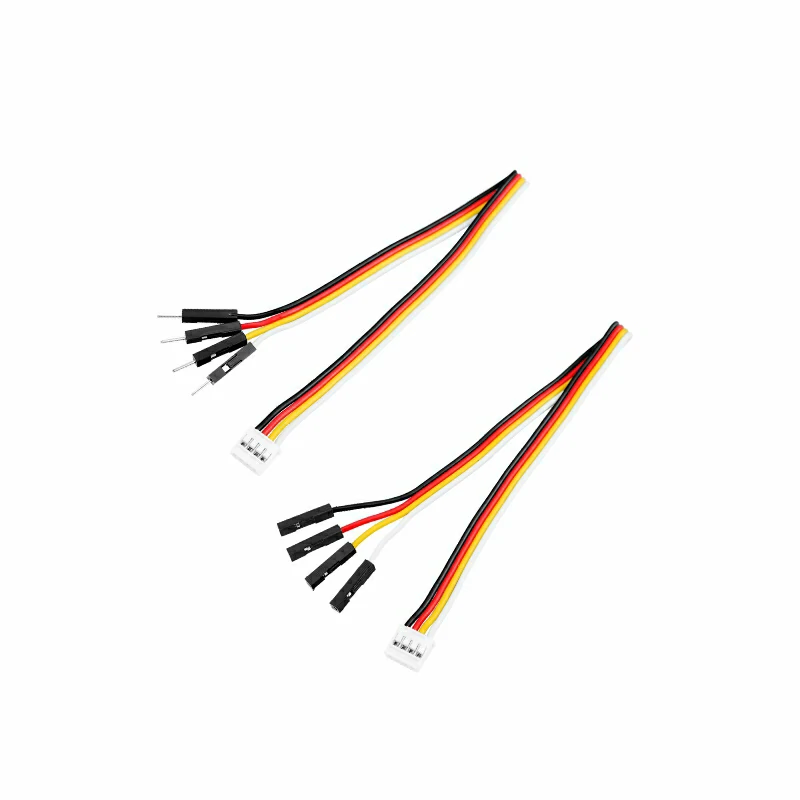
GROVE TO DUPONT
SHIELDED TWISTED PAIR
GROVE EXTENSION
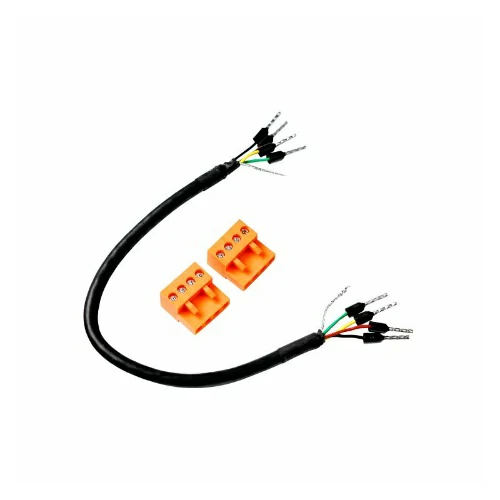
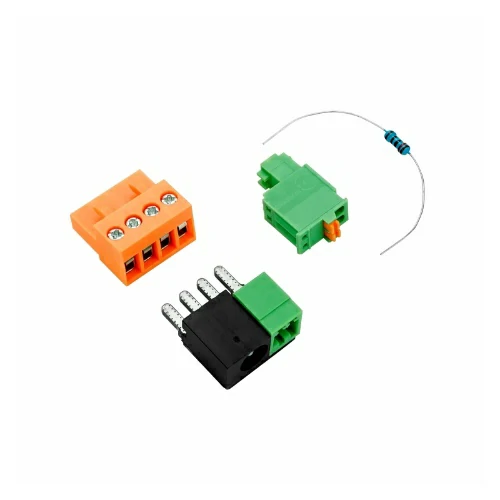
CONNECTION TERMINALS
LEGO MOTOR CABLE
POE SPLITTER LAN RJ45
TYPEC GROVE UNIT CONNECTOR PIN EXTENDION EXPANDER
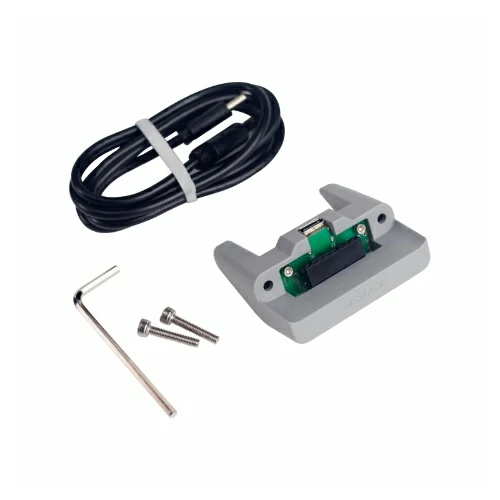
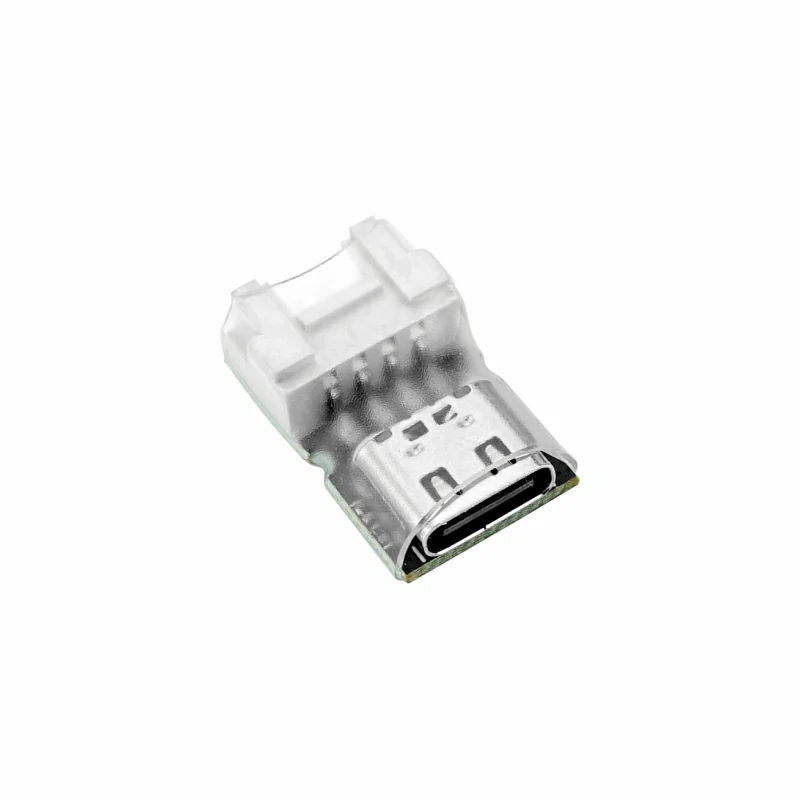
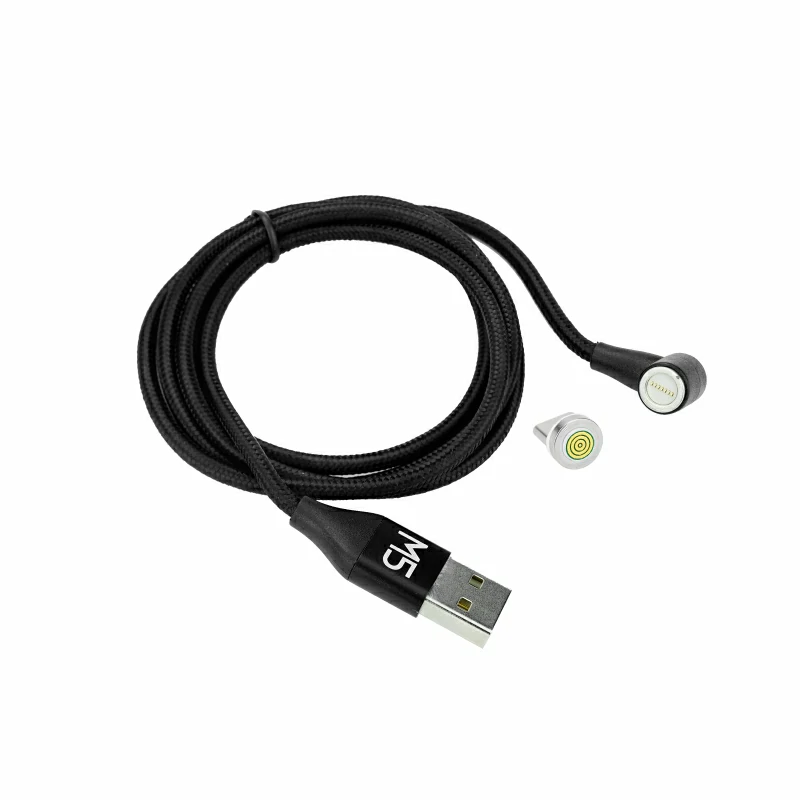
MAGNETIC TYPEC USB WIRE
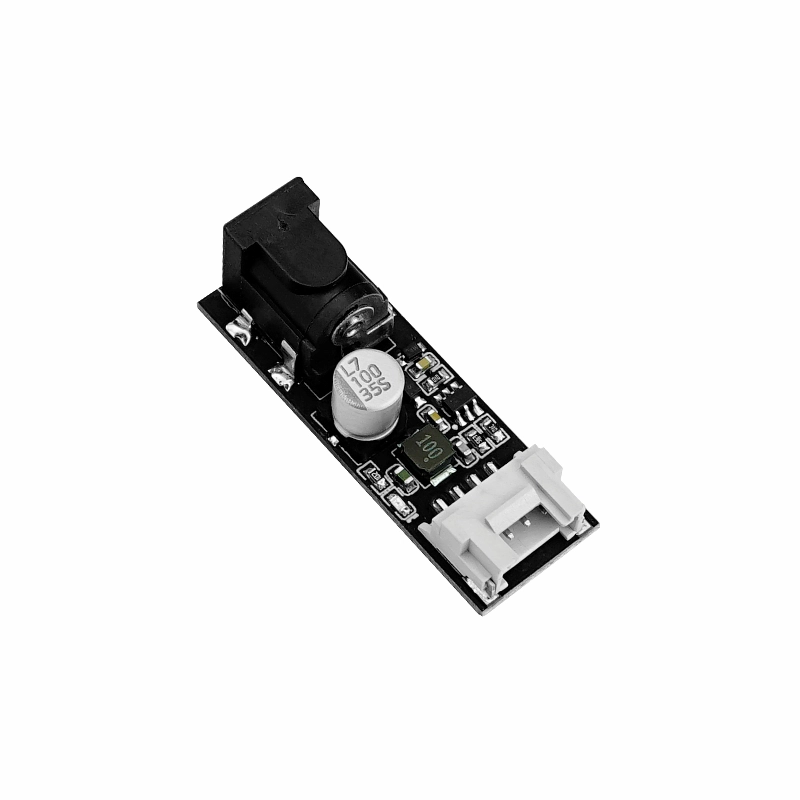
VOLTAGE DROP DC/DC ME3116AM6G
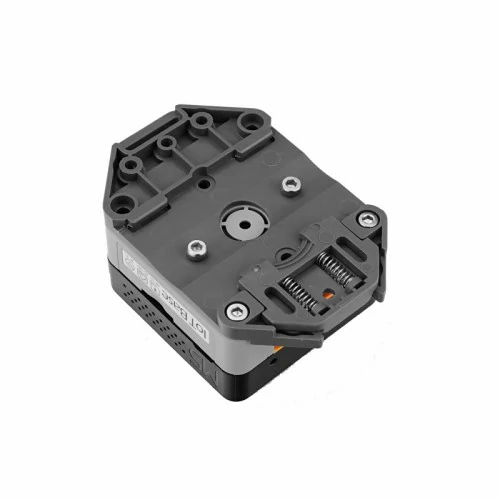
GUIDE RAIL FIXED BASE
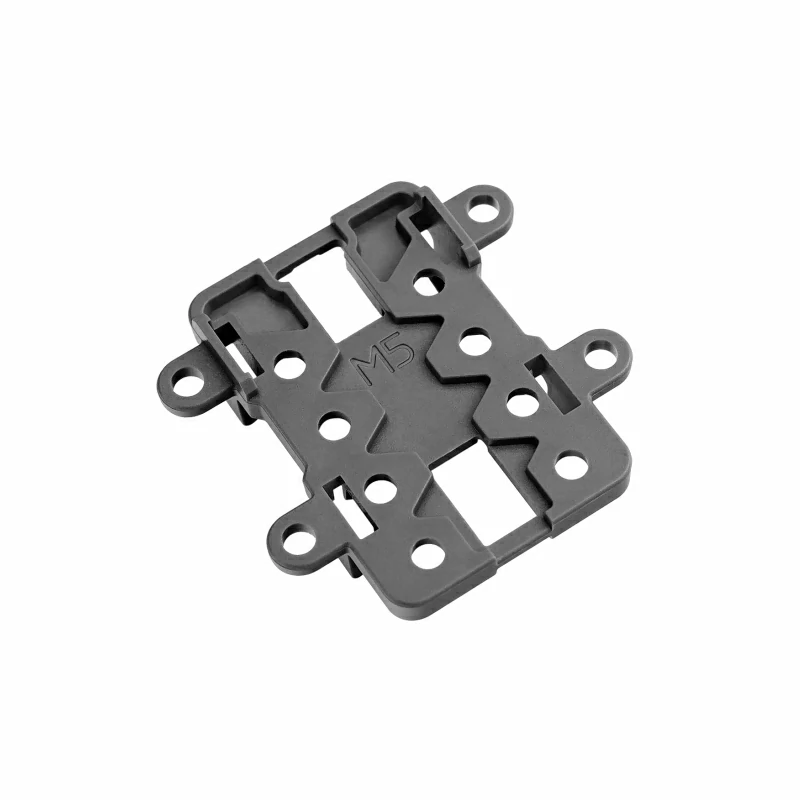
FIXED COMPONENTS
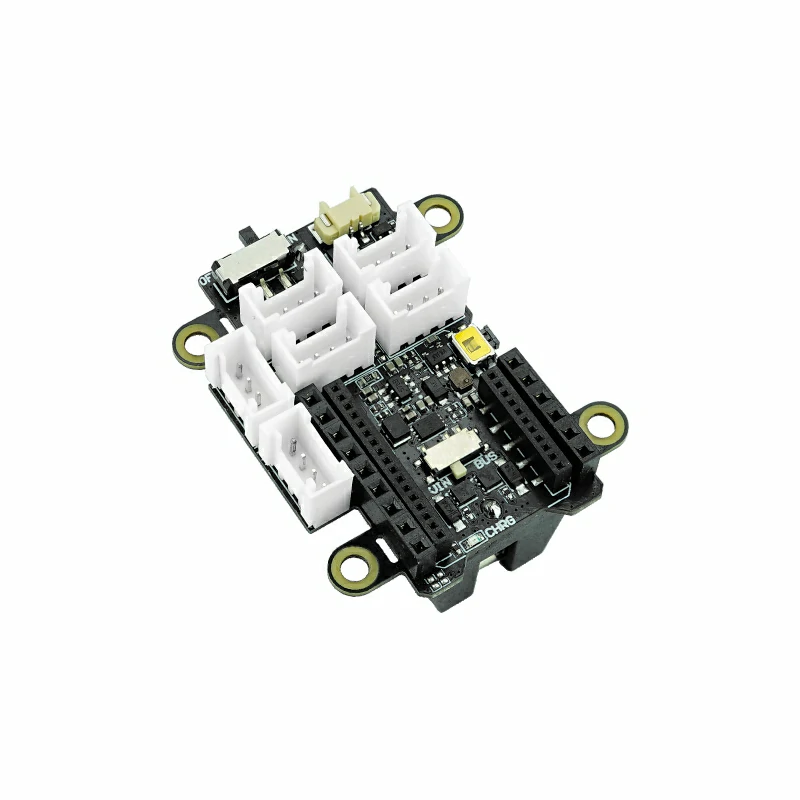
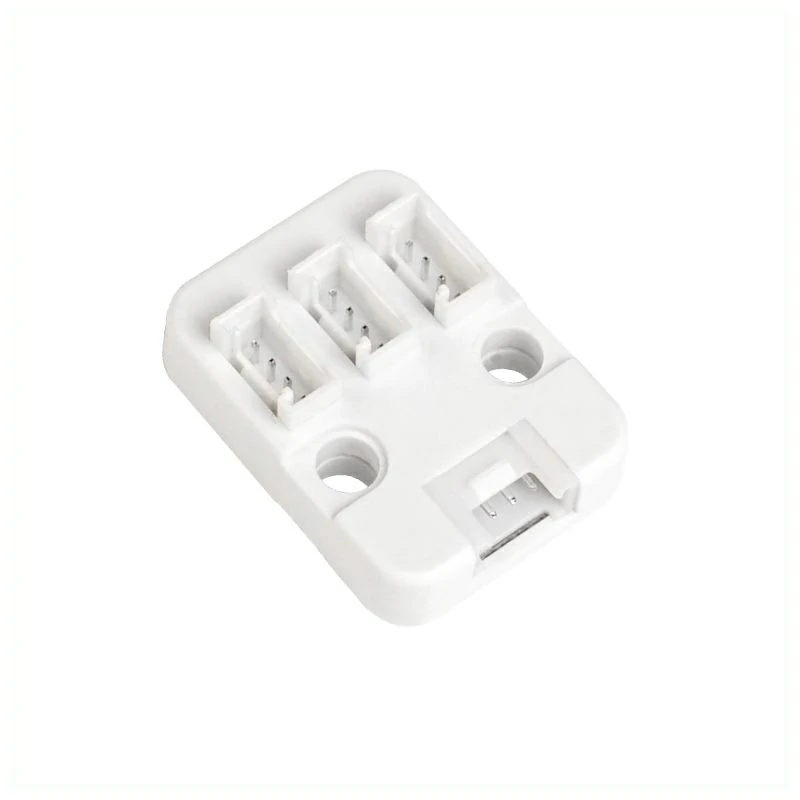
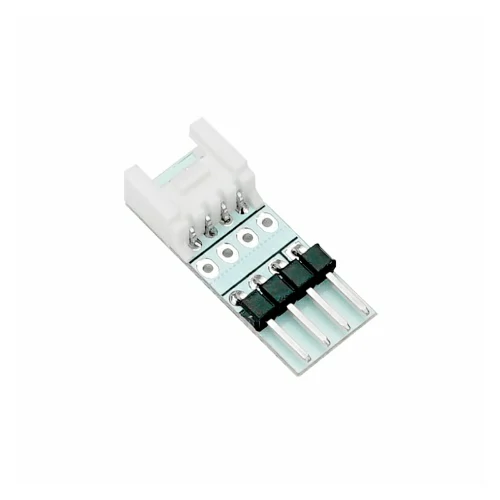
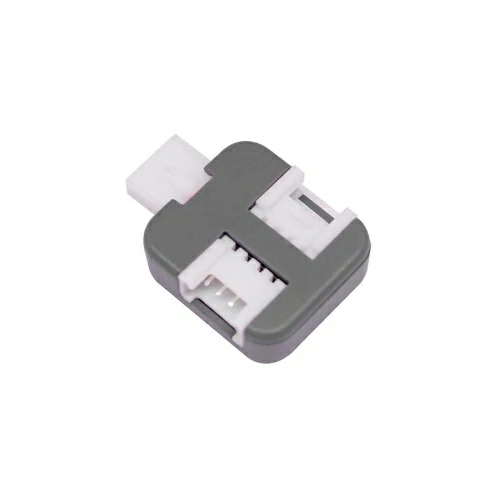
BUS EXPANSION
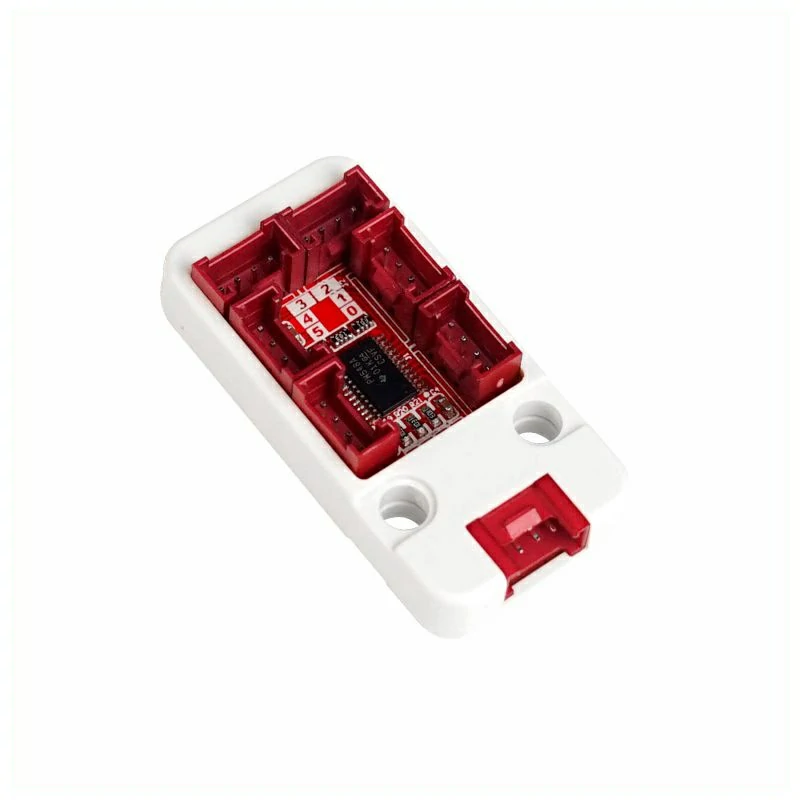
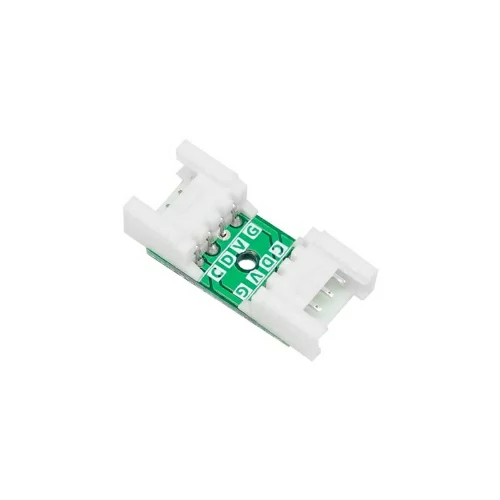
BUS EXPANSION KIT
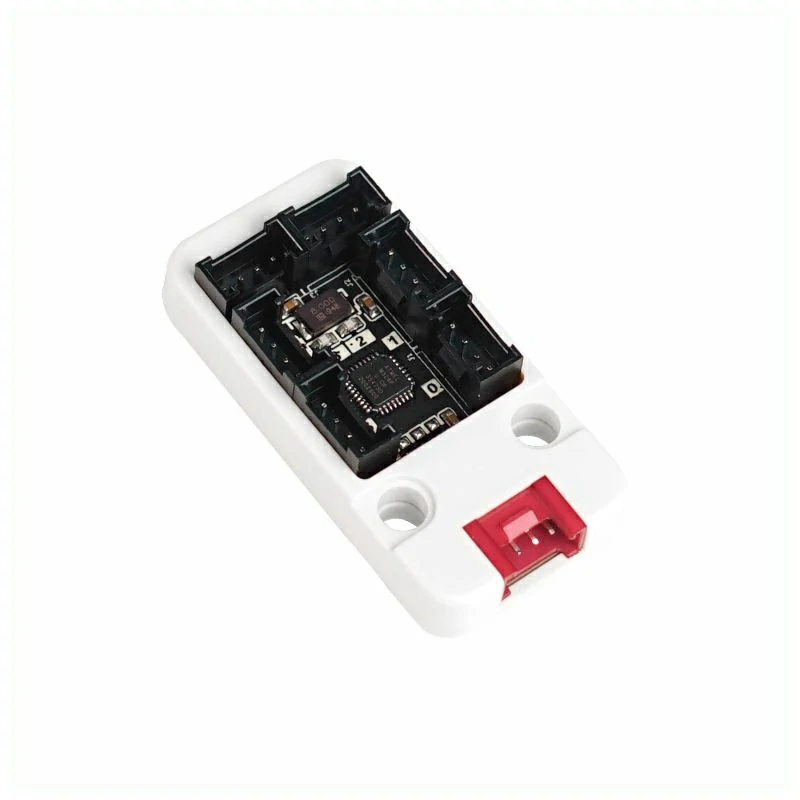
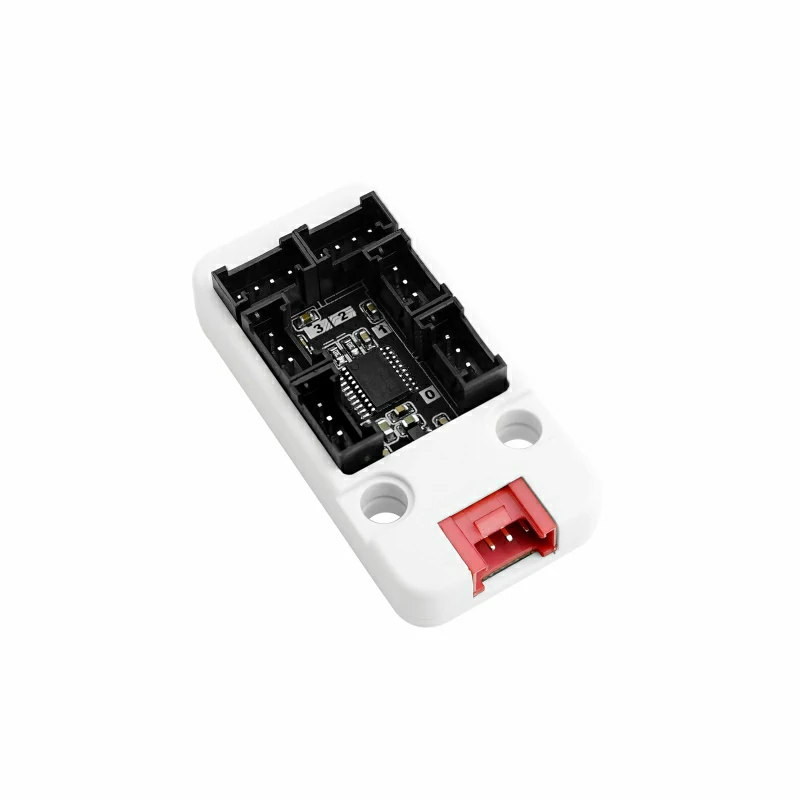
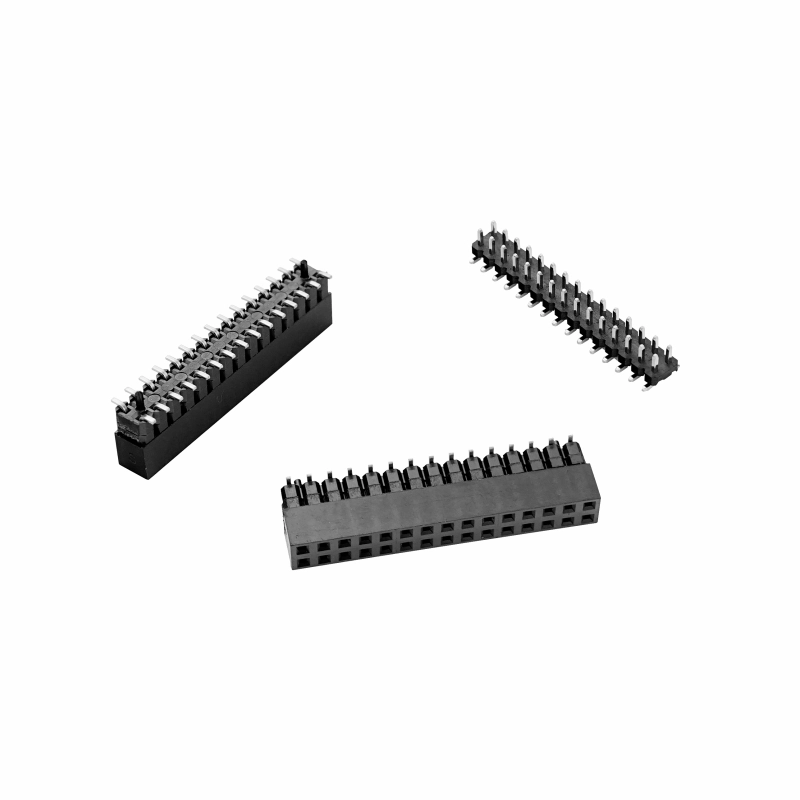
BUS EXPANSION KIT MALE & FEMALE
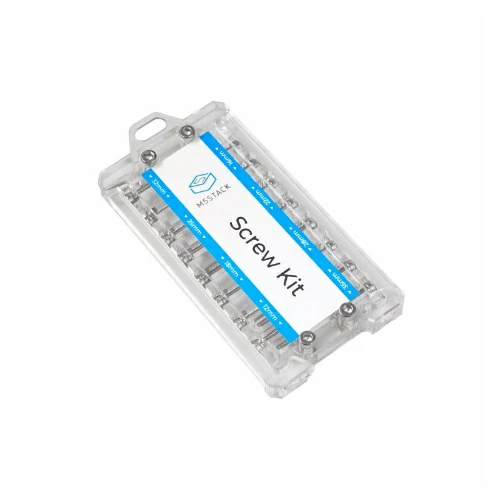
SCREW TOOLS
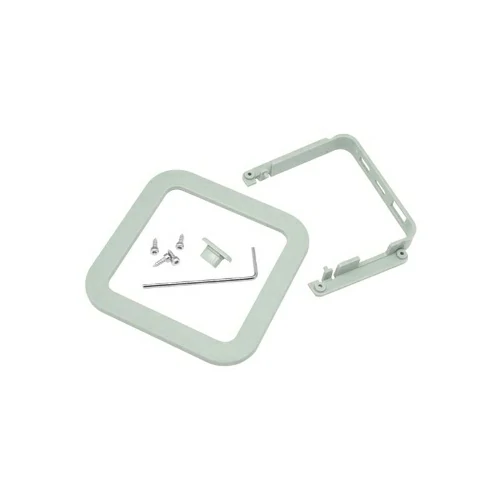
FIXED FRAMES
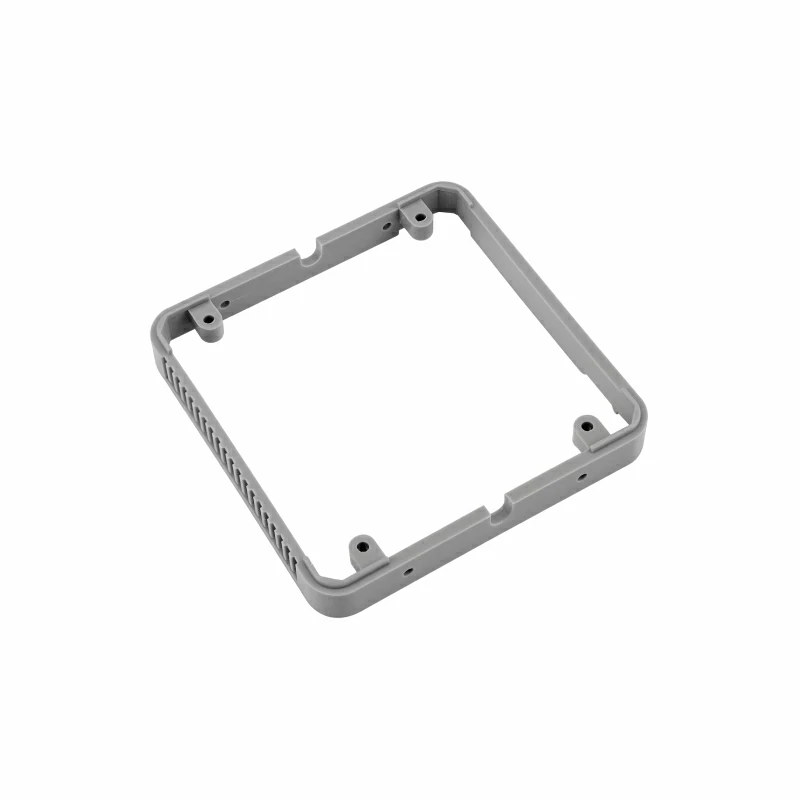
PROTO FRAMES
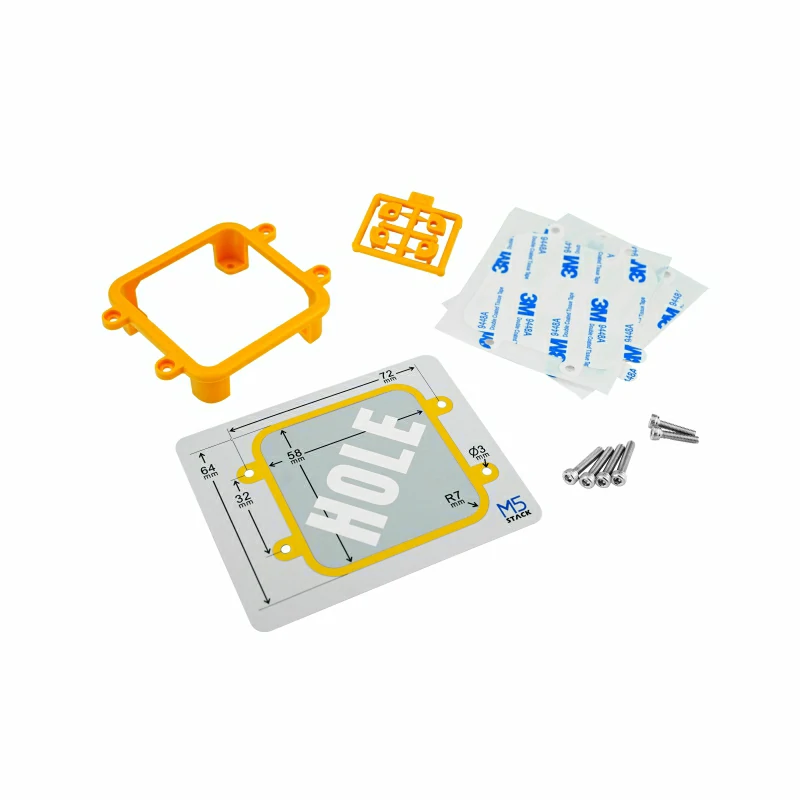
FRAME PANEL CORE CORE2 TOUGH HOLE
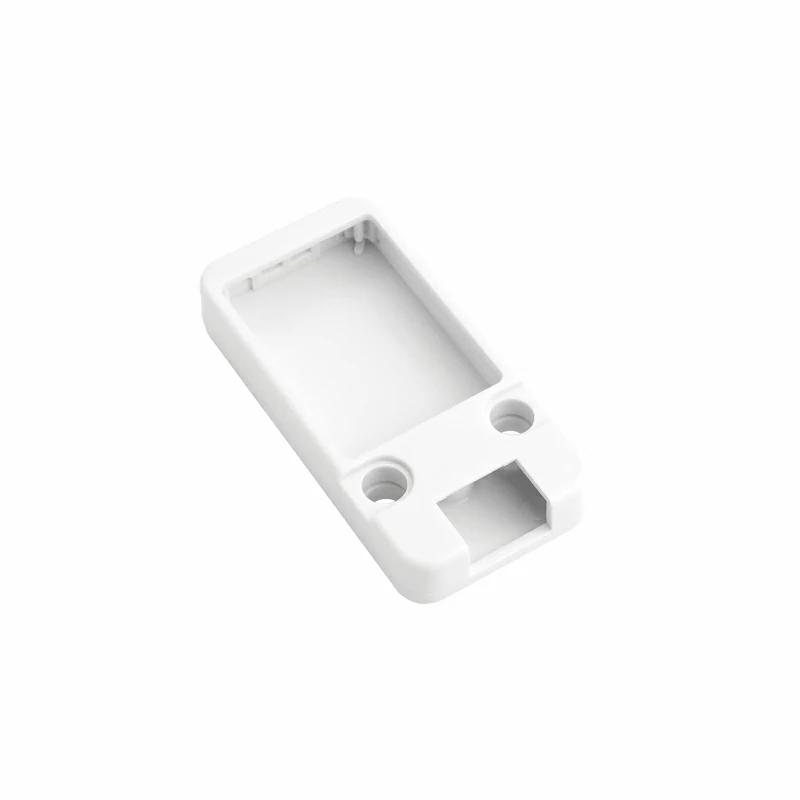
PROTO CASESS
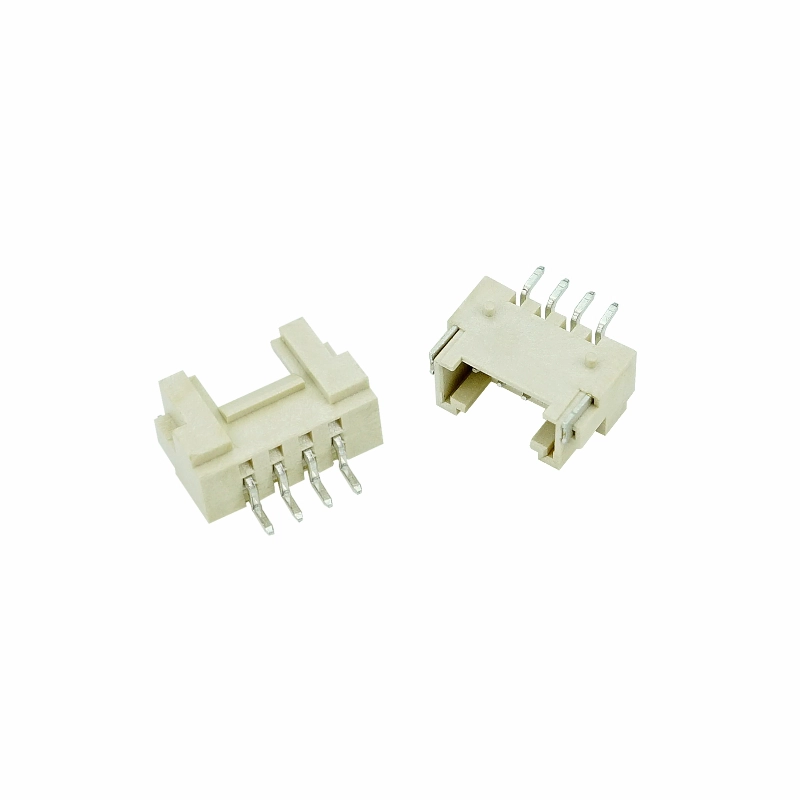
ADAPTOR PORT
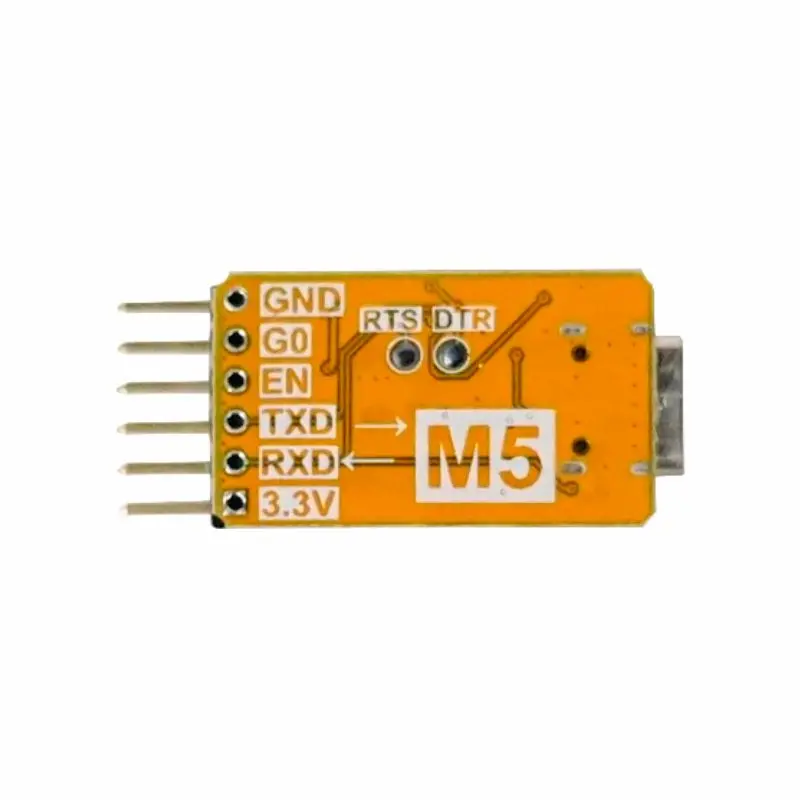
BURNING TOOLS
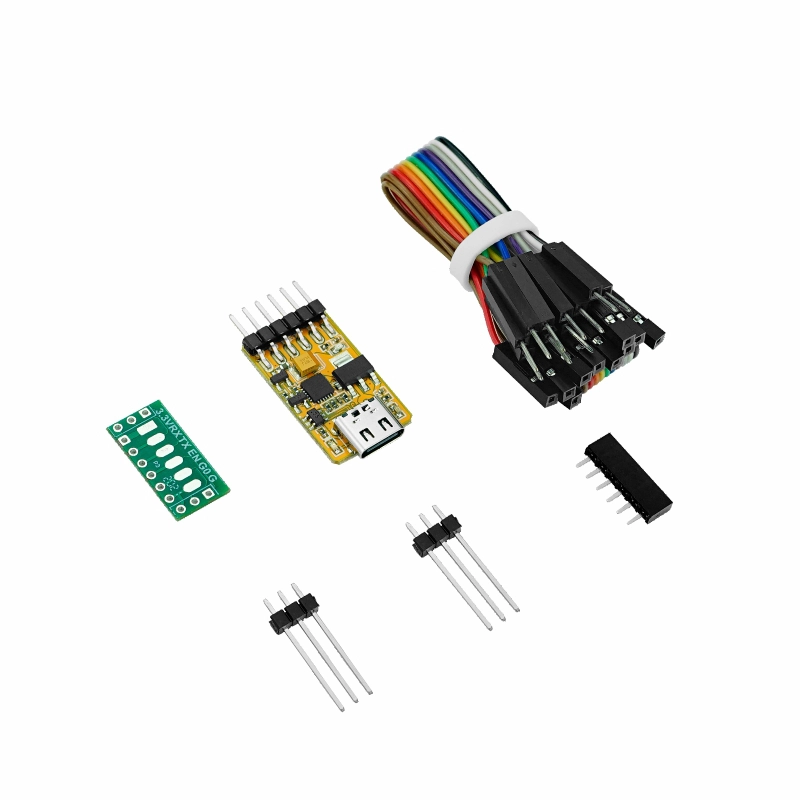
BURNING TOOLS KIT
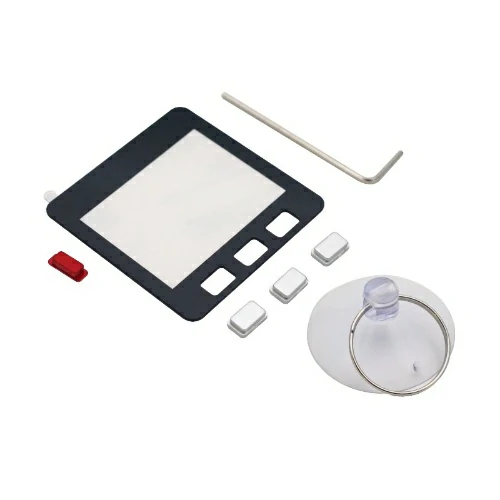
SCREEN REPLACEMENT
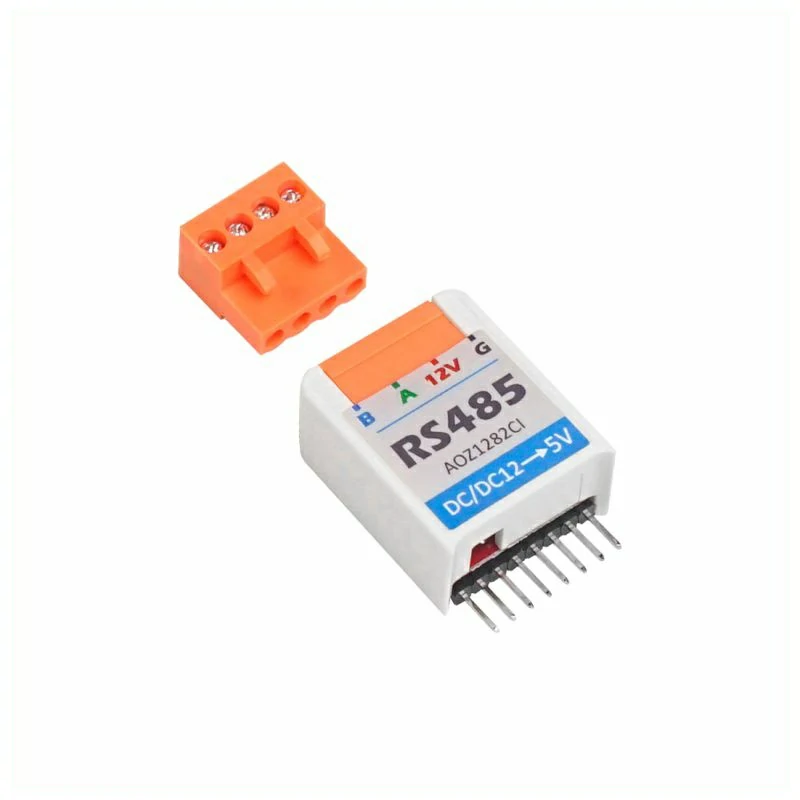
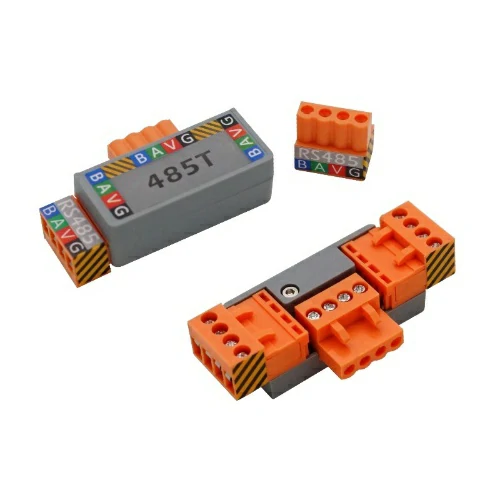
RS485 EXPANSION
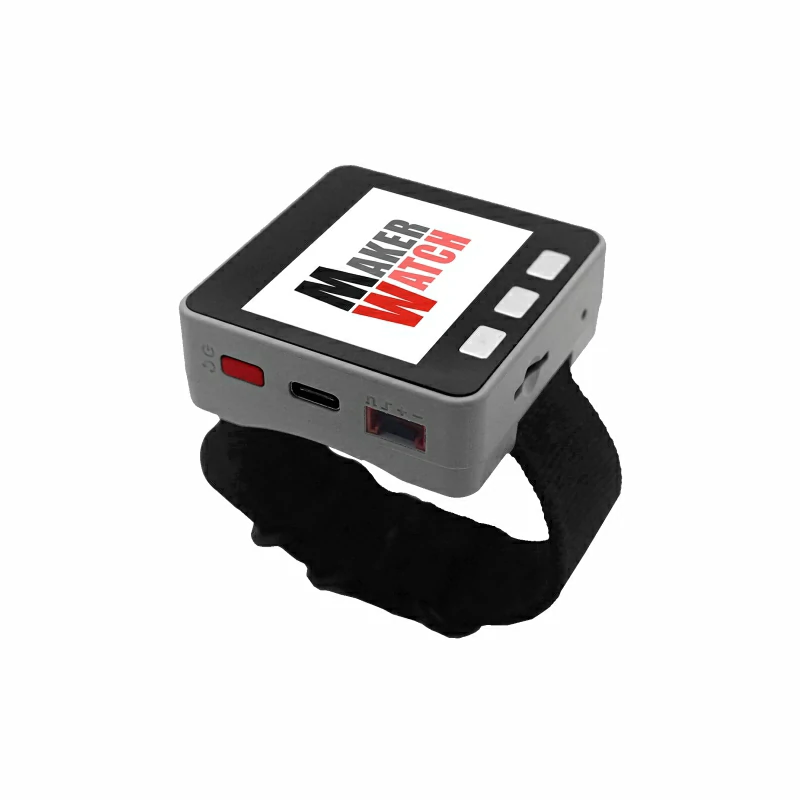
WATCH KITS
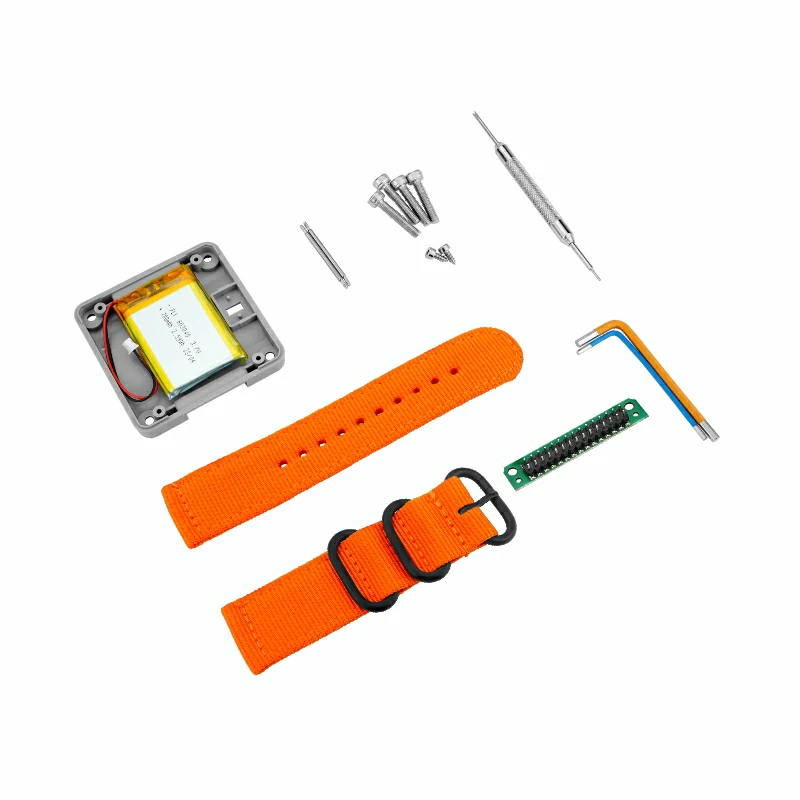
ACCESSORY KIT CHARGE BATTERY POWER SUPPLY LIPO
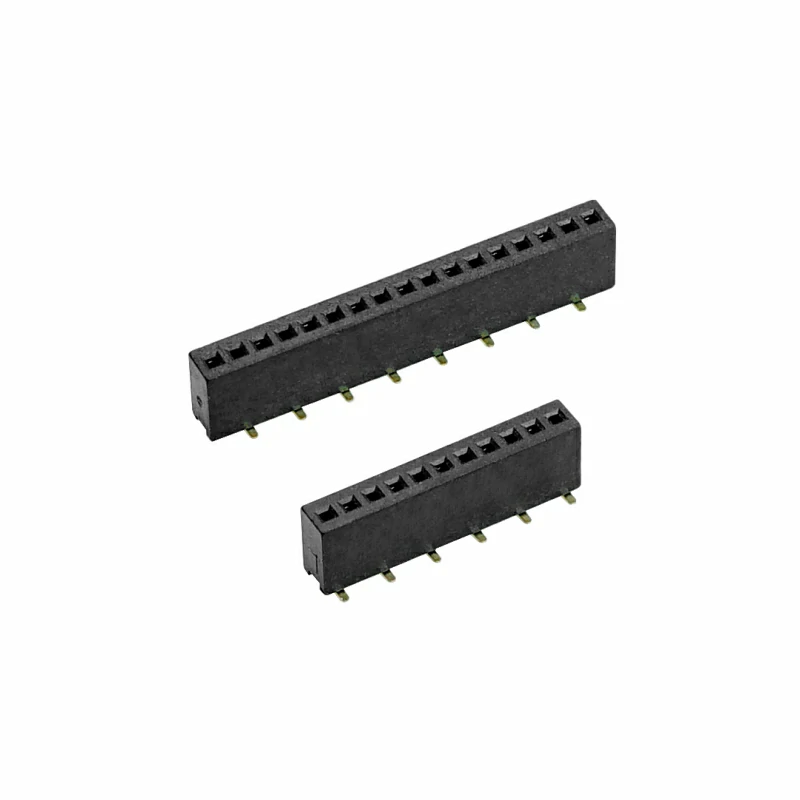
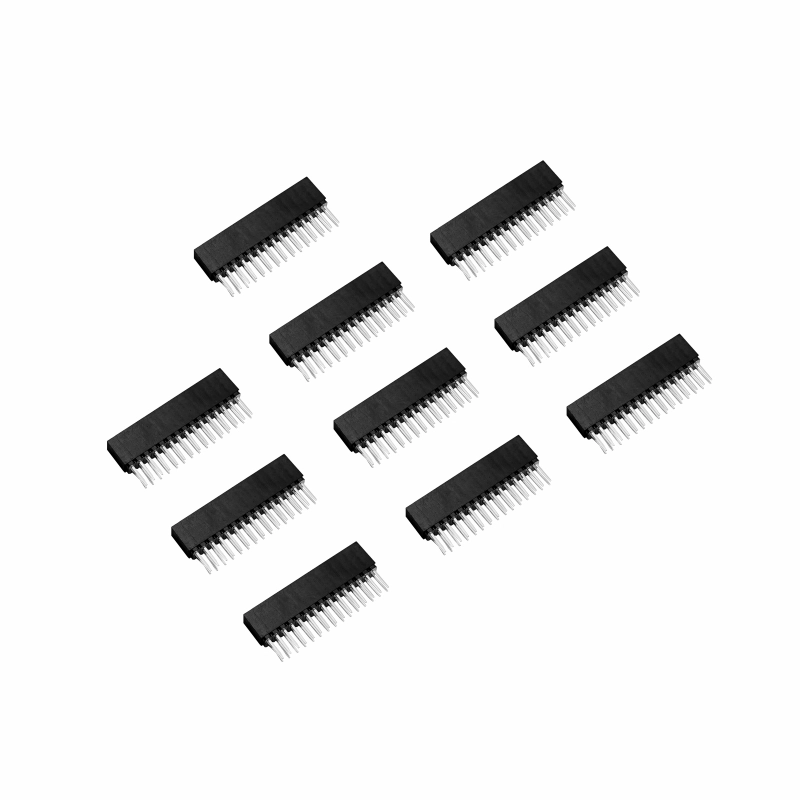
ESP32S3 S3 FEMALE HEADER 1.27MM
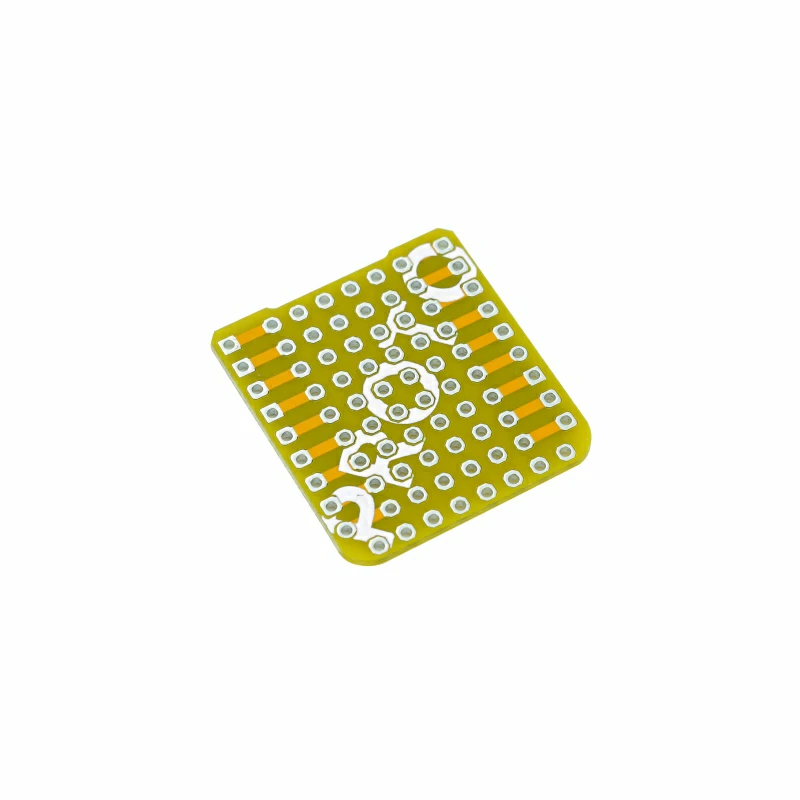
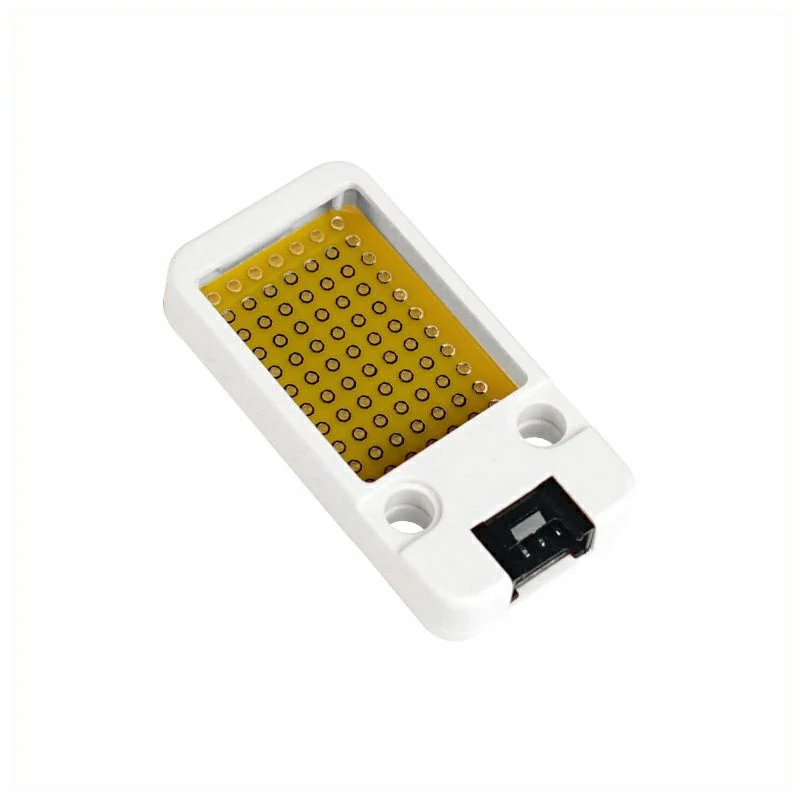
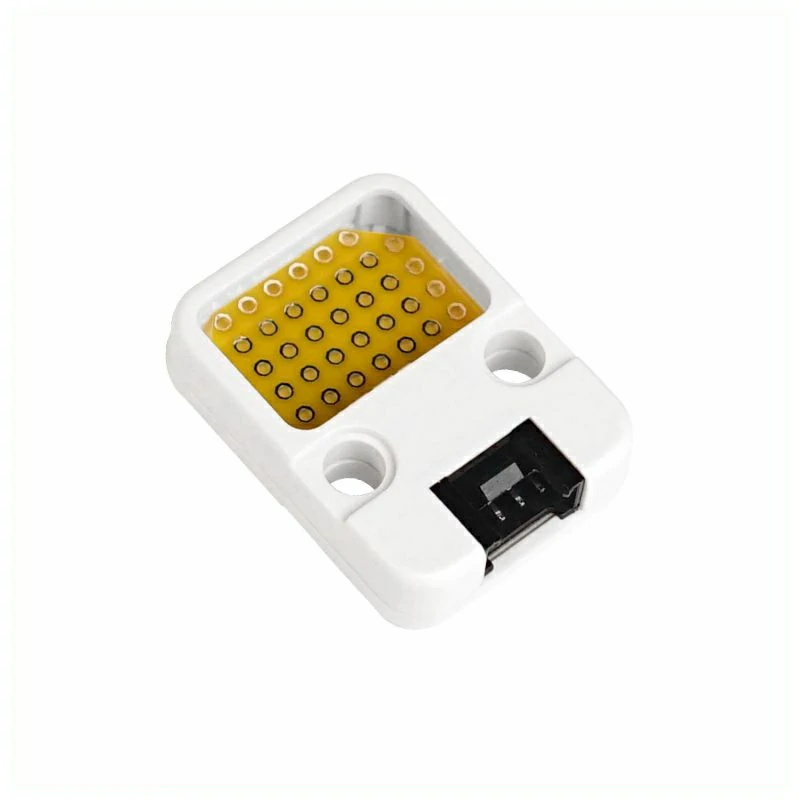
CAPSULE PROTO HOLE 2.54 PEGBOARD
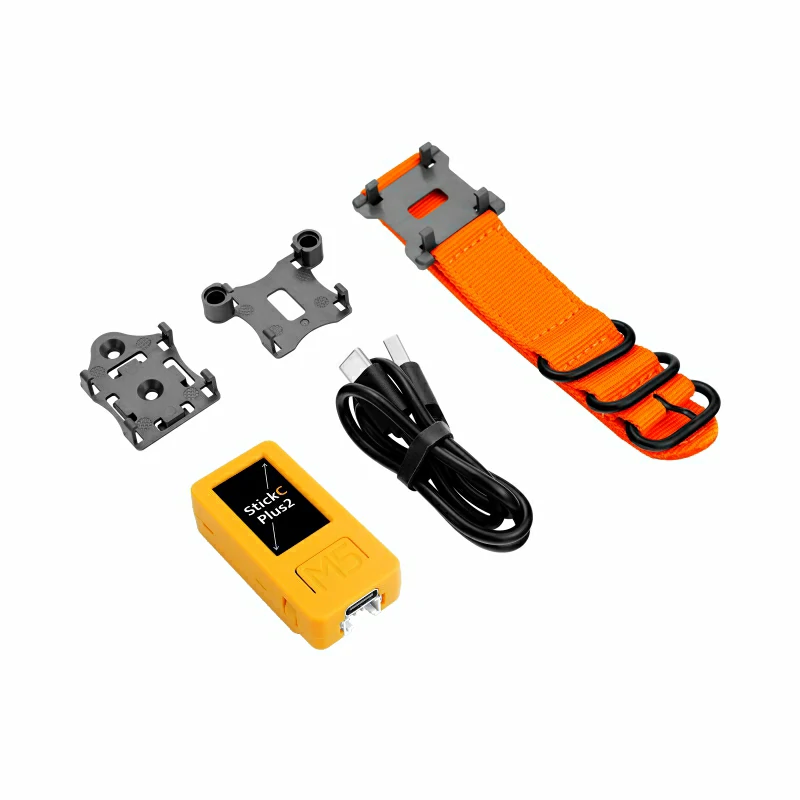
WATCH PLUS2 STICKC
WATCH CORE CORE2 CORES3 KIT
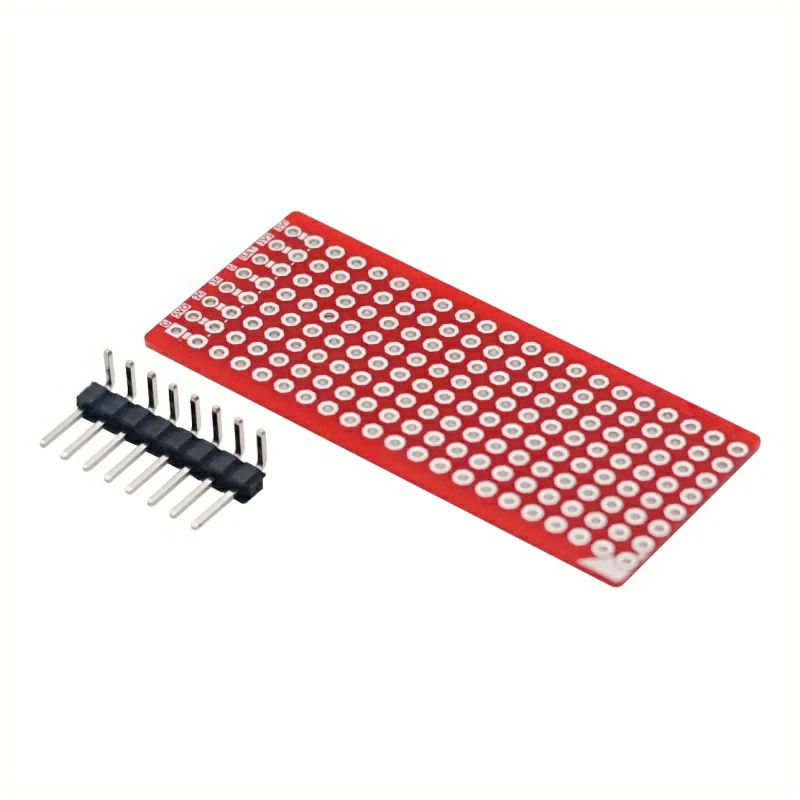
STAMPS3 BREAKOUT GROVE 1.27 ESP32
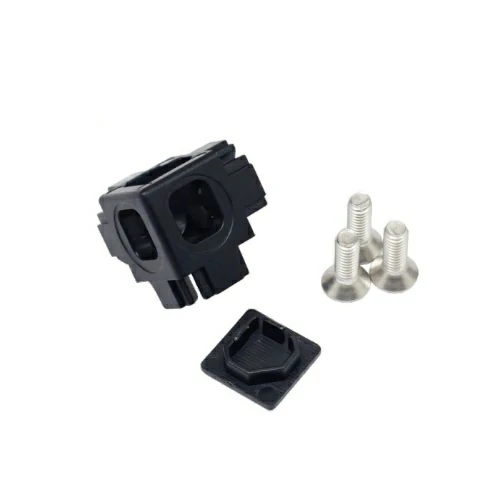
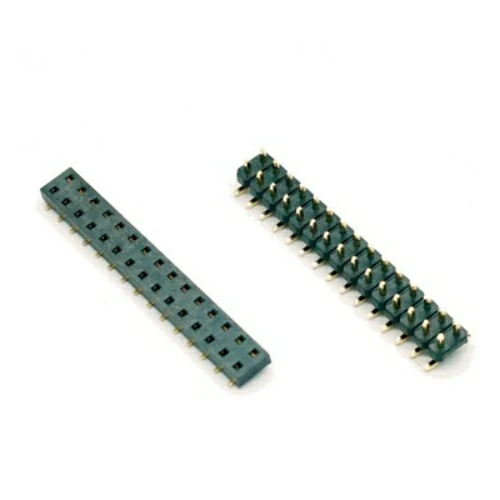
RIGHT-ANGLE CONNECTORS
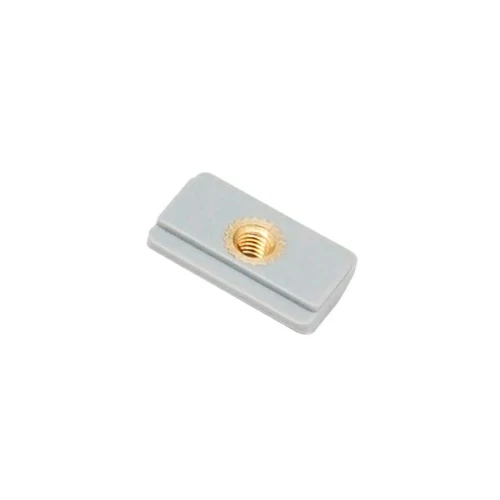
PLATE NUTS
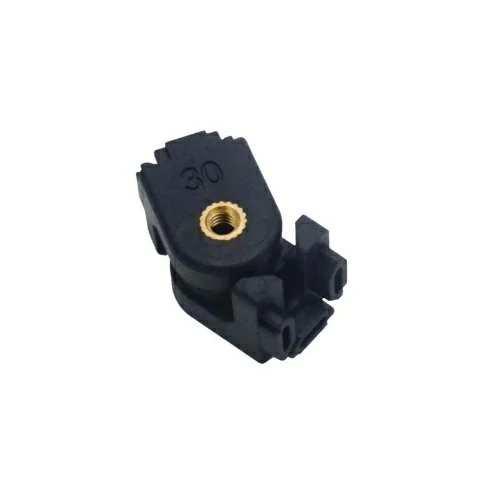
ALUM CONNECTOR
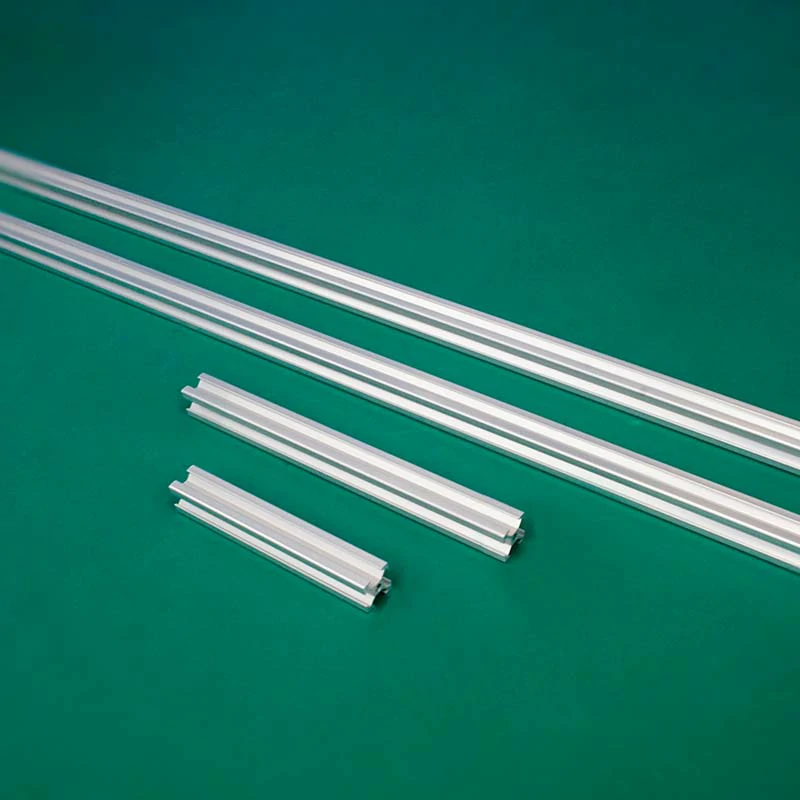
ALUMINIUM


/img-385e5d9c-e004-4da4-9a8e-8e1ff7c3cd74.webp)


/3.webp)
/3.webp)


/img-714d3c91-fc11-4587-8e94-84829d272b65.webp)


/img-7ab4422b-cf6e-42bf-b5f4-7be94ba4e368.jpg)


/img-dfd21f85-fe1b-4210-a062-5adbe33b3d0c.webp)


/img-2f4d8d58-dfc6-4ee5-80eb-b3149d224580.webp)


/img-a106da50-2ac2-4e6f-9473-5f63a1082a6e.webp)