

Arduino Quick Start
2. Devices & Examples
3. M5Unified
4. M5GFX
5. Extensions
Unit
Atomic
Tab5
IoT
Accessories
Unit PoE-P4 Arduino Program Compilation & Upload
1. Preparation
1.Arduino IDE Installation: Refer to Arduino IDE Installation Guide to complete the IDE installation.
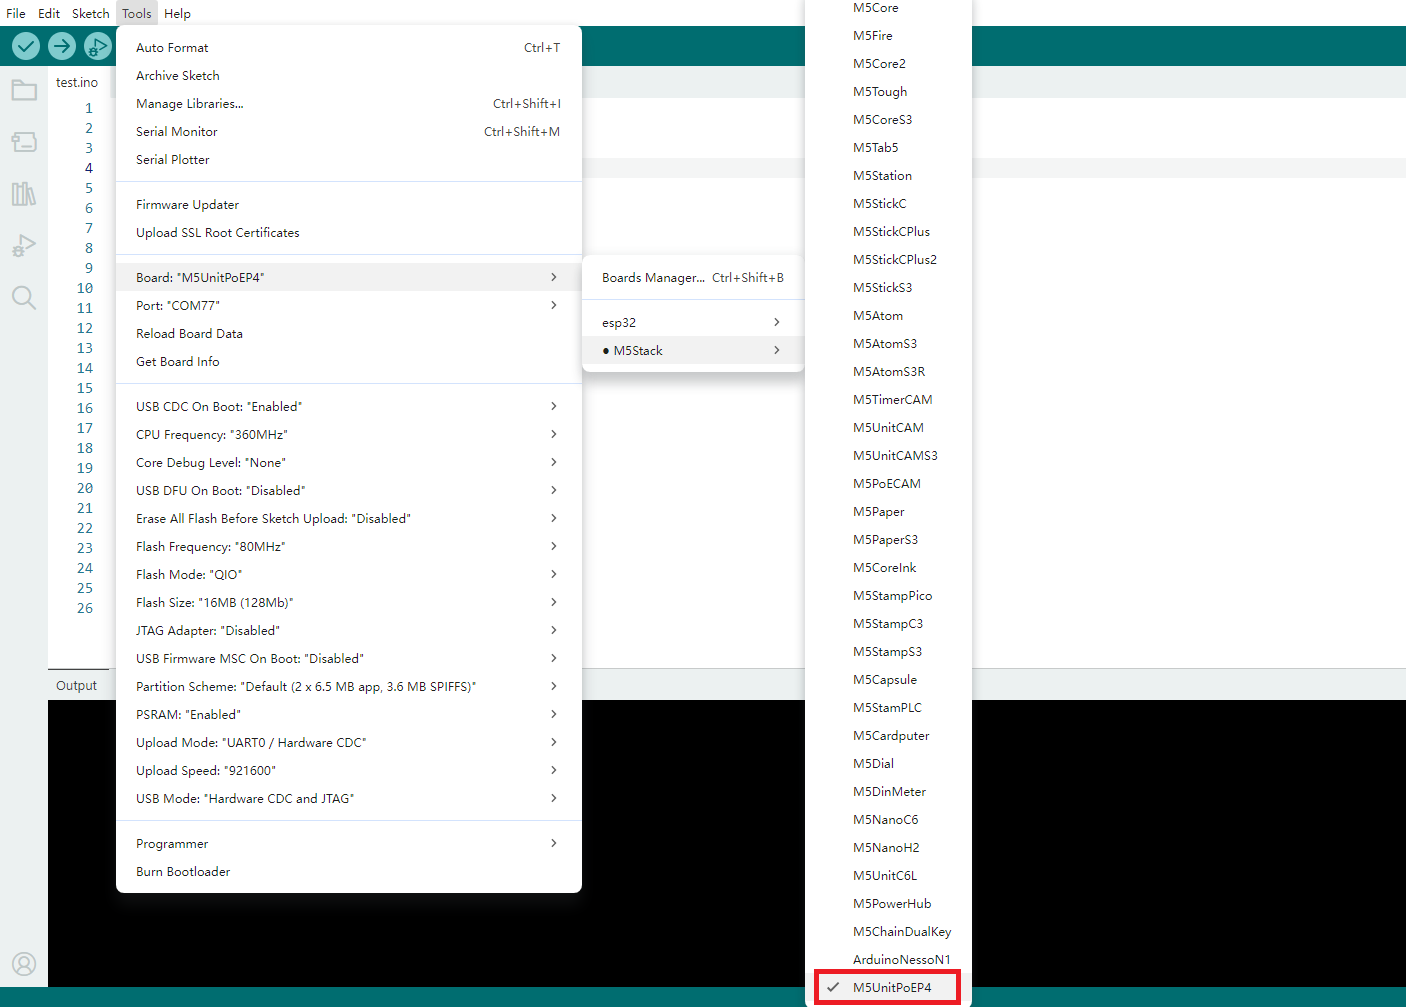
2.Board Manager Installation: Refer to Board Manager Installation Guide to complete the M5Stack board manager installation and select the development board
M5UnitPoEP4.
- 3.Library Installation: Refer to Library Management Installation Guide to complete the installation of
M5UnifiedandM5GFXdriver libraries, and follow the prompts to install all the required libraries.
2. Download Mode
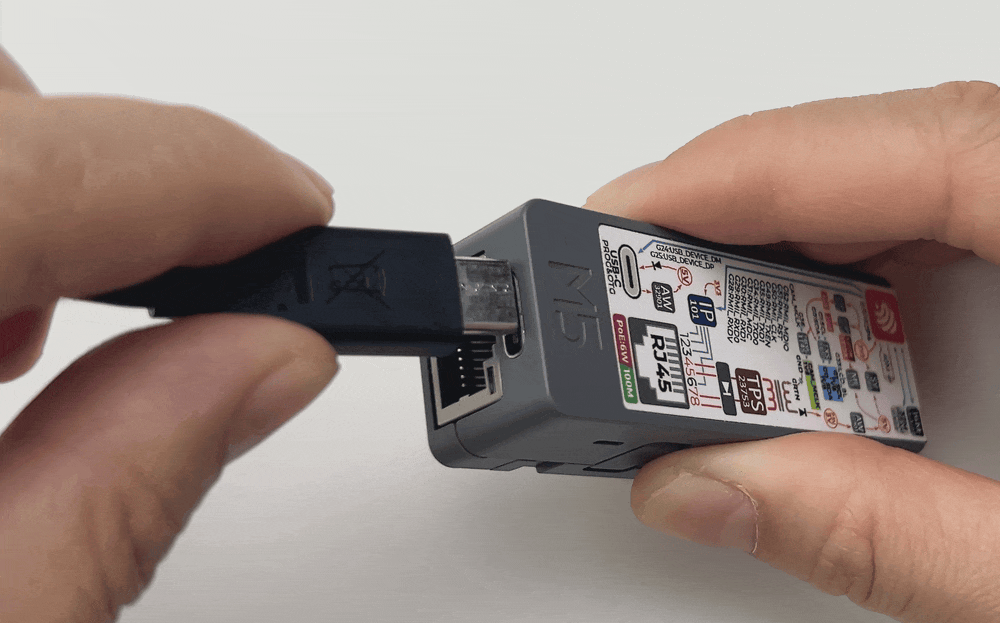
Connect the device to your computer via a USB Type-C cable. Press and hold the side reset button for about 2 seconds until the green LED lights up. Release the button and the device will enter download mode, ready for programming.
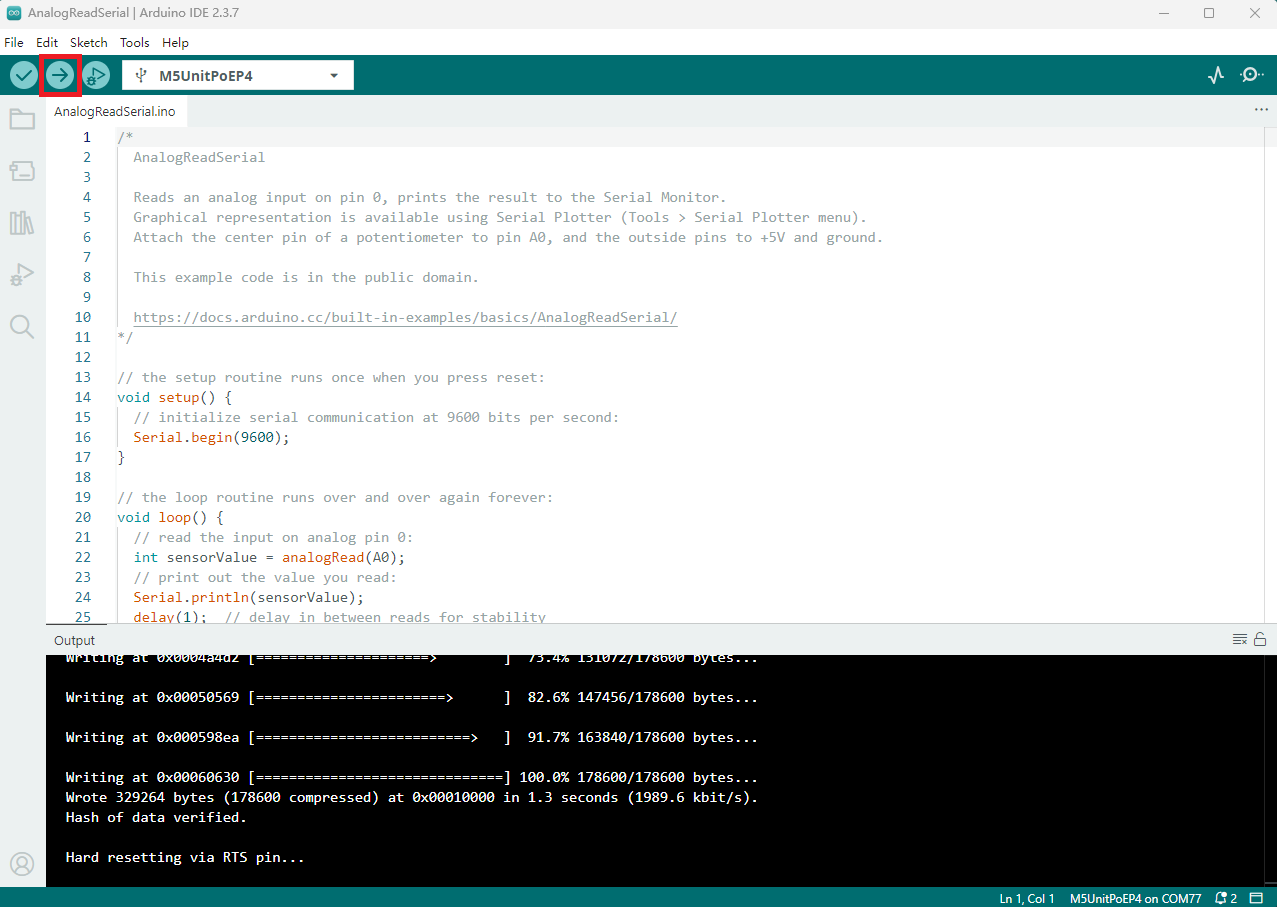
3. Program Compilation & Upload
Open the example program "ETH_TLK110" in the Ethernet library, click the upload button, and the program will be automatically compiled and uploaded.

After the upload is successful, open the serial monitor and set the baud rate to 115200. You should see output information indicating a successful network connection.
Serial output example:
- Network connection successful
ETH Started
ETH Connected
ETH Got IP
*eth0: <UP,100M,FULL_DUPLEX,AUTO,ADDR:0x1> (DHCPC,GARP,IP_MOD)
      ether 30:ED:A0:EA:92:D2
      inet 192.168.20.121 netmask 255.255.255.0 broadcast 192.168.20.255
      gateway 192.168.20.1 dns 223.5.5.5


connecting to baidu.com
HTTP/1.1 301 Moved Permanently
Location: https://www.baidu.com/
Date: Sat, 28 Feb 2026 04:29:55 GMT
Content-Length: 57
Content-Type: text/html; charset=utf-8

<a href="https://www.baidu.com/">Moved Permanently</a>.

closing connection- Network connection failed
ETH Disconnected
ETH Connected
ETH Got IP
*eth0: <UP,100M,FULL_DUPLEX,AUTO,ADDR:0x1> (DHCPC,GARP,IP_MOD)
      ether 30:ED:A0:EA:92:D2
      inet 192.168.20.121 netmask 255.255.255.0 broadcast 192.168.20.255
      gateway 192.168.20.1 dns 223.5.5.5


connecting to google.com
connection failed