

Arduino 上手教程
2. 设备开发 & 案例程序
3. M5Unified
4. M5GFX
5. 拓展模块
Unit
Atomic
Tab5
IoT
DinMeter 屏幕显示
DinMeter使用M5GFX库作为屏幕驱动, 参考下方API & 案例即可实现简单的显示, 获取更多API内容可以参考M5GFX源码。
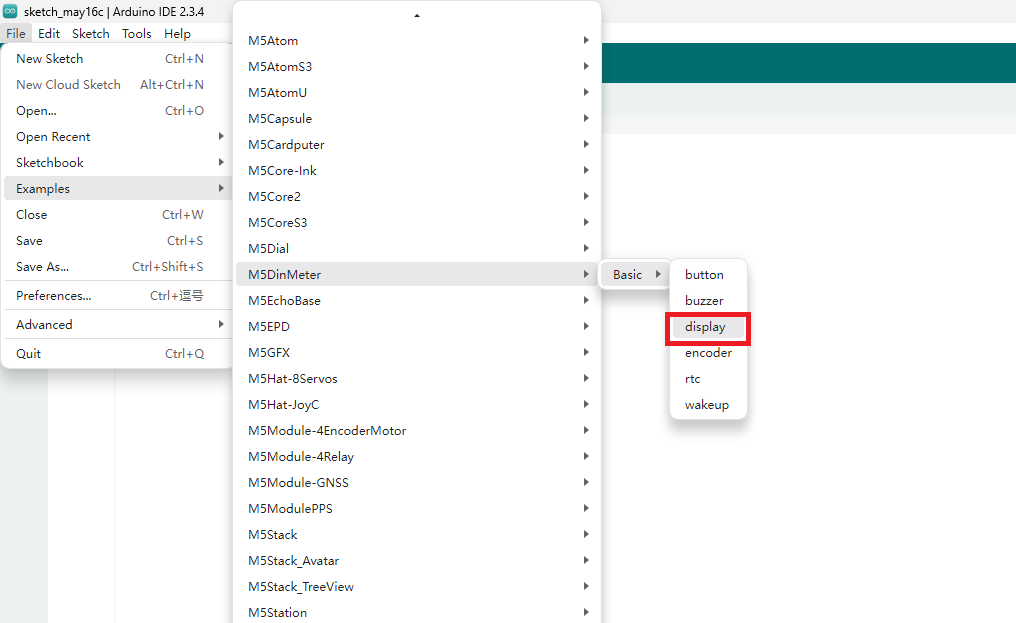
- 打开示例程序
display,上传代码
案例程序
cpp
1 2 3 4 5 6 7 8 9 10 11 12 13 14 15 16 17 18 19 20 21 22 23 24 25 26 27 28 29 30 31 32 33 34 35 36 37 38 39 40 41 42 43
/**
* @file display.ino
* @author SeanKwok (shaoxiang@m5stack.com)
* @brief M5DinMeter Display Test
* @version 0.1
* @date 2024-03-07
*
*
* @Hardwares: M5DinMeter
* @Platform Version: Arduino M5Stack Board Manager v2.1.1
* @Dependent Library:
* M5GFX: https://github.com/m5stack/M5GFX
* M5Unified: https://github.com/m5stack/M5Unified
*/
#include "M5DinMeter.h"
void draw_function(LovyanGFX* gfx) {
int x = rand() % gfx->width();
int y = rand() % gfx->height();
int r = (gfx->width() >> 4) + 2;
uint16_t c = rand();
gfx->fillRect(x - r, y - r, r * 2, r * 2, c);
}
void setup() {
auto cfg = M5.config();
DinMeter.begin(cfg, false);
int textsize = DinMeter.Display.height() / 60;
if (textsize == 0) {
textsize = 1;
}
DinMeter.Display.setTextSize(textsize);
}
void loop() {
int x = rand() % DinMeter.Display.width();
int y = rand() % DinMeter.Display.height();
int r = (DinMeter.Display.width() >> 4) + 2;
uint16_t c = rand();
DinMeter.Display.fillCircle(x, y, r, c);
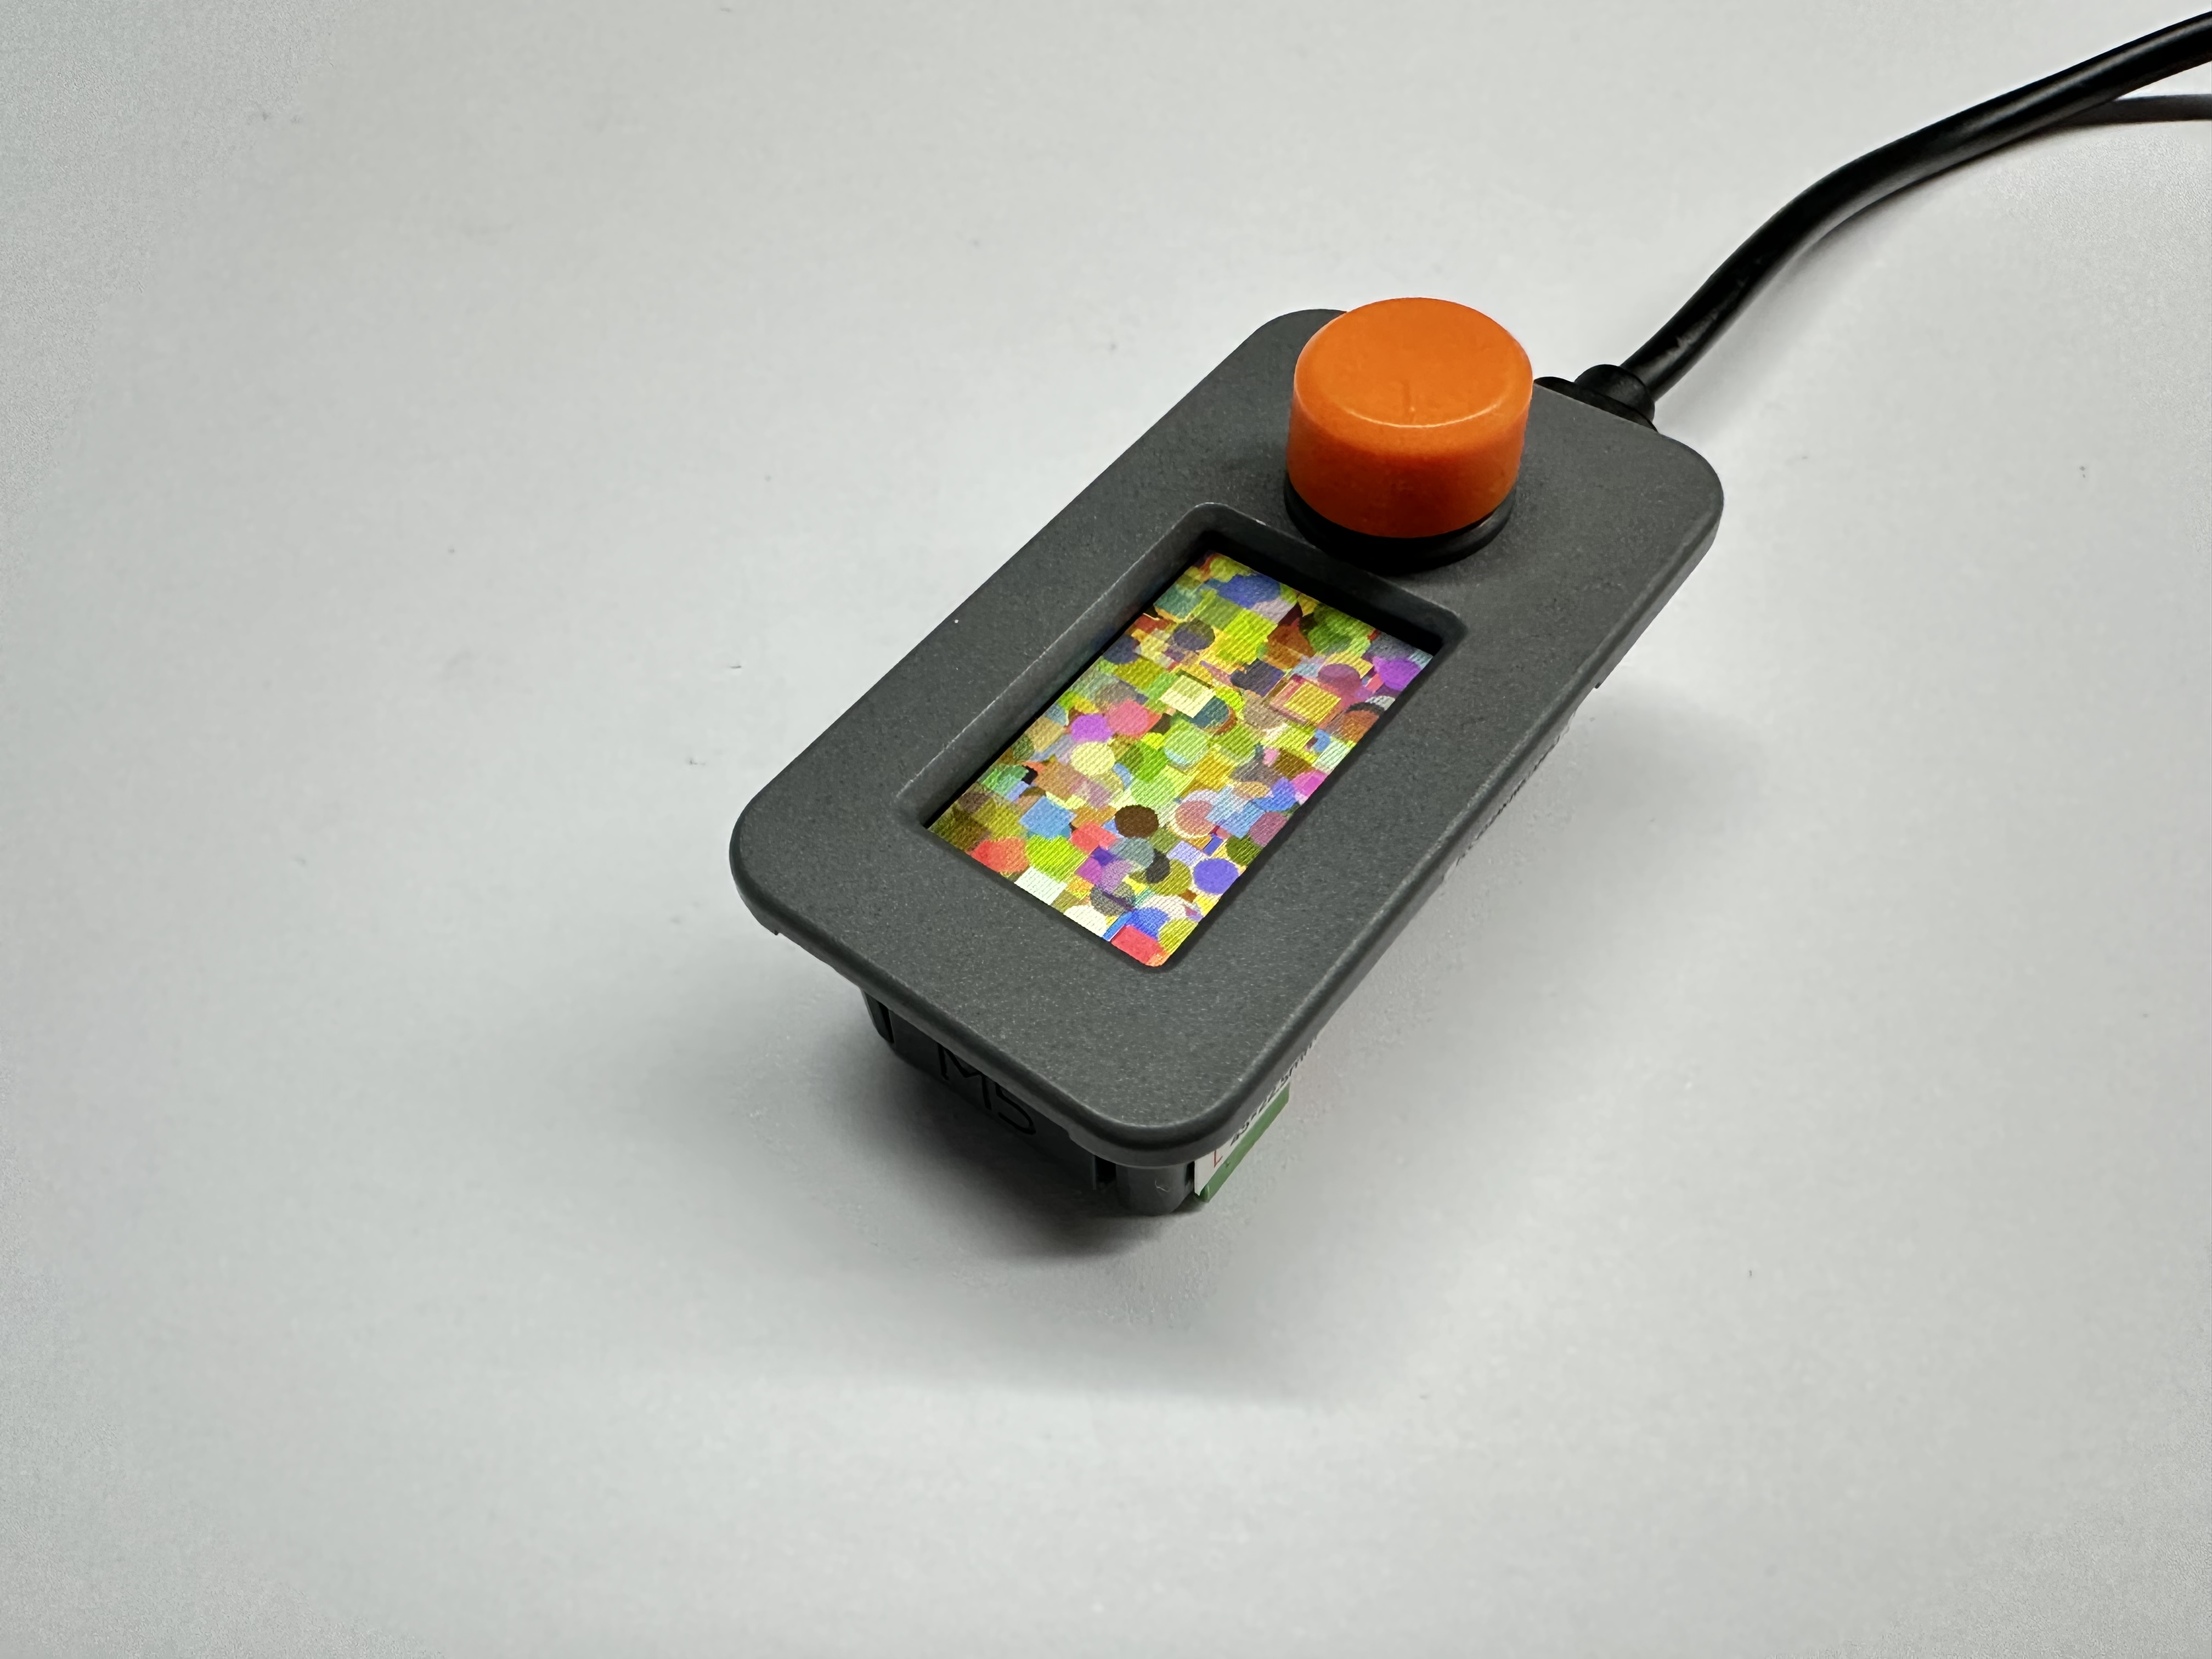
draw_function(&DinMeter.Display);
}上传完成就可以看到下面的效果了
Page Tools