Arduino 上手教程
2. 设备开发 & 案例程序
StackChan
3. M5Unified
4. M5GFX
5. 拓展模块
Unit
Atomic
Base
IoT
Hat NCIR Arduino 使用教程
1. 准备工作
环境配置: 参考Arduino IDE上手教程完成 IDE 安装,并根据实际使用的开发板安装对应的板管理,与需要的驱动库。
使用到的驱动库:
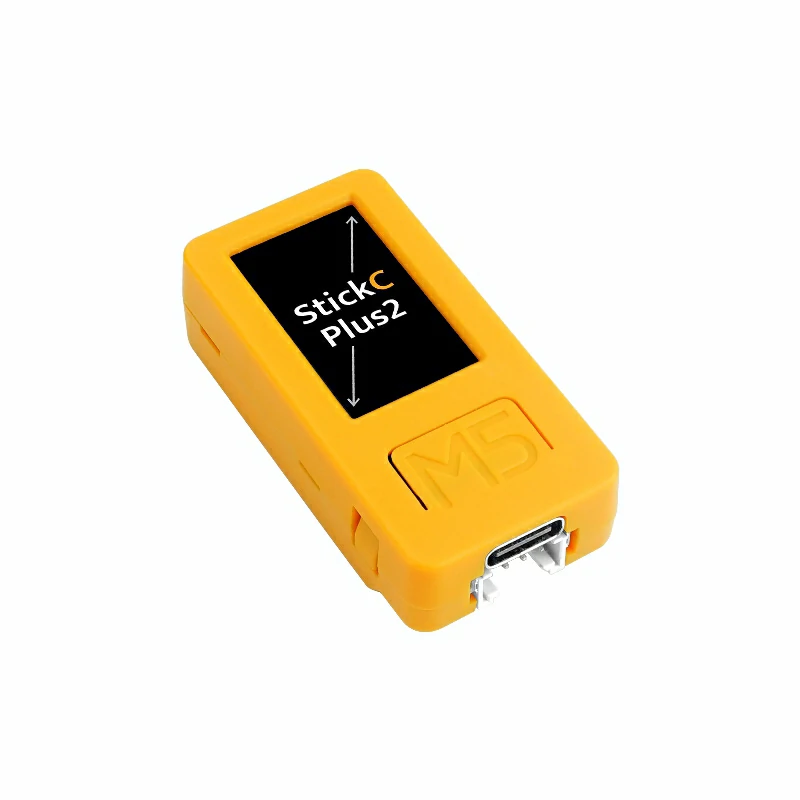
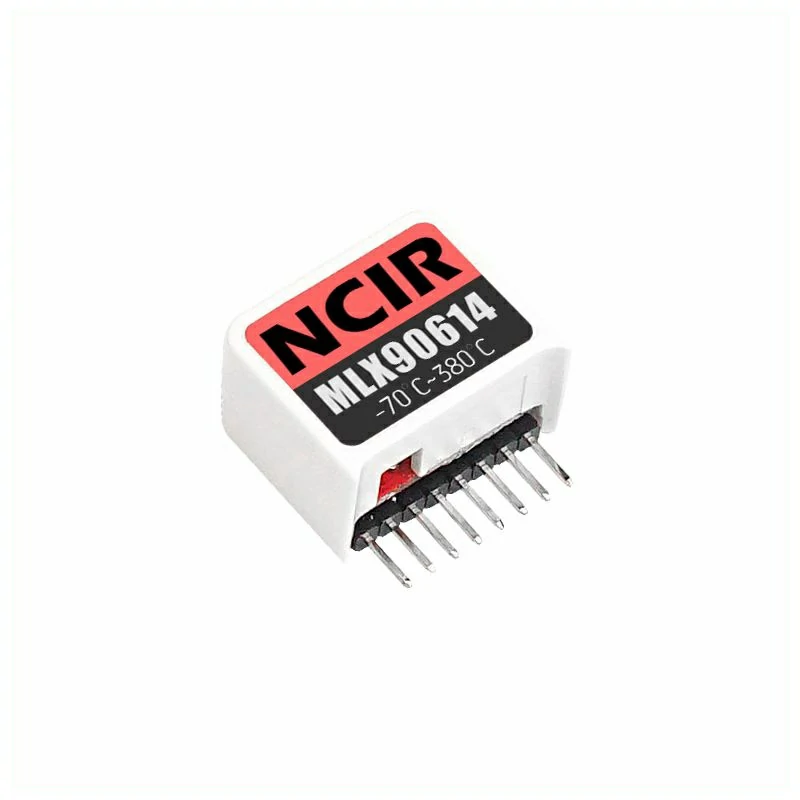
使用到的硬件产品:
2. 案例程序
案例说明
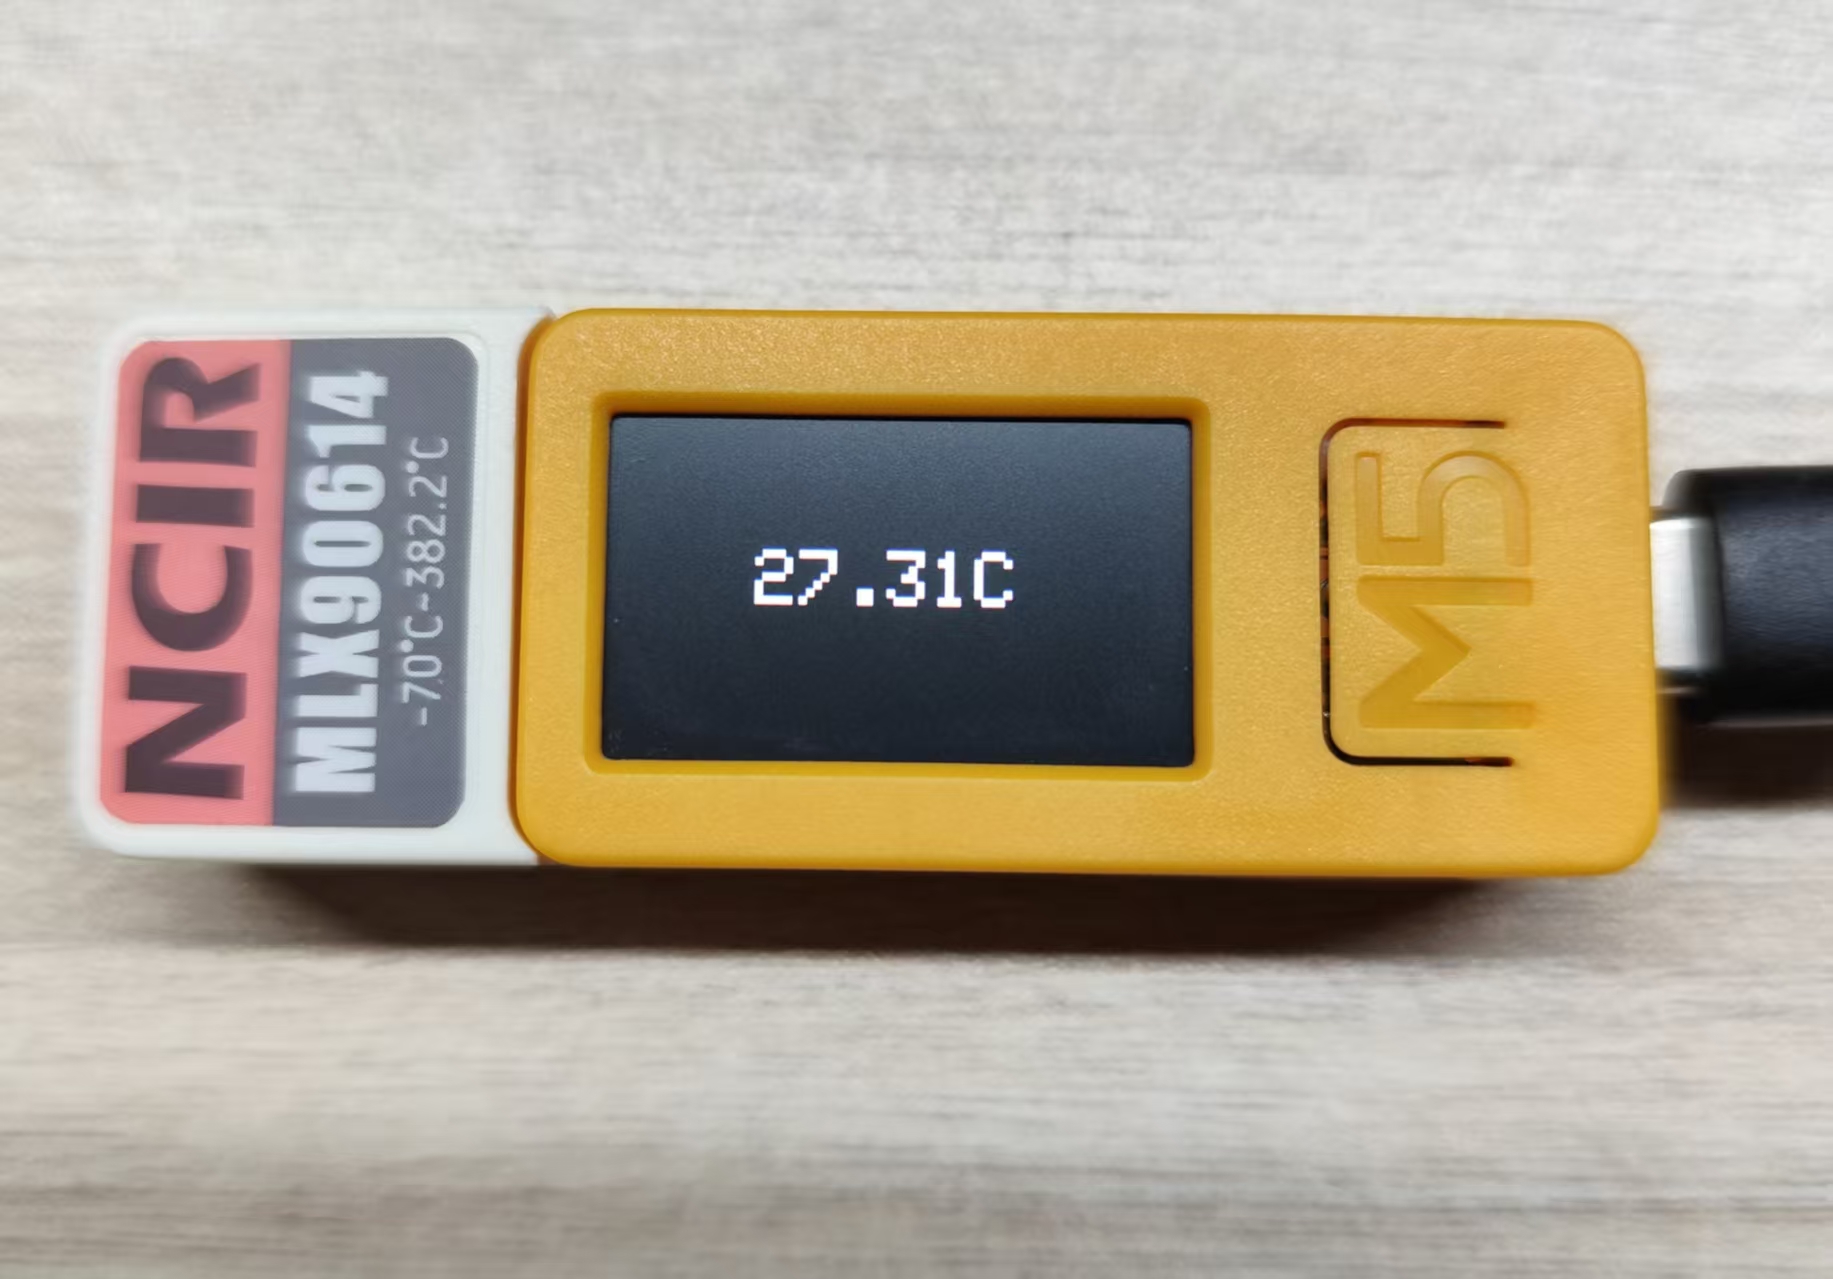
Hat NCIR 是一款兼容 SticKC 的单点红外测温传感器。内置红外传感器 MLX90614,传感器的测温范围: -70°C ~ + 380°C。视场角为 90° 本案例将使用 StickC-Plus2 通过 I2C 接口来驱动控制 Hat NCIR,并在 StickC-Plus2 的屏幕和电脑的串口监视器打印数据。
完整程序
cpp
1 2 3 4 5 6 7 8 9 10 11 12 13 14 15 16 17 18 19 20 21 22 23 24 25 26 27 28 29 30 31 32 33 34 35 36 37 38 39 40 41 42 43 44 45 46 47 48
#include <M5Unified.h>
#include <Wire.h>
uint16_t result = 0;
float temperature = 0;
void setup() {
// Initializatization
auto cfg = M5.config();
M5.begin(cfg);
Wire.begin(0, 26); // Hat NCIR (SDA:G0, SCL:G26)
Serial.begin(115200);
// setup display
M5.Display.setRotation(1); // Depends on the direction of the StickC_Plus2 being held
M5.Display.setTextColor(WHITE);
M5.Display.setTextSize(3);
Serial.println("StickC-Plus2 with Hat NCIR is ready!");
}
void loop() {
Wire.beginTransmission(0x5A); // Send Initial Signal and I2C Bus Address
Wire.write(0x07); // Send data only once and add one address automatically.
Wire.endTransmission(false); // Stop signal
Wire.requestFrom(0x5A, 2); // Get 2 consecutive data from 0x5A
if (Wire.available() >= 2) {
result = Wire.read(); // Receive DATA
result |= Wire.read() << 8; // Receive DATA
temperature = result * 0.02 - 273.15; // Converts sensor reading to degree celsius
// display on StickC-Plus2's screen
M5.Display.fillScreen(BLACK);
M5.Display.setCursor(60, 53);
M5.Display.printf("%.2fC", temperature);
// display on serial terminal
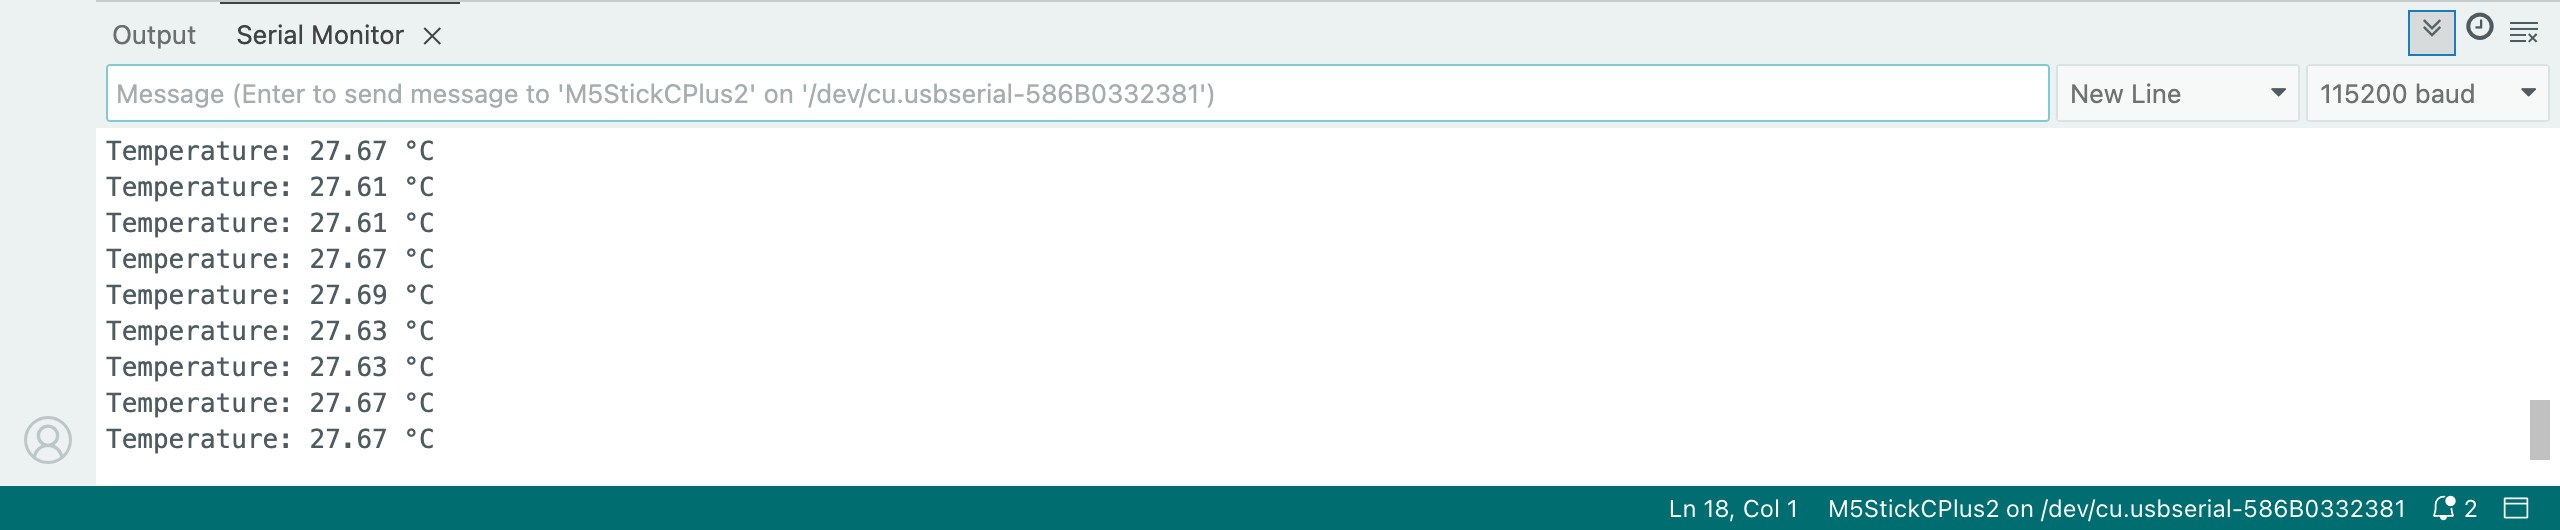
Serial.printf("Temperature: %.2f °C\n", temperature);
}
else {
Serial.println("Error reading from sensor");
}
delay(500);
M5.update();
}3. 编译上传
进入下载模式:不同的 Stick 设备进行程序烧录前需要安装对应的驱动程序,不同的主控设备使用的驱动与安装步骤可能有所不同。详情可参考Arduino IDE上手教程页面底部的设备程序下载教程列表,查看具体设备对应的操作方式。
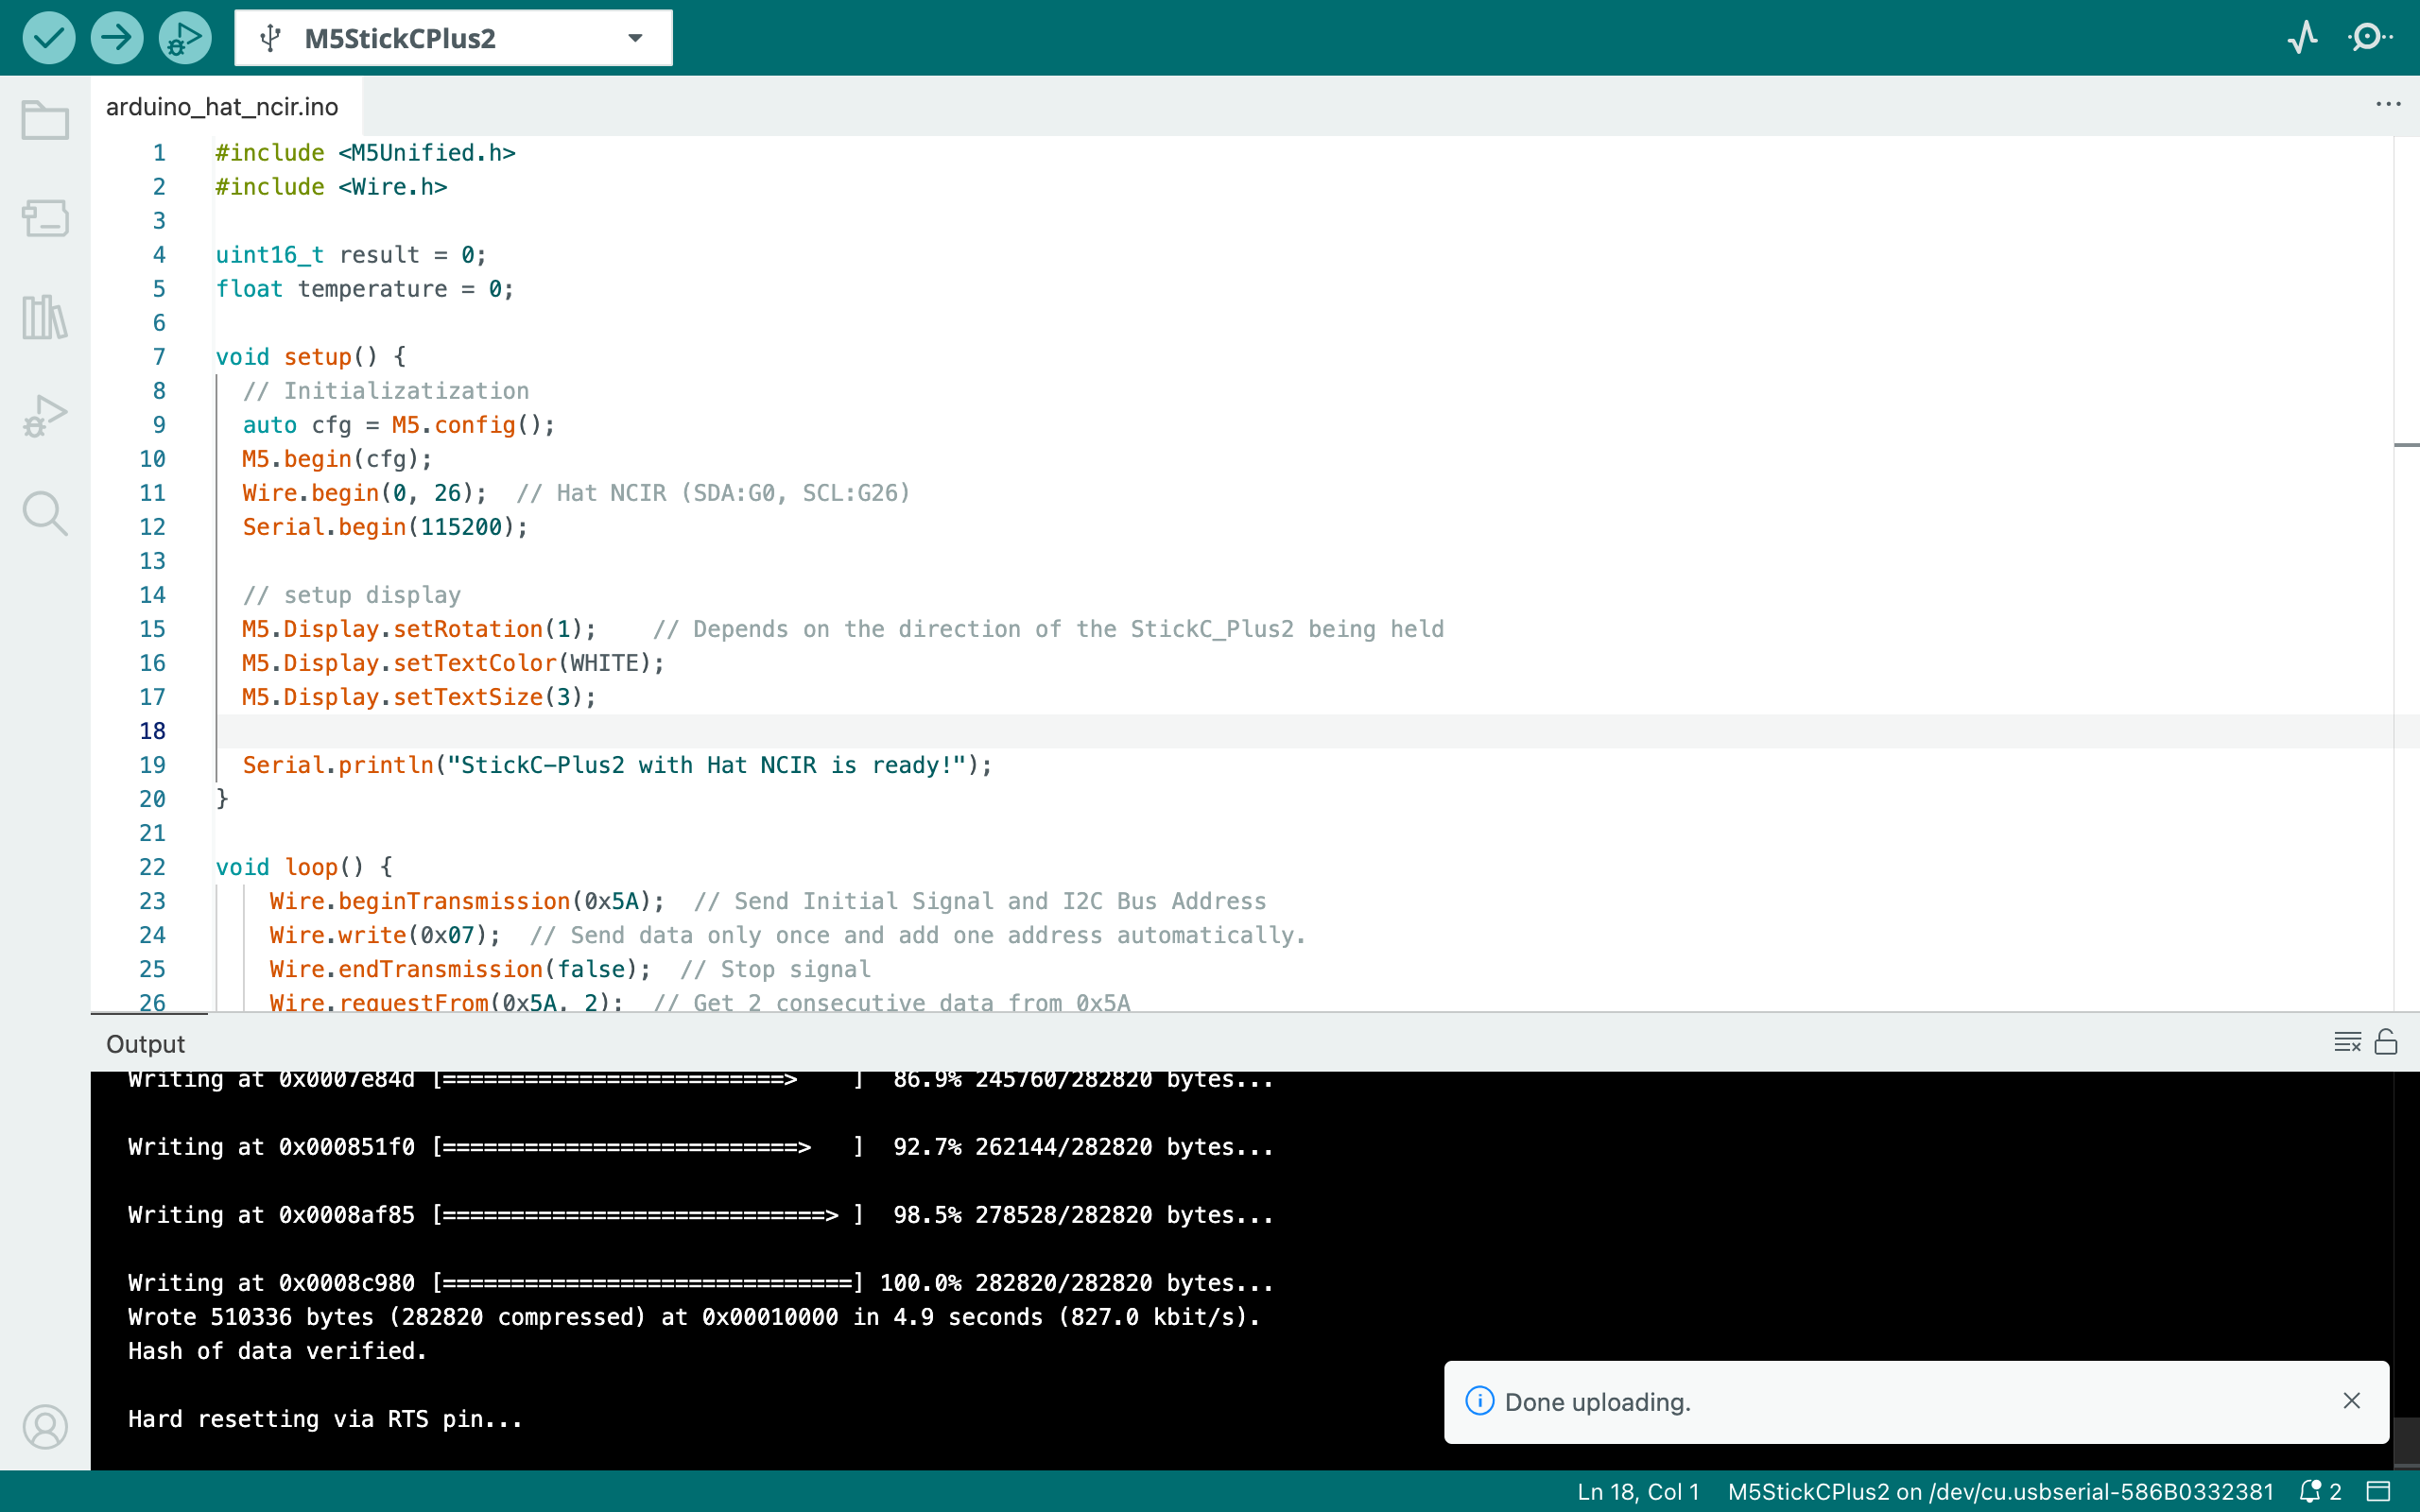
选中设备端口,点击 Arduino IDE 左上角编译上传按钮,等待程序完成编译并上传至设备。
4. 单点红外测温传感器数据显示
该程序将检测 Hat NCIR 的单点红外测温传感器的数据,并在 StickC-Plus2 的屏幕和电脑的串口监视器打印数据: