Arduino Quick Start
2. Devices & Examples
3. M5Unified
4. M5GFX
5. Extensions
Unit
Atomic
Base
IoT
Accessories
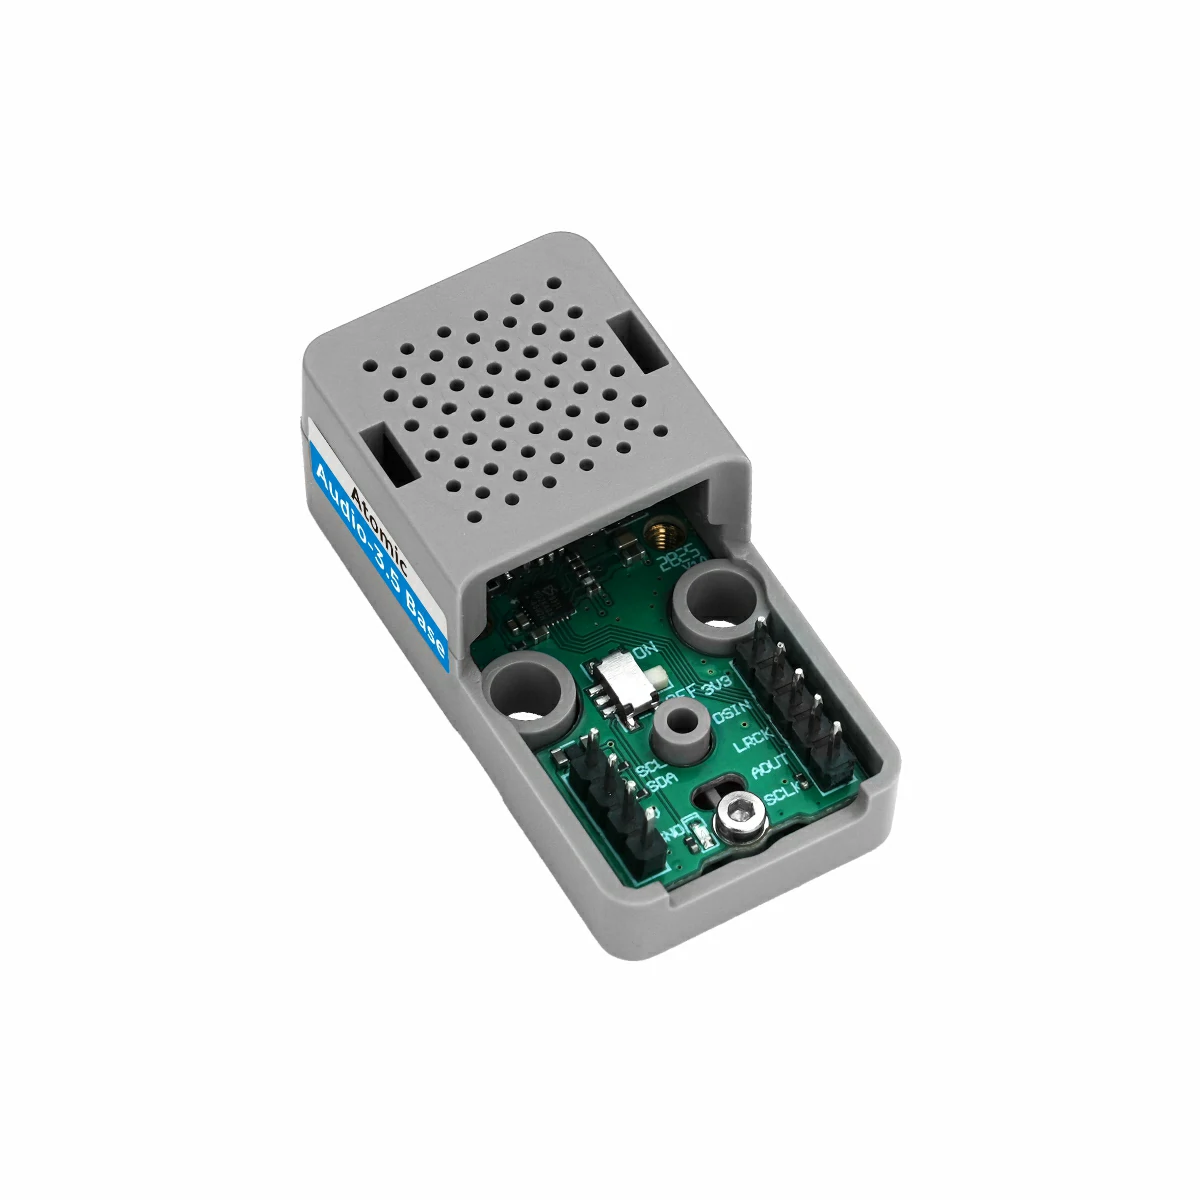
Atomic Audio-3.5 Base Arduino Tutorial
1. Preparation
1. Environment setup: Follow the Arduino IDE Getting Started guide to install the IDE, add board managers for your target board, and install any required driver libraries.
2. Required libraries:
3. Hardware used in this tutorial:

2. Microphone selection switch
The microphone selection switch on the Atomic Audio-3.5 Base is located as shown below. It selects the microphone input channel to suit different use cases.
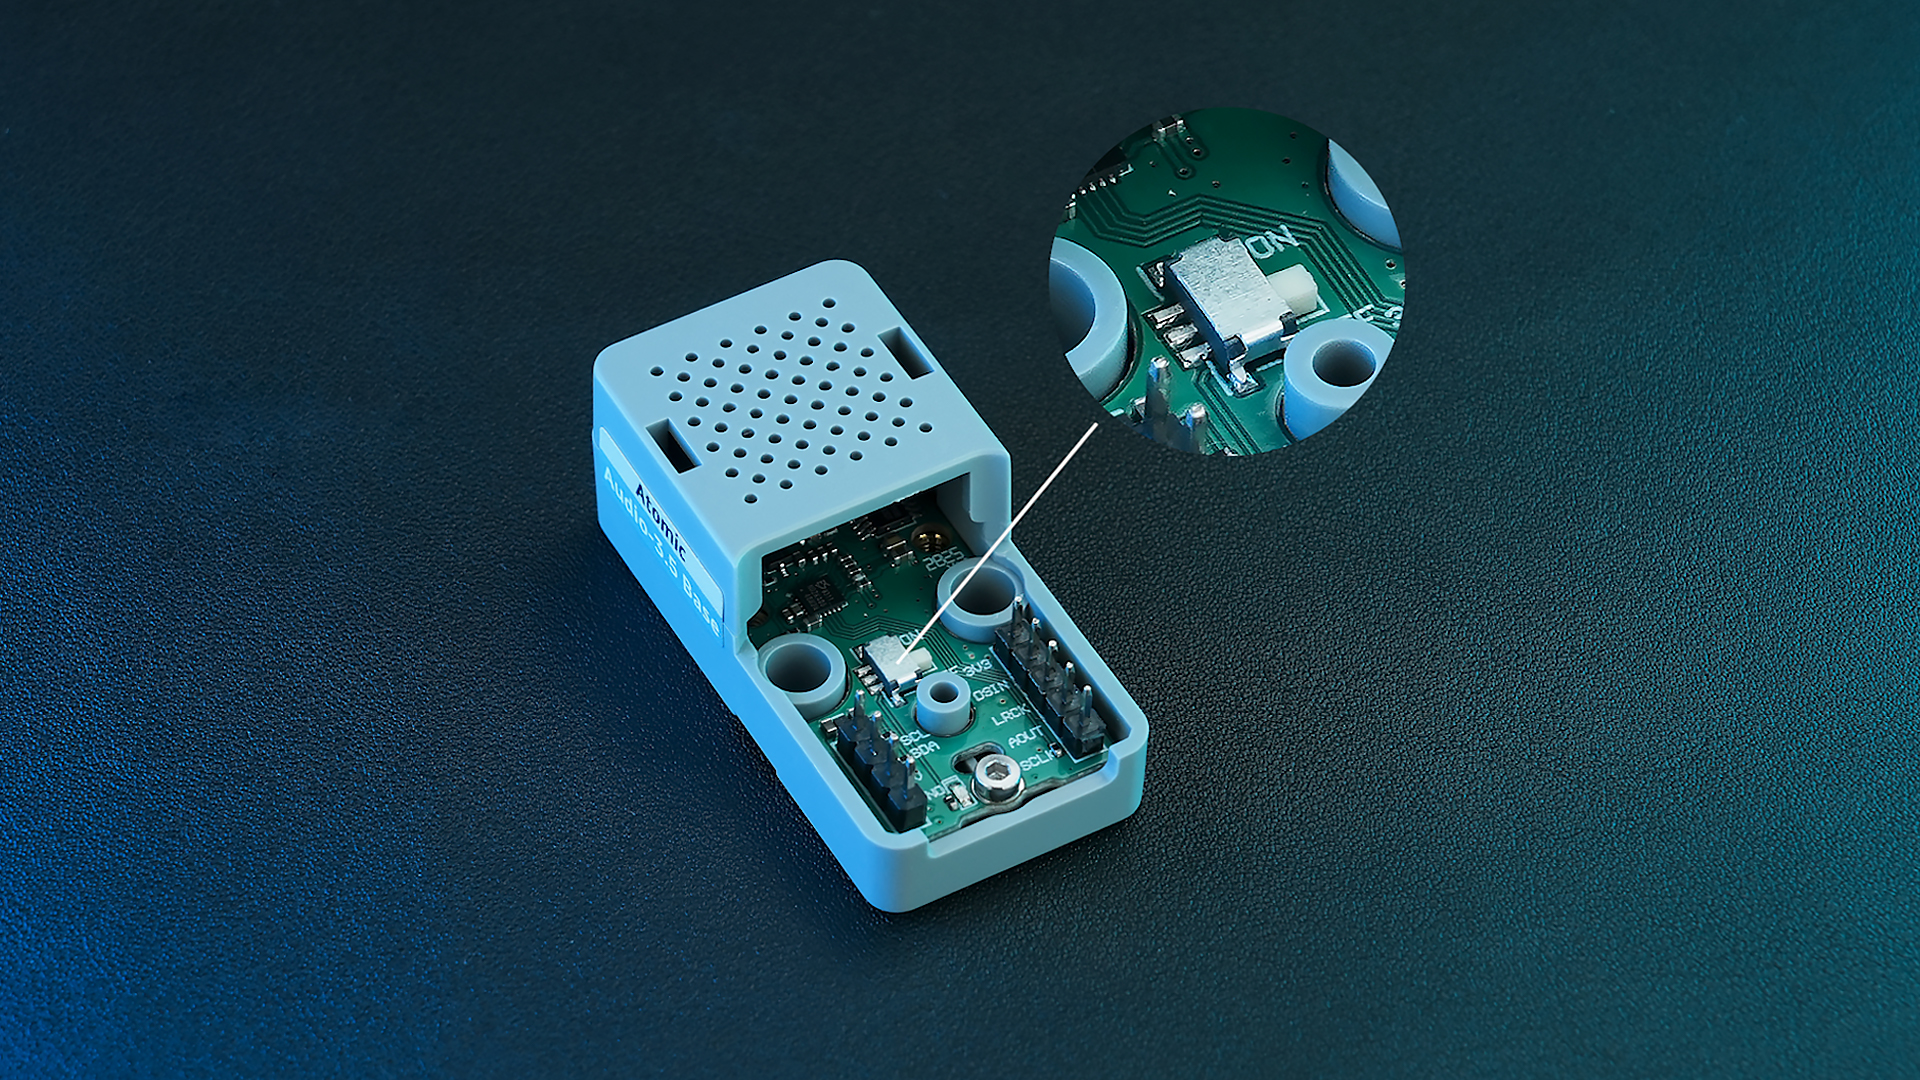
The switch has two positions:
- ON: Keep the onboard microphone powered; when external speakers are connected, continue using the built-in microphone.
- OFF: When a device is connected to the 3.5mm jack, automatically switch to the external microphone — suitable for headsets or external mic use.
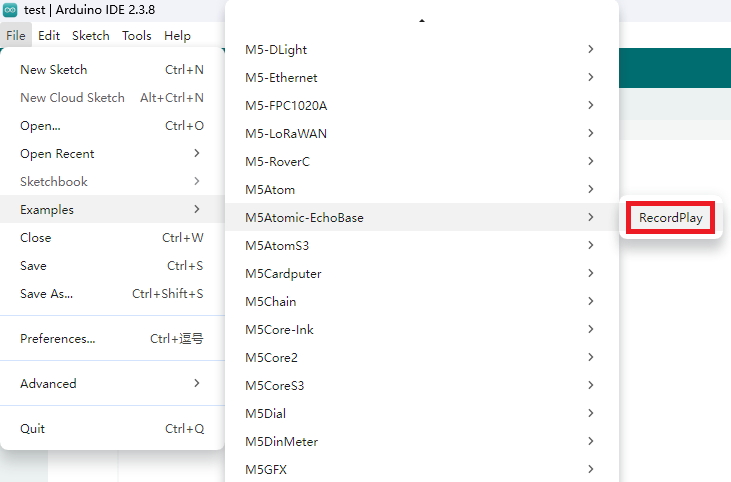
3. Example
Refer to the RecordPlay example in the M5Atomic-EchoBase repository. Adjust IO definitions in the sketch according to your wiring. This tutorial targets AtomS3R; the IO mapping used here matches AtomS3.
3.1 Initialization
// Initialize the EchoBase with ATOMS3 pinmap.
echobase.init(44100 /*Sample Rate*/, 38 /*I2C SDA*/, 39 /*I2C SCL*/, 7 /*I2S DIN*/, 6 /*I2S WS*/,
                       5 /*I2S DOUT*/, 8 /*I2S BCK*/, Wire);

echobase.setSpeakerVolume(50);             // Set speaker volume to 50%.
echobase.setMicGain(ES8311_MIC_GAIN_6DB); // Set microphone gain to 6dB.3.2 Recording and playback
// Recording
echobase.setMute(true);
delay(10);
echobase.record(buffer, RECORD_SIZE);  // Record audio into buffer.
delay(100);

// Playing
echobase.setMute(false);
delay(10);
echobase.play(buffer, RECORD_SIZE);  // Play audio from buffer.
delay(100);3.3 Complete Program
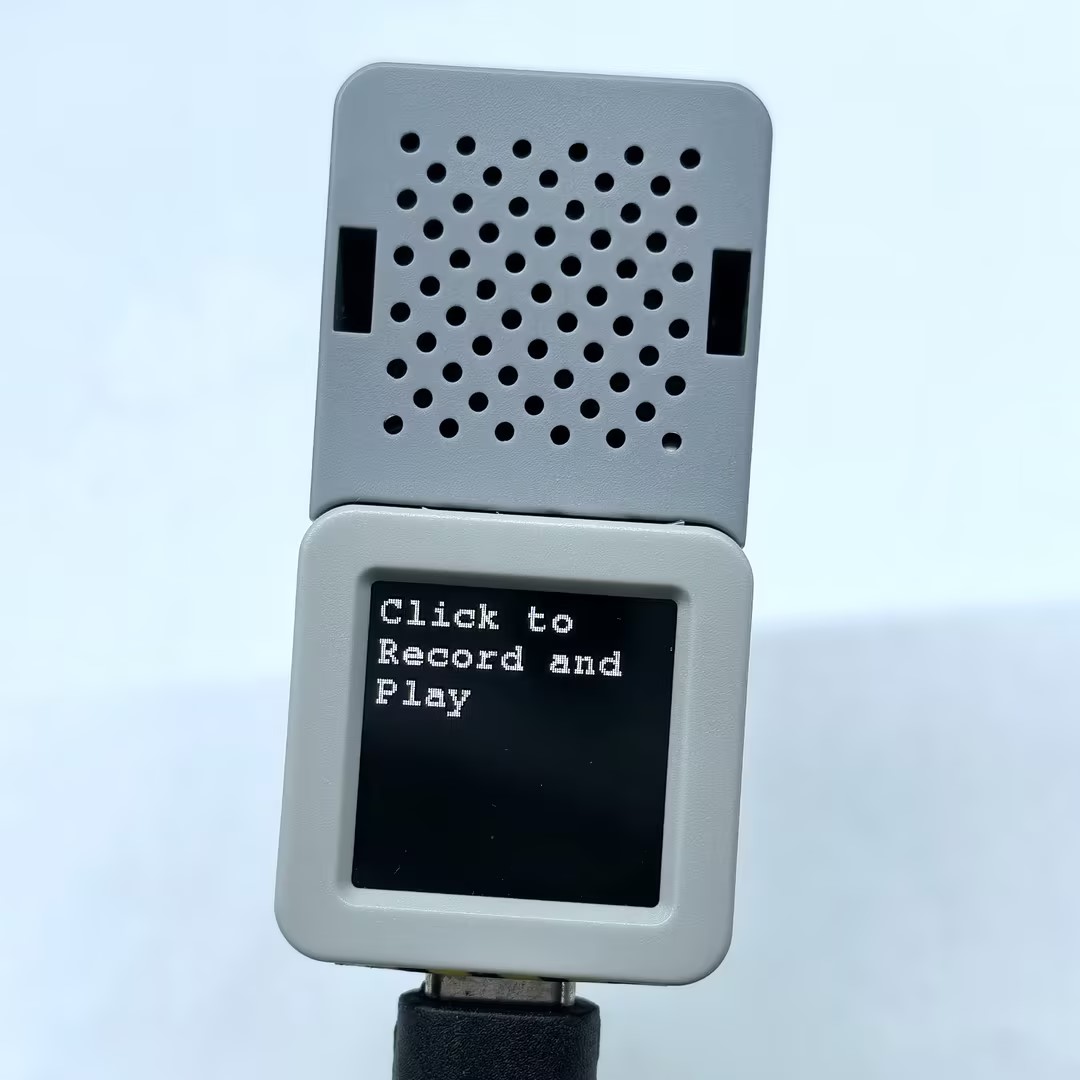
The following example uses M5Unified and M5GFX to provide a basic display and button control: press the button to record, then automatically play back the recording when finished.
#include "M5Unified.h"
#include "M5EchoBase.h"
#if defined(CONFIG_IDF_TARGET_ESP32S3)
#define RECORD_SIZE (1024 * 200)
#elif defined(CONFIG_IDF_TARGET_ESP32)
#define RECORD_SIZE (1024 * 96)
#endif
// Create an instance of the M5EchoBase class
#if (ESP_IDF_VERSION >= ESP_IDF_VERSION_VAL(5, 0, 0))
M5EchoBase echobase;
#else
M5EchoBase echobase(I2S_NUM_0);
#endif
static uint8_t *buffer = nullptr; // Pointer to hold the audio buffer.
void setup()
{
M5.begin();
M5.Display.setFont(&fonts::FreeMonoBold9pt7b);
Serial.begin(115200);
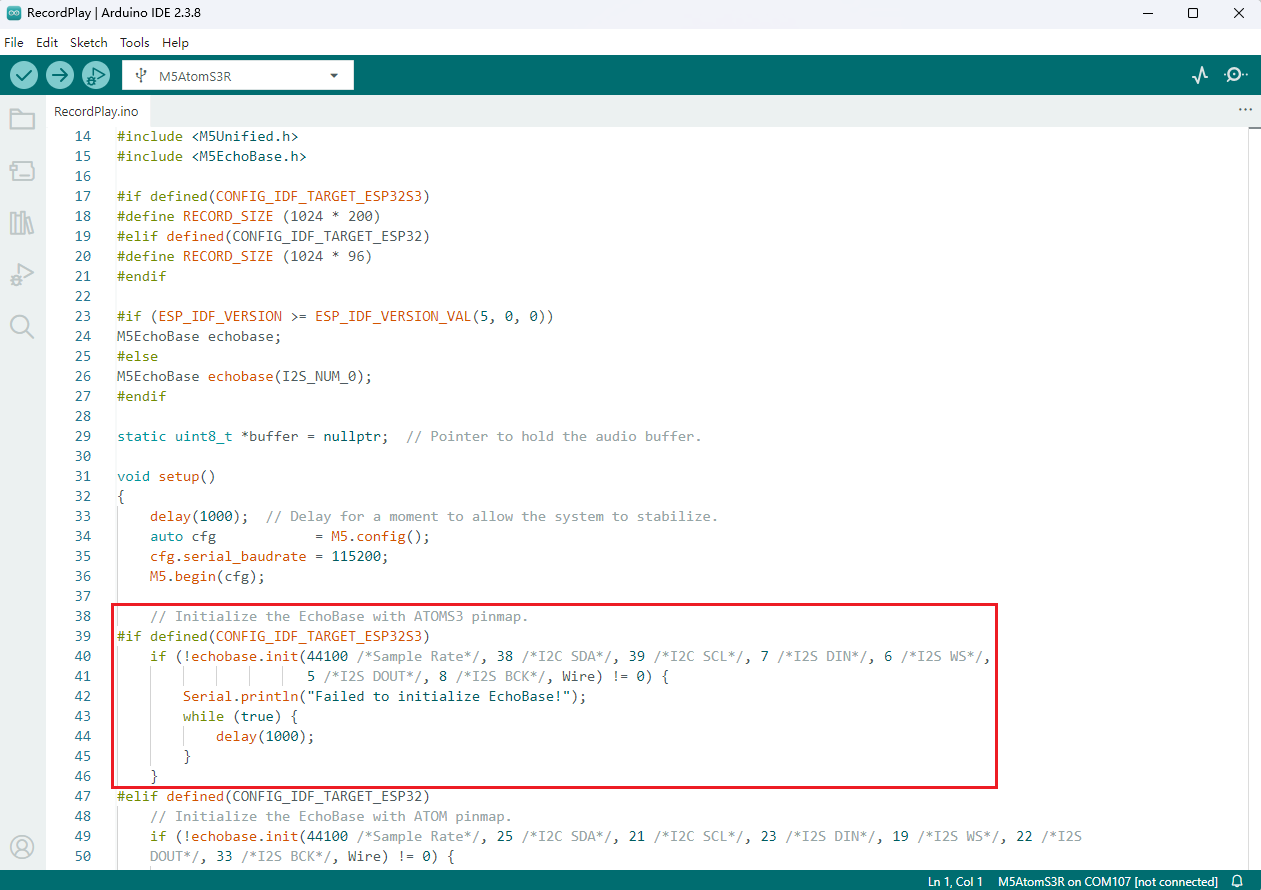
#if defined(CONFIG_IDF_TARGET_ESP32S3)
// Initialize the EchoBase with ATOMS3 pinmap.
if (!echobase.init(44100 /*Sample Rate*/, 38 /*I2C SDA*/, 39 /*I2C SCL*/, 7 /*I2S DIN*/, 6 /*I2S WS*/,
5 /*I2S DOUT*/, 8 /*I2S BCK*/, Wire) != 0) {
Serial.println("Failed to initialize EchoBase!");
while (true) {
delay(1000);
}
}
#elif defined(CONFIG_IDF_TARGET_ESP32)
// Initialize the EchoBase with ATOM pinmap.
if (!echobase.init(44100 /*Sample Rate*/, 25 /*I2C SDA*/, 21 /*I2C SCL*/, 23 /*I2S DIN*/, 19 /*I2S WS*/, 22 /*I2S
DOUT*/, 33 /*I2S BCK*/, Wire) != 0) {
Serial.println("Failed to initialize EchoBase!");
while (true) {
delay(1000);
}
}
#endif
echobase.setSpeakerVolume(50); // Set speaker volume to 50%.
echobase.setMicGain(ES8311_MIC_GAIN_6DB); // Set microphone gain to 6dB.
buffer = (uint8_t *)malloc(RECORD_SIZE); // Allocate memory for the record buffer.
// Check if memory allocation was successful.
if (buffer == nullptr) {
// If memory allocation fails, enter an infinite loop.
while (true) {
Serial.println("Failed to allocate memory :(");
delay(1000);
}
}
Serial.println("Device ready, start recording and playing!");
M5.Display.println("Click to \nRecord and Play");
}
void loop()
{
M5.update();
if (M5.BtnA.wasClicked()) {
M5.Display.fillScreen(BLACK);
M5.Display.setCursor(0, 0);
M5.Display.println("Recording");
Serial.println("Start recording...");
// Recording
echobase.setMute(true);
delay(10);
echobase.record(buffer, RECORD_SIZE); // Record audio into buffer.
delay(100);
M5.Display.println("Playing");
Serial.println("Start playing...");
// Playing
echobase.setMute(false);
delay(10);
echobase.play(buffer, RECORD_SIZE); // Play audio from buffer.
delay(100);
M5.Display.println("Done");
Serial.println("Done");
}
}4. Compile & Upload
1. Download mode: Entering the boot/download mode varies by controller. See the device-specific download instructions at the bottom of the Arduino IDE Getting Started guide.
For AtomS3R: press and hold the reset button for about 2 seconds until the internal green LED lights, then release — the device enters download mode and is ready for flashing.

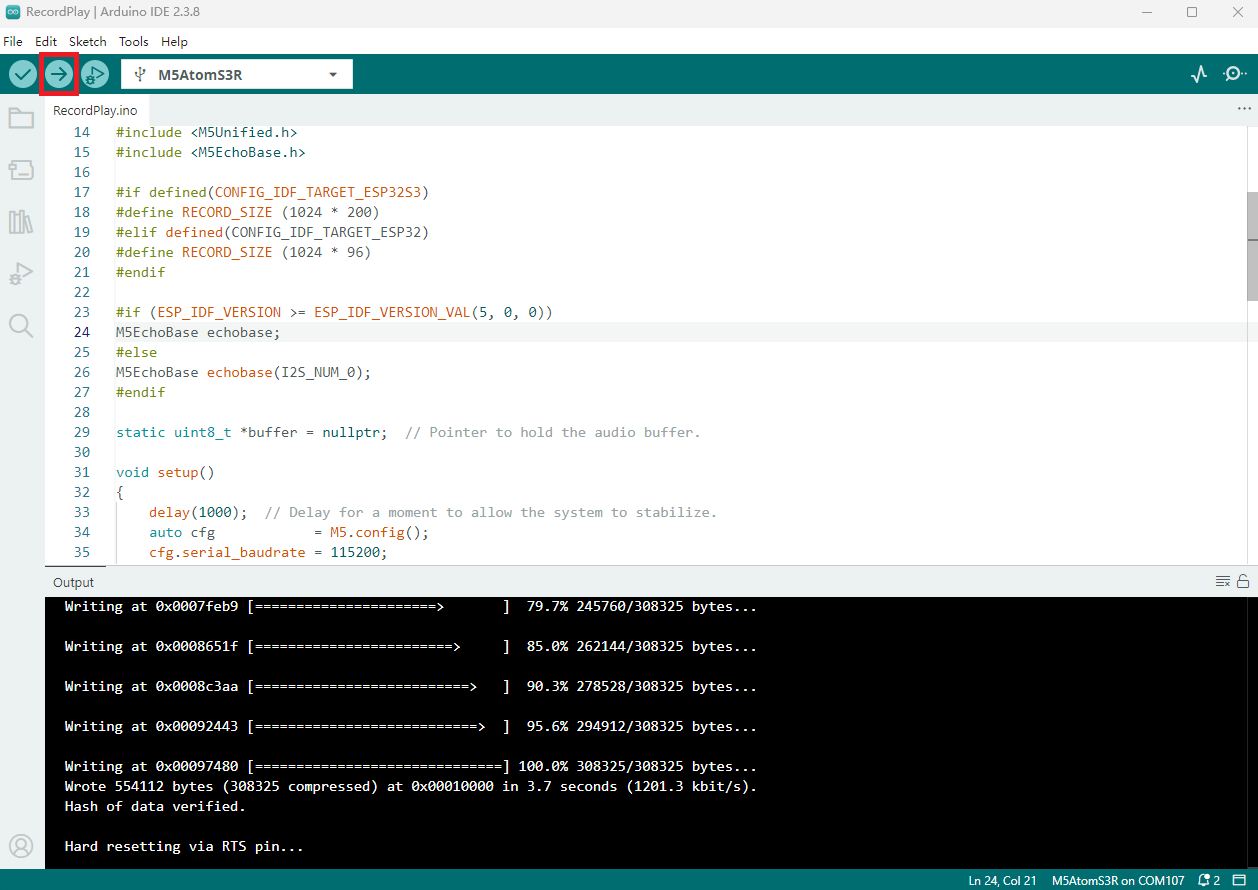
- 2. Select the device port and click the Arduino IDE upload button (top-left). Wait for compilation and upload to complete.
5. Recording & Playback