

Arduino入門
2. デバイス&サンプル
3. M5Unified
4. M5GFX
5. 拡張モジュール&サンプル
Unit
Atomic
Tab5
IoT
アクセサリー
Hat Mini EncoderC Arduino 使用チュートリアル
1. 準備作業
環境設定: Arduino IDE クイックスタートチュートリアル を参照して IDE のインストールを完了し、使用する開発ボードに応じて対応するボードマネージャーおよび必要なドライバライブラリをインストールしてください。
使用ライブラリ:
使用ハードウェア:
2. 注意事項
ピン互換性
各ホストデバイスのピン構成は異なるため、使用前に製品ドキュメントの ピン互換表 を参照し、実際のピン接続に応じてサンプルプログラムを修正してください。
3. サンプルプログラム
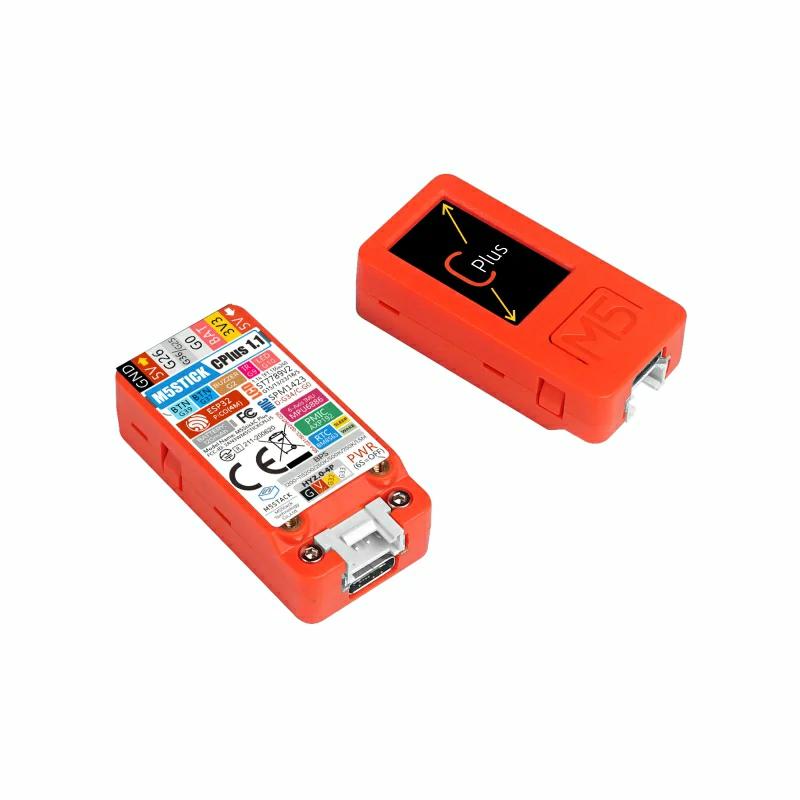
- 本チュートリアルでは、StickC Plus をメインコントロールデバイスとして使用し、Hat Mini EncoderC モジュールと組み合わせます。本ロータリーエンコーダーモジュールは I2C 通信を使用します。実際の回路接続に応じてプログラム内のピン定義を修正してください。デバイスをスタックした場合、対応する I2C IO は
G26 (SCL)、G0 (SDA)です。
cpp
1 2 3 4 5 6 7 8 9 10 11 12 13 14 15 16 17 18 19 20 21 22 23 24 25 26 27 28 29 30 31 32 33 34 35 36 37 38 39 40 41 42 43 44 45 46 47 48 49 50 51 52 53 54 55 56 57 58 59 60 61 62 63 64 65 66 67 68 69 70 71 72 73 74 75 76 77 78 79 80 81 82 83 84 85 86 87 88 89 90 91 92 93 94 95 96 97 98 99 100 101 102
#include "M5Unified.h"
#include "M5HatMiniEncoderC.h"

// MiniEncoderC I2C pins
#define MiniEncoderC_SDA 0
#define MiniEncoderC_SCL 26

M5HatMiniEncoderC encoder;

// Used to detect encoder value changes
int32_t lastEncoderValue = 0;
int32_t encoderIncValue = 0;

// Used to detect button state changes
bool lastEncoderBtnValue = 0;

// Wait until MiniEncoderC is ready
static void waitMiniEncoderCReady() {
    while (!encoder.begin(&Wire, MiniEncoderC_ADDR, MiniEncoderC_SDA, MiniEncoderC_SCL, 100000UL)) {
      delay(100);
    }
}

void setup() {
    M5.begin();
    M5.Display.setRotation(0);
    M5.Display.setFont(&fonts::FreeMonoBold9pt7b);
    M5.Display.fillScreen(BLACK);

    // Initialize MiniEncoderC
    waitMiniEncoderCReady();

    // Reset encoder value to 0
    encoder.setEncoderValue(0);
    delay(100);

    // Initial display
    M5.Display.setCursor(0, 20);
    M5.Display.printf("Val:%d", 0);

    M5.Display.setCursor(0, 50);
    M5.Display.printf("IncVal:%d", 0);

    M5.Display.drawLine(0, 80, 135, 80, ORANGE);

    M5.Display.setCursor(0, 90);
    M5.Display.printf("BtnVal:1");

    M5.Display.setCursor(0, 180);
    M5.Display.printf("BtnA:\n Reset Cntr");
}

void loop() {
    M5.update();

    // Read encoder value
    int32_t encoderValue = encoder.getEncoderValue();

    // Read encoder button state
    bool EncoderBtnValue = encoder.getButtonStatus();

    // Only read increment value when encoder value changes
    if (encoderValue != lastEncoderValue) {
      encoderIncValue = encoder.getIncrementValue();

      // Update encoder value display
      M5.Display.fillRect(0, 20, 135, 50, BLACK);
      M5.Display.setTextColor(WHITE, BLACK);

      M5.Display.setCursor(0, 20);
      M5.Display.printf("Val: %d", encoderValue);

      M5.Display.setCursor(0, 50);
      M5.Display.printf("IncVal: %d", encoderIncValue);

      M5.Display.drawLine(0, 80, 135, 80, ORANGE);

      // Set LED color based on encoder value
      uint8_t r = abs(encoderValue * 5) % 256;
      uint8_t g = abs(encoderValue * 3) % 256;
      uint8_t b = abs(encoderValue * 7) % 256;
      uint32_t rgb888 = (r << 16) | (g << 8) | b;
      encoder.setLEDColor(rgb888);

      lastEncoderValue = encoderValue;
    }

    // Update display only when button state changes
    if (EncoderBtnValue != lastEncoderBtnValue) {
      M5.Display.fillRect(0, 90, 135, 80, BLACK);
      M5.Display.setCursor(0, 90);
      M5.Display.printf("BtnVal: %d", EncoderBtnValue);
      lastEncoderBtnValue = EncoderBtnValue;
    }

    if (M5.BtnA.wasPressed()) {
      // Reset encoder value to 0 when BtnA is pressed
      encoder.resetCounter();
    }

    delay(30);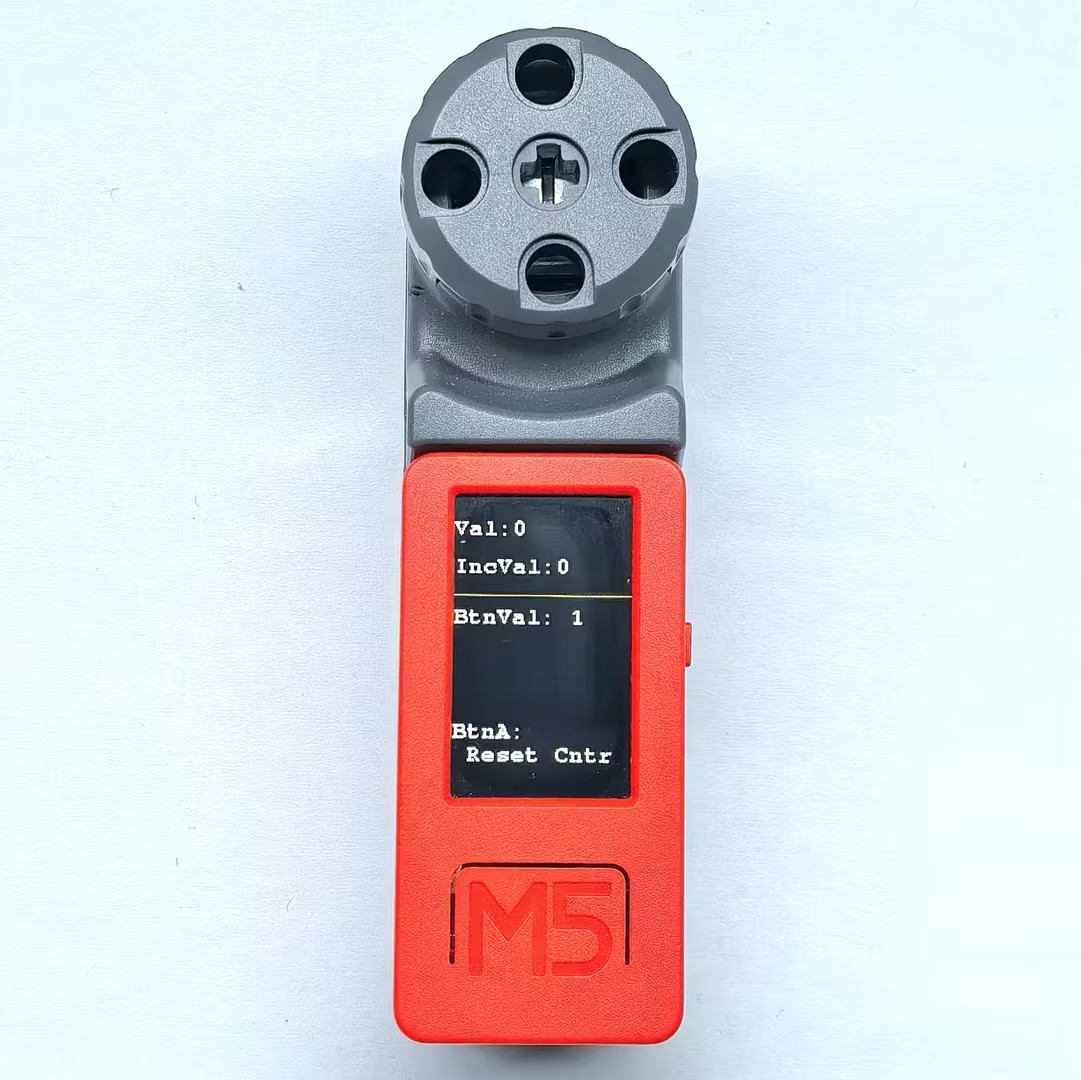
}4. 動作効果
- デバイスの電源を投入後、ノブを回転させることで画面上の数値が変化し、背面の RGB LED の色も数値に応じて変化します。ノブを押すとボタン状態の表示が切り替わります。また、StickC Plus のボタン A を押すことで、エンコーダーのカウント値を 0 にリセットできます。
Page Tools