Arduino 上手教程
2. 设备开发 & 案例程序
3. M5Unified
4. M5GFX
5. 拓展模块
Unit
Atomic
Tab5
IoT
Hat Mini EncoderC Arduino 使用教程
1. 准备工作
环境配置: 参考 Arduino IDE 上手教程完成 IDE 安装,并根据实际使用的开发板安装对应的板管理,与需要的驱动库。
使用到的驱动库:
使用到的硬件产品:

2. 注意事项
引脚兼容性
由于每款主机的引脚配置不同,使用前请参考产品文档中的引脚兼容表,并根据实际引脚连接情况修改案例程序。
3. 案例程序
- 本教程中使用的主控设备为 StickC Plus,搭配 Hat Mini EncoderC 模块。本旋钮模块采用 I2C 方式通讯,根据实际的电路连接修改程序中的引脚定义,设备堆叠后对应的 I2C IO 为
G26 (SCL),G0 (SDA)。
cpp
1 2 3 4 5 6 7 8 9 10 11 12 13 14 15 16 17 18 19 20 21 22 23 24 25 26 27 28 29 30 31 32 33 34 35 36 37 38 39 40 41 42 43 44 45 46 47 48 49 50 51 52 53 54 55 56 57 58 59 60 61 62 63 64 65 66 67 68 69 70 71 72 73 74 75 76 77 78 79 80 81 82 83 84 85 86 87 88 89 90 91 92 93 94 95 96 97 98 99 100 101 102
#include "M5Unified.h"
#include "M5HatMiniEncoderC.h"

// MiniEncoderC I2C pins
#define MiniEncoderC_SDA 0
#define MiniEncoderC_SCL 26

M5HatMiniEncoderC encoder;

// Used to detect encoder value changes
int32_t lastEncoderValue = 0;
int32_t encoderIncValue = 0;

// Used to detect button state changes
bool lastEncoderBtnValue = 0;

// Wait until MiniEncoderC is ready
static void waitMiniEncoderCReady() {
    while (!encoder.begin(&Wire, MiniEncoderC_ADDR, MiniEncoderC_SDA, MiniEncoderC_SCL, 100000UL)) {
      delay(100);
    }
}

void setup() {
    M5.begin();
    M5.Display.setRotation(0);
    M5.Display.setFont(&fonts::FreeMonoBold9pt7b);
    M5.Display.fillScreen(BLACK);

    // Initialize MiniEncoderC
    waitMiniEncoderCReady();

    // Reset encoder value to 0
    encoder.setEncoderValue(0);
    delay(100);

    // Initial display
    M5.Display.setCursor(0, 20);
    M5.Display.printf("Val:%d", 0);

    M5.Display.setCursor(0, 50);
    M5.Display.printf("IncVal:%d", 0);

    M5.Display.drawLine(0, 80, 135, 80, ORANGE);

    M5.Display.setCursor(0, 90);
    M5.Display.printf("BtnVal:1");

    M5.Display.setCursor(0, 180);
    M5.Display.printf("BtnA:\n Reset Cntr");
}

void loop() {
    M5.update();

    // Read encoder value
    int32_t encoderValue = encoder.getEncoderValue();

    // Read encoder button state
    bool EncoderBtnValue = encoder.getButtonStatus();

    // Only read increment value when encoder value changes
    if (encoderValue != lastEncoderValue) {
      encoderIncValue = encoder.getIncrementValue();

      // Update encoder value display
      M5.Display.fillRect(0, 20, 135, 50, BLACK);
      M5.Display.setTextColor(WHITE, BLACK);

      M5.Display.setCursor(0, 20);
      M5.Display.printf("Val: %d", encoderValue);

      M5.Display.setCursor(0, 50);
      M5.Display.printf("IncVal: %d", encoderIncValue);

      M5.Display.drawLine(0, 80, 135, 80, ORANGE);

      // Set LED color based on encoder value
      uint8_t r = abs(encoderValue * 5) % 256;
      uint8_t g = abs(encoderValue * 3) % 256;
      uint8_t b = abs(encoderValue * 7) % 256;
      uint32_t rgb888 = (r << 16) | (g << 8) | b;
      encoder.setLEDColor(rgb888);

      lastEncoderValue = encoderValue;
    }

    // Update display only when button state changes
    if (EncoderBtnValue != lastEncoderBtnValue) {
      M5.Display.fillRect(0, 90, 135, 80, BLACK);
      M5.Display.setCursor(0, 90);
      M5.Display.printf("BtnVal: %d", EncoderBtnValue);
      lastEncoderBtnValue = EncoderBtnValue;
    }

    if (M5.BtnA.wasPressed()) {
      // Reset encoder value to 0 when BtnA is pressed
      encoder.resetCounter();
    }

    delay(30);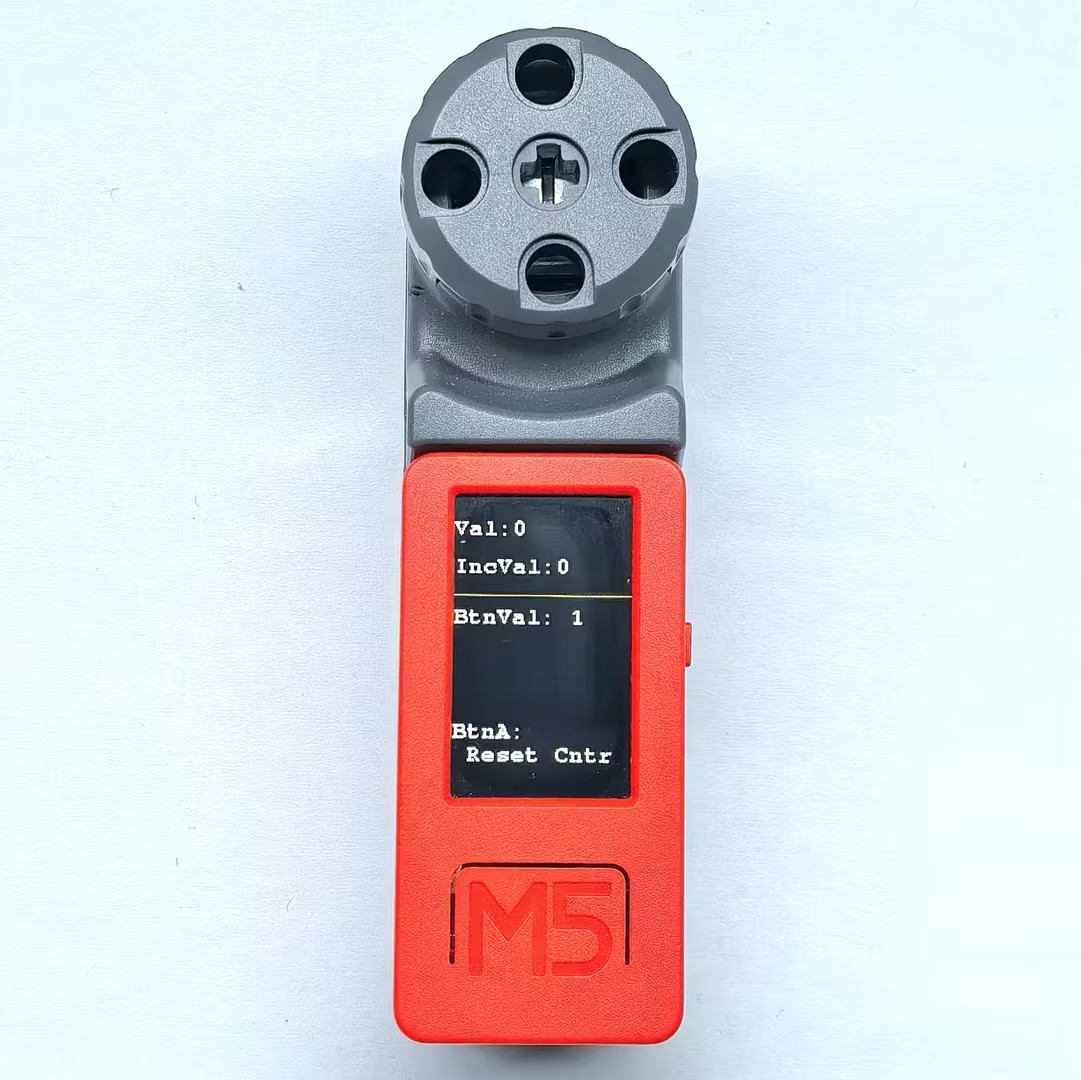
}4. 控制效果
- 设备上电后,旋转旋钮可以改变屏幕上显示的数值,同时背后的 RGB LED 颜色也会随数值变化而变化,按下旋钮按钮可以切换按钮状态显示,按下 StickC Plus 按键 A 可以将旋钮数值重置为 0。