


Arduino Quick Start
2. Devices & Examples
3. M5Unified
4. M5GFX
5. Extensions
Unit
Atomic
Tab5
IoT
Accessories
StackChan Button
API and example programs for StackChan button input functionality.
Note
Include the
M5.update() function in the main loop to read state updates, and minimize blocking operations as much as possible. Otherwise, button state changes may not be captured in a timely manner.Sample Program
Build Requirements
- M5Stack board manager version >= 3.2.2
- Board option = M5CoreS3
- M5Unified library version >= 0.2.11
cpp
1 2 3 4 5 6 7 8 9 10 11 12 13 14 15 16 17 18 19 20 21 22 23
#include <M5Unified.h>
void setup(void)
{
auto cfg = M5.config();
M5.begin(cfg);
M5.Display.setTextColor(RED);
M5.Display.setTextDatum(middle_center);
M5.Display.setFont(&fonts::Orbitron_Light_24);
M5.Display.setTextSize(1);
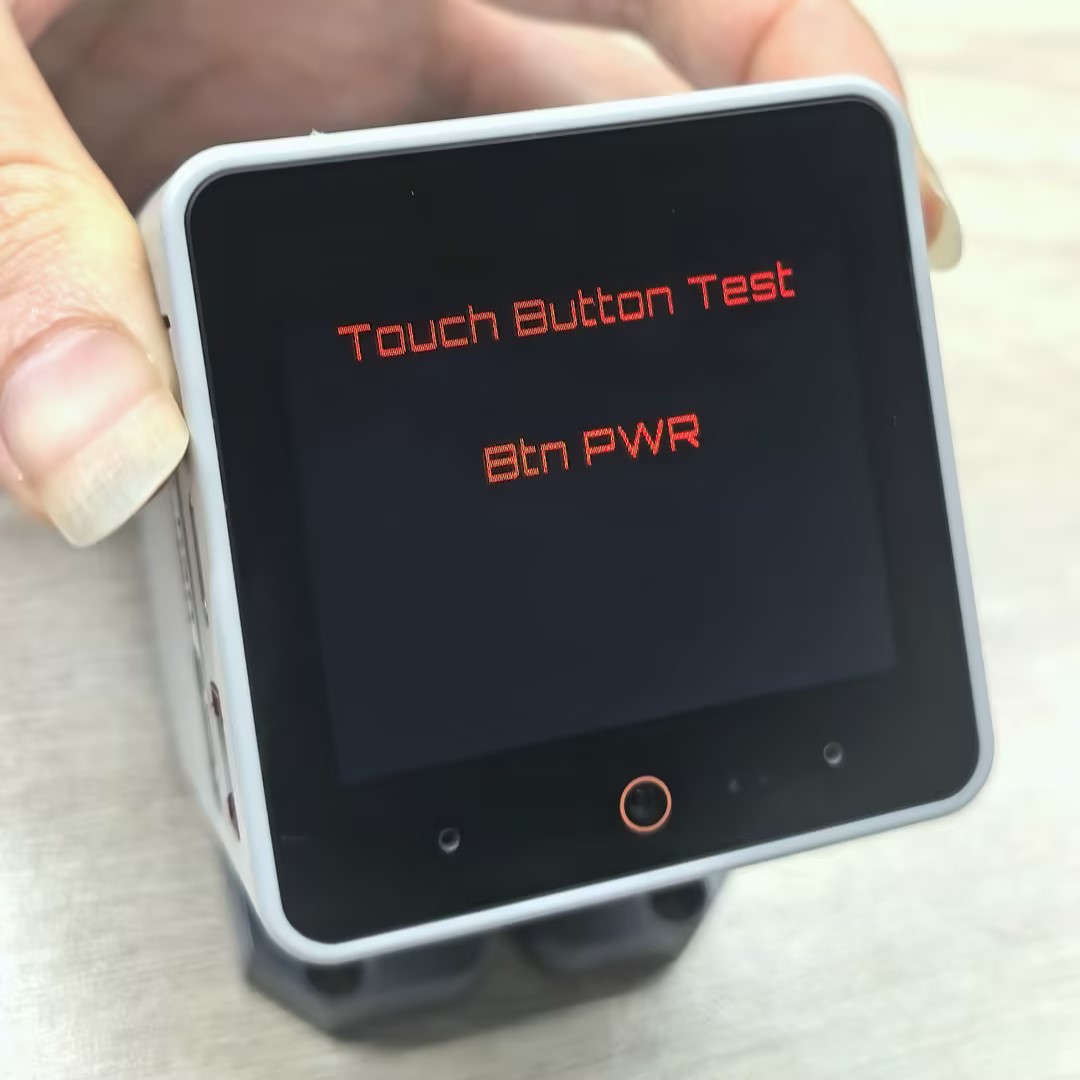
M5.Display.drawString("Touch Button Test", M5.Display.width() / 2, 15);
}
void loop(void)
{
M5.update();
if (M5.BtnPWR.wasClicked()) {
M5.Display.fillRect(0, 40, M5.Display.width(), 70, BLACK);
M5.Display.drawString("Btn PWR", M5.Display.width() / 2, M5.Display.height() / 2 - 30);
}
}After flashing successfully, you can trigger an event by pressing the StackChan power button (BtnPWR). When you click the button, the device will detect the event and display the text "Btn PWR" on the screen.
Notes
The physical button (BtnPWR) state reading on StackChan relies on the power management chip. Currently, only wasClicked and wasHold are available for normal use.