

Arduino入門
2. デバイス&サンプル
3. M5Unified
4. M5GFX
5. 拡張モジュール&サンプル
Unit
Atomic
Tab5
IoT
アクセサリー
Atomic GPS Base v2.0 Arduino チュートリアル
1. 準備作業
- 環境設定:Arduino IDE 入門チュートリアルを参考に IDE のインストールを完了し、実際に使用する開発ボードに応じてボードマネージャーと必要なドライバライブラリをインストールしてください。
- 使用するドライバライブラリ:
注意
M5Stack デバイスに適応したライブラリバージョンを GitHub からダウンロードする必要があります:TinyGPSPlus - M5Stack GitHub。Arduino ライブラリからダウンロードしないでください。(疑問がある場合は、このチュートリアルを参照してください)
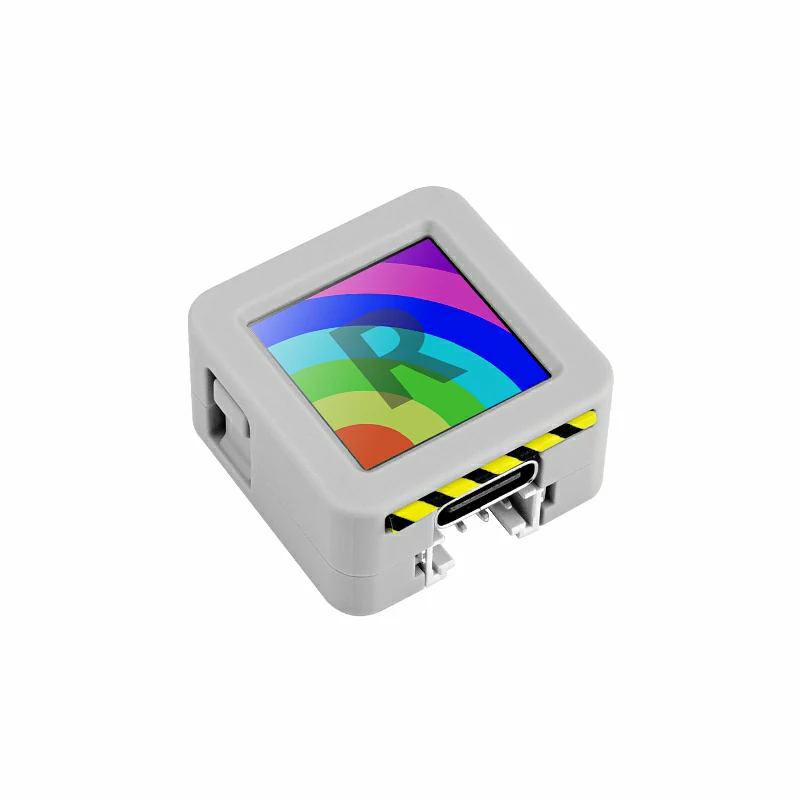
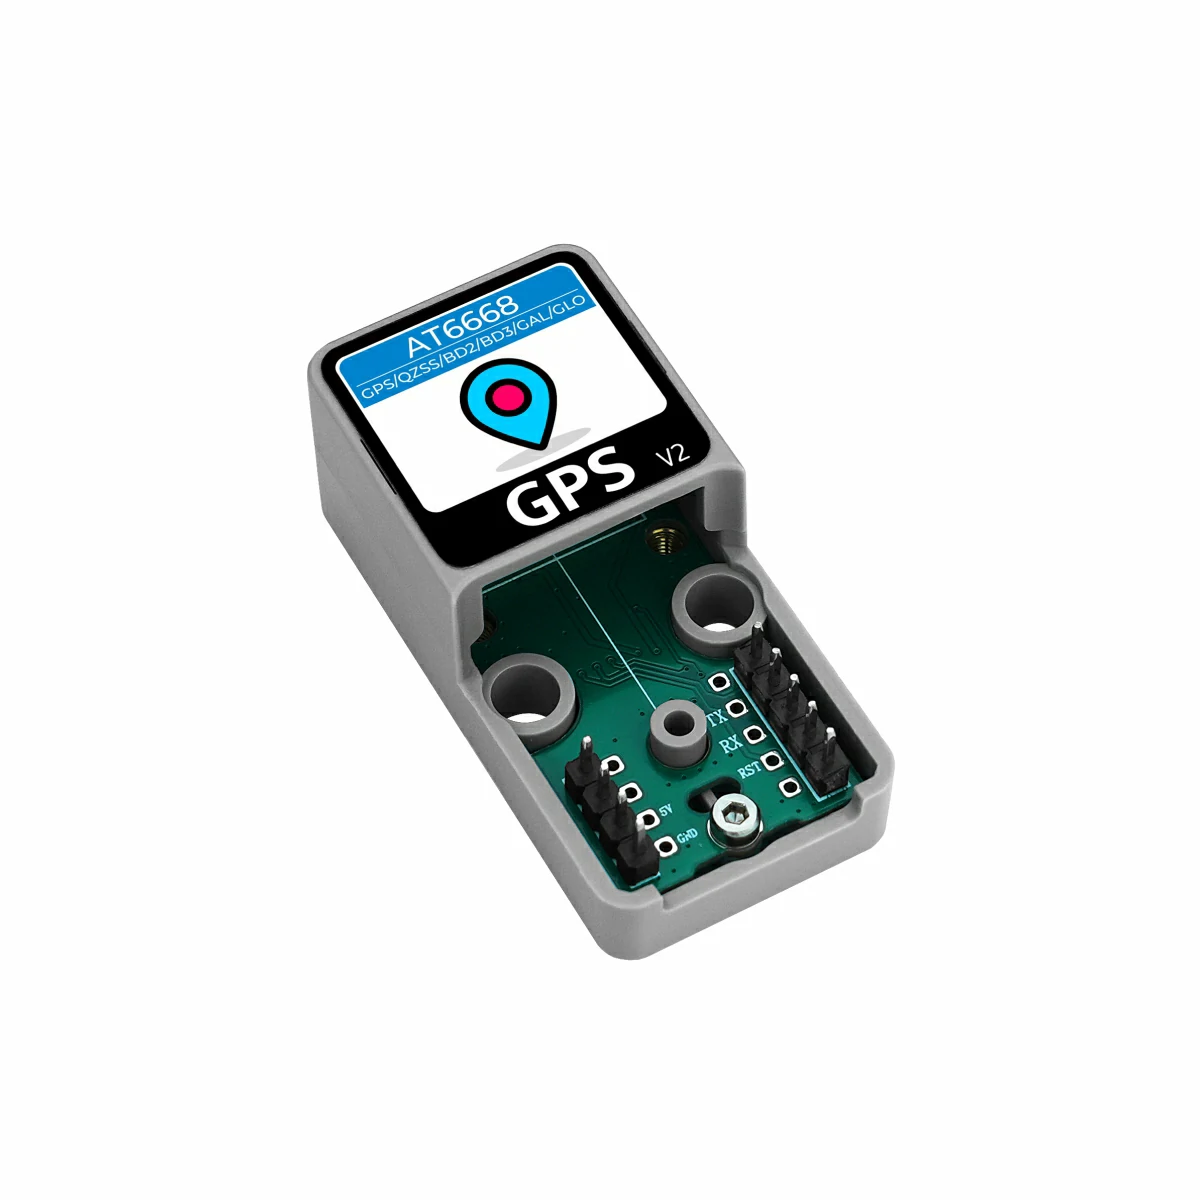
- 使用するハードウェア製品:
2. サンプルプログラム
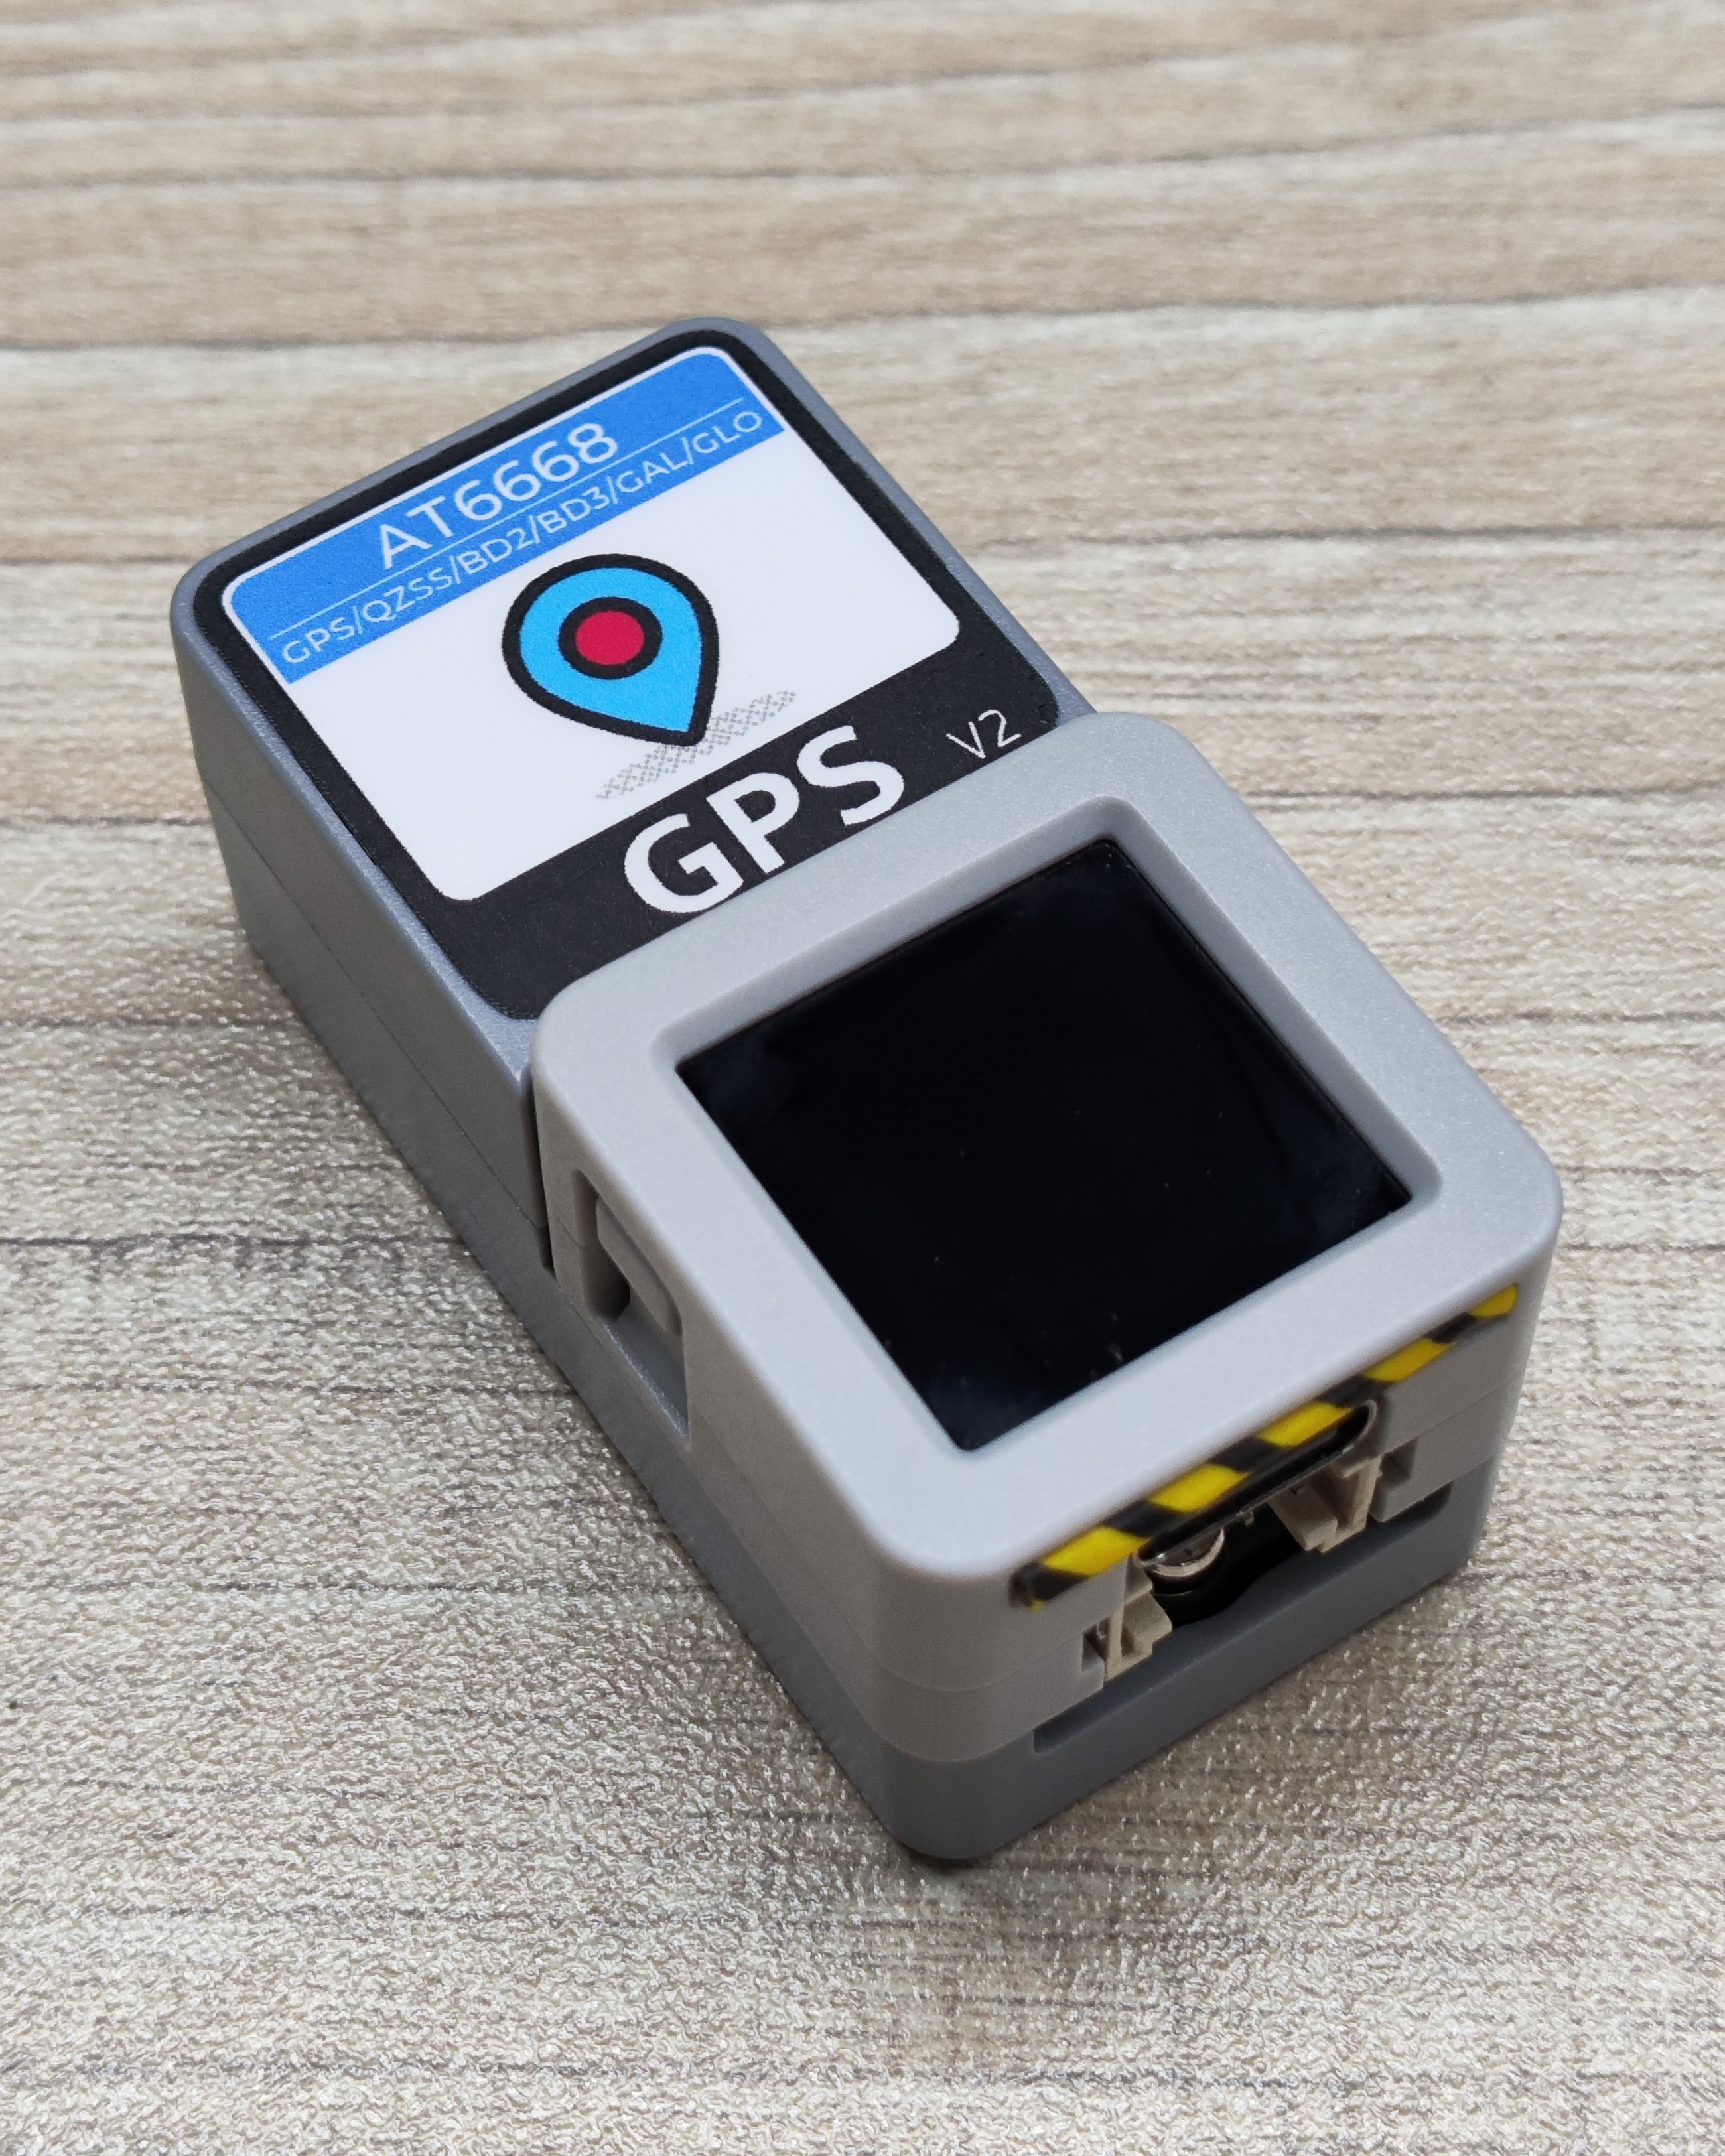
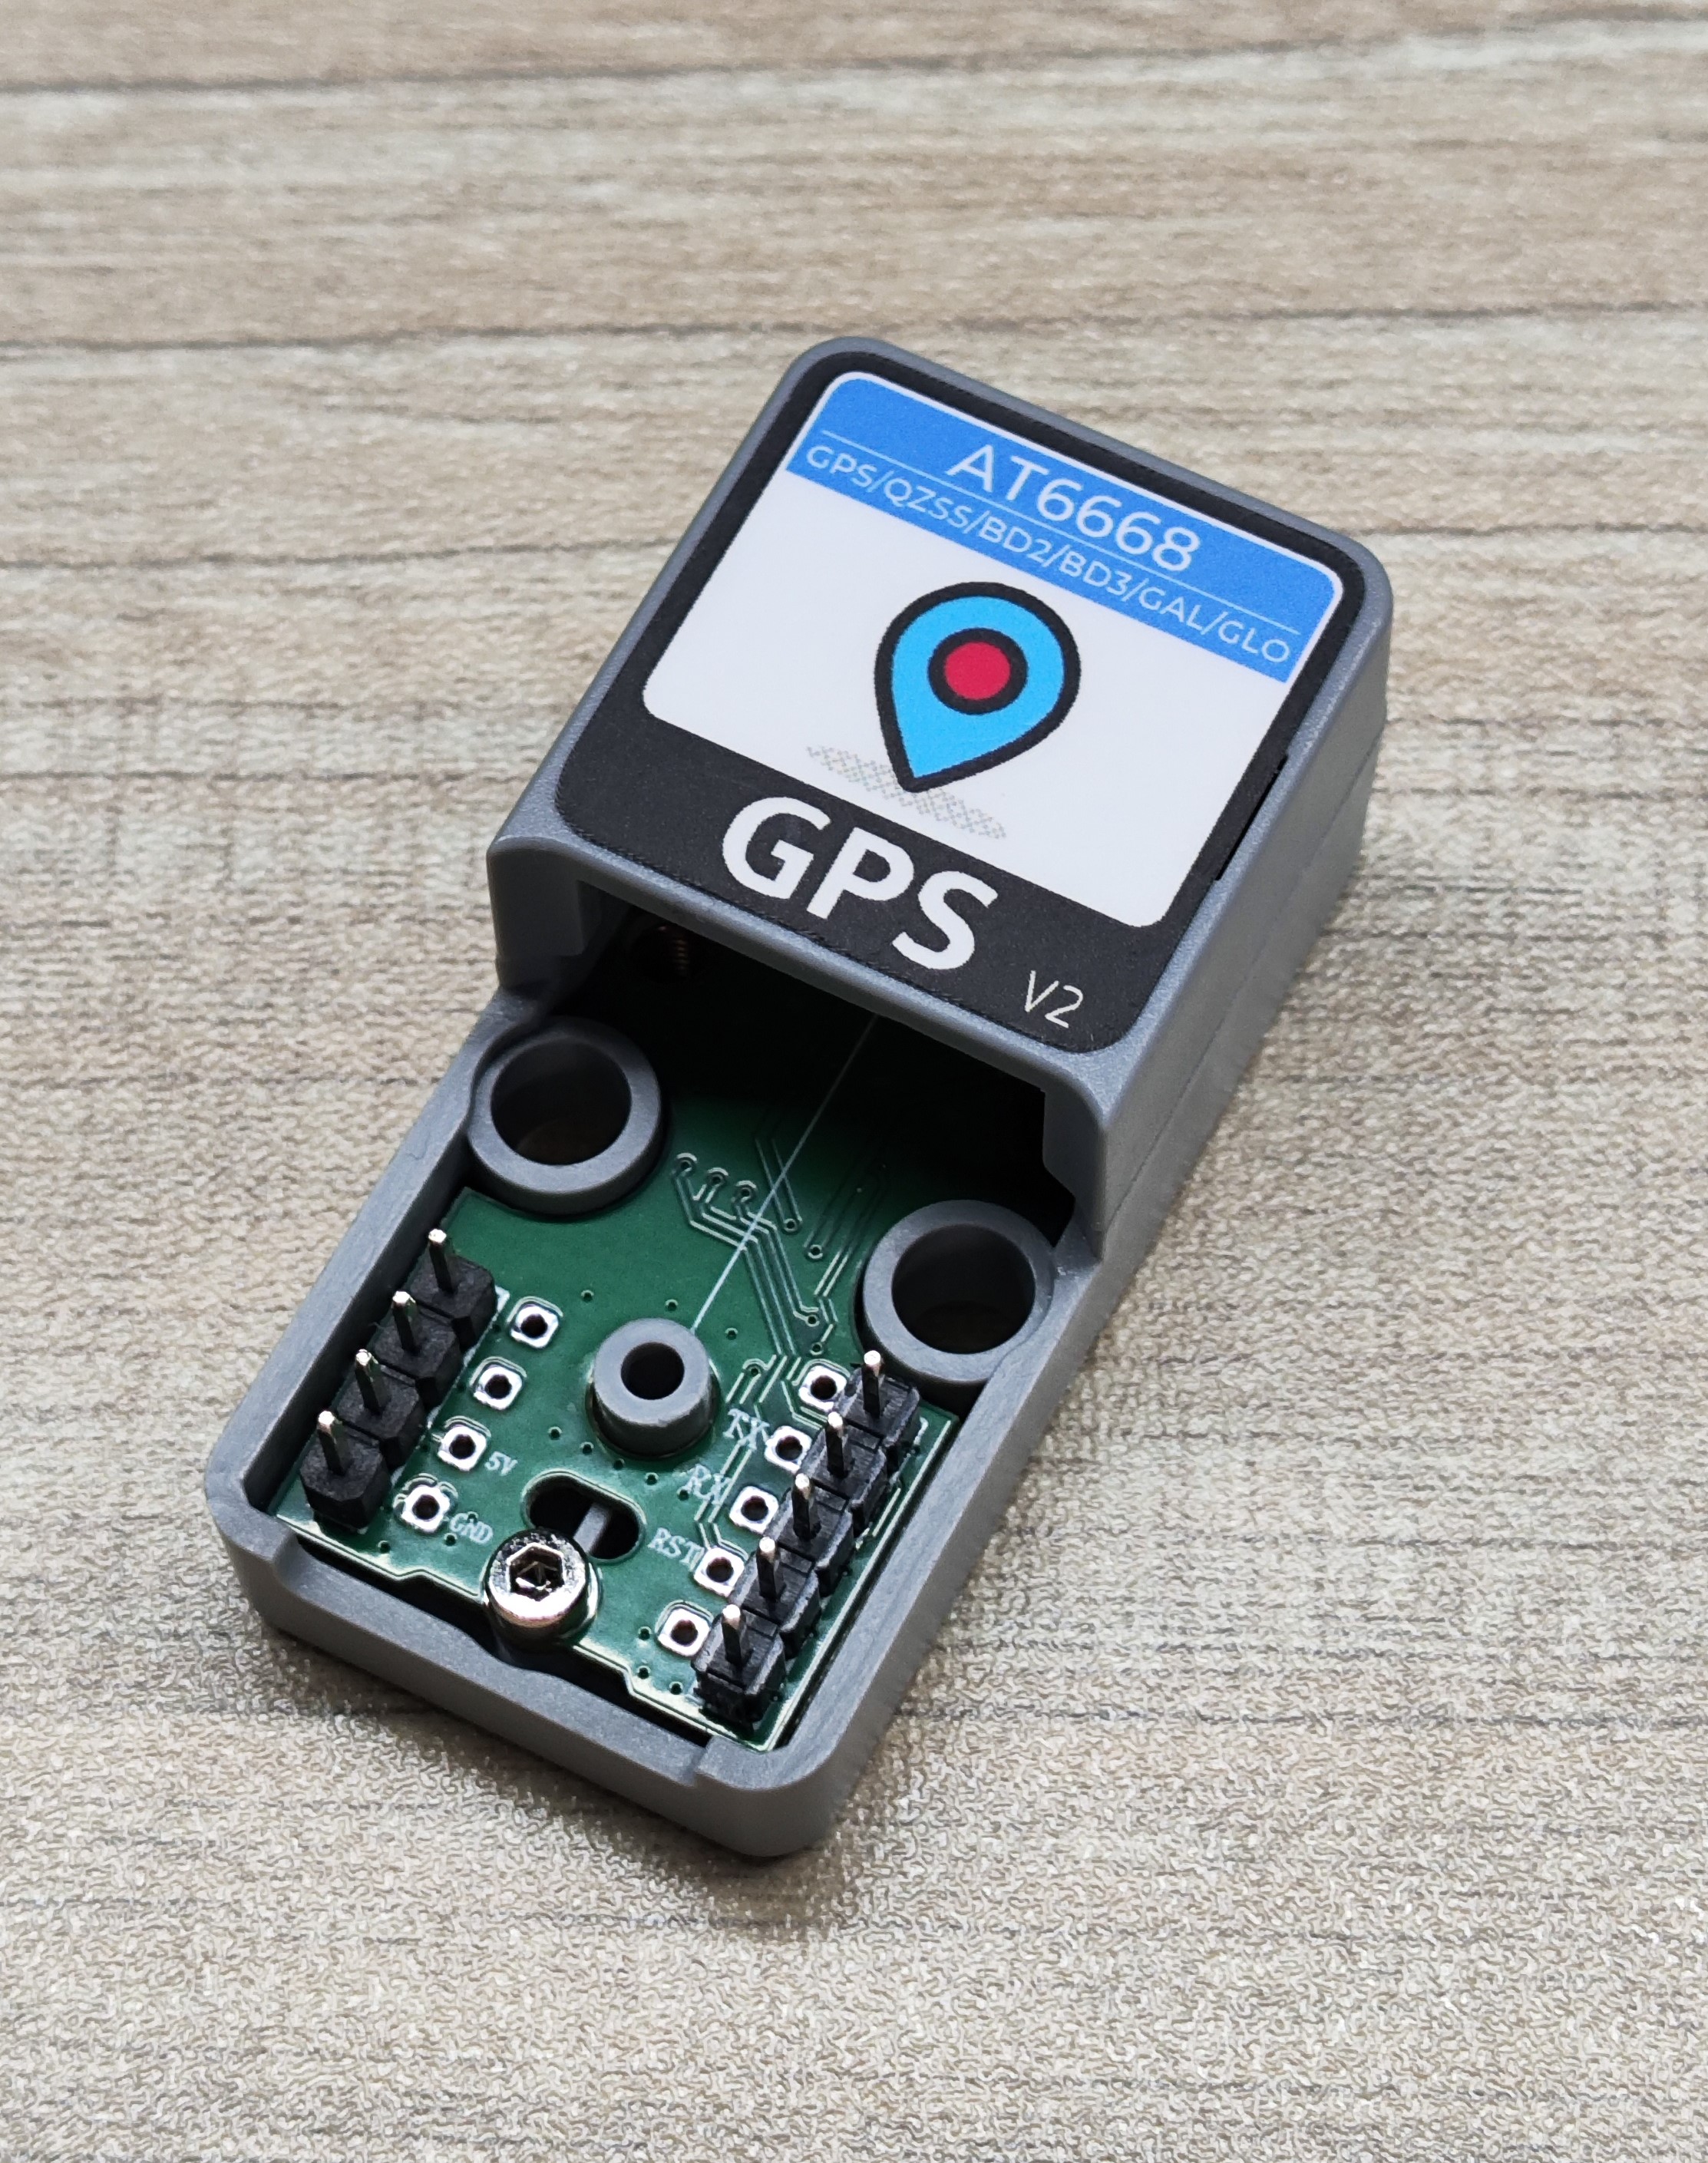
- このチュートリアルで使用するメインコントロールデバイスは AtomS3R で、Atomic GPS Base v2.0 と組み合わせて使用します。この GPS モジュールは UART 通信を採用しており、実際の回路接続に応じてプログラム内のピン定義を修正してください。デバイスをスタックした場合、対応する UART IO は
G5 (RX)とG6 (TX)です。
- この GPS モジュールは GPS、GLONASS、GALILEO、BDS、QZSS などの複数の衛星システムをサポートしています。サンプルプログラムでは衛星システムを変更する関数
setSatelliteMode()を提供しており、デフォルトは GPS システムです。変更後、画面上の接頭辞もそれに応じて変更され、衛星システムを簡単に確認できます。
cpp
1 2 3 4 5 6 7 8 9 10 11 12 13 14 15 16 17 18 19 20 21 22 23 24 25 26 27 28 29 30 31 32 33 34 35 36 37 38 39 40 41 42 43 44 45 46 47 48 49 50 51 52 53 54 55 56 57 58 59 60 61 62 63 64 65 66 67 68 69 70 71 72 73 74 75 76 77 78 79 80 81 82 83 84 85 86 87 88 89 90 91 92 93 94 95 96 97 98 99 100 101 102 103 104 105 106 107 108 109 110 111 112 113 114 115 116 117 118 119 120 121 122 123 124 125 126 127
/*
 *SPDX-FileCopyrightText: 2025 M5Stack Technology CO LTD
 *
 *SPDX-License-Identifier: MIT
 */

#include "M5Unified.h"
#include "M5GFX.h"
#include "MultipleSatellite.h"

static const int RXPin = 5, TXPin = 6;
static const uint32_t GPSBaud = 115200;
MultipleSatellite gps(Serial1, GPSBaud, SERIAL_8N1, RXPin, TXPin);

// Current satellite mode
satellite_mode_t currentMode = SATELLITE_MODE_GPS;

void displayInfo(void);

// Get the Sat prefix
const char* getSatPrefix(satellite_mode_t mode) {
    switch (mode) {
        case SATELLITE_MODE_GPS:      return "GPS_Sat";
        case SATELLITE_MODE_BDS:      return "BDS_Sat";
        case SATELLITE_MODE_GLONASS:  return "GLN_Sat";
        case SATELLITE_MODE_GALILEO:  return "GAL_Sat";
        case SATELLITE_MODE_QZSS:     return "QZS_Sat";
        default:                      return "Unknown";
    }
}

void setup() {
    M5.begin();
    Serial.begin(115200);
    gps.begin();
    gps.setSystemBootMode(BOOT_FACTORY_START);
    Serial.println(F("A simple demonstration of TinyGPSPlus with Atomic GPS Base"));
    Serial.print(F("Testing TinyGPSPlus library v. "));
    Serial.println(TinyGPSPlus::libraryVersion());
    Serial.println();
    String version = gps.getGNSSVersion();
    Serial.printf("GNSS SW=%s\r\n", version.c_str());
    delay(1000);

    // Set the satellite mode and record the current mode
    currentMode = SATELLITE_MODE_GPS;
    gps.setSatelliteMode(currentMode);

    M5.Display.setFont(&fonts::FreeMonoBold9pt7b);
}

void loop() {
    // Update data
    gps.updateGPS();
    displayInfo();
    delay(100);
}

void displayInfo(void) {
    Serial.print(F("Location: "));
    Serial.printf("satellites:%d\n", gps.satellites.value());
    String gps_mode = gps.getSatelliteMode();
    M5.Display.setCursor(110, 0);
    Serial.printf("GNSS Mode:%s\r\n", gps_mode.c_str());

    const char* satPrefix = getSatPrefix(currentMode);

    if (gps.location.isUpdated()) {
        Serial.print(gps.location.lat(), 6);
        Serial.print(F(","));
        Serial.print(gps.location.lng(), 6);
        Serial.print(F("\n"));

        M5.Display.fillRect(0, 0, 128, 128, BLACK);
        M5.Display.setCursor(0, 0);
        M5.Display.printf("%s: \nSat: %d\nLat: %d\nlng: %d\n", satPrefix,
                          (uint8_t)gps.satellites.value(),
                          (uint8_t)gps.location.lat(),
                          (uint8_t)gps.location.lng());
    } else {
        M5.Display.fillRect(0, 0, 128, 128, BLACK);
        M5.Display.setCursor(0, 0);
        M5.Display.printf("%s\n", satPrefix);
        M5.Display.print("Sat: ----\n");
        M5.Display.print("Lat: ----\n");
        M5.Display.print("Lng: ----\n");
        Serial.print(F("INVALID\n"));
    }

    Serial.print(F("Date/Time: "));
    if (gps.date.isUpdated()) {
        Serial.print(gps.date.month());
        Serial.print(F("/"));
        Serial.print(gps.date.day());
        Serial.print(F("/"));
        Serial.print(gps.date.year());
        M5.Display.fillRect(0, 80, 128, 128, BLACK);
        M5.Display.setCursor(0, 80);
        M5.Display.printf("%d/%d/%d\n", gps.date.month(),
                          gps.date.day(), gps.date.year());
    } else {
        Serial.print(F("INVALID"));
    }

    Serial.print(F(" "));
    if (gps.time.isUpdated()) {
        if (gps.time.hour() < 10) Serial.print(F("0"));
        Serial.print(gps.time.hour());
        Serial.print(F(":"));
        if (gps.time.minute() < 10) Serial.print(F("0"));
        Serial.print(gps.time.minute());
        Serial.print(F(":"));
        if (gps.time.second() < 10) Serial.print(F("0"));
        Serial.print(gps.time.second());
        Serial.print(F("."));
        if (gps.time.centisecond() < 10) Serial.print(F("0"));
        Serial.print(gps.time.centisecond());
        M5.Display.fillRect(0, 128, 128, 60, BLACK);
        M5.Display.setCursor(0, 96);
        M5.Display.printf("Time: \n%d:%d:%d.%d", gps.time.hour(), gps.time.minute(),
                          gps.time.second(),gps.time.centisecond());
    } else {
        Serial.print(F("INVALID"));
    }
    Serial.println();
    delay(1000);
}3. コンパイルとアップロード
ダウンロードモード:プログラムをアップロードする前に、デバイスをダウンロードモードにする必要があります。この手順はメインコントロールデバイスによって異なる場合があります。詳細は、Arduino IDE 入門チュートリアルページ下部のデバイスプログラムダウンロードチュートリアルリストを参照してください。
AtomS3R の場合:リセットボタンを約 2 秒間長押しし、内部の緑色 LED が点灯したら離します。これでデバイスはダウンロードモードに入り、プログラミングを待機します。
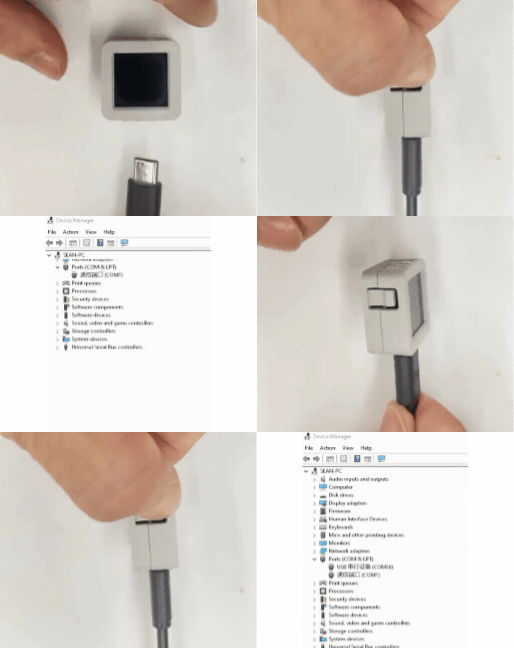
- デバイスポートを選択し、Arduino IDE の左上にあるアップロードボタンをクリックします。プログラムのコンパイルが完了し、デバイスにアップロードされるのを待ちます。

4. 衛星測位
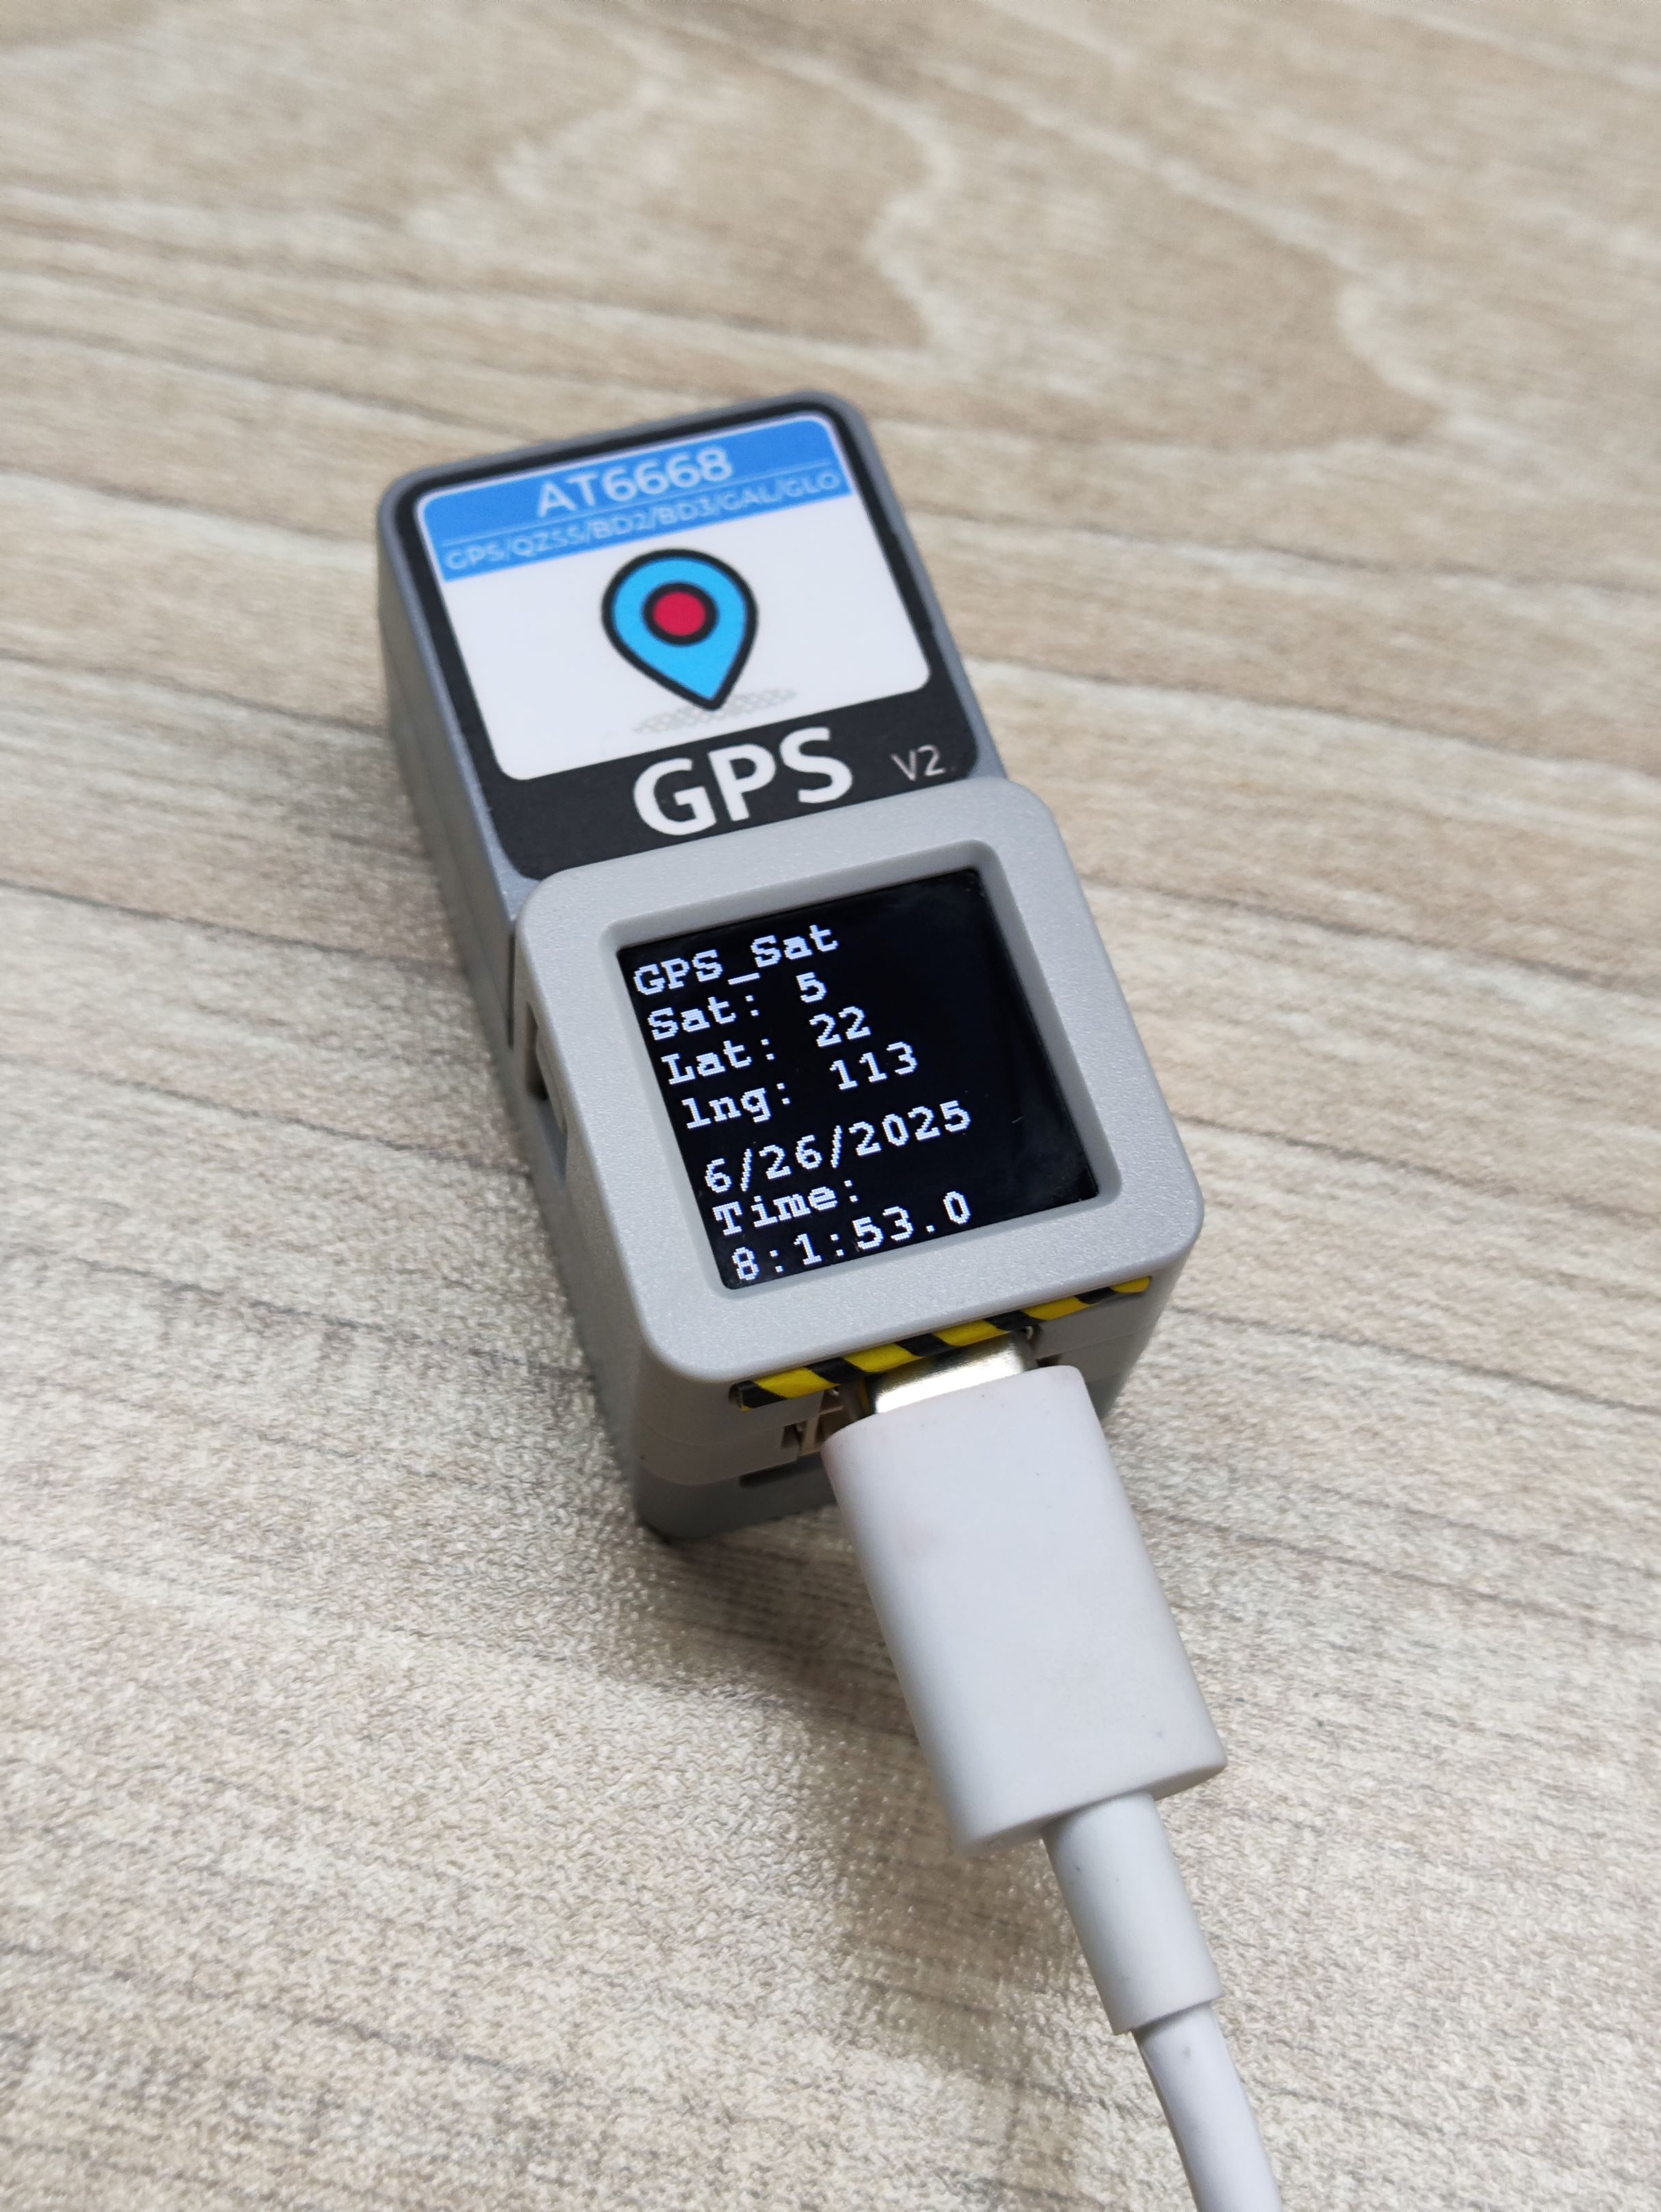
このデバイスには内蔵アンテナが搭載されています。アンテナを窓際や屋外の開けた場所に設置し、デバイスが衛星を検索して座標を取得するのを待ちます。(この製品には外部アンテナが付属していないため、運動場や屋上などの開けた屋外エリアで使用することを推奨します。初回使用時には数分程度の長い待ち時間がかかる場合がありますので、気長にお待ちください)
Page Tools