

Arduino Quick Start
2. Devices & Examples
3. M5Unified
4. M5GFX
5. Extensions
Unit
Module
Atomic
Tab5
IoT
Accessories
Faces Gamepad3 Arduino Tutorial
1. Preparation
- Environment Setup: Follow the Arduino IDE Getting Started Tutorial to install the IDE, then install the board manager package and driver libraries for the development board you are using.
- Required Driver Libraries:
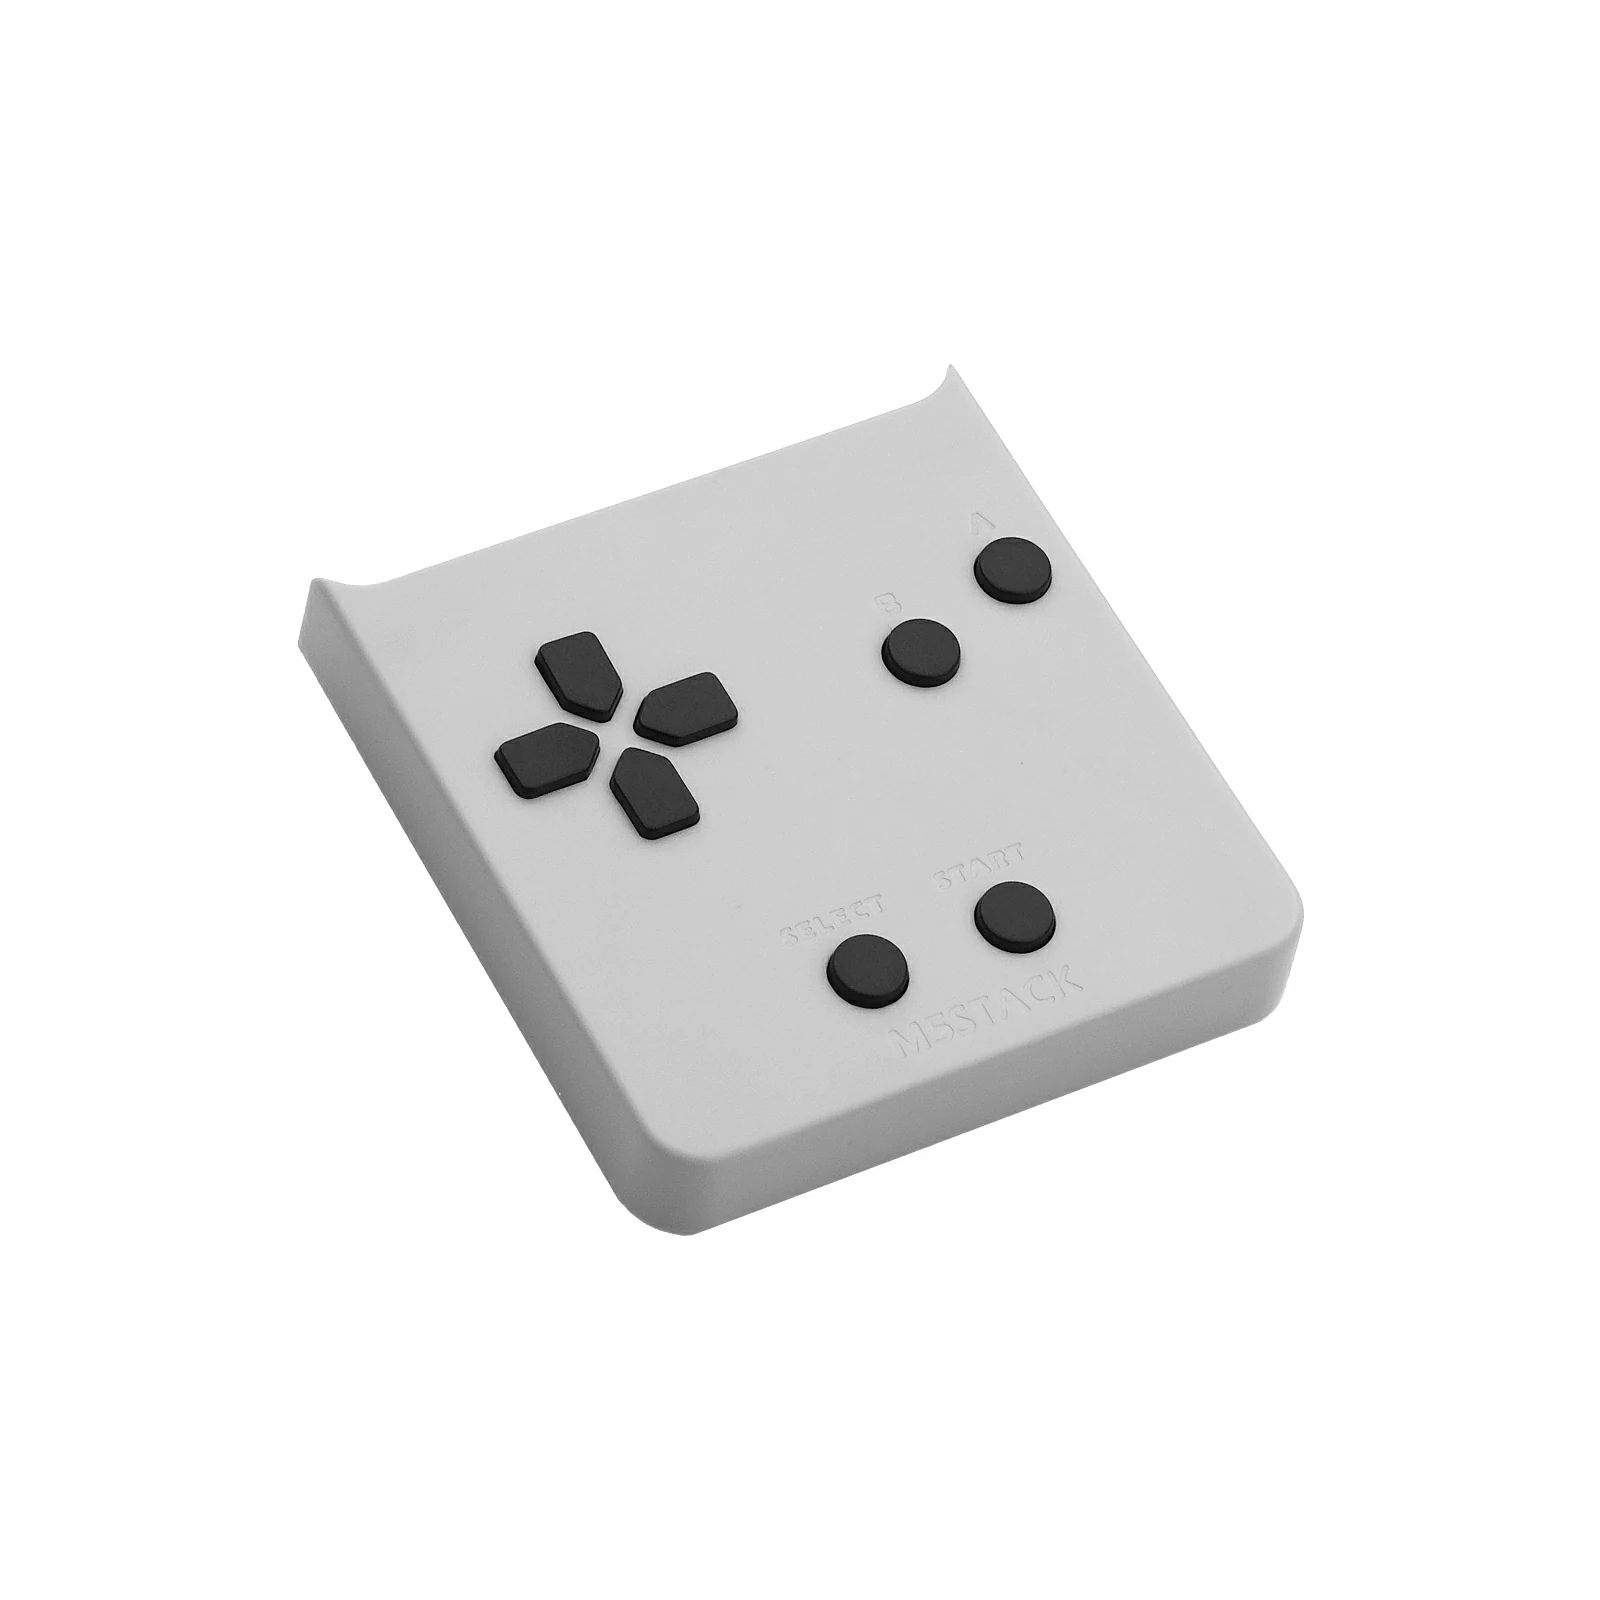
- Required Hardware:

2. Notes
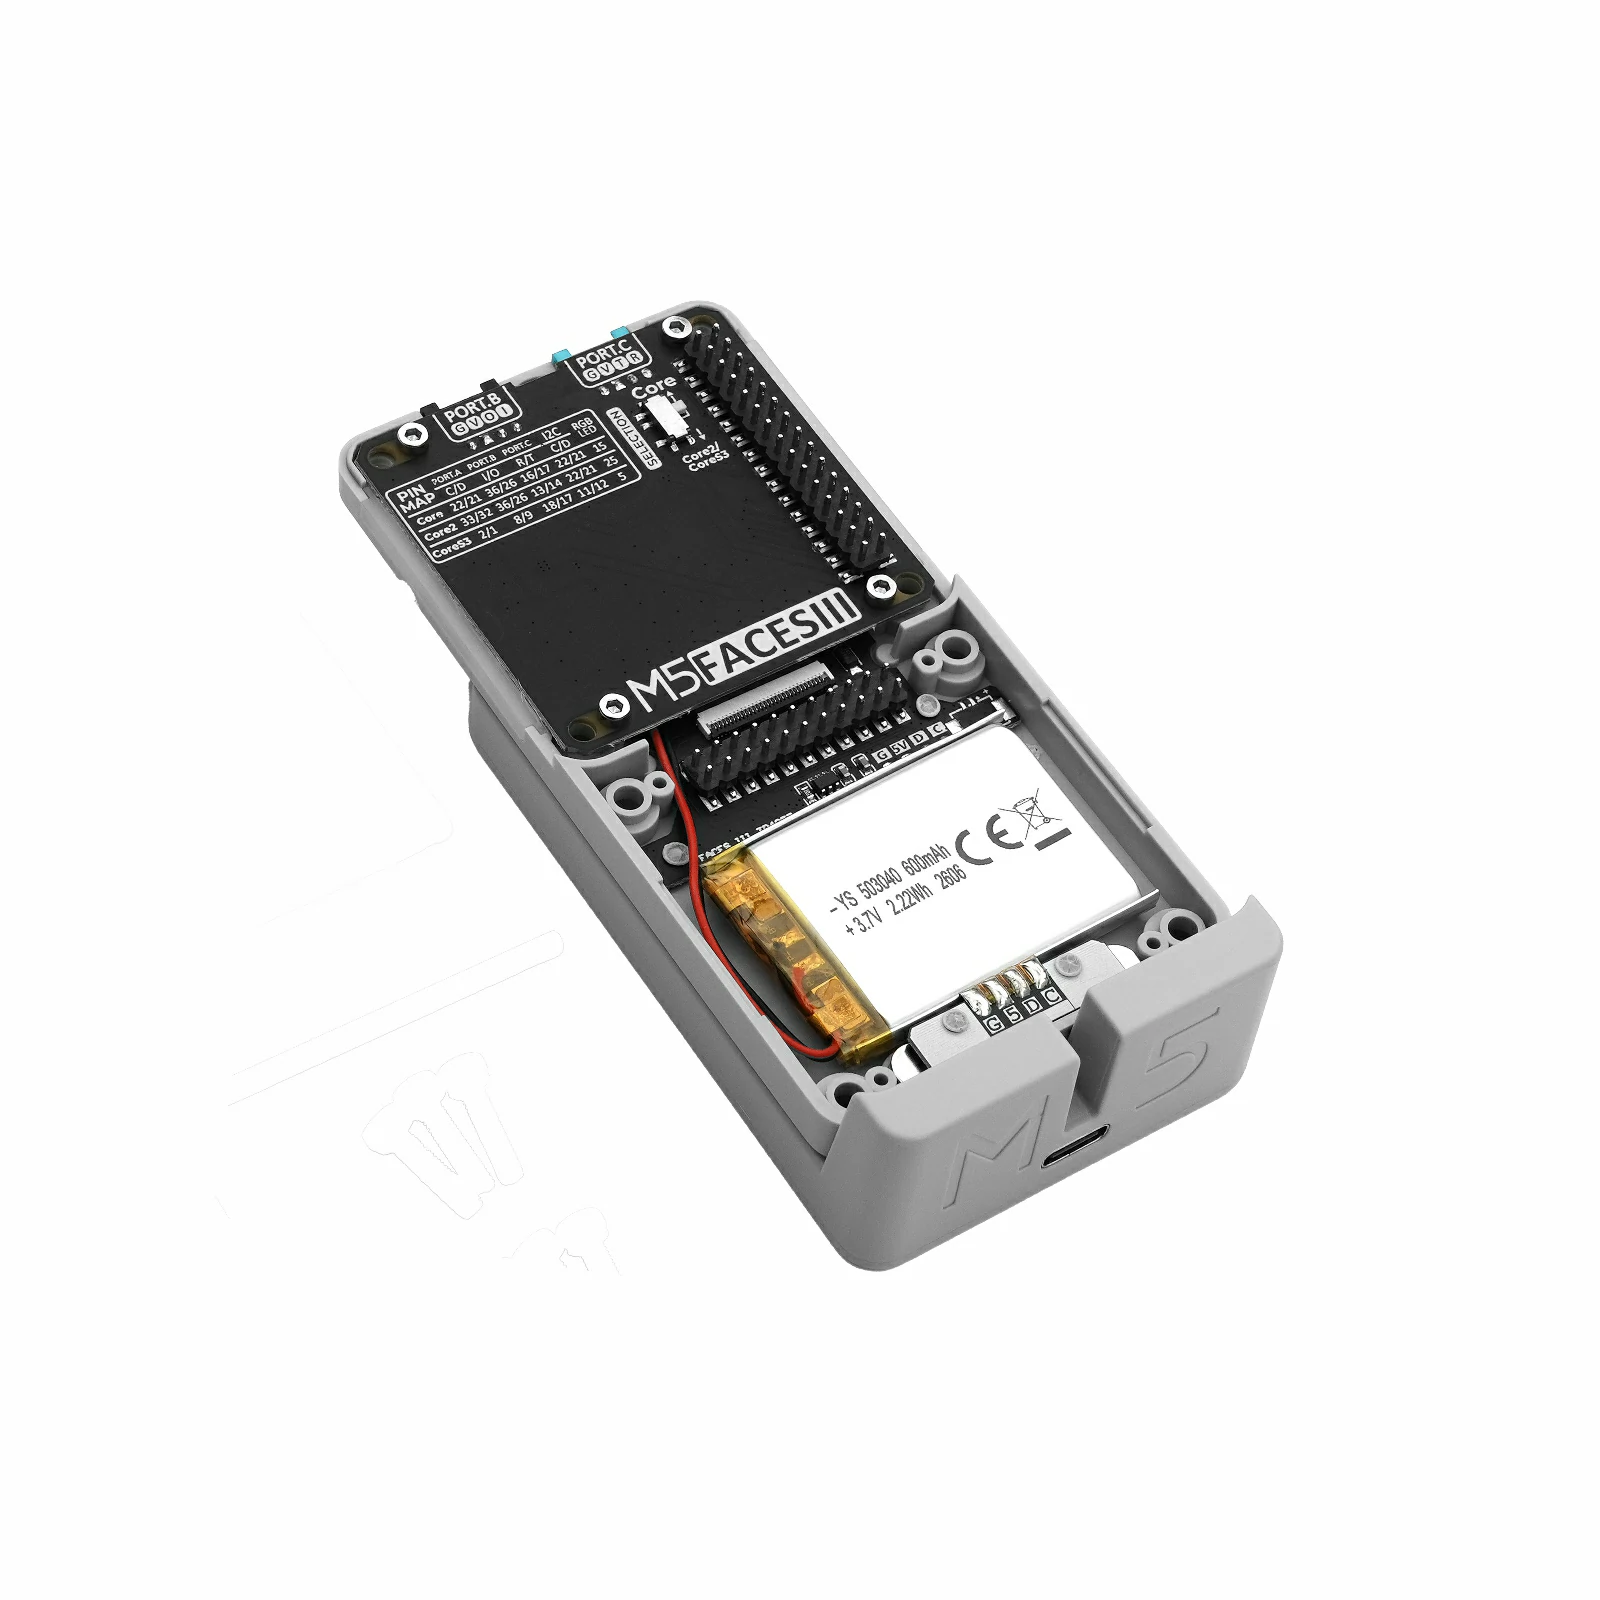
Pin Compatibility
Faces Gamepad3 connects to the host device through the Faces Bottom3 M5-Bus. M5-Bus pin definitions vary between host devices, so check the pin compatibility table below and update the example for your actual pin connections before use.
3. Example Program
- This tutorial uses a CoreS3 as the host device. Insert Faces Gamepad3 into the panel connector on Faces Bottom3, then connect Faces Bottom3 to CoreS3 through M5-Bus. Faces Gamepad3 communicates with the host over I2C; after connection, the I2C IO pins are
G12 (SDA)andG11 (SCL), and the interrupt pin isG10 (INT).
cpp
1 2 3 4 5 6 7 8 9 10 11 12 13 14 15 16 17 18 19 20 21 22 23 24 25 26 27 28 29 30 31 32 33 34 35 36 37 38 39 40 41 42 43 44 45 46 47 48 49 50 51 52 53 54 55 56 57 58 59 60 61 62 63 64 65 66 67 68 69 70 71 72 73 74 75 76 77 78 79 80 81 82 83 84 85 86 87 88 89 90 91 92 93 94 95 96 97 98 99 100 101 102 103 104
#include <Arduino.h>
#include <M5Faces.h>
#include <M5Unified.h>

namespace {

M5Faces_Gamepad3 gamepad;

void draw_round_button(int x, int y, int w, int h, const char* label, bool pressed)
{
    const uint16_t fill = pressed ? TFT_GREEN : TFT_DARKGREY;
    const uint16_t text = pressed ? TFT_BLACK : TFT_WHITE;
    M5.Display.fillRoundRect(x, y, w, h, 8, fill);
    M5.Display.drawRoundRect(x, y, w, h, 8, TFT_WHITE);
    M5.Display.setTextColor(text, fill);
    M5.Display.drawString(label, x + w / 2, y + h / 2);
}

void draw_circle_button(int x, int y, int radius, const char* label, bool pressed)
{
    const uint16_t fill = pressed ? TFT_GREEN : TFT_DARKGREY;
    const uint16_t text = pressed ? TFT_BLACK : TFT_WHITE;
    M5.Display.fillCircle(x, y, radius, fill);
    M5.Display.drawCircle(x, y, radius, TFT_WHITE);
    M5.Display.setTextColor(text, fill);
    M5.Display.drawString(label, x, y);
}

void draw_gamepad_page()
{
    M5.Display.fillScreen(TFT_BLACK);
    M5.Display.setTextDatum(middle_center);
    M5.Display.setTextColor(TFT_GREEN, TFT_BLACK);
    M5.Display.drawString("Faces Gamepad3", M5.Display.width() / 2, 16);

    // Symmetric D-pad layout.
    draw_round_button(60, 51, 40, 34, "^", gamepad.isButtonPressed(GAMEPAD3_BTN_UP));
    draw_round_button(20, 91, 40, 34, "<", gamepad.isButtonPressed(GAMEPAD3_BTN_LEFT));
    draw_round_button(100, 91, 40, 34, ">", gamepad.isButtonPressed(GAMEPAD3_BTN_RIGHT));
    draw_round_button(60, 131, 40, 34, "v", gamepad.isButtonPressed(GAMEPAD3_BTN_DOWN));

    // Action buttons on the right.
    draw_circle_button(246, 70, 22, "A", gamepad.isButtonPressed(GAMEPAD3_BTN_A));
    draw_circle_button(204, 108, 22, "B", gamepad.isButtonPressed(GAMEPAD3_BTN_B));

    // SELECT and START are centered as a pair.
    draw_round_button(60, 176, 90, 34, "SELECT", gamepad.isButtonPressed(GAMEPAD3_BTN_SELECT));
    draw_round_button(170, 176, 90, 34, "START", gamepad.isButtonPressed(GAMEPAD3_BTN_START));
}

void draw_error()
{
    M5.Display.fillScreen(TFT_BLACK);
    M5.Display.setTextDatum(middle_center);
    M5.Display.setTextColor(TFT_GREEN, TFT_BLACK);
    M5.Display.drawString("Faces Gamepad3", M5.Display.width() / 2, 80);
    M5.Display.setTextColor(TFT_RED, TFT_BLACK);
    M5.Display.drawString("init failed", M5.Display.width() / 2, 120);
}

}  // namespace

void setup()
{
    Serial.begin(115200);

    auto config           = M5.config();
    config.fallback_board = m5::board_t::board_M5StackCoreS3;
    M5.begin(config);

    if (!M5.In_I2C.isEnabled()) {
        const int sda = M5.getPin(m5::pin_name_t::in_i2c_sda);
        const int scl = M5.getPin(m5::pin_name_t::in_i2c_scl);
        M5.In_I2C.begin(I2C_NUM_1, sda, scl);
    }

    M5.Display.setRotation(1);
    M5.Display.setTextColor(TFT_GREEN, TFT_BLACK);
    M5.Display.setFont(&fonts::FreeMonoBold12pt7b);
    M5.Display.setTextSize(1);
    M5.Display.setTextWrap(false);
    M5.Display.setTextScroll(false);

    if (gamepad.begin(&M5.In_I2C) != M5FACES_OK) {
        Serial.println("Gamepad3 init failed");
        draw_error();
        return;
    }

    Serial.println("Gamepad3 ready");
    draw_gamepad_page();
}

void loop()
{
    if (gamepad.update()) {
        const uint8_t raw = gamepad.getState().raw;
        char buttons[64]  = {};
        M5Faces_Gamepad3::gamepad3_code_parse(raw, buttons, sizeof(buttons));
        Serial.printf("Gamepad3 raw=0x%02X buttons=%s\n", raw, buttons[0] ? buttons : "NONE");
        draw_gamepad_page();
    }
    delay(5);
}4. Compile and Upload
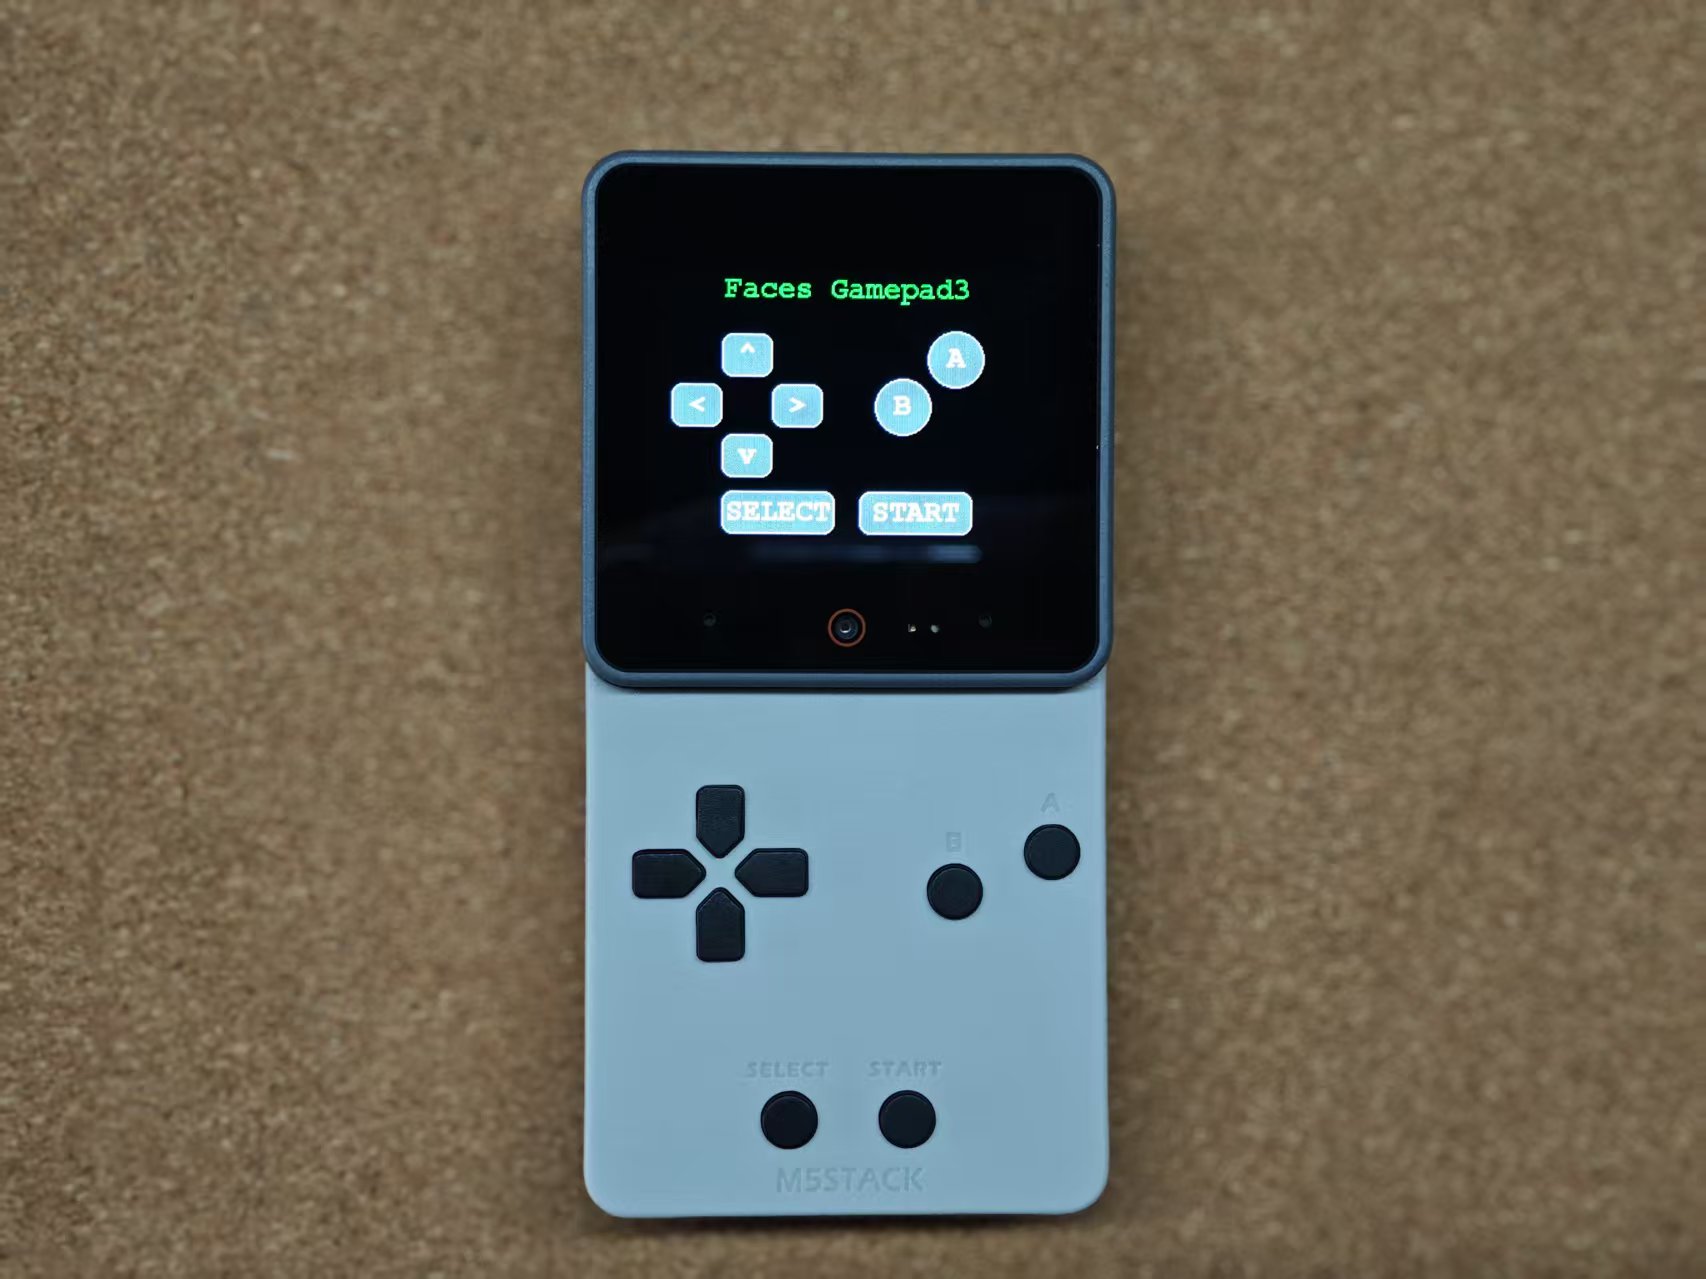
In Arduino IDE, select the board and port for CoreS3, then click "Verify" to compile the program. After compilation succeeds, click "Upload" to flash it to CoreS3. When the upload is complete, open the Serial Monitor to view the output.
5. Reference Links
Page Tools