

Arduino入門
2. デバイス&サンプル
3. M5Unified
4. M5GFX
5. 拡張モジュール&サンプル
Unit
Module
Atomic
Tab5
IoT
アクセサリー
Faces Keyboard3 Arduino チュートリアル
1. 準備
- 環境設定:Arduino IDE 入門チュートリアルを参照して IDE をインストールし、使用する開発ボードに対応したボードマネージャーとドライバライブラリをインストールします。
- 使用するドライバライブラリ:
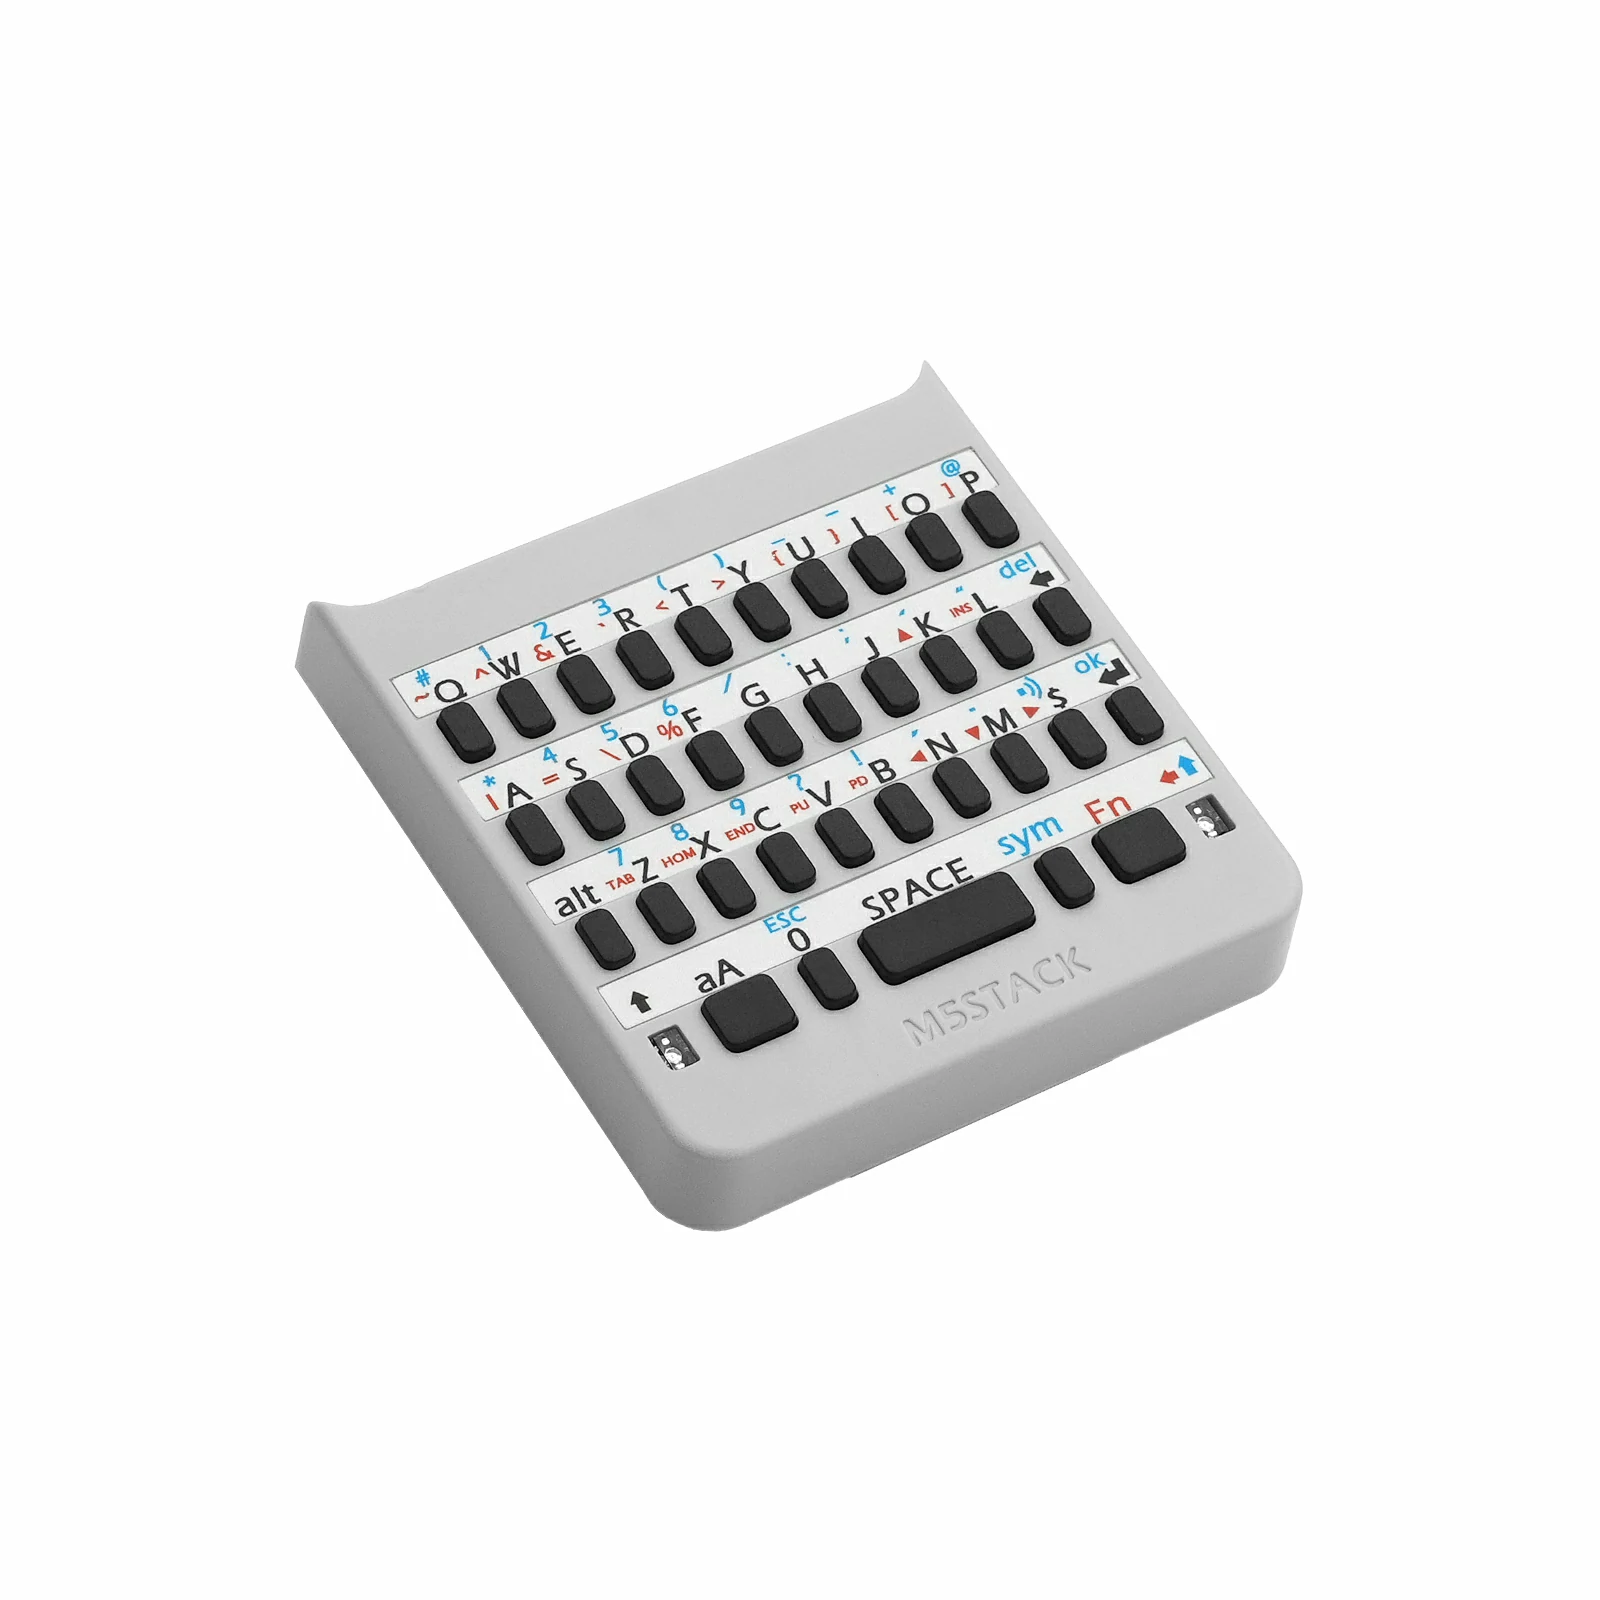
- 使用するハードウェア製品:

2. 注意事項
ピン互換性
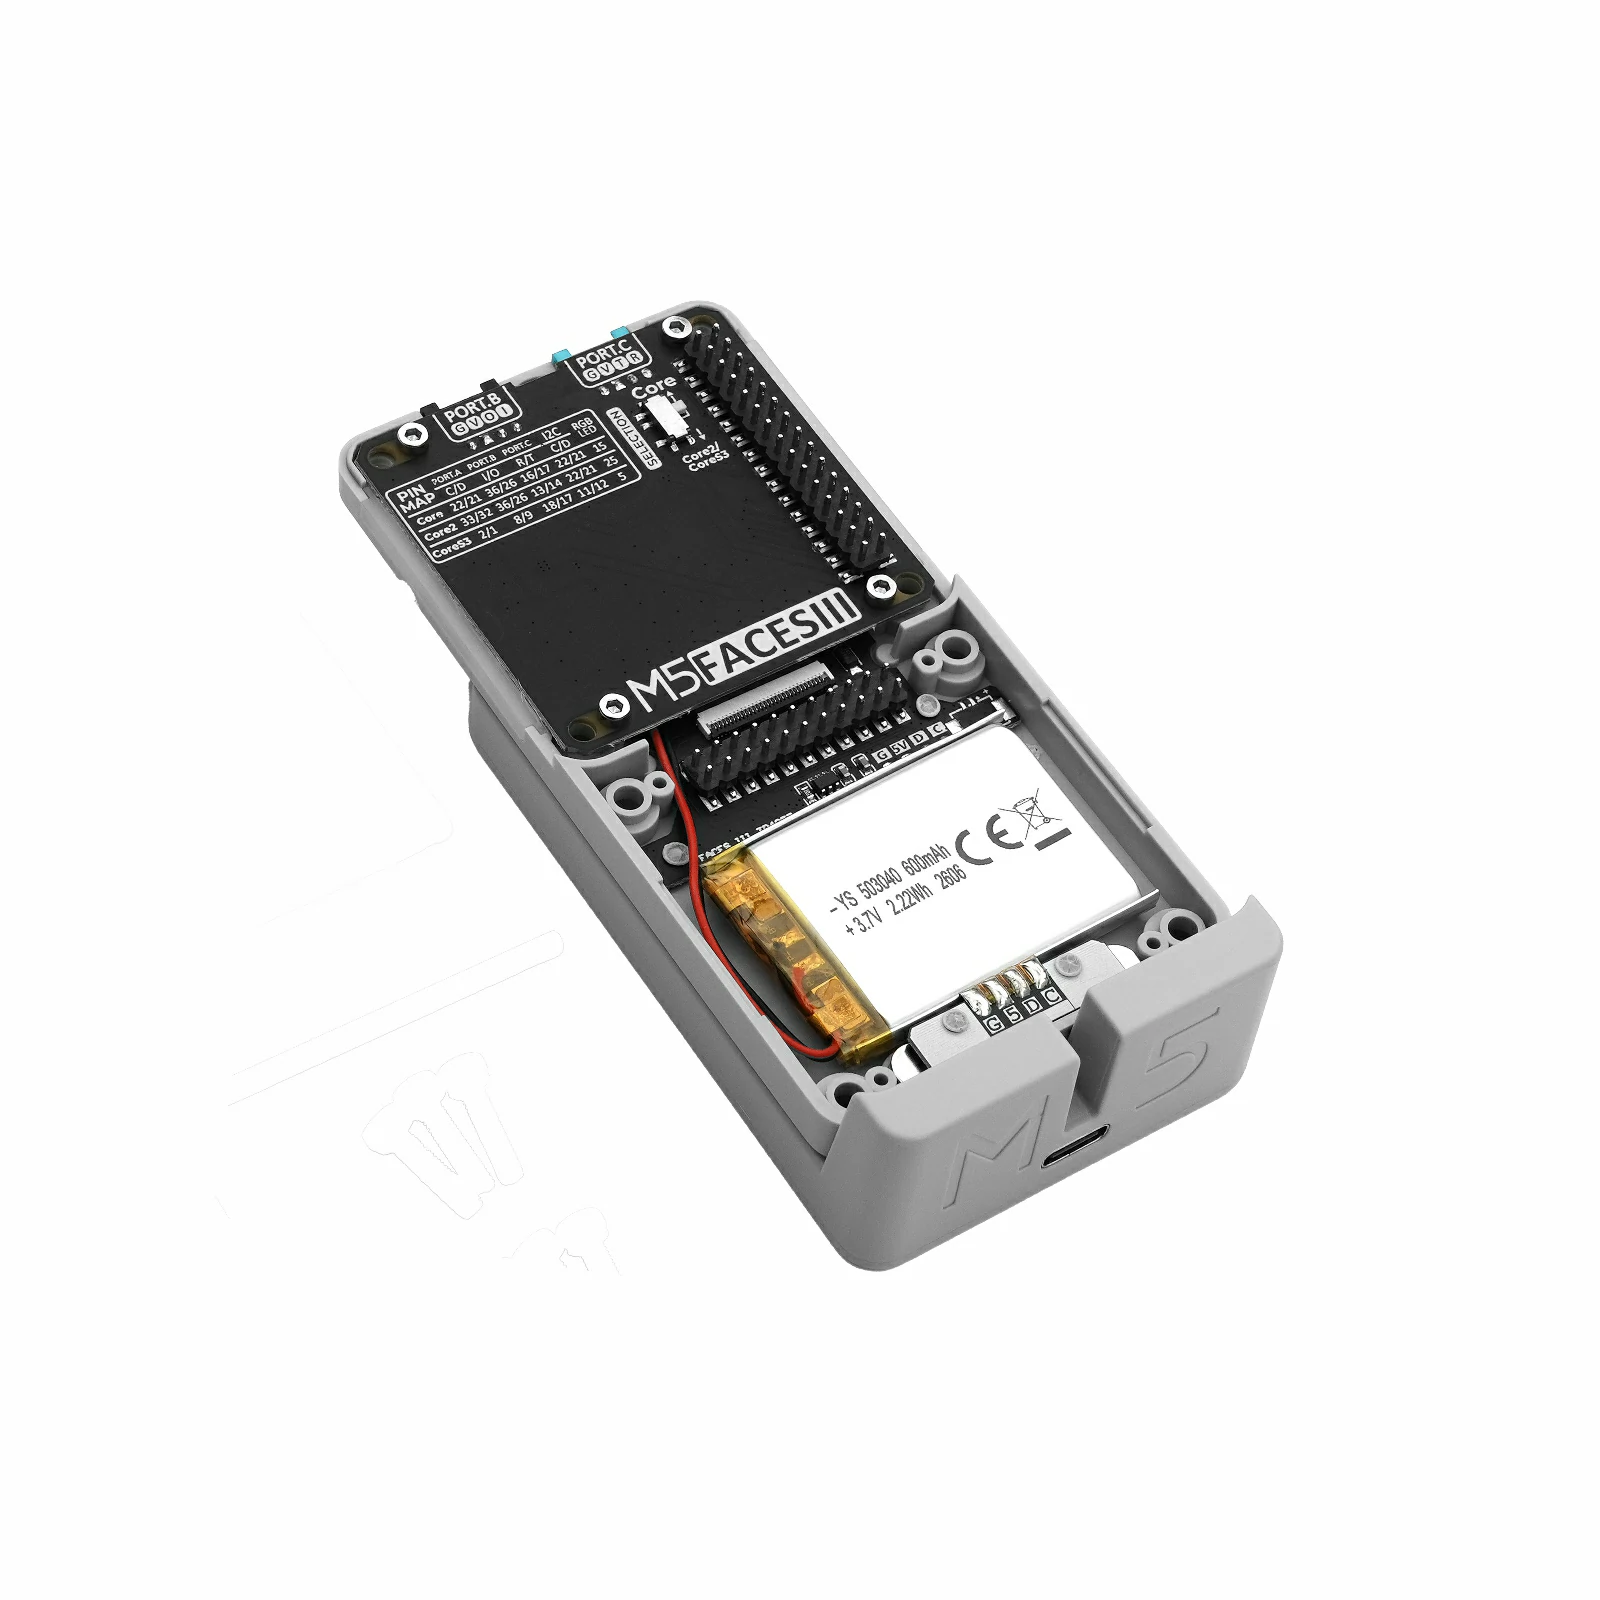
Faces Keyboard3 は Faces Bottom3 の M5-Bus を介してホストデバイスに接続します。ホストデバイスごとに M5-Bus のピン定義が異なるため、使用前に下のピン互換性表を確認し、実際のピン接続に合わせてサンプルプログラムを変更してください。
3. サンプルプログラム
- このチュートリアルでは CoreS3 をホストデバイスとして使用します。Faces Keyboard3 を Faces Bottom3 のパネルコネクタに取り付け、M5-Bus で Faces Bottom3 と CoreS3 を接続します。Faces Keyboard3 は I2C でホストデバイスと通信し、接続後の I2C IO は
G12 (SDA)とG11 (SCL)、割り込みピンはG10 (INT)です。
cpp
1 2 3 4 5 6 7 8 9 10 11 12 13 14 15 16 17 18 19 20 21 22 23 24 25 26 27 28 29 30 31 32 33 34 35 36 37 38 39 40 41 42 43 44 45 46 47 48 49 50 51 52 53 54 55 56 57 58 59 60 61 62 63 64 65 66 67 68 69 70 71 72 73 74
#include <Arduino.h>
#include <M5Faces.h>
#include <M5Unified.h>

M5Faces_Keyboard3 faces;
String screen_text;

void redraw_screen()
{
    M5.Display.fillScreen(TFT_BLACK);
    M5.Display.setCursor(0, 0);
    M5.Display.print(">");
    M5.Display.print(screen_text);
}

void setup()
{
    Serial.begin(115200);
    screen_text.reserve(256);

    auto config           = M5.config();
    config.fallback_board = m5::board_t::board_M5StackCoreS3;
    M5.begin(config);

    const int i2c_sda = M5.getPin(m5::pin_name_t::in_i2c_sda);
    const int i2c_scl = M5.getPin(m5::pin_name_t::in_i2c_scl);
    if (!M5.In_I2C.isEnabled()) {
        M5.In_I2C.begin(I2C_NUM_1, i2c_sda, i2c_scl);
    }

    M5.Display.setRotation(1);
    M5.Display.setTextColor(TFT_GREEN, TFT_BLACK);
    M5.Display.setFont(&fonts::FreeMonoBold12pt7b);
    M5.Display.setTextSize(1);
    M5.Display.setTextWrap(true);
    M5.Display.setTextScroll(true);
    redraw_screen();

    if (faces.begin(&M5.In_I2C) != M5FACES_OK) {
        Serial.println("Keyboard3 init failed");
        M5.Display.print(" init failed");
        return;
    }

    Serial.println("Keyboard3 ready");
}

void loop()
{
    if (faces.update()) {
        const uint8_t raw = faces.getKey();
        const char value  = faces.getChar();
        const char* name  = M5Faces_Keyboard3::keyboard3_code_parse(raw);

        if (faces.isPrintable()) {
            Serial.printf("raw=0x%02X key='%c'\n", raw, value);
            screen_text += value;
            redraw_screen();
        } else {
            Serial.printf("raw=0x%02X key=%s\n", raw, name ? name : "UNKNOWN");
            if ((value == '\b' || raw == KEYBOARD3_KEY_DEL) && screen_text.length() > 0) {
                screen_text.remove(screen_text.length() - 1);
                redraw_screen();
            } else if (value == '\n') {
                screen_text += '\n';
                redraw_screen();
            } else if (value == '\t') {
                screen_text += "    ";
                redraw_screen();
            }
        }
    }
    delay(5);
}4. コンパイルと書き込み
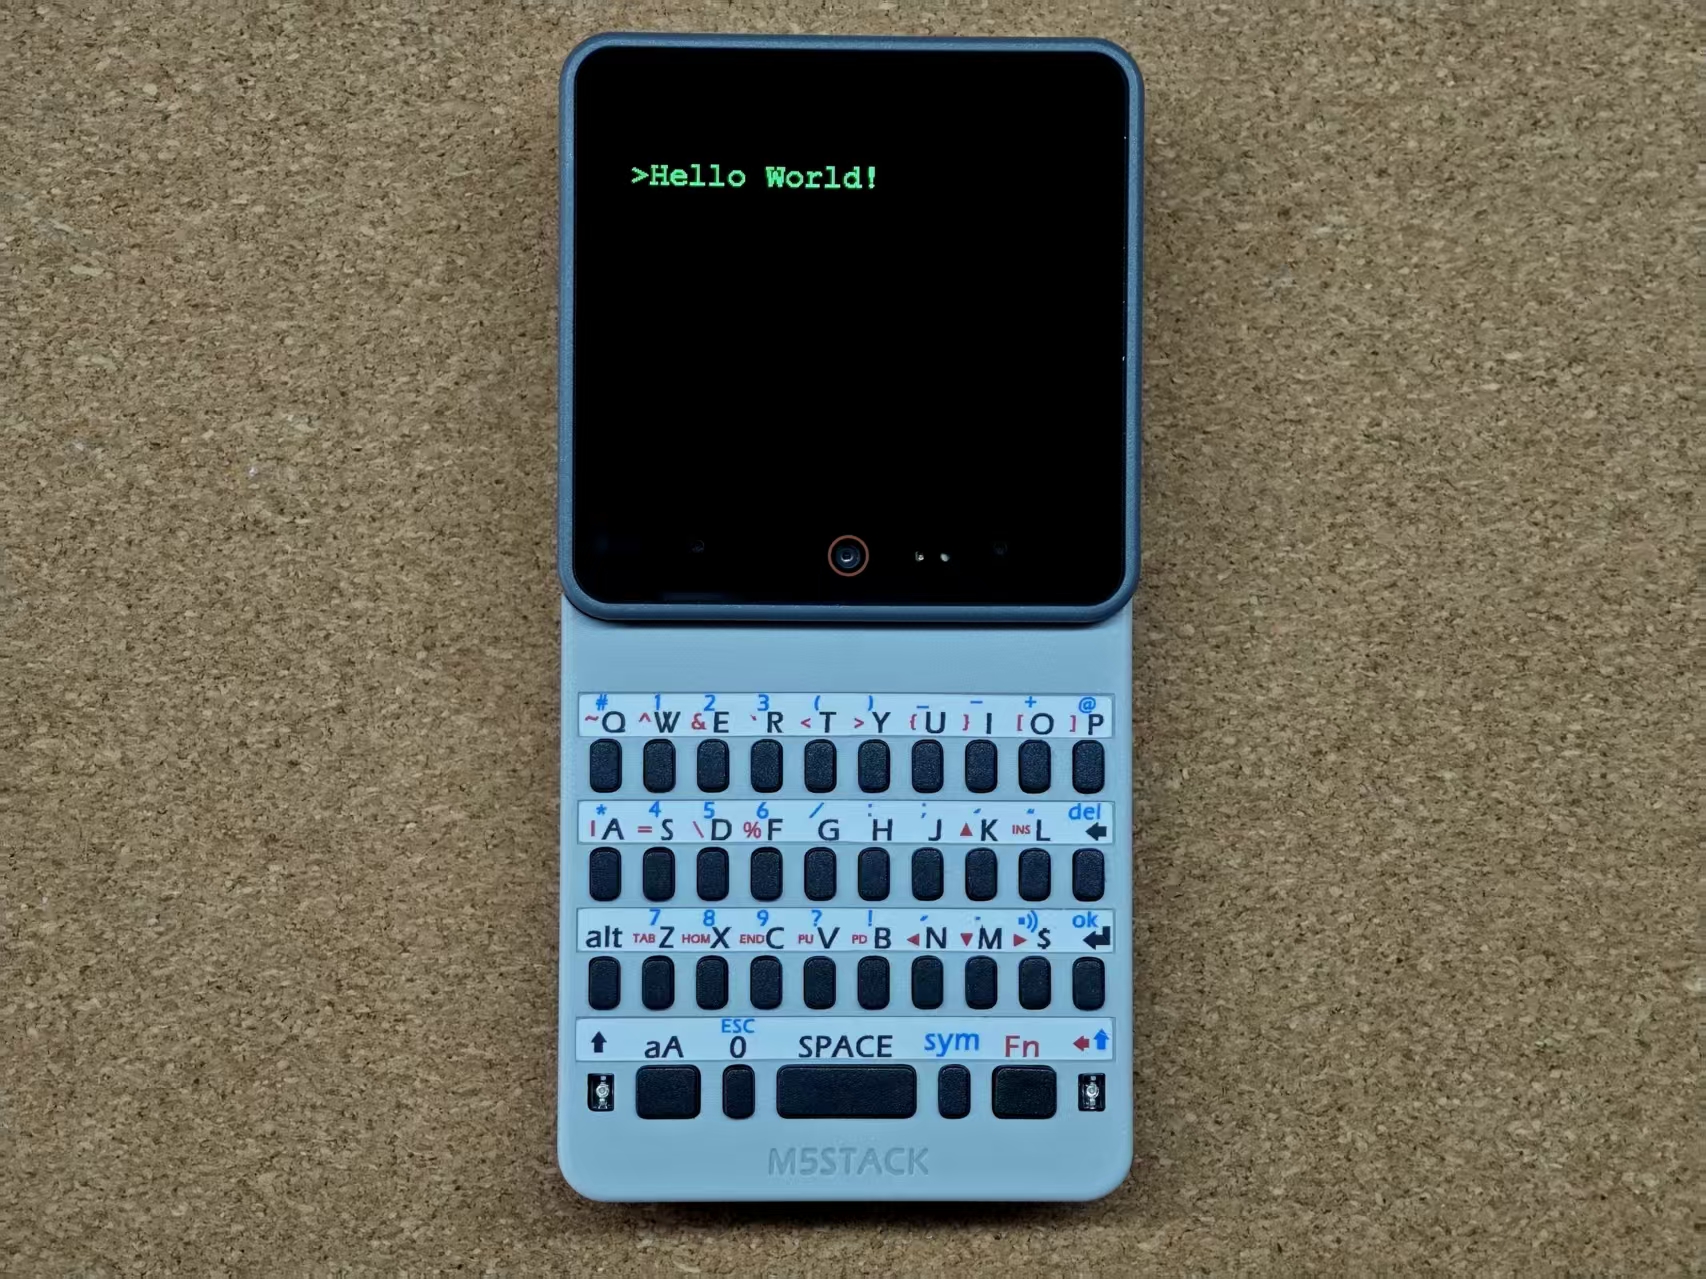
Arduino IDE で CoreS3 に対応するボードとポートを選択し、「検証」をクリックしてプログラムをコンパイルします。コンパイルに成功したら「書き込み」をクリックして CoreS3 に書き込み、完了後にシリアルモニターで実行結果を確認できます。
5. 参考リンク
Page Tools