

Arduino Quick Start
2. Devices & Examples
3. M5Unified
4. M5GFX
5. Extensions
Unit
Module
Atomic
Tab5
IoT
Accessories
ToughC5 microSD Card
ToughC5 microSD card APIs and example program.
Example Program
Compilation Requirements
- M5Stack Board Manager Version >=
3.3.9 - Board Selection =
M5ToughC5 - M5Unified Library Version >=
0.2.22 - M5GFX Library Version >=
0.2.28
The ToughC5 microSD card is controlled by both M5IOE1 and ESP32-C5. The card enable signal, PYB_TF_EN, is connected to M5IOE1 GPIO6; the detection signal, TF_DET, is connected to M5IOE1 GPIO14.
#include <Arduino.h>
#include <SPI.h>
#include <SD.h>
#include <M5Unified.h>
#include <M5GFX.h>
#include <utility/M5IOE1_Class.hpp>

static constexpr uint8_t SD_SPI_CS_PIN   = 10;
static constexpr uint8_t SD_SPI_SCK_PIN  = 9;
static constexpr uint8_t SD_SPI_MOSI_PIN = 7;
static constexpr uint8_t SD_SPI_MISO_PIN = 8;
static constexpr auto M5IOE1_TF_EN_PIN  = m5::M5IOE1_Class::gpio6;
static constexpr auto M5IOE1_TF_DET_PIN = m5::M5IOE1_Class::gpio14;

static bool prepareTfCard()
{
  auto& ioe1 = M5.getIOExpander(0);

  // TF_3V3_L3B is enabled by M5IOE1 G6 (PYB_TF_EN).
  ioe1.setHighImpedance(M5IOE1_TF_EN_PIN, false);
  ioe1.setDirection(M5IOE1_TF_EN_PIN, true);
  ioe1.digitalWrite(M5IOE1_TF_EN_PIN, true);

  // TF_DET is connected to M5IOE1 G14 and is active low.
  ioe1.setDirection(M5IOE1_TF_DET_PIN, false);
  ioe1.setPullMode(M5IOE1_TF_DET_PIN, m5::IOExpander_Base::pull_up);

  bool detLevel = true;
  if (!ioe1.getInputLevel(M5IOE1_TF_DET_PIN, &detLevel)) {
    return false;
  }
  return !detLevel;
}

void setup() {
  M5.begin();

  M5.Display.setRotation(1);
  M5.Display.setFont(&fonts::FreeMono12pt7b);

  if (!prepareTfCard()) {
    M5.Display.print("\n TF card not detected\n");
    while (true)
      delay(1000);
  }

  SPI.begin(SD_SPI_SCK_PIN, SD_SPI_MISO_PIN, SD_SPI_MOSI_PIN, SD_SPI_CS_PIN);
  if (!SD.begin(SD_SPI_CS_PIN, SPI, 25000000)) {
    M5.Display.print("\n SD card not detected\n");
    while (true)
      ;
  } else {
    M5.Display.print("\n SD card detected\n");
  }
  delay(1000);

  M5.Display.print("\n SD card write test...\n");
  auto file = SD.open("/WriteTest.txt", FILE_WRITE, true);
  if (file) {
    file.print("Hello, world! \nSD card write success! \n");
    file.close();
    M5.Display.print(" SD card write success\n");
  } else {
    M5.Display.print(" Failed to create TXT file\n");
  }
  delay(1000);

  M5.Display.print("\n SD card read test...\n");
  auto picture01 = SD.open("/TestPicture01.png", FILE_READ, false);
  if (picture01) {
    picture01.close();
    M5.Display.print(" PNG file 01 detected\n");
  } else {
    M5.Display.print(" PNG file 01 not detected\n");
  }
  auto picture02 = SD.open("/TestPicture02.png", FILE_READ, false);
  if (picture02) {
    picture02.close();
    M5.Display.print(" PNG file 02 detected\n");
  } else {
    M5.Display.print(" PNG file 02 not detected\n");
  }
  delay(1000);
}

void loop() {
  M5.Display.drawPngFile(SD, "/TestPicture01.png");
  delay(500);
  M5.Display.drawPngFile(SD, "/TestPicture02.png");
  delay(500);
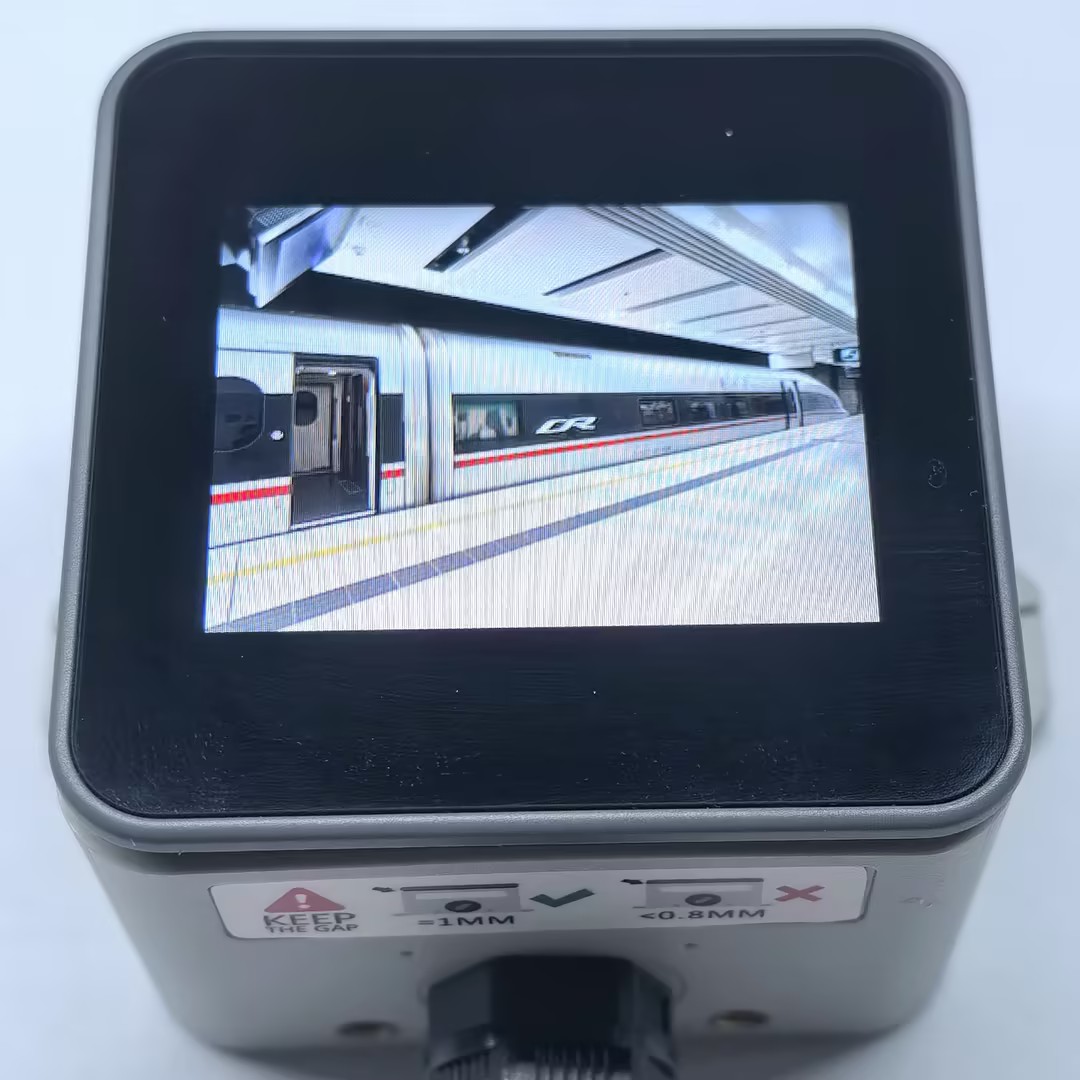
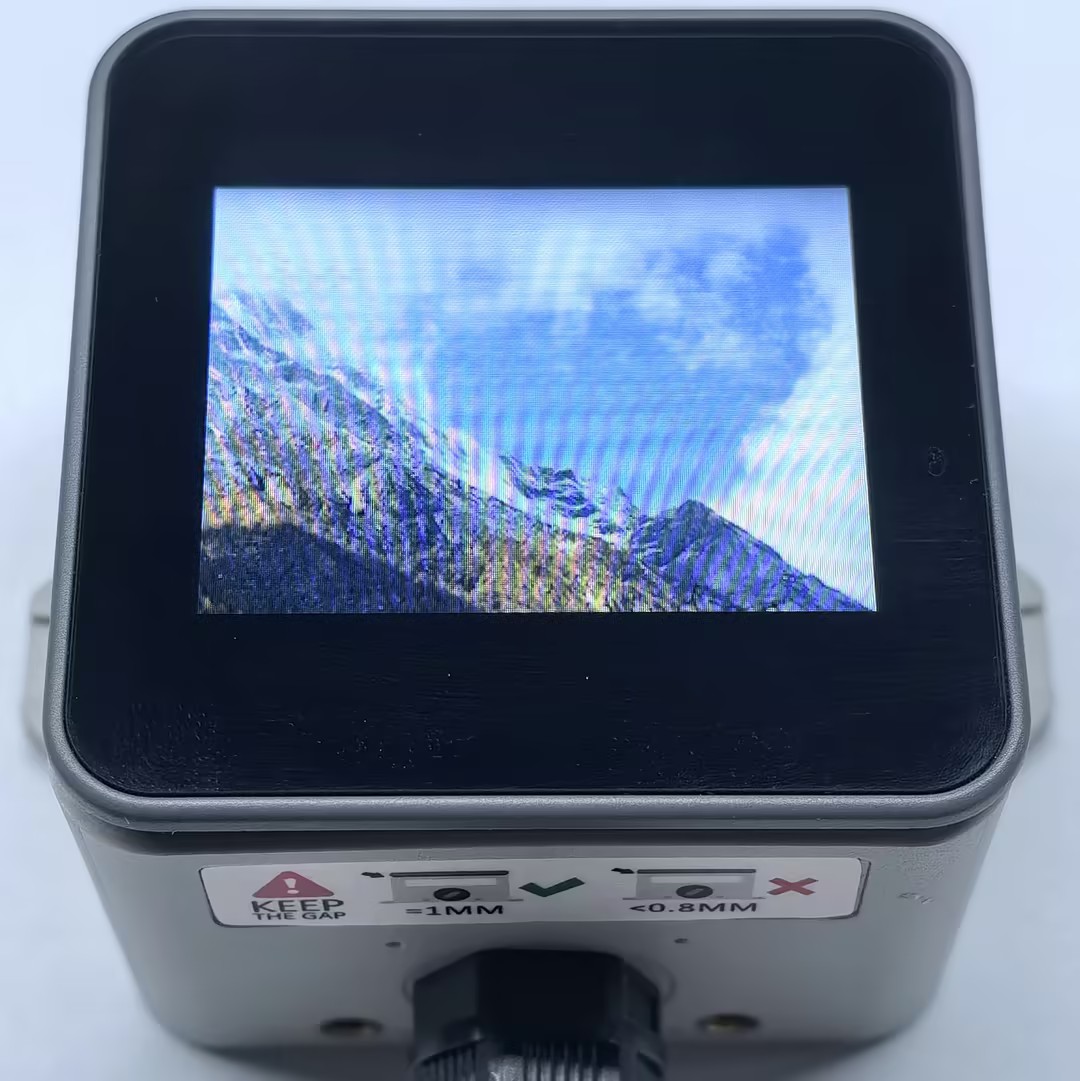
}Prepare a microSD card formatted as FAT32 and place two 320*240 PNG images in its root directory, named TestPicture01.png and TestPicture02.png. You can also download sample image 1 and sample image 2. If the image resolution is not 320*240, the program uses its preset display behavior, which may cause display issues.
The program creates a text file named WriteTest.txt on the microSD card, writes a line of text to it, and then displays the two PNG images on the card in a loop.
The example runs as shown below:
API
The ToughC5 microSD card example uses Arduino's built-in SD library and drawPngFile from the M5GFX library. See the following documentation for more APIs: