

Arduino Quick Start
2. Devices & Examples
3. M5Unified
4. M5GFX
5. Extensions
Unit
Module
Atomic
Tab5
IoT
Accessories
ToughC5 Buzzer
ToughC5 buzzer APIs and example program.
Example Program
Compilation Requirements
- M5Stack Board Manager Version >=
3.3.9 - Board Selection =
M5ToughC5 - M5Unified Library Version >=
0.2.22 - M5GFX Library Version >=
0.2.28
ToughC5 uses the PWM1 channel of M5PM1 to drive the buzzer. The buzzer enable signal, PM_BUZZER_EN, is connected to M5PM1 GPIO4.
cpp
1 2 3 4 5 6 7 8 9 10 11 12 13 14 15 16 17 18 19 20 21 22 23 24 25 26 27 28 29 30 31 32 33 34 35 36 37 38 39 40 41 42 43 44 45 46 47 48 49
#include <M5Unified.h>

static constexpr auto BUZZER_GPIO = m5::M5PM1_Class::gpio4;
static constexpr auto BUZZER_PWM = m5::M5PM1_Class::pwm_ch1;

static void playTone(uint16_t frequency, uint16_t duration)
{
  auto& pm1 = M5.Power.M5pm1;
  if (!pm1.setPwmFrequency(frequency) ||
      !pm1.setPwmDuty12bit(BUZZER_PWM, 2048,
                           m5::pwm_polarity_t::normal, true)) {
    return;
  }

  delay(duration);
  pm1.setPwmDuty12bit(BUZZER_PWM, 0, m5::pwm_polarity_t::normal, false);
  delay(50);
}

void setup()
{
  M5.begin();
  M5.Display.setRotation(1);
  M5.Display.setFont(&fonts::DejaVu24);
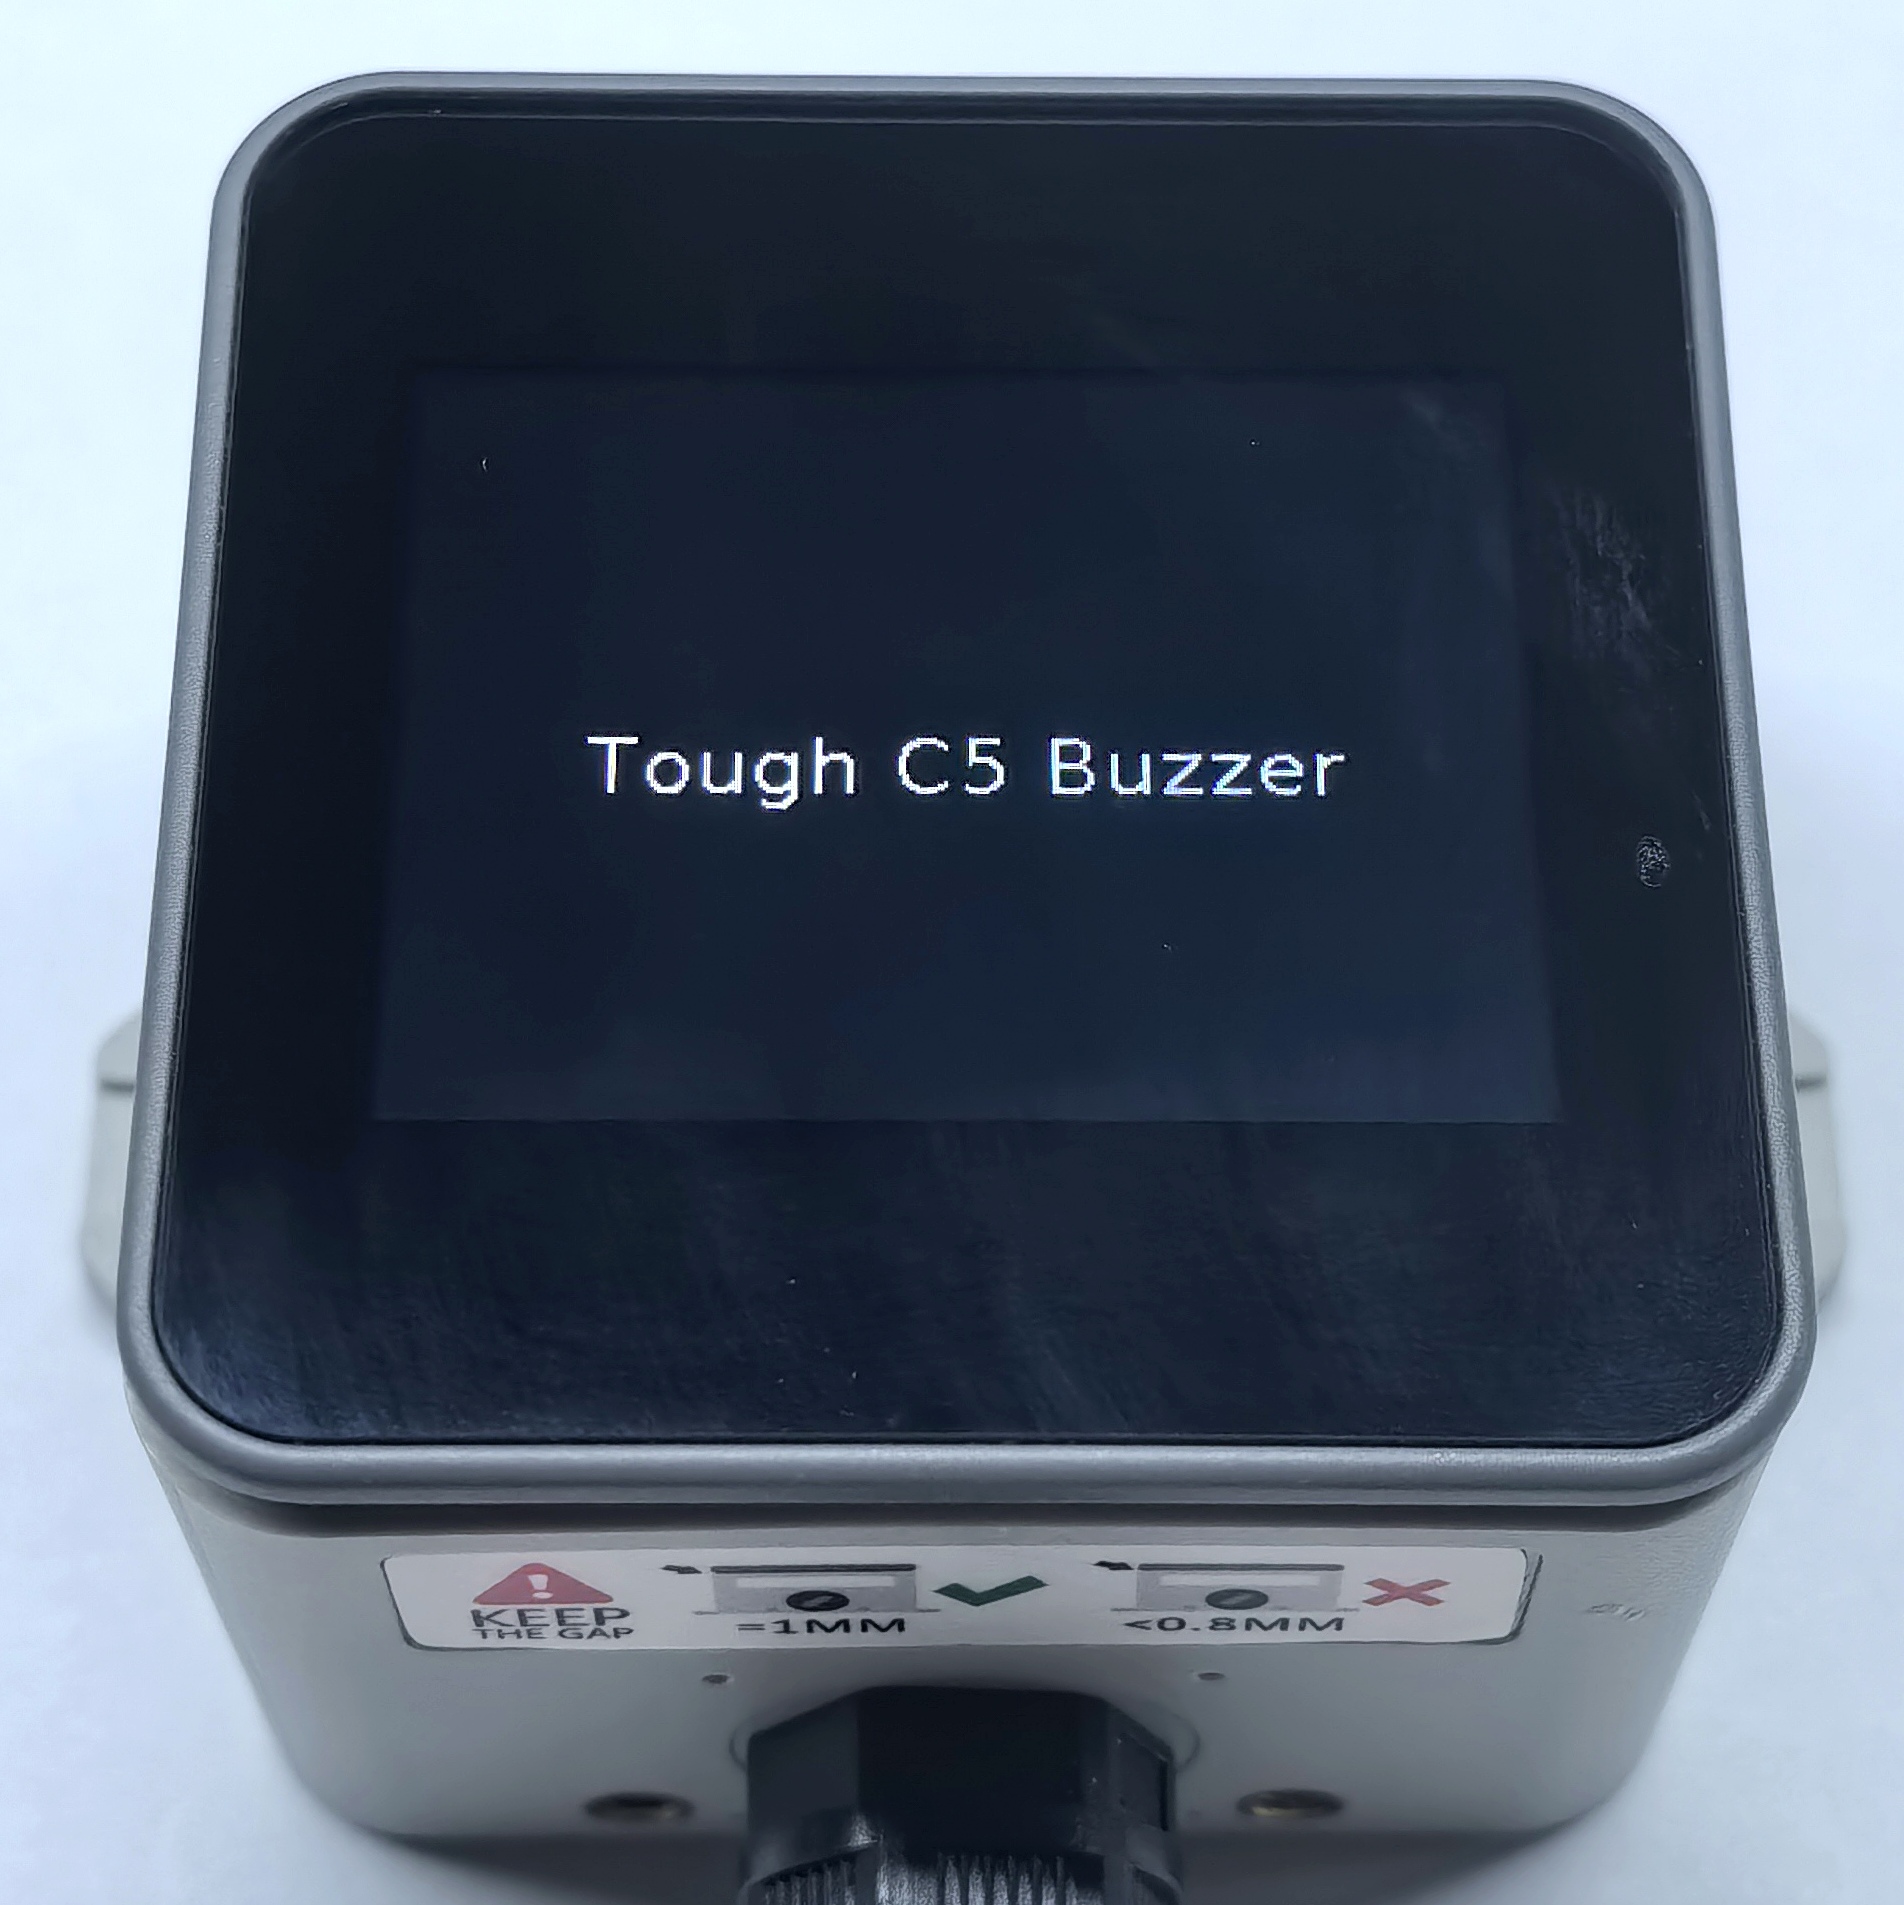
  M5.Display.drawString("ToughC5 Buzzer", M5.Display.width() / 2,
                        M5.Display.height() / 2);

  auto& pm1 = M5.Power.M5pm1;
  if (!pm1.setGPIOFunction(BUZZER_GPIO, m5::M5PM1_Class::special)) {
    M5.Display.clear();
    M5.Display.println("M5PM1 setup failed");
    while (true) {
      delay(1000);
    }
  }
}

void loop()
{
  playTone(880, 500);
  playTone(990, 500);
  playTone(1120, 500);
  playTone(1180, 500);
  playTone(1320, 500);
  playTone(1480, 500);
  playTone(1650, 500);
  playTone(1760, 500);
  delay(500);
}The program plays a series of tones at different frequencies. setPwmFrequency sets the buzzer frequency, while setPwmDuty12bit sets the PWM duty cycle and enables the output.
Page Tools