

Arduino Quick Start
2. Devices & Examples
3. M5Unified
4. M5GFX
5. Extensions
Unit
Module
Atomic
Tab5
IoT
Accessories
CoreMatrix Arduino Program Compile & Upload
1. Preparation
- 1. Install Arduino IDE: Follow the Arduino IDE installation guide to install the IDE.
- 2. Install the board package: Follow the Basic Environment Setup guide to install the M5Stack board package and select the
M5CoreMatrixboard.
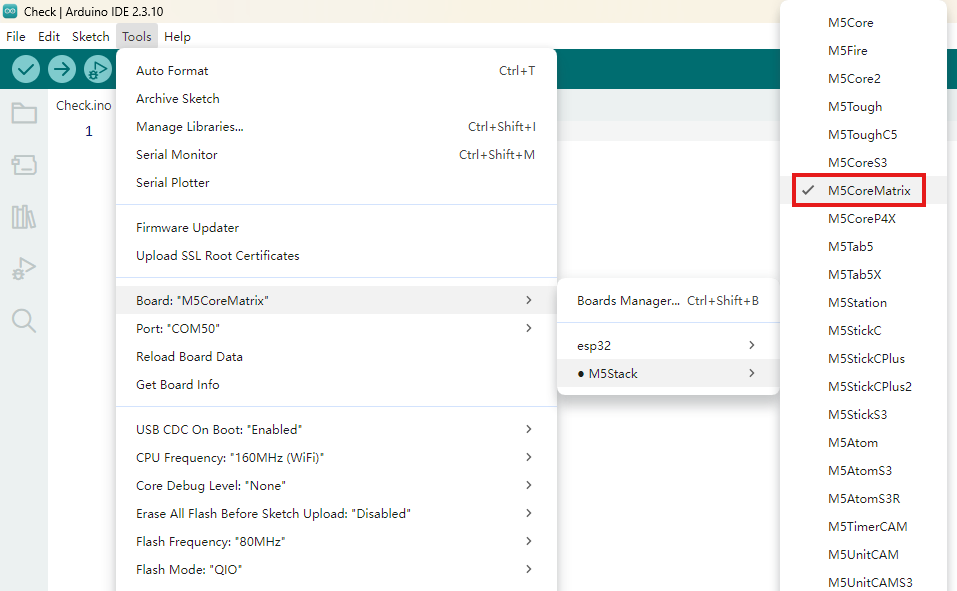
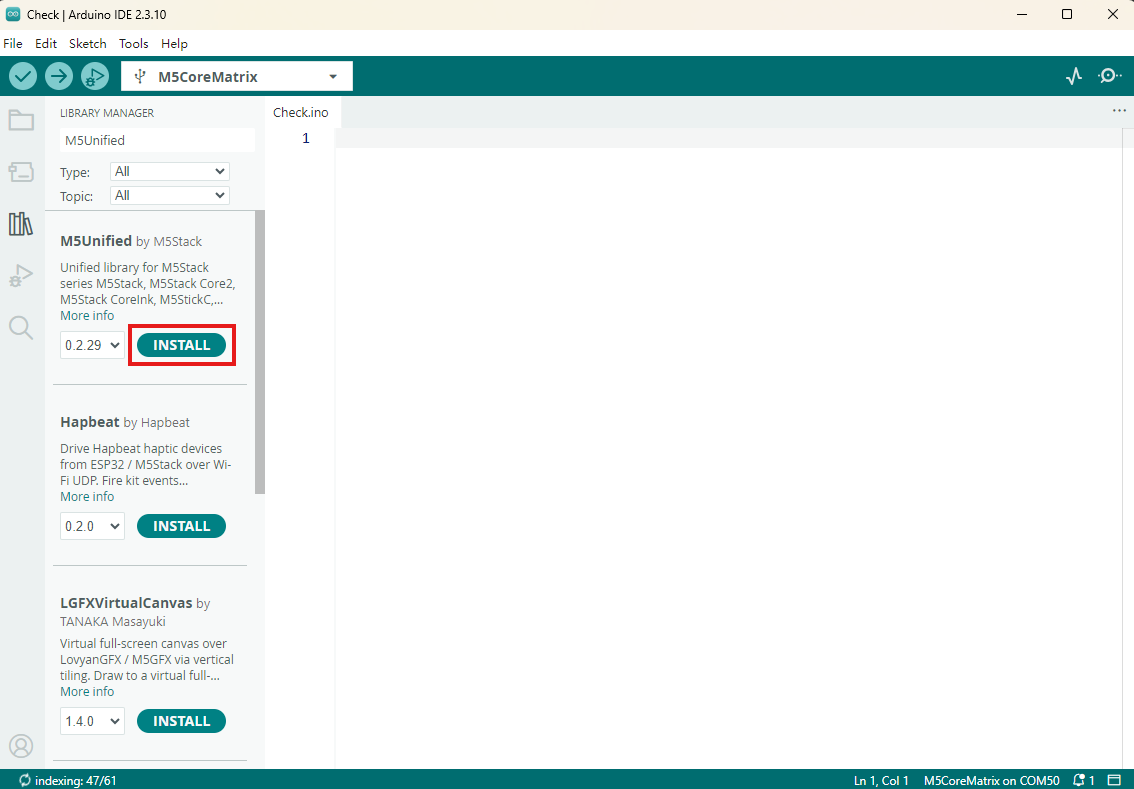
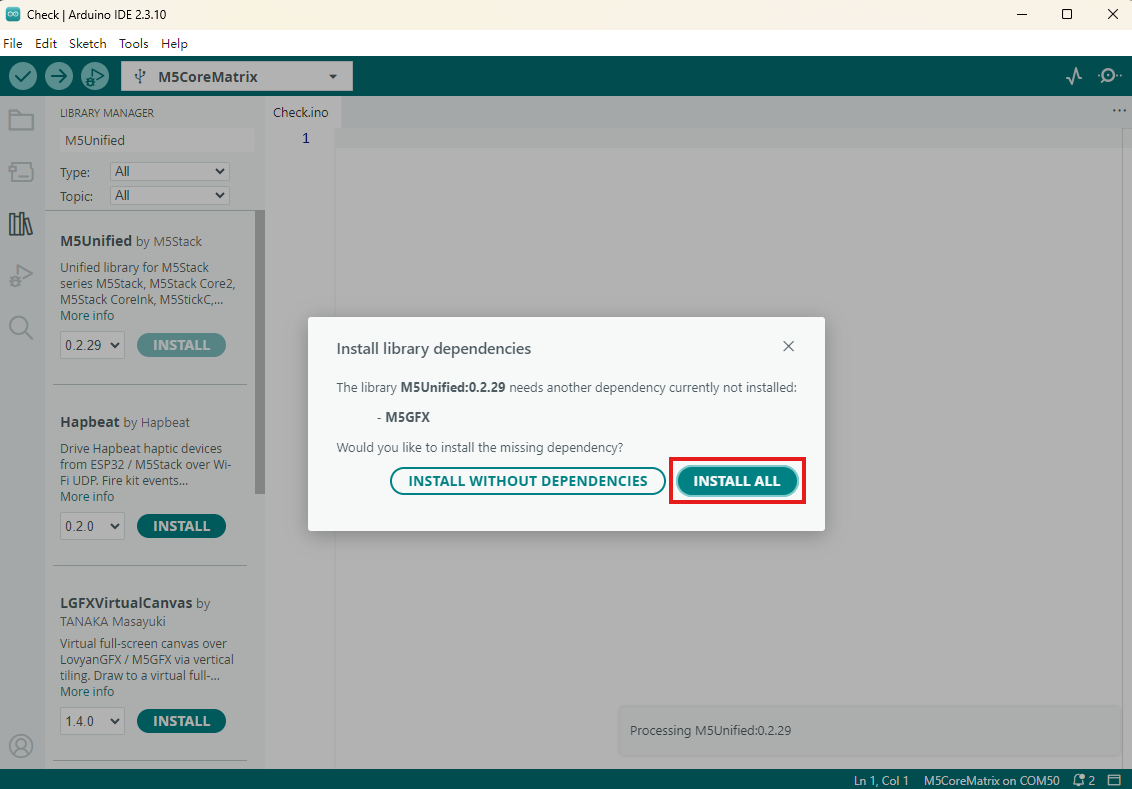
- 3. Install the required libraries: Follow the Library Manager installation guide to install the
M5UnifiedandM5GFXlibraries, then install all dependencies as prompted.
2. Download Mode
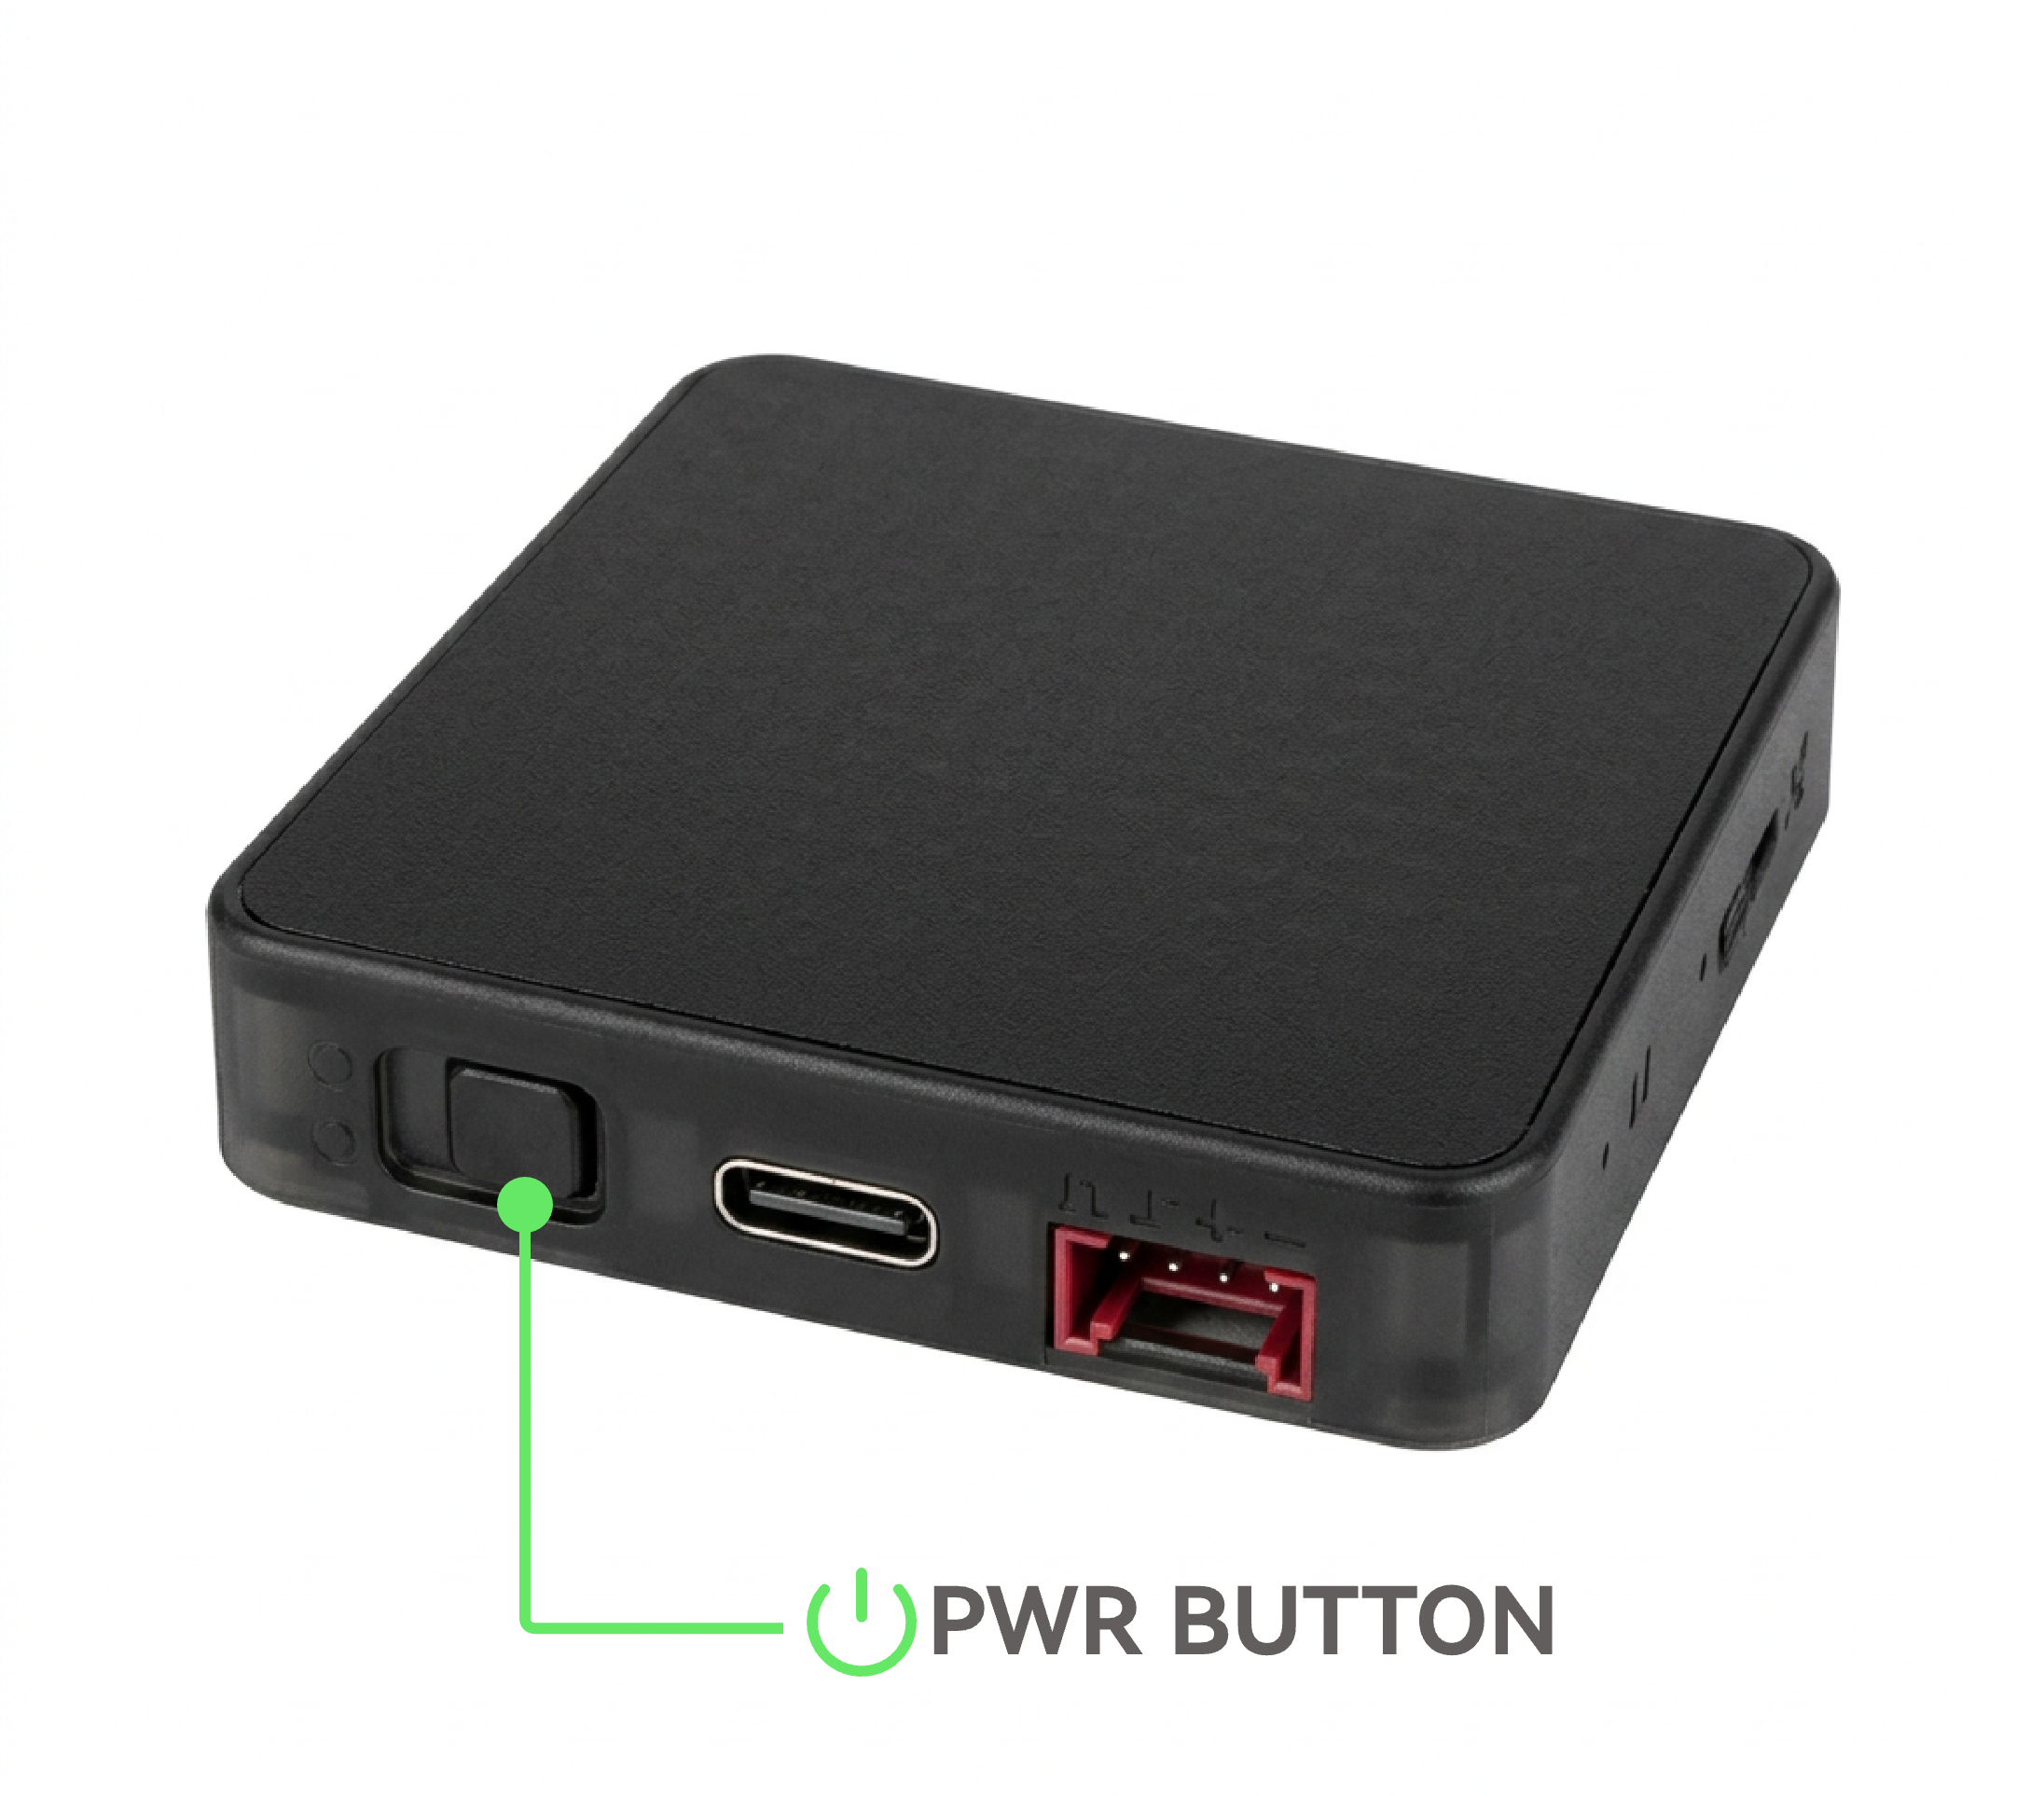
Normally, CoreMatrix programs can be uploaded directly over a USB Type-C data cable. If an upload error occurs during development and debugging, press and hold the power button to force download mode.
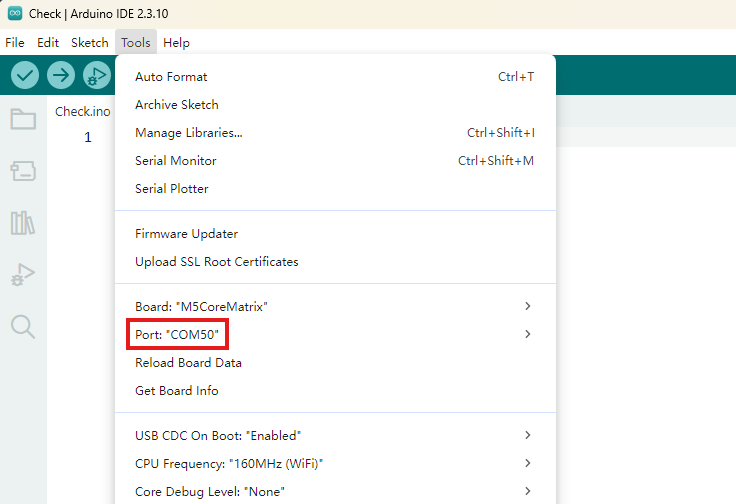
3. Port Selection
Connect the device to the computer with a USB data cable. Select the corresponding device port in Arduino IDE.
4. Program Compile & Upload
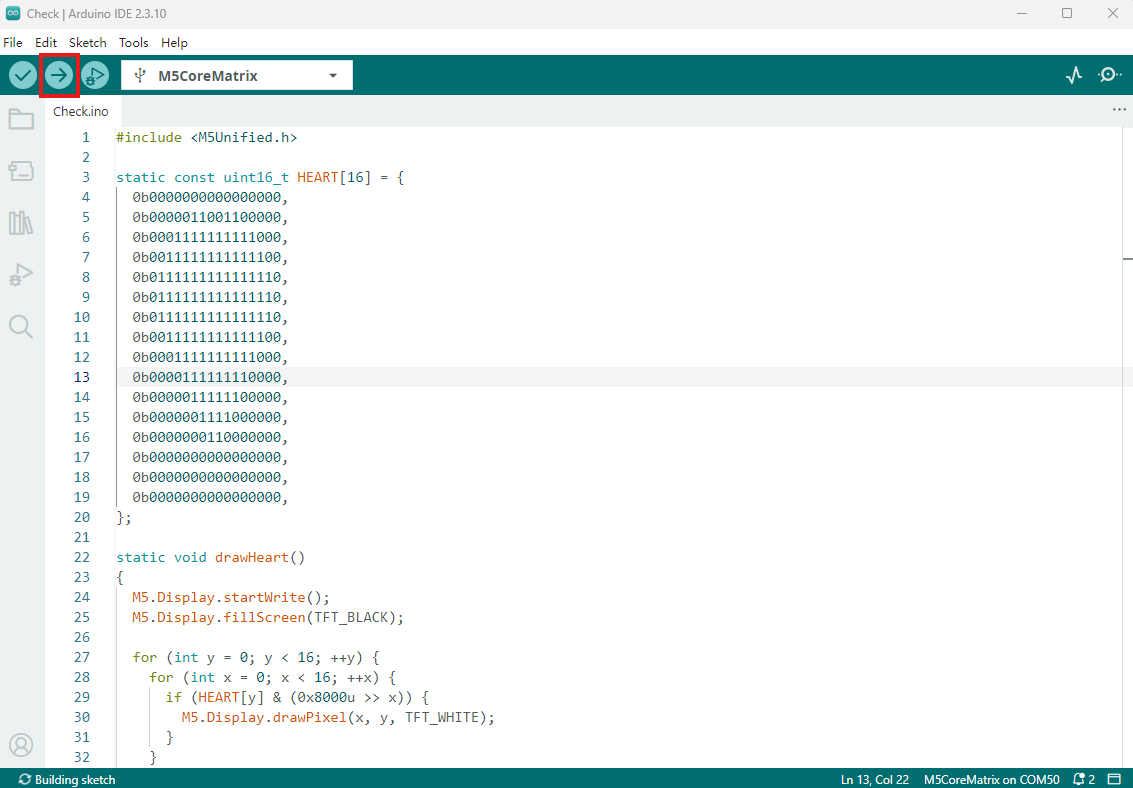
Create a new program in Arduino IDE, copy the code below into the editor, and click the upload button to compile and upload.
cpp
1 2 3 4 5 6 7 8 9 10 11 12 13 14 15 16 17 18 19 20 21 22 23 24 25 26 27 28 29 30 31 32 33 34 35 36 37 38 39 40 41 42 43 44 45 46 47 48 49 50 51 52 53 54 55 56 57 58
#include <M5Unified.h>

static const uint16_t HEART[16] = {
  0b0000000000000000,
  0b0000011001100000,
  0b0001111111111000,
  0b0011111111111100,
  0b0111111111111110,
  0b0111111111111110,
  0b0111111111111110,
  0b0011111111111100,
  0b0001111111111000,
  0b0000111111110000,
  0b0000011111100000,
  0b0000001111000000,
  0b0000000110000000,
  0b0000000000000000,
  0b0000000000000000,
  0b0000000000000000,
};

static void drawHeart()
{
  M5.Display.startWrite();
  M5.Display.fillScreen(TFT_BLACK);

  for (int y = 0; y < 16; ++y) {
    for (int x = 0; x < 16; ++x) {
      if (HEART[y] & (0x8000u >> x)) {
        M5.Display.drawPixel(x, y, TFT_WHITE);
      }
    }
  }

  M5.Display.endWrite();
  M5.Display.display();
}

void setup()
{
  auto cfg = M5.config();
  cfg.serial_baudrate = 115200;
  M5.begin(cfg);

  M5.Display.setColorDepth(8);
  M5.Display.setRotation(1);
  M5.Display.setBrightness(128);

  Serial.printf("CoreMatrix display: %d x %d\n",
                M5.Display.width(), M5.Display.height());
  drawHeart();
}

void loop()
{
  M5.update();
  delay(100);
}
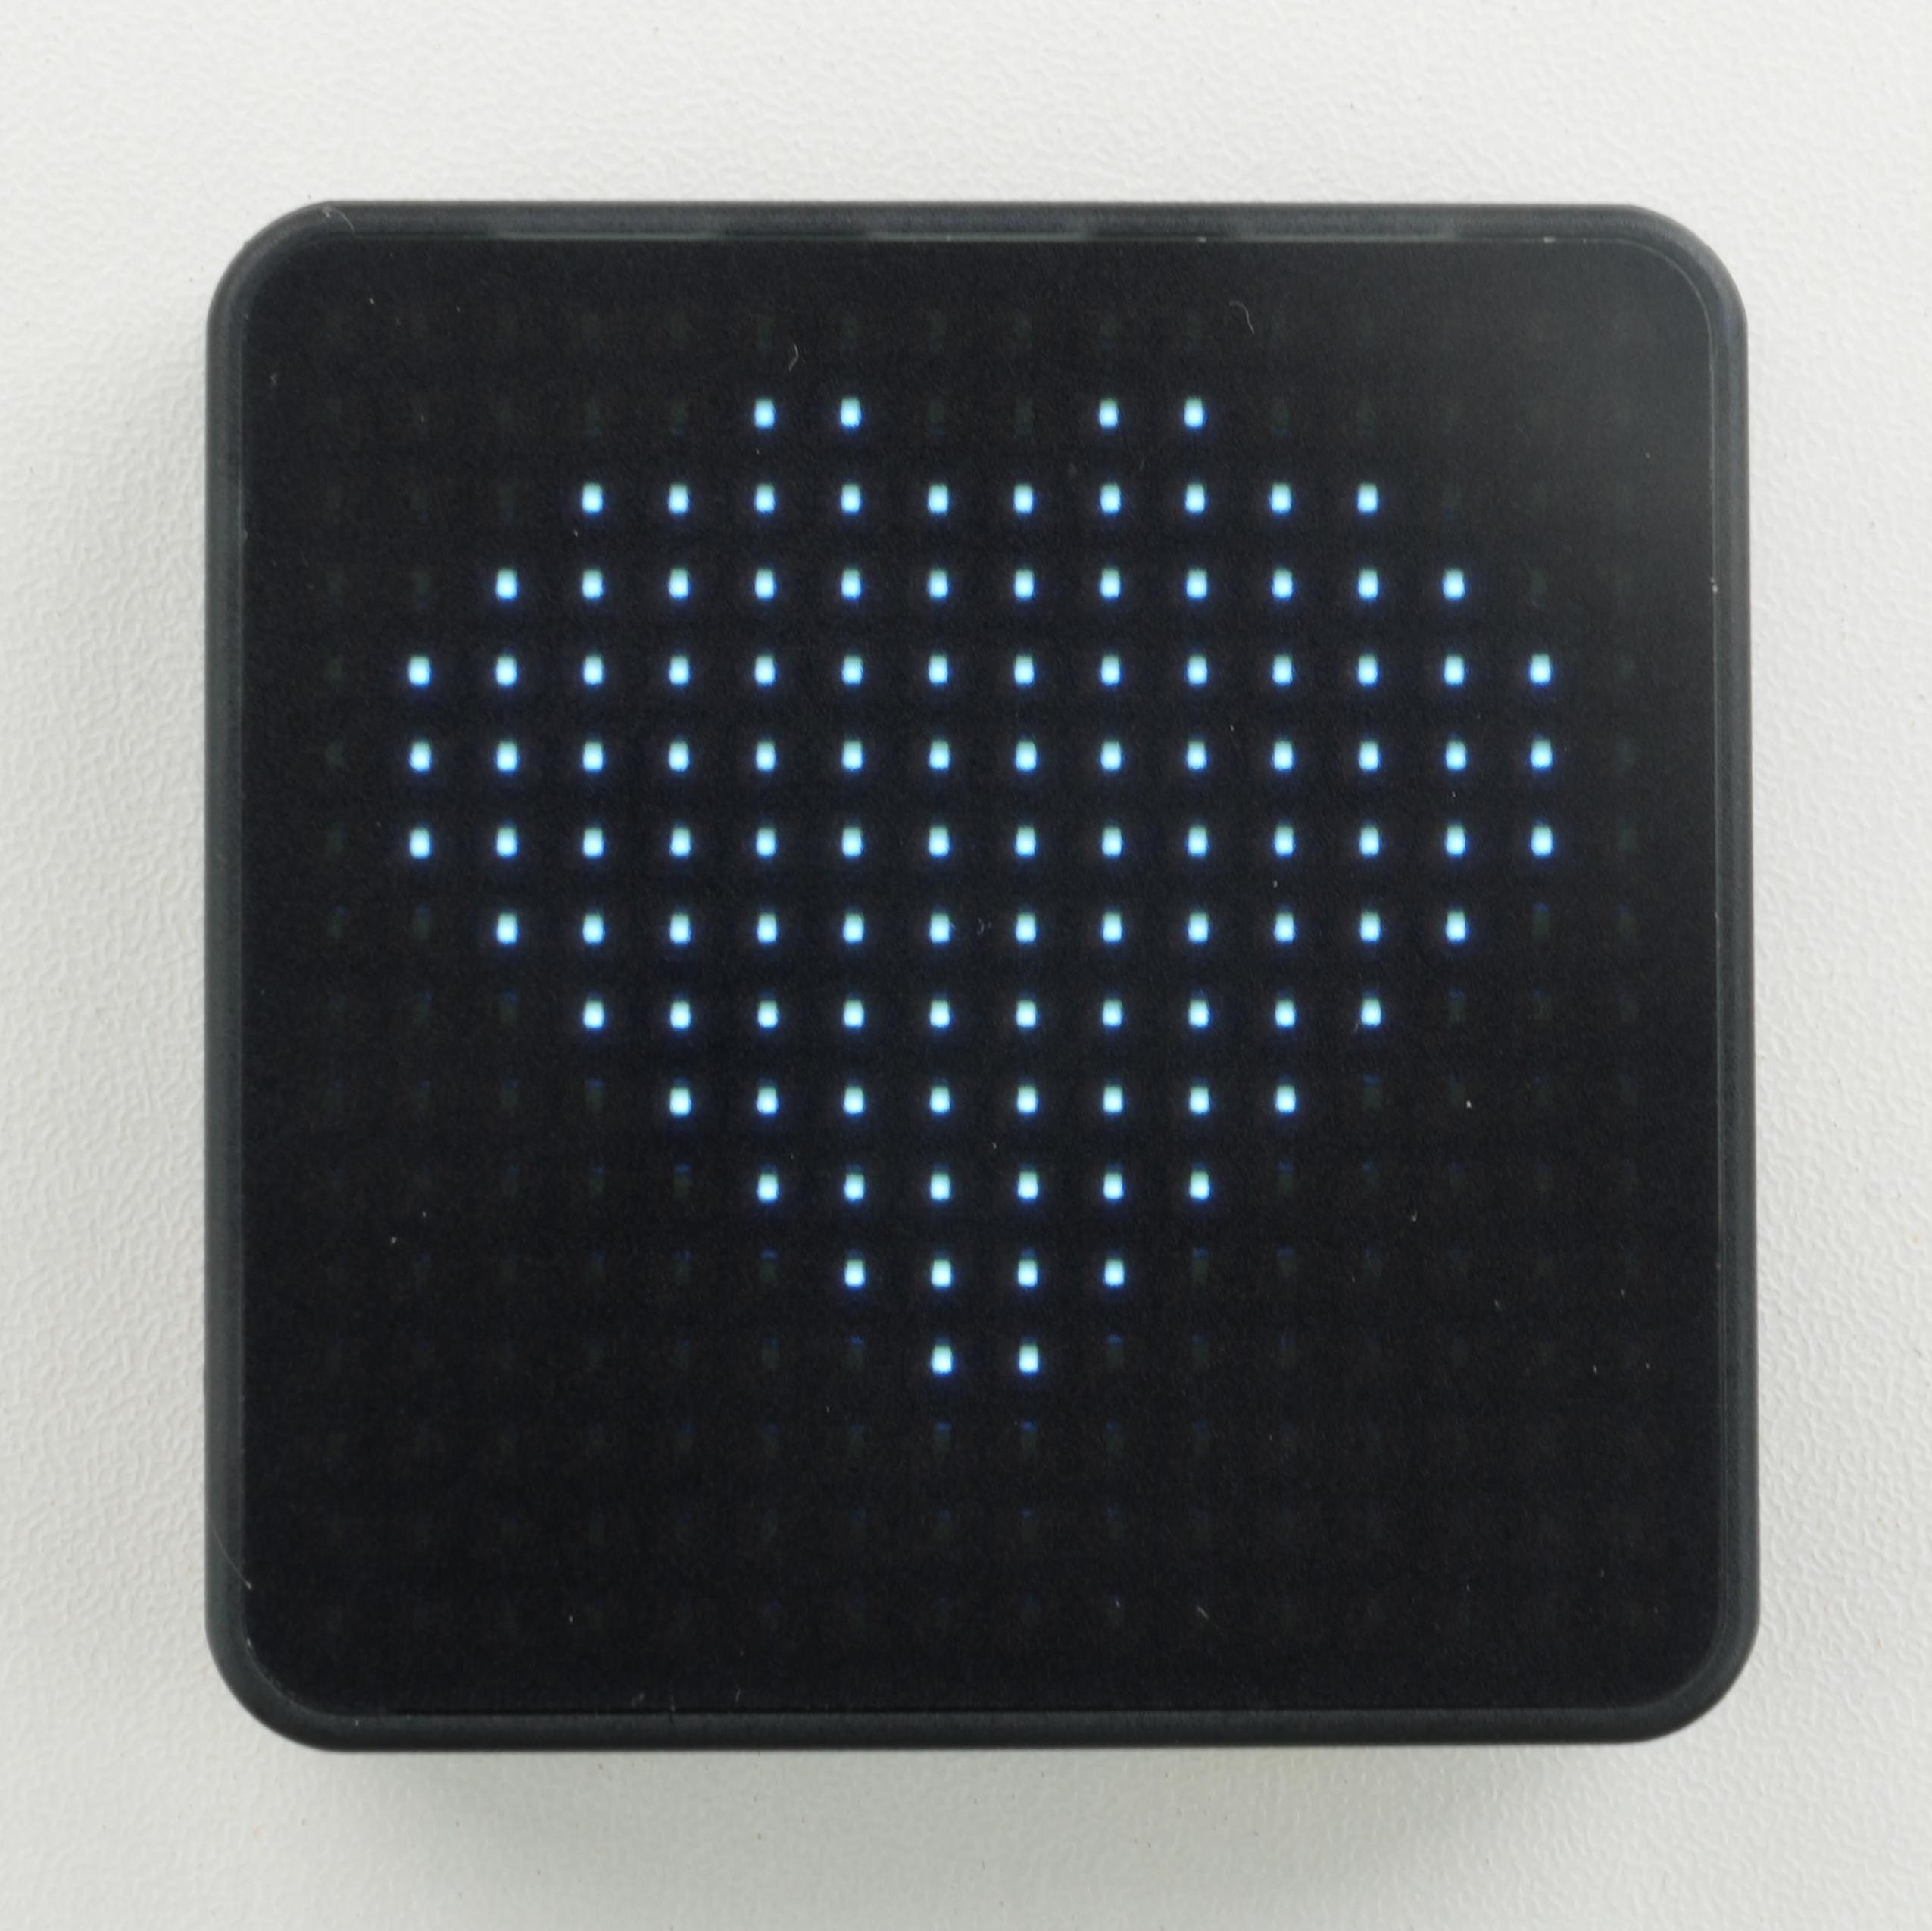
After uploading, the CoreMatrix LED matrix displays a 16 x 16 heart pattern.
5. Related Resources
Page Tools