

Arduino 上手教程
2. 设备开发 & 案例程序
3. M5Unified
4. M5GFX
5. 扩展模块
Unit
Module
Atomic
Tab5
IoT
PaperDIY microSD 存储
PaperDIY microSD 卡读写与屏幕图片显示案例程序。
案例程序
编译要求
- M5Stack 板管理版本 >= 3.3.10
- 开发板选项 =
M5PaperDIY - M5Unified 库版本 >= 0.2.26
- M5GFX 库版本 >= 0.2.32
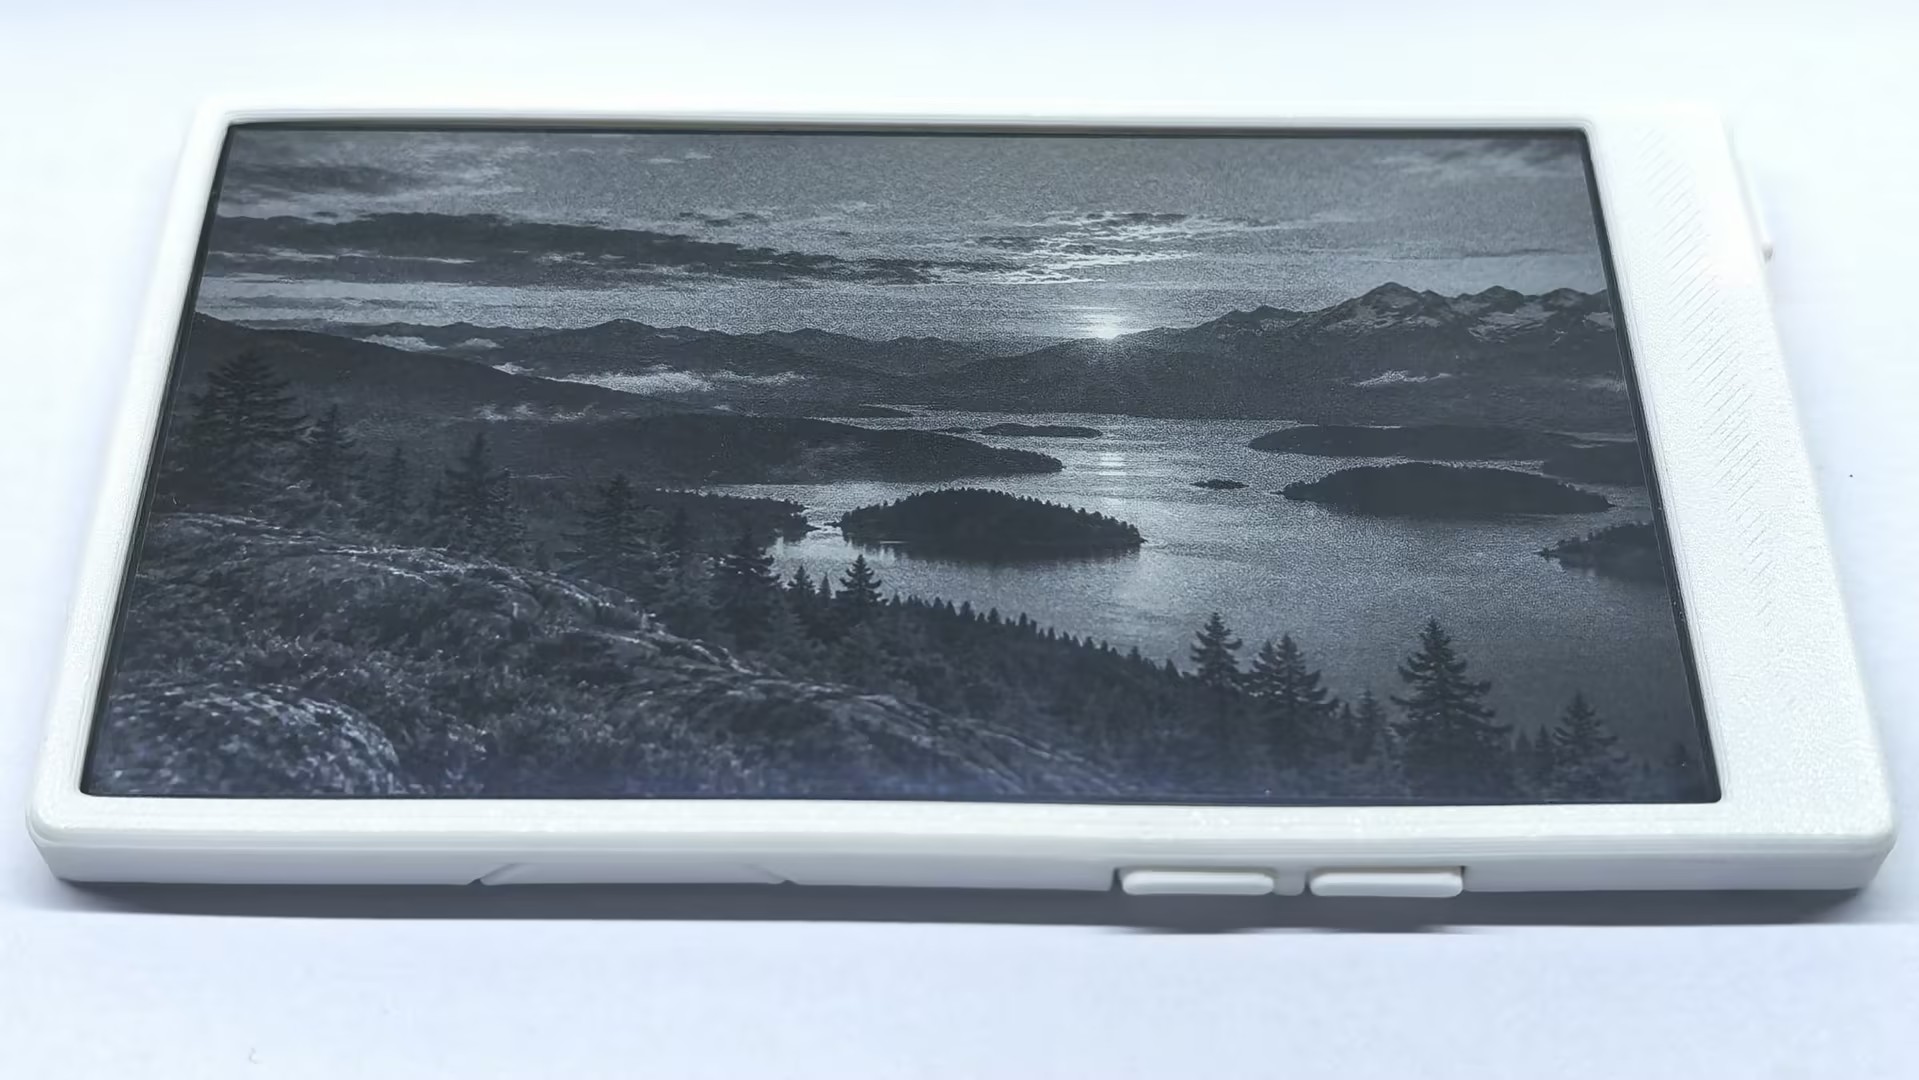
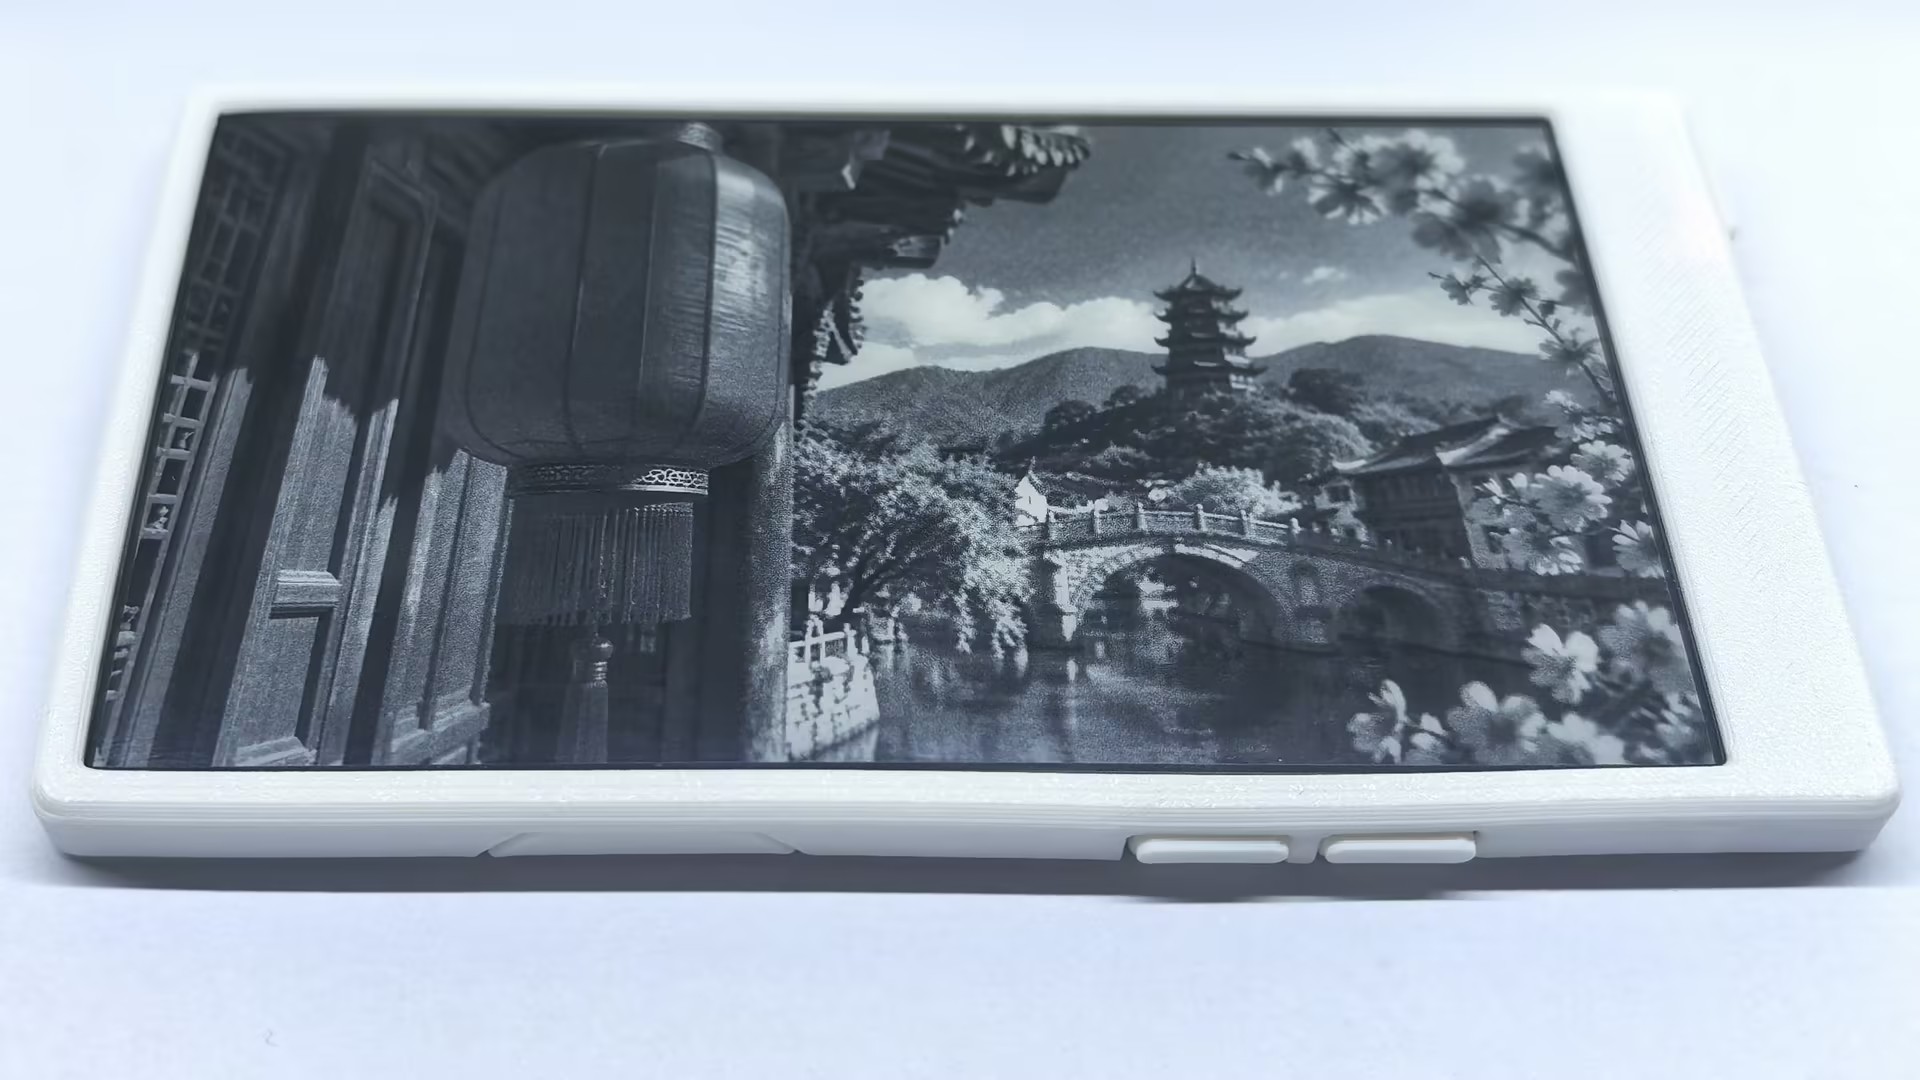
准备一张 FAT32 格式的 microSD 卡,在根目录放入两张横向 960 x 540 分辨率的 PNG 图片,并命名为 PaperDIY_01.png 和 PaperDIY_02.png。你也可以直接下载 PaperDIY_01.png、PaperDIY_02.png。如果图片的分辨率不是 960 x 540,则程序会根据预设来决定显示方式,可能会有显示异常。
cpp
1 2 3 4 5 6 7 8 9 10 11 12 13 14 15 16 17 18 19 20 21 22 23 24 25 26 27 28 29 30 31 32 33 34 35 36 37 38 39 40 41 42 43 44 45 46 47 48 49 50 51 52 53 54 55 56 57 58 59 60 61 62 63 64 65 66 67 68 69 70 71 72 73 74 75 76 77 78 79 80 81 82 83 84 85 86 87 88 89 90 91 92 93 94 95 96 97 98 99 100 101 102 103 104 105 106 107 108 109 110 111 112 113 114 115 116
#include <Arduino.h>
#include <SPI.h>
#include <SD.h>
#include <M5Unified.h>
#include <M5GFX.h>

static const char* const imagePaths[] = {
    "/PaperDIY_01.png",
    "/PaperDIY_02.png",
};
static constexpr size_t IMAGE_COUNT = sizeof(imagePaths) / sizeof(imagePaths[0]);

M5Canvas canvas(&M5.Display);
size_t currentImage = 0;
bool sdReady = false;

static void showStatus(const char* title, const char* detail)
{
    canvas.fillSprite(TFT_WHITE);
    canvas.setTextDatum(middle_center);
    canvas.setTextColor(TFT_BLACK);
    canvas.setFont(&fonts::FreeSansBold24pt7b);
    canvas.drawString(title, M5.Display.width() / 2, M5.Display.height() / 2 - 35);
    canvas.setFont(&fonts::FreeSansBold18pt7b);
    canvas.drawString(detail, M5.Display.width() / 2, M5.Display.height() / 2 + 35);
    canvas.pushSprite(0, 0);
}

static void showImage(size_t index)
{
    currentImage = index % IMAGE_COUNT;
    const char* path = imagePaths[currentImage];

    if (!SD.exists(path)) {
        showStatus("PNG not found", path);
        Serial.printf("Image not found: %s\n", path);
        return;
    }

    M5.Display.setEpdMode(epd_mode_t::epd_quality);
    M5.Display.fillScreen(TFT_WHITE);
    if (!M5.Display.drawPngFile(SD, path)) {
        showStatus("PNG load failed", path);
        Serial.printf("Failed to draw PNG: %s\n", path);
        return;
    }

    Serial.printf("Displayed: %s\n", path);
}

void setup()
{
    auto cfg = M5.config();
    cfg.clear_display = false;
    M5.begin(cfg);
    Serial.begin(115200);

    M5.Display.setRotation(1);
    M5.Display.setEpdMode(epd_mode_t::epd_text);
    canvas.createSprite(M5.Display.width(), M5.Display.height());
    showStatus("PaperDIY microSD", "Initializing card");

    SPI.begin();
    if (!SD.begin()) {
        showStatus("microSD mount failed", "Check card / FAT32");
        Serial.println("microSD initialization failed");
        return;
    }

    sdReady = SD.cardType() != CARD_NONE;
    if (!sdReady) {
        showStatus("No microSD card", "Insert a FAT32 card");
        Serial.println("No microSD card detected");
        return;
    }

    Serial.printf("Card size: %llu MB\n", SD.cardSize() / (1024ULL * 1024ULL));

    File logFile = SD.open("/PaperDIY_Log.txt", FILE_WRITE);
    if (logFile) {
        logFile.println("PaperDIY microSD test");
        logFile.close();
        Serial.println("Wrote /PaperDIY_Log.txt");
    } else {
        Serial.println("Failed to open /PaperDIY_Log.txt for writing");
    }

    File readFile = SD.open("/PaperDIY_Log.txt", FILE_READ);
    if (readFile) {
        Serial.println("Contents of /PaperDIY_Log.txt:");
        while (readFile.available()) {
            Serial.write(readFile.read());
        }
        readFile.close();
    }

    showImage(currentImage);
}

void loop()
{
    M5.update();
    if (!sdReady) {
        delay(1000);
        return;
    }

    if (M5.BtnA.wasPressed()) {
        showImage((currentImage + IMAGE_COUNT - 1) % IMAGE_COUNT);
    }
    if (M5.BtnB.wasPressed()) {
        showImage(currentImage + 1);
    }

    delay(20);
}将 microSD 卡插入 PaperDIY 卡槽,再将程序编译并上传到设备。程序会在卡中创建或追加 /PaperDIY_Log.txt,通过串口输出文件内容,并在电子纸上显示图片。按键 A 切换到上一张图片,按键 B 切换到下一张图片。
API
PaperDIY microSD 卡部分使用了 Arduino SD 标准库,更多相关的 API 可以参考下方文档:
Page Tools