

Arduino 上手教程
2. 设备开发 & 案例程序
3. M5Unified
4. M5GFX
5. 扩展模块
Unit
Module
Atomic
Tab5
IoT
StopWatch IMU 姿态传感器
StopWatch IMU 姿态传感器输入相关 API 与案例程序。
案例程序
编译要求
- M5Stack 板管理版本 >= 3.3.7
- 开发板选项 = M5StopWatch
- M5Unified 库版本 >= 0.2.15
- M5GFX 库版本 >= 0.2.21
cpp
1 2 3 4 5 6 7 8 9 10 11 12 13 14 15 16 17 18 19 20 21 22 23 24 25 26 27 28 29 30 31 32 33 34 35 36 37
#include <M5Unified.h>

void setup(void) {
    auto cfg = M5.config();
    M5.begin(cfg);
    M5.Display.setFont(&fonts::FreeMonoBold12pt7b);
    Serial.begin(115200);
}

void loop(void) {
    auto imu_update = M5.Imu.update();
    if (imu_update) {
        auto data = M5.Imu.getImuData();

        // The data obtained by getImuData can be used as follows.
        data.accel.x;      // accel x-axis value.
        data.accel.y;      // accel y-axis value.
        data.accel.z;      // accel z-axis value.
        data.accel.value;  // accel 3values array [0]=x / [1]=y / [2]=z.

        data.gyro.x;      // gyro x-axis value.
        data.gyro.y;      // gyro y-axis value.
        data.gyro.z;      // gyro z-axis value.
        data.gyro.value;  // gyro 3values array [0]=x / [1]=y / [2]=z.

        data.value;  // all sensor 9values array [0~2]=accel / [3~5]=gyro / [6~8]=mag

        Serial.printf("ax: %f  ay: %f  az: %f\r\n", data.accel.x, data.accel.y, data.accel.z);
        Serial.printf("gx: %f  gy: %f  gz: %f\r\n", data.gyro.x, data.gyro.y, data.gyro.z);
        M5.Display.setCursor(40, 120);
        M5.Display.clear();  // Delay 100ms
        M5.Display.printf("IMU:\r\n");
        M5.Display.printf("       ax: %f\n       ay: %f\n       az: %f\r\n", data.accel.x, data.accel.y, data.accel.z);
        M5.Display.printf("       gx: %f\n       gy: %f\n       gz: %f\r\n", data.gyro.x, data.gyro.y, data.gyro.z);
    }
    delay(300);
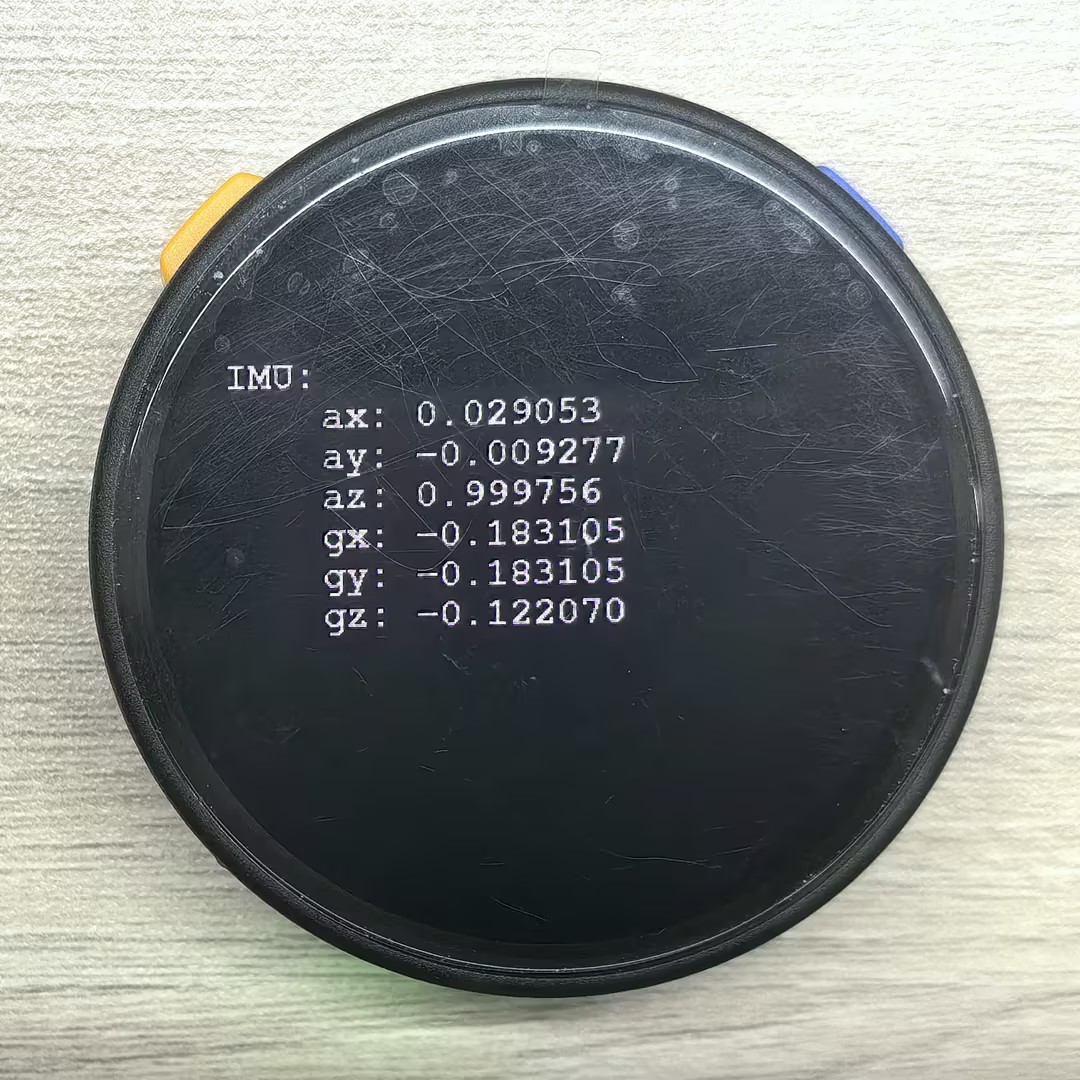
}烧录成功后,您可以在串口监视器和屏幕上看到 IMU 传感器的加速度、陀螺仪数据。
API
StopWatch IMU 部分使用了 M5Unified 库中的 IMU_Class , 更多 IMU 相关的API可以参考下方文档:
Page Tools