

Arduino 上手教程
2. 设备开发 & 案例程序
3. M5Unified
4. M5GFX
5. 扩展模块
Unit
Module
Atomic
Tab5
IoT
ToughC5 microSD 卡
ToughC5 microSD 卡相关 API 与案例程序。
案例程序
编译要求
- M5Stack 板管理版本 >=
3.3.9 - 开发板选项 =
M5ToughC5 - M5Unified 库版本 >=
0.2.22 - M5GFX 库版本 >=
0.2.28
ToughC5 的 microSD 卡由 M5IOE1 和 ESP32-C5 共同控制。microSD 卡的使能信号为 PYB_TF_EN,它连接到 M5IOE1 GPIO6;检测信号为 TF_DET,它连接到 M5IOE1 GPIO14。
cpp
1 2 3 4 5 6 7 8 9 10 11 12 13 14 15 16 17 18 19 20 21 22 23 24 25 26 27 28 29 30 31 32 33 34 35 36 37 38 39 40 41 42 43 44 45 46 47 48 49 50 51 52 53 54 55 56 57 58 59 60 61 62 63 64 65 66 67 68 69 70 71 72 73 74 75 76 77 78 79 80 81 82 83 84 85 86 87 88 89 90 91
#include <Arduino.h>
#include <SPI.h>
#include <SD.h>
#include <M5Unified.h>
#include <M5GFX.h>
#include <utility/M5IOE1_Class.hpp>

static constexpr uint8_t SD_SPI_CS_PIN   = 10;
static constexpr uint8_t SD_SPI_SCK_PIN  = 9;
static constexpr uint8_t SD_SPI_MOSI_PIN = 7;
static constexpr uint8_t SD_SPI_MISO_PIN = 8;
static constexpr auto M5IOE1_TF_EN_PIN  = m5::M5IOE1_Class::gpio6;
static constexpr auto M5IOE1_TF_DET_PIN = m5::M5IOE1_Class::gpio14;

static bool prepareTfCard()
{
  auto& ioe1 = M5.getIOExpander(0);

  // TF_3V3_L3B is enabled by M5IOE1 G6 (PYB_TF_EN).
  ioe1.setHighImpedance(M5IOE1_TF_EN_PIN, false);
  ioe1.setDirection(M5IOE1_TF_EN_PIN, true);
  ioe1.digitalWrite(M5IOE1_TF_EN_PIN, true);

  // TF_DET is connected to M5IOE1 G14 and is active low.
  ioe1.setDirection(M5IOE1_TF_DET_PIN, false);
  ioe1.setPullMode(M5IOE1_TF_DET_PIN, m5::IOExpander_Base::pull_up);

  bool detLevel = true;
  if (!ioe1.getInputLevel(M5IOE1_TF_DET_PIN, &detLevel)) {
    return false;
  }
  return !detLevel;
}

void setup() {
  M5.begin();

  M5.Display.setRotation(1);
  M5.Display.setFont(&fonts::FreeMono12pt7b);

  if (!prepareTfCard()) {
    M5.Display.print("\n TF card not detected\n");
    while (true)
      delay(1000);
  }

  SPI.begin(SD_SPI_SCK_PIN, SD_SPI_MISO_PIN, SD_SPI_MOSI_PIN, SD_SPI_CS_PIN);
  if (!SD.begin(SD_SPI_CS_PIN, SPI, 25000000)) {
    M5.Display.print("\n SD card not detected\n");
    while (true)
      ;
  } else {
    M5.Display.print("\n SD card detected\n");
  }
  delay(1000);

  M5.Display.print("\n SD card write test...\n");
  auto file = SD.open("/WriteTest.txt", FILE_WRITE, true);
  if (file) {
    file.print("Hello, world! \nSD card write success! \n");
    file.close();
    M5.Display.print(" SD card write success\n");
  } else {
    M5.Display.print(" Failed to create TXT file\n");
  }
  delay(1000);

  M5.Display.print("\n SD card read test...\n");
  auto picture01 = SD.open("/TestPicture01.png", FILE_READ, false);
  if (picture01) {
    picture01.close();
    M5.Display.print(" PNG file 01 detected\n");
  } else {
    M5.Display.print(" PNG file 01 not detected\n");
  }
  auto picture02 = SD.open("/TestPicture02.png", FILE_READ, false);
  if (picture02) {
    picture02.close();
    M5.Display.print(" PNG file 02 detected\n");
  } else {
    M5.Display.print(" PNG file 02 not detected\n");
  }
  delay(1000);
}

void loop() {
  M5.Display.drawPngFile(SD, "/TestPicture01.png");
  delay(500);
  M5.Display.drawPngFile(SD, "/TestPicture02.png");
  delay(500);
}准备一张 microSD 卡并格式化为 FAT32,在卡的根目录放入两张 320*240 分辨率的 PNG 图片,命名为 TestPicture01.png 和 TestPicture02.png。也可以直接下载 示例图片 1 和 示例图片 2。如果图片分辨率不是 320*240,程序会根据预设决定显示方式,可能会出现显示异常。
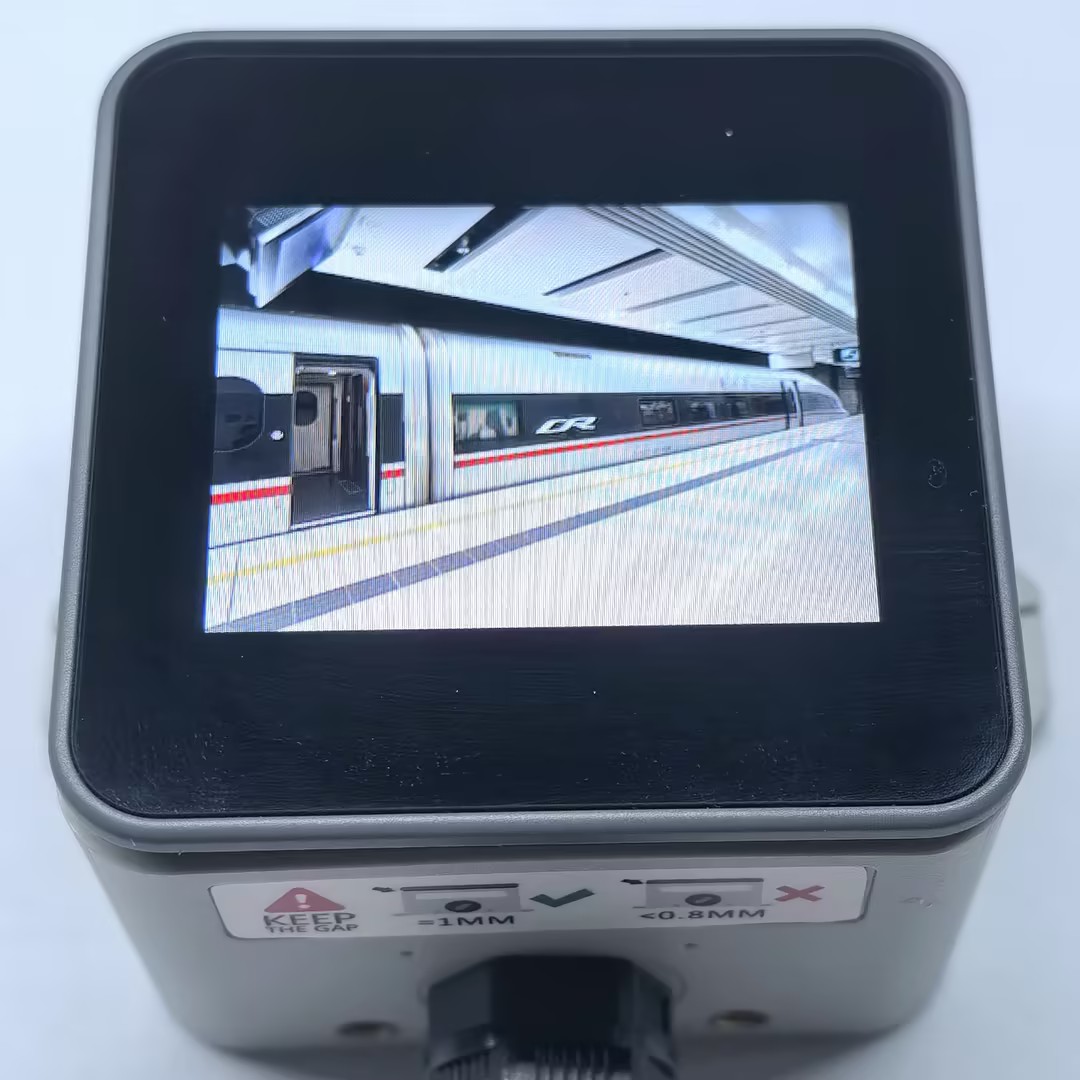
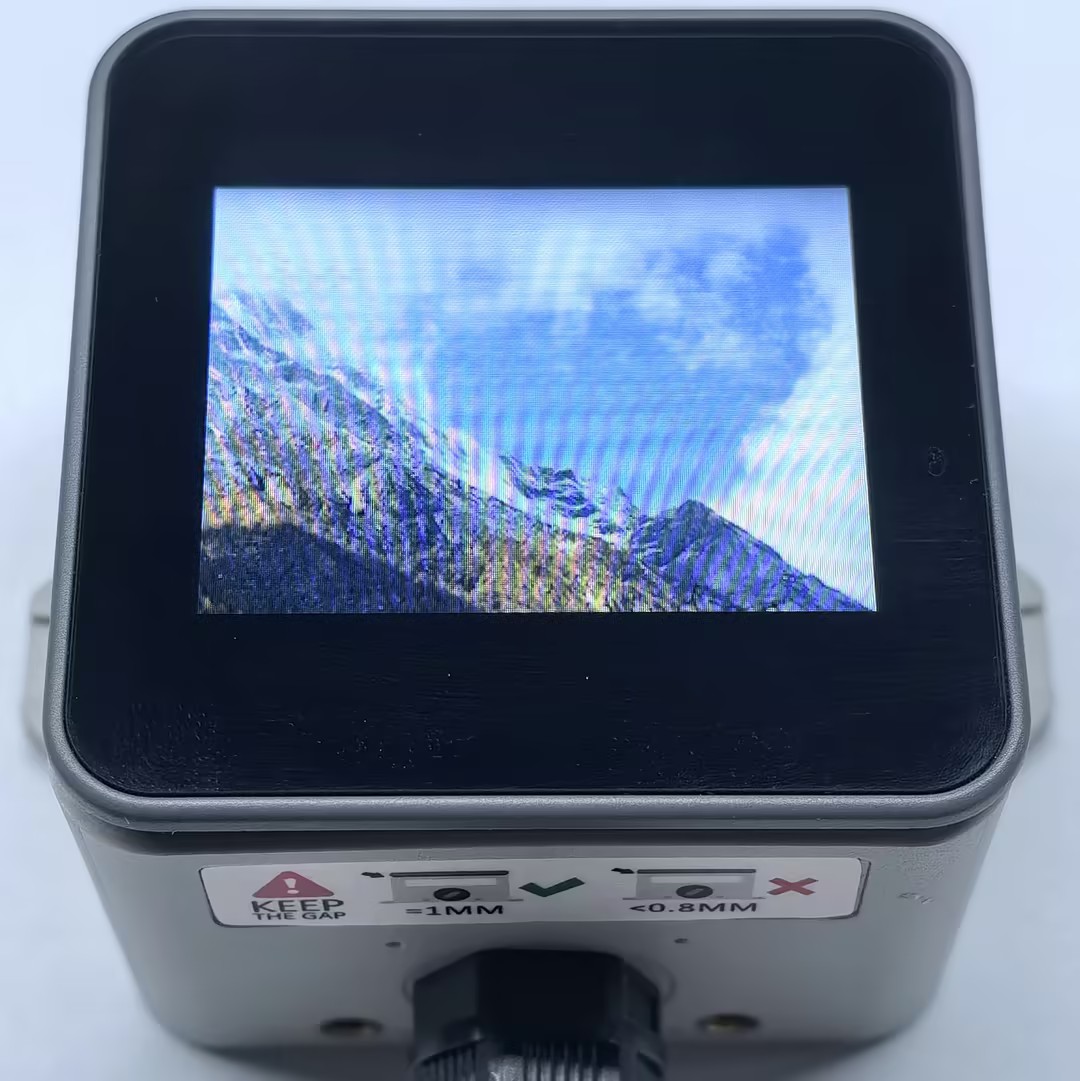
该程序会在 microSD 卡中创建文本文件 WriteTest.txt 并写入一段文本,然后循环显示卡中的两张 PNG 图片。
例程运行效果如下图所示:
API
ToughC5 microSD 卡部分使用了 Arduino 自带的 SD 库以及 M5GFX 库中的 drawPngFile,更多相关 API 可以参考下方文档:
Page Tools