

Arduino 上手教程
2. 设备开发 & 案例程序
3. M5Unified
4. M5GFX
5. 扩展模块
Unit
Module
Atomic
Tab5
IoT
Faces Keyboard3 Arduino 使用教程
1. 准备工作
- 环境配置:参考 Arduino IDE 上手教程 完成 IDE 安装,并根据实际使用的开发板安装对应的板管理与驱动库。
- 使用到的驱动库:
- 使用到的硬件产品:

2. 注意事项
引脚兼容性
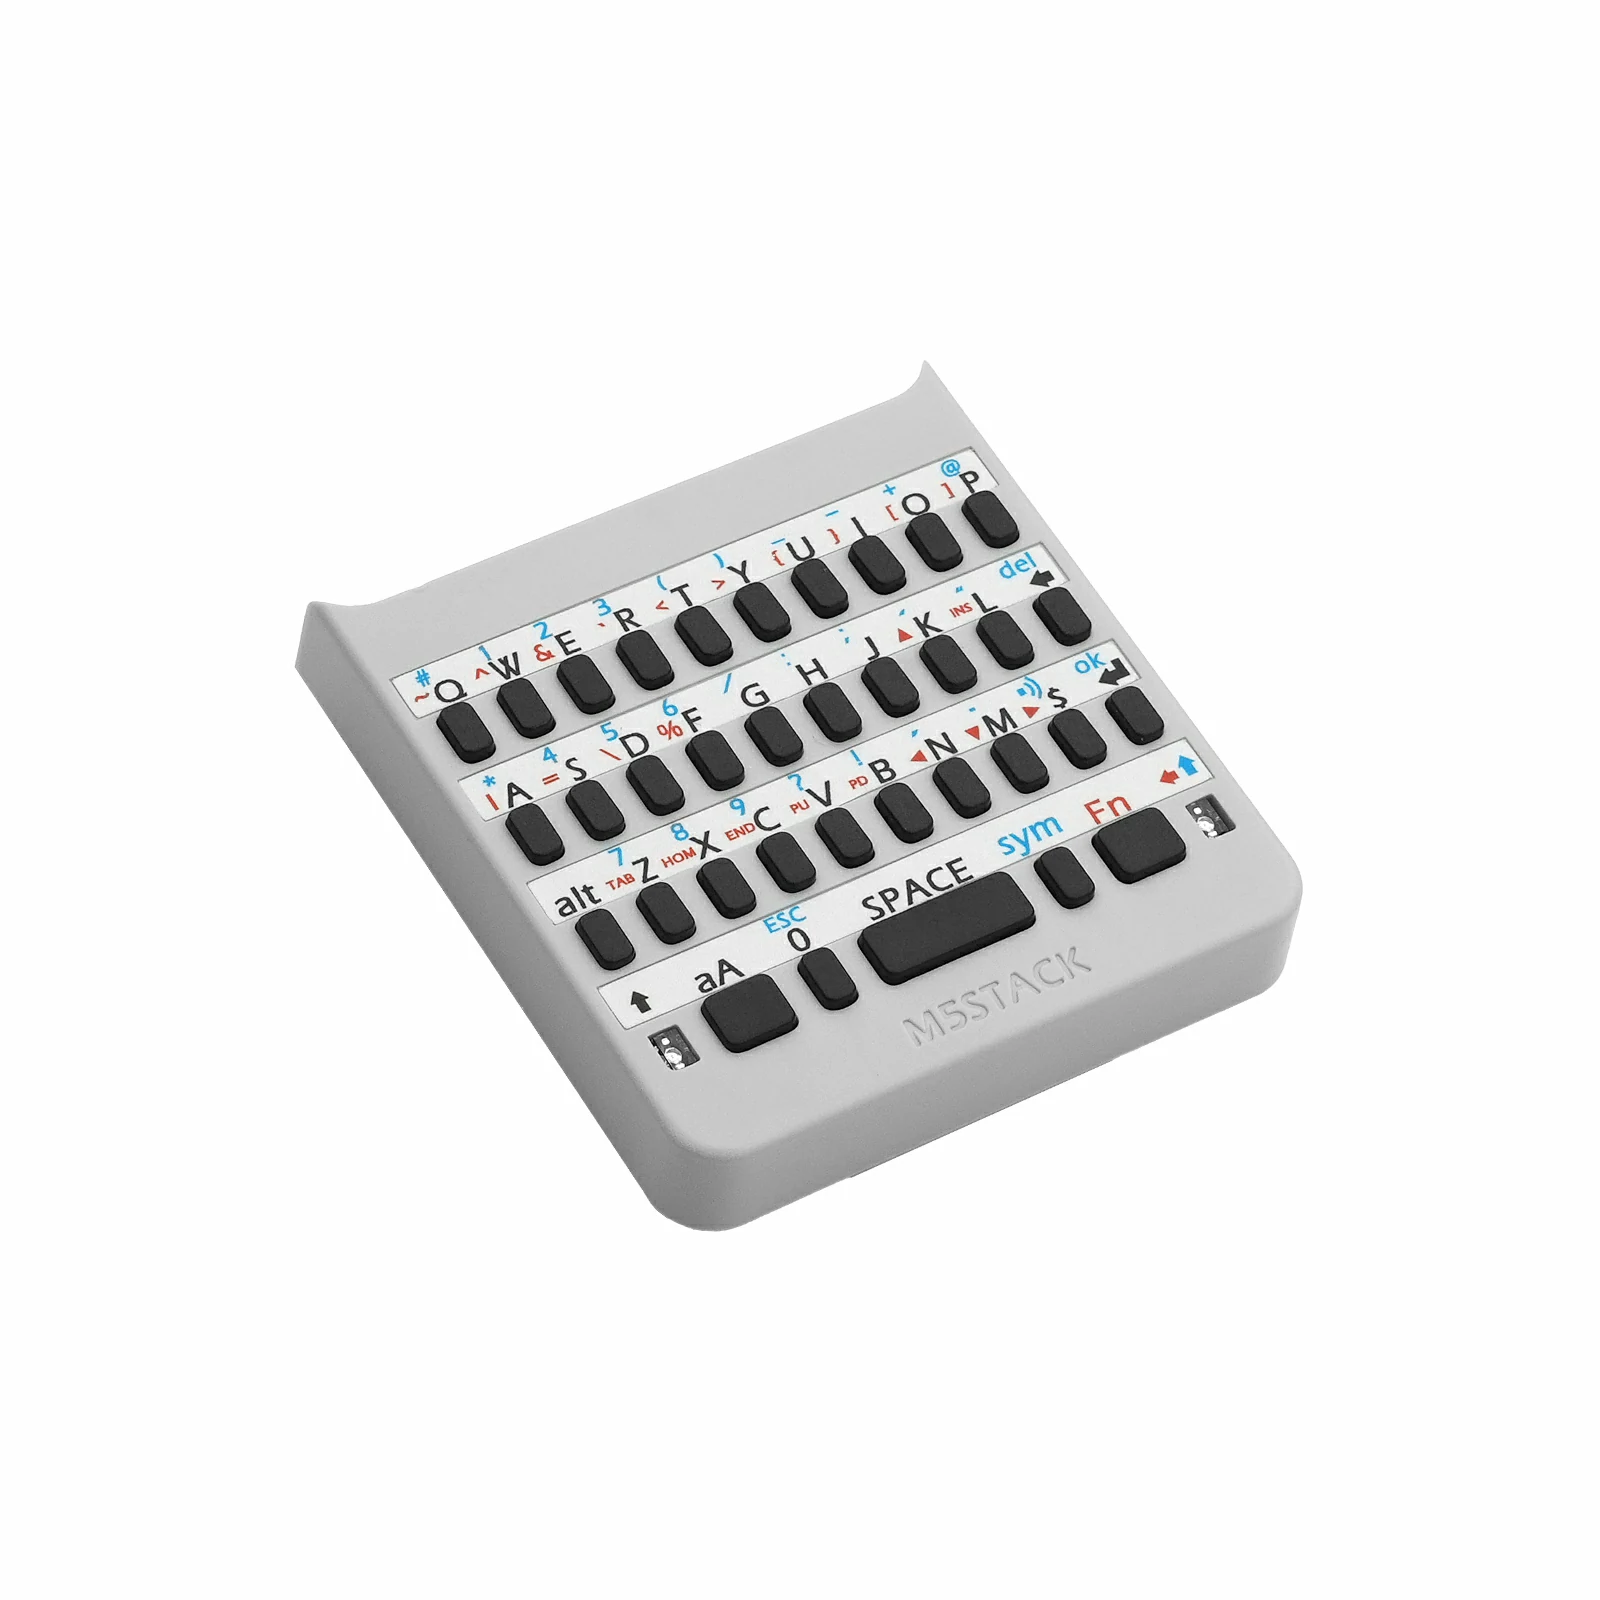
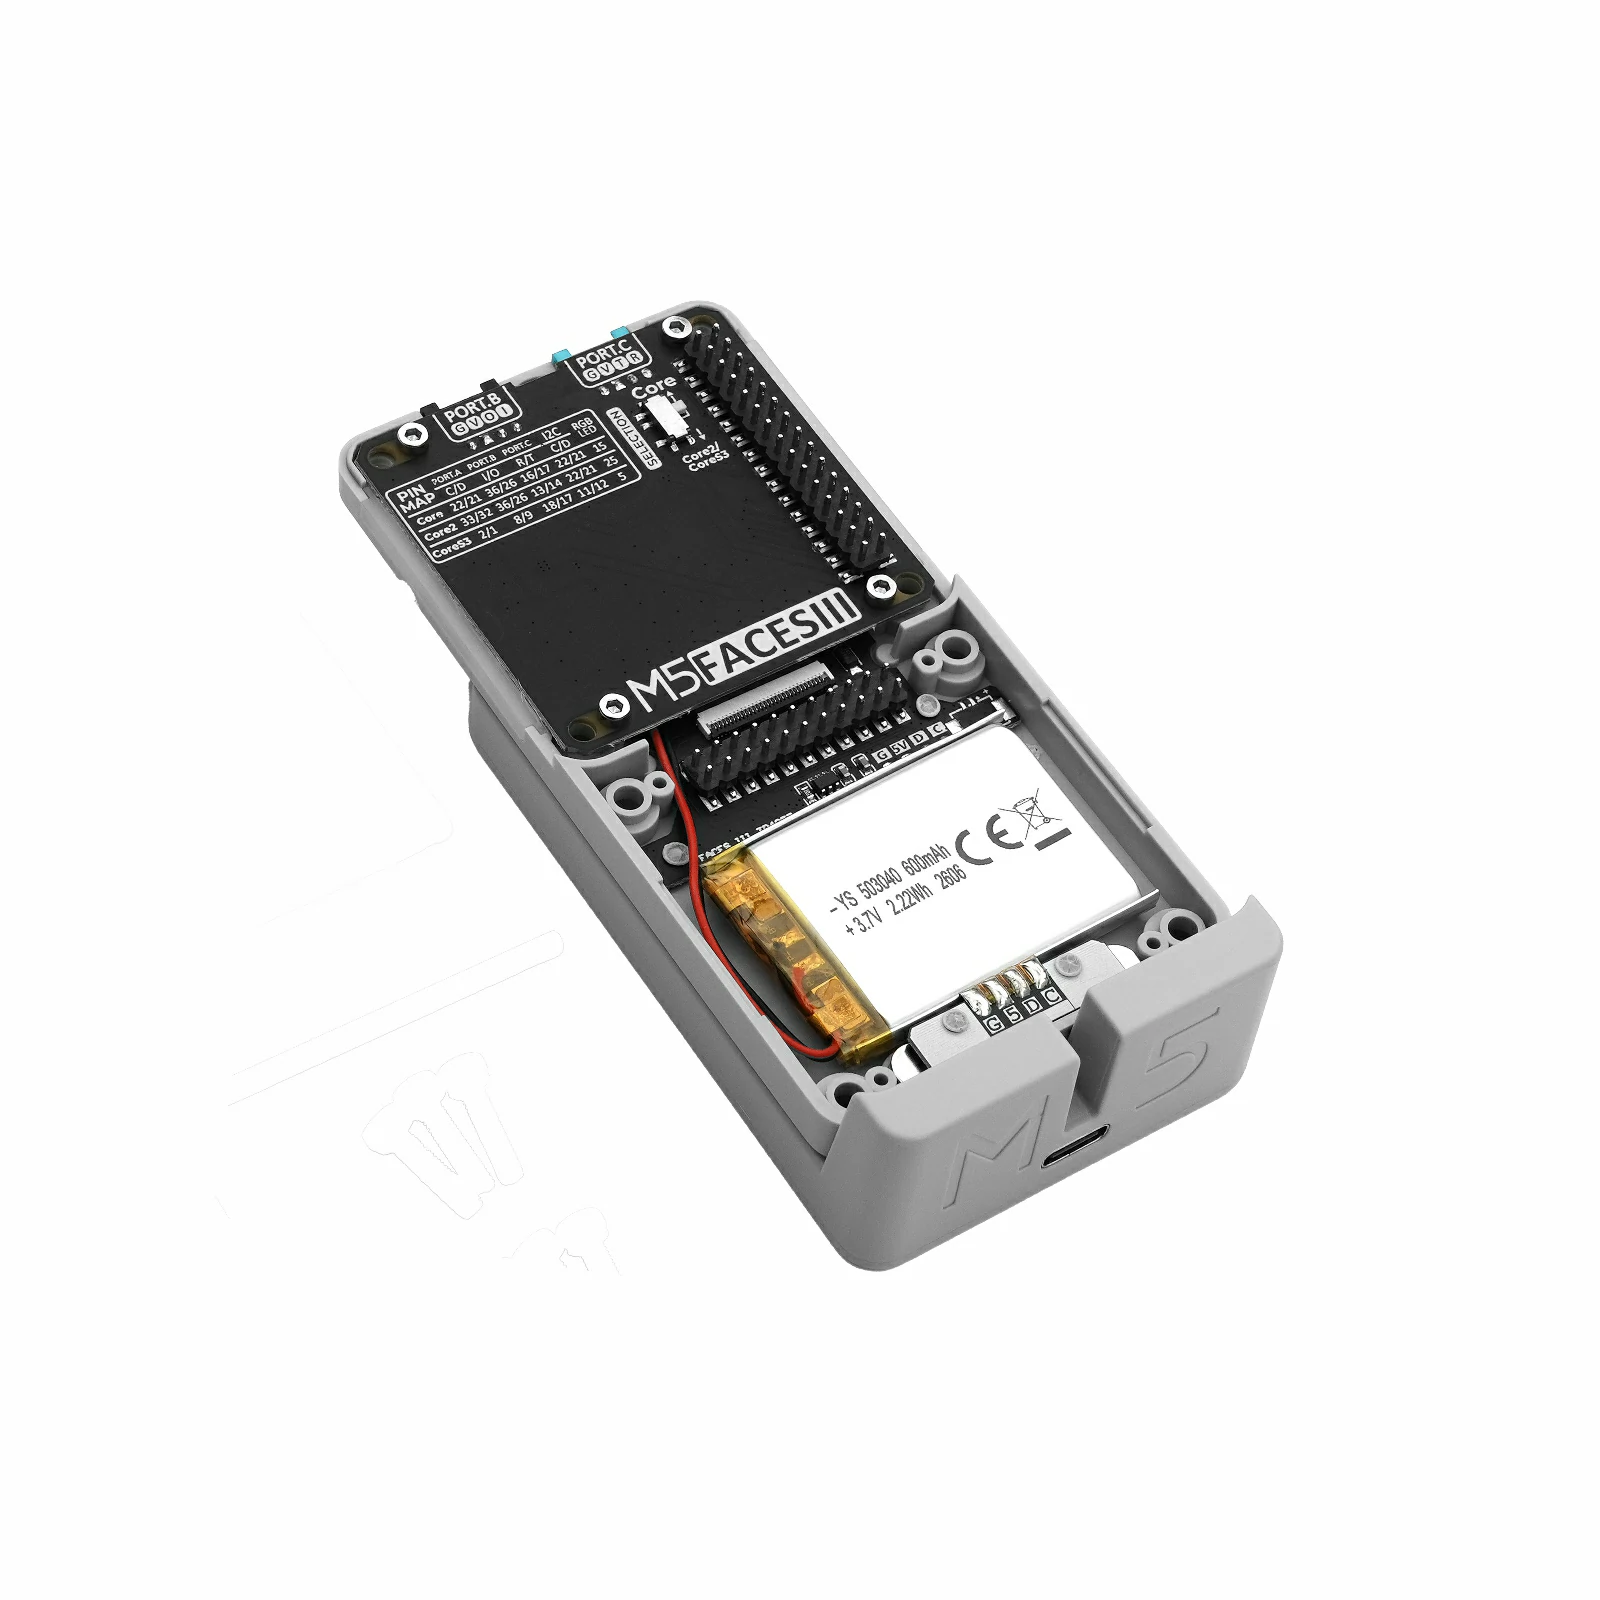
Faces Keyboard3 通过 Faces Bottom3 的 M5-Bus 与主控连接。由于不同主控的 M5-Bus 引脚定义不同,使用前请参考下方引脚兼容表,并根据实际引脚连接情况修改案例程序。
3. 案例程序
- 本教程中使用的主控设备为 CoreS3,将 Faces Keyboard3 插入 Faces Bottom3 的面板接口,再通过 M5-Bus 将 Faces Bottom3 与 CoreS3 连接。Faces Keyboard3 通过 I2C 与主控通信,设备连接后对应的 I2C IO 为
G12 (SDA)、G11 (SCL),中断引脚为G10 (INT)。
cpp
1 2 3 4 5 6 7 8 9 10 11 12 13 14 15 16 17 18 19 20 21 22 23 24 25 26 27 28 29 30 31 32 33 34 35 36 37 38 39 40 41 42 43 44 45 46 47 48 49 50 51 52 53 54 55 56 57 58 59 60 61 62 63 64 65 66 67 68 69 70 71 72 73 74
#include <Arduino.h>
#include <M5Faces.h>
#include <M5Unified.h>

M5Faces_Keyboard3 faces;
String screen_text;

void redraw_screen()
{
    M5.Display.fillScreen(TFT_BLACK);
    M5.Display.setCursor(0, 0);
    M5.Display.print(">");
    M5.Display.print(screen_text);
}

void setup()
{
    Serial.begin(115200);
    screen_text.reserve(256);

    auto config           = M5.config();
    config.fallback_board = m5::board_t::board_M5StackCoreS3;
    M5.begin(config);

    const int i2c_sda = M5.getPin(m5::pin_name_t::in_i2c_sda);
    const int i2c_scl = M5.getPin(m5::pin_name_t::in_i2c_scl);
    if (!M5.In_I2C.isEnabled()) {
        M5.In_I2C.begin(I2C_NUM_1, i2c_sda, i2c_scl);
    }

    M5.Display.setRotation(1);
    M5.Display.setTextColor(TFT_GREEN, TFT_BLACK);
    M5.Display.setFont(&fonts::FreeMonoBold12pt7b);
    M5.Display.setTextSize(1);
    M5.Display.setTextWrap(true);
    M5.Display.setTextScroll(true);
    redraw_screen();

    if (faces.begin(&M5.In_I2C) != M5FACES_OK) {
        Serial.println("Keyboard3 init failed");
        M5.Display.print(" init failed");
        return;
    }

    Serial.println("Keyboard3 ready");
}

void loop()
{
    if (faces.update()) {
        const uint8_t raw = faces.getKey();
        const char value  = faces.getChar();
        const char* name  = M5Faces_Keyboard3::keyboard3_code_parse(raw);

        if (faces.isPrintable()) {
            Serial.printf("raw=0x%02X key='%c'\n", raw, value);
            screen_text += value;
            redraw_screen();
        } else {
            Serial.printf("raw=0x%02X key=%s\n", raw, name ? name : "UNKNOWN");
            if ((value == '\b' || raw == KEYBOARD3_KEY_DEL) && screen_text.length() > 0) {
                screen_text.remove(screen_text.length() - 1);
                redraw_screen();
            } else if (value == '\n') {
                screen_text += '\n';
                redraw_screen();
            } else if (value == '\t') {
                screen_text += "    ";
                redraw_screen();
            }
        }
    }
    delay(5);
}4. 编译与上传
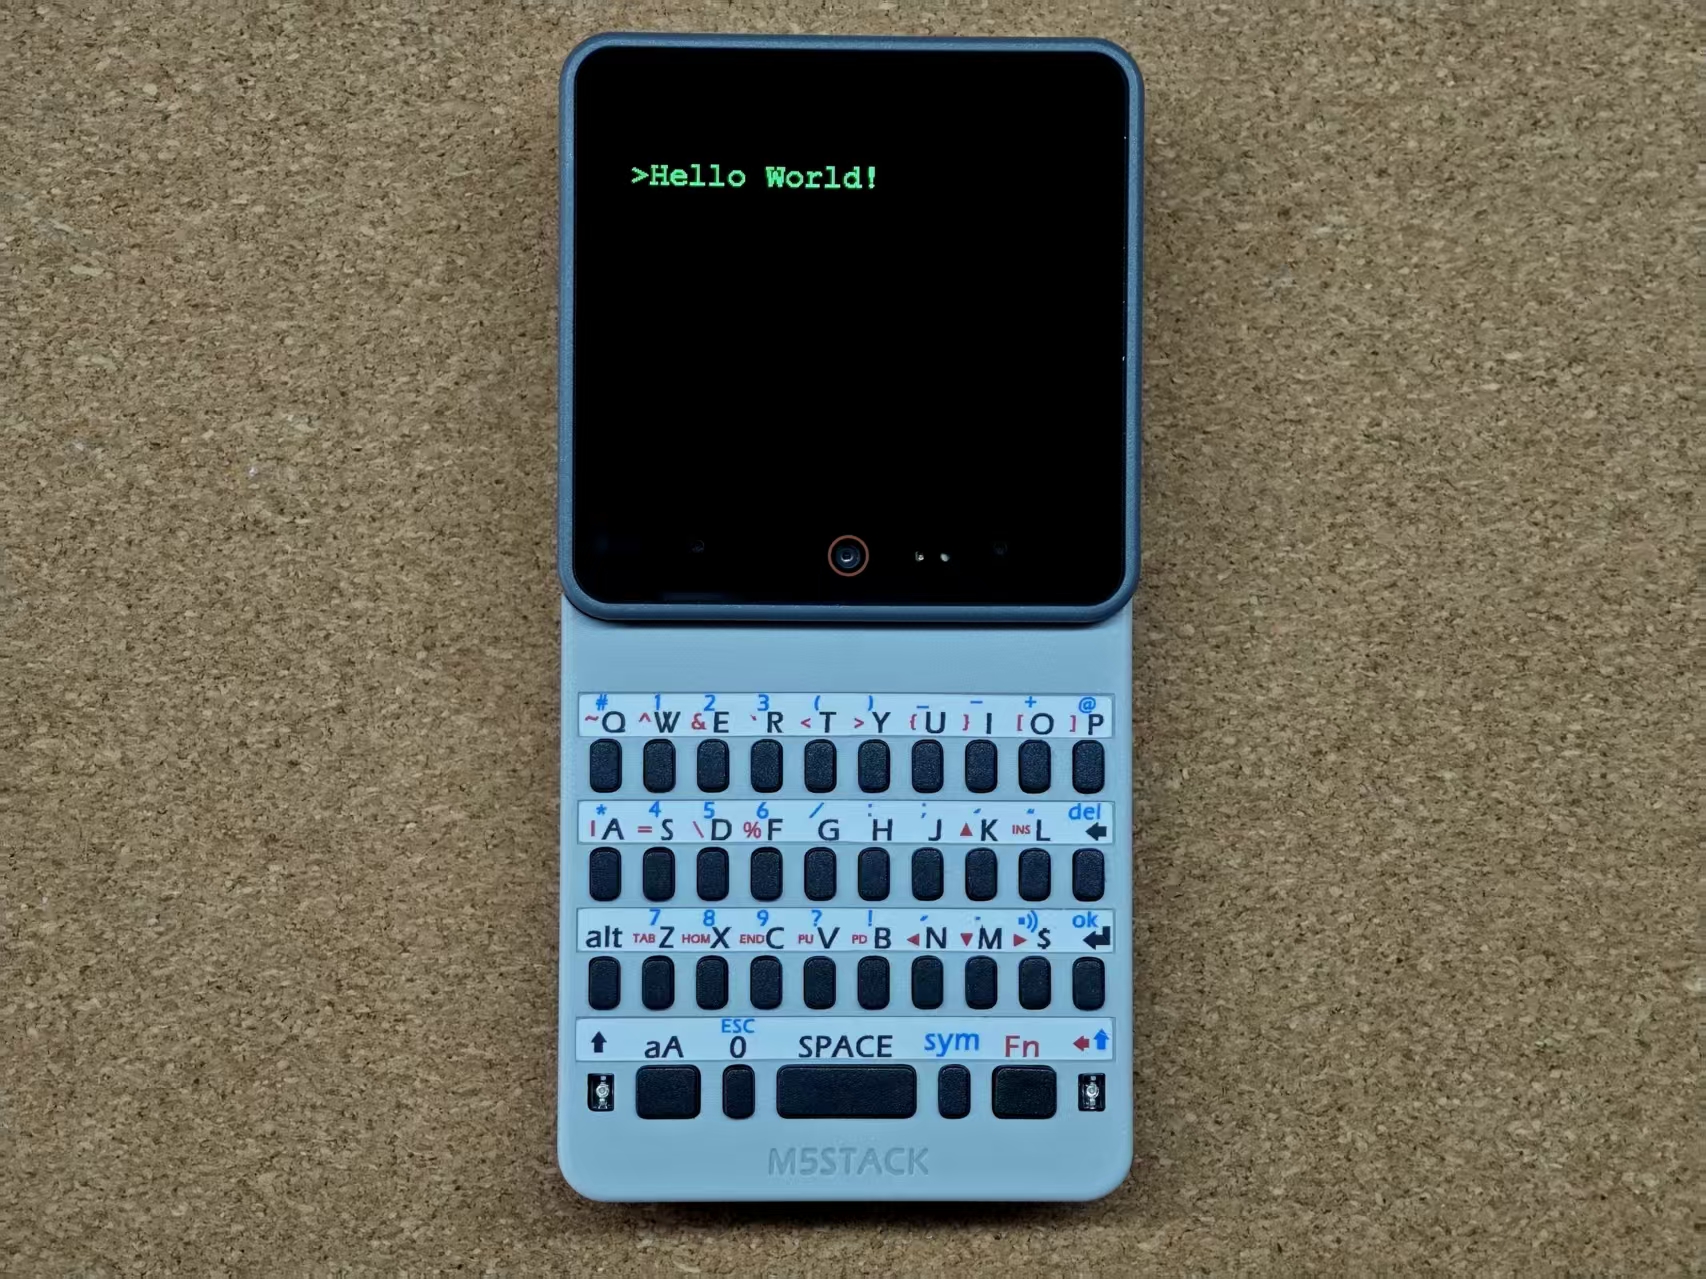
在 Arduino IDE 中选择 CoreS3 对应的开发板和端口,点击“验证”编译程序;编译通过后点击“上传”,将程序烧录至 CoreS3。上传完成后可打开串口监视器查看运行输出。
5. 参考链接
Page Tools