

Arduino 上手教程
2. 设备开发 & 案例程序
3. M5Unified
4. M5GFX
5. 扩展模块
Unit
Module
Atomic
Tab5
IoT
Unit Mini Scales Arduino 使用教程
1. 准备工作
- 环境配置:参考 Arduino IDE 上手教程 完成 IDE 安装,并根据实际使用的开发板安装对应的板管理器和所需驱动库。
- 使用到的驱动库:
- 使用到的硬件产品:

2. 注意事项
引脚兼容性
由于每款主机的引脚配置不同,为了让用户更方便地使用,M5Stack 官方提供了引脚兼容性表,方便用户查看,请根据实际引脚连接情况修改案例程序。
3. 案例程序
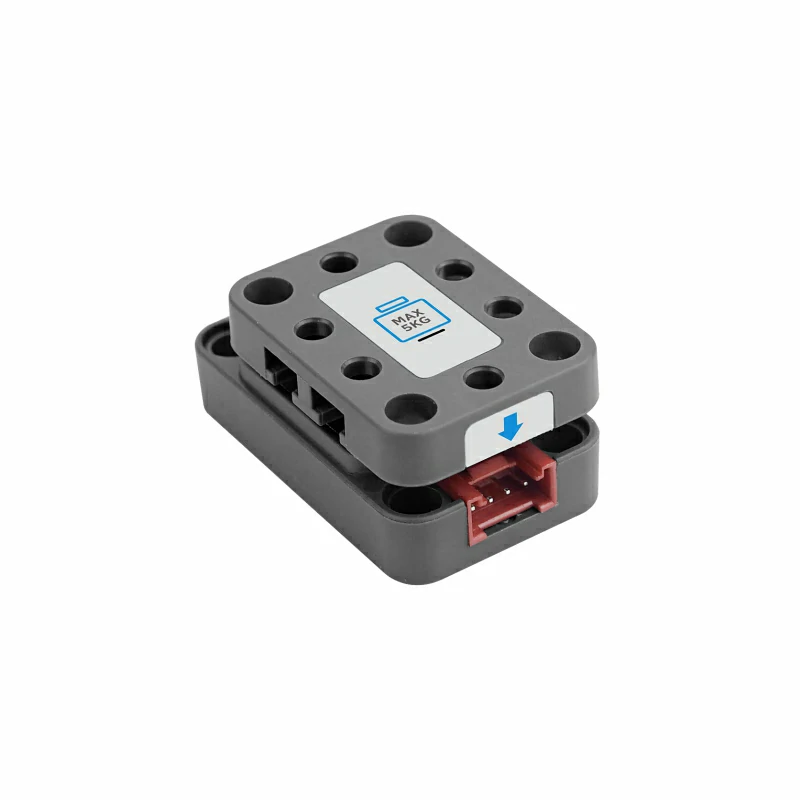
- 本教程中使用的主控设备为 CoreS3,搭配 Unit Mini Scales。Unit Mini Scales 采用 I2C 通信,设备连接后对应的引脚为
G2 (SDA)、G1 (SCL)。
注意
使用前需在 Unit Mini Scales 上安装称重板,最大称重量程为
5kg。为避免损坏传感器,请勿超过额定量程,首次测量前建议完成零点校准或去皮操作。cpp
1 2 3 4 5 6 7 8 9 10 11 12 13 14 15 16 17 18 19 20 21 22 23 24 25 26 27 28 29 30 31 32 33 34 35 36 37 38 39 40 41 42 43 44 45 46 47 48 49 50 51
#include <M5Unified.h>
#include <M5GFX.h>
#include "UNIT_SCALES.h"

M5Canvas canvas(&M5.Lcd);
UNIT_SCALES scales;

void setup() {
    M5.begin();
    M5.Lcd.begin();
    canvas.setFont(&fonts::FreeMonoBold12pt7b);
    canvas.createSprite(M5.Lcd.width(), M5.Lcd.height());
    // Initialize PORT.A I2C and retry until the unit responds.
    Wire.begin();
    while (!scales.begin(&Wire, EX_SDA, EX_SCL, DEVICE_DEFAULT_ADDR)) {
        Serial.println("Unit Mini Scales connect error");
        M5.Lcd.print("Unit Mini Scales connect error");
        delay(1000);
    }
    // Set the unit status LED to dim green.
    scales.setLEDColor(0x001000);
}

void loop() {
    float weight = scales.getWeight();
    float gap    = scales.getGapValue();
    int adc      = scales.getRawADC();

    // Redraw the weight and raw ADC values.
    canvas.fillSprite(BLACK);
    canvas.drawCenterString("Unit Mini Scale Test", 160, 10);
    canvas.setTextColor(WHITE);
    canvas.setCursor(10, 50);
    canvas.printf("WEIGHT:");
    canvas.setTextColor(GREEN);
    canvas.printf("%.2fg", weight);
    canvas.setCursor(10, 100);
    canvas.setTextColor(WHITE);
    canvas.printf("ADC:");
    canvas.setTextColor(GREEN);
    canvas.printf("%d", adc);
    canvas.setTextColor(ORANGE);
    canvas.drawCenterString("Touch Screen to Offset", 160, 200);
    canvas.pushSprite(0, 0);

    // Tap the screen to use the current load as the zero offset.
    M5.update();
    if (M5.Touch.getDetail().wasClicked()) {
        scales.setOffset();
    }
}4. 编译上传
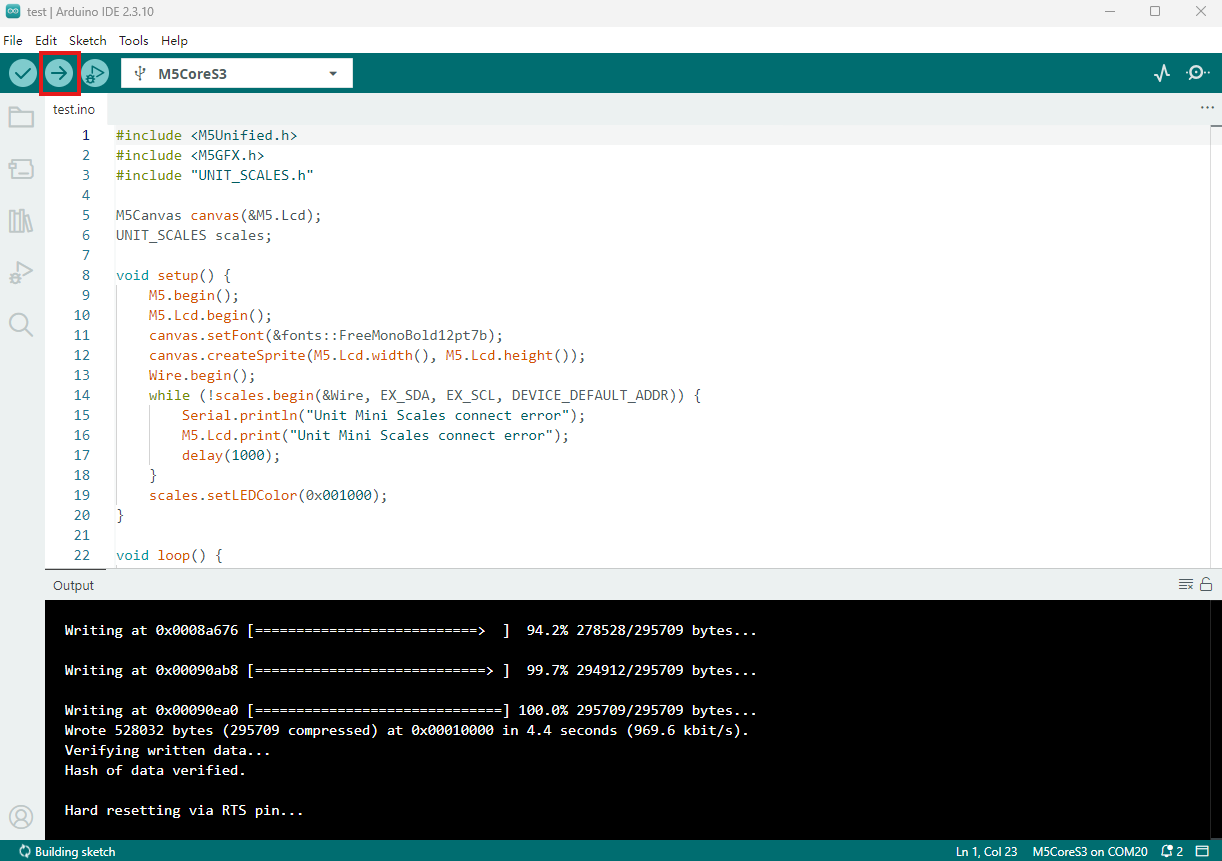
- 复制粘贴上述例程代码到项目代码区,选中设备端口(详情请参考 程序编译与烧录),点击 Arduino IDE 左上角编译上传按钮,等待程序完成编译并上传至设备。
5. 称重与置零
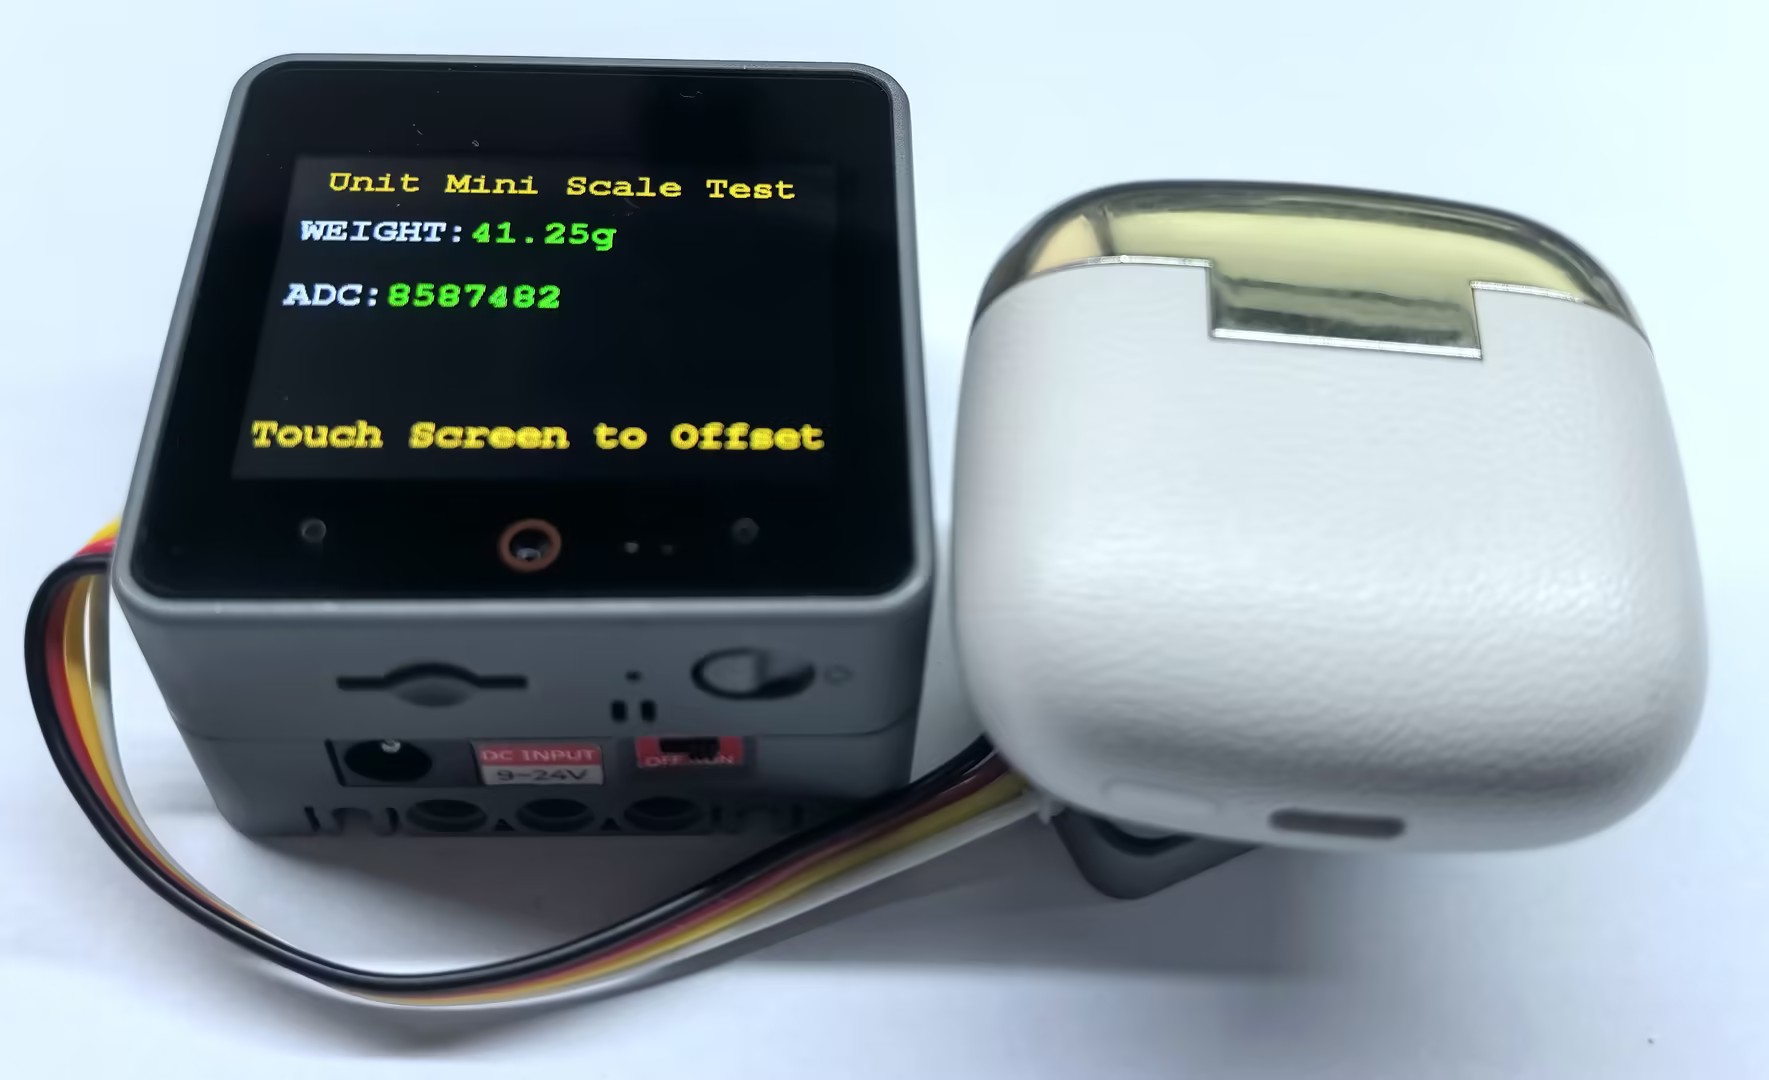
- Unit Mini Scales 连接成功后,模块状态灯将显示为暗绿色,CoreS3 屏幕会持续显示当前重量和 ADC 原始值。轻触屏幕任意位置可调用
setOffset(),将当前负载设为零点;清零后放置或移除物体,可观察重量和 ADC 数值变化。
Page Tools