

Arduino 上手教程
2. 设备开发 & 案例程序
3. M5Unified
4. M5GFX
5. 扩展模块
Unit
Module
Atomic
Tab5
IoT
Unit Scales Arduino 使用教程
1. 准备工作
- 环境配置:参考 Arduino IDE 上手教程 完成 IDE 安装,并根据实际使用的开发板安装对应的板管理器和所需驱动库。
- 使用到的驱动库:
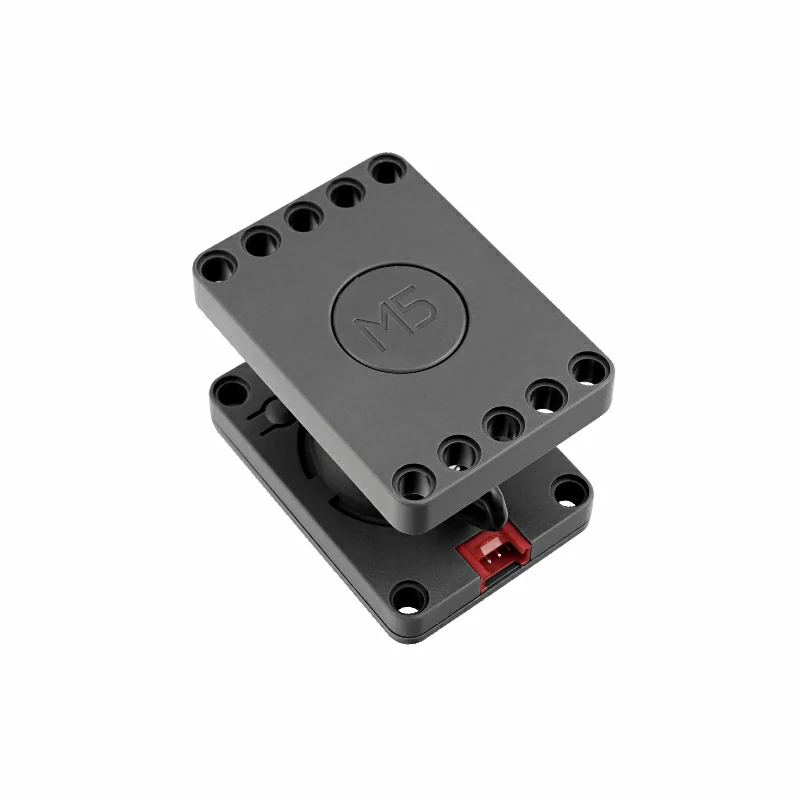
- 使用到的硬件产品:

2. 注意事项
引脚兼容性
由于每款主机的引脚配置不同,为了让用户更方便地使用,M5Stack 官方提供了引脚兼容性表,方便用户查看,请根据实际引脚连接情况修改案例程序。
3. 案例程序
- 本教程中使用的主控设备为 CoreS3,搭配 Unit Scales。Unit Scales 采用 I2C 通信,设备连接后对应的引脚为
G2 (SDA)、G1 (SCL)。
注意
Unit Scales 的最大称重量程为
20kg。为避免损坏传感器,请勿超过额定量程,首次测量前建议在称重平台空载时执行清零操作。cpp
1 2 3 4 5 6 7 8 9 10 11 12 13 14 15 16 17 18 19 20 21 22 23 24 25 26 27 28 29 30 31 32 33 34 35 36 37 38 39 40 41 42 43 44 45 46 47 48 49 50 51 52 53 54 55 56 57 58 59 60 61 62 63 64 65 66 67 68 69 70 71 72 73 74 75 76 77 78 79 80 81 82 83 84 85 86 87 88 89 90 91 92 93 94 95 96 97 98 99 100 101 102 103 104 105 106 107 108 109 110 111 112 113 114 115 116 117 118 119 120 121 122 123 124 125 126 127 128 129 130 131 132 133 134 135 136 137 138 139 140 141 142 143 144 145 146 147 148 149 150 151 152 153 154 155 156 157 158 159 160 161 162 163 164 165 166 167 168 169 170 171 172 173 174 175 176 177 178 179 180 181 182 183 184 185 186 187 188 189 190 191 192 193 194 195 196 197 198 199 200 201 202 203 204 205 206 207 208 209
#include <M5GFX.h>
#include <M5Unified.h>
#include <M5_Scales.h>

M5Canvas canvas(&M5.Display);
M5_Scales scales;

// LED color presets selected by the COLOR button.
constexpr uint8_t COLOR_COUNT = 3;
const uint32_t colorList[COLOR_COUNT] = {0xFF0000, 0x00FF00, 0x0000FF};
const char *const colorNames[COLOR_COUNT] = {"RED", "GREEN", "BLUE"};
const uint16_t colorBorders[COLOR_COUNT] = {TFT_RED, TFT_GREEN, TFT_BLUE};

// Bottom touch-button layout and screen refresh rate.
constexpr int16_t BUTTON_MARGIN = 4;
constexpr int16_t BUTTON_GAP = 4;
constexpr int16_t BUTTON_HEIGHT = 46;
constexpr uint32_t SCREEN_UPDATE_INTERVAL_MS = 100;

int16_t buttonWidth = 0;
int16_t buttonY = 0;
bool ledSync = false;
uint8_t colorIndex = 2;
uint32_t lastScreenUpdate = 0;
bool forceScreenUpdate = true;

// Calculate the left edge of a touch button.
int16_t getButtonX(uint8_t index) {
  return BUTTON_MARGIN + index * (buttonWidth + BUTTON_GAP);
}

// Return the touched button index, or -1 when outside all buttons.
int8_t getTouchedButton(int16_t x, int16_t y) {
  if (y < buttonY || y >= buttonY + BUTTON_HEIGHT)
    return -1;

  for (uint8_t i = 0; i < 3; ++i) {
    const int16_t buttonX = getButtonX(i);
    if (x >= buttonX && x < buttonX + buttonWidth)
      return i;
  }
  return -1;
}

// Draw one two-line touch button.
void drawButton(uint8_t index, const char *title, const char *value,
                uint16_t fillColor, uint16_t borderColor) {
  const int16_t x = getButtonX(index);

  canvas.fillRoundRect(x, buttonY, buttonWidth, BUTTON_HEIGHT, 4, fillColor);
  canvas.drawRoundRect(x, buttonY, buttonWidth, BUTTON_HEIGHT, 4, borderColor);
  canvas.drawRoundRect(x + 1, buttonY + 1, buttonWidth - 2, BUTTON_HEIGHT - 2,
                       3, borderColor);

  canvas.setFont(&fonts::Font2);
  canvas.setTextSize(1);
  canvas.setTextDatum(textdatum_t::middle_center);
  canvas.setTextColor(TFT_WHITE);
  canvas.drawString(title, x + buttonWidth / 2, buttonY + 13);
  canvas.drawString(value, x + buttonWidth / 2, buttonY + 33);
}

void drawScreen() {
  canvas.fillSprite(TFT_BLACK);
  canvas.setFont(&fonts::FreeMonoBold9pt7b);
  canvas.setTextSize(1);
  canvas.setTextDatum(textdatum_t::top_left);
  canvas.setTextColor(TFT_WHITE);

  // Read the latest Unit Scales status before drawing the frame.
  const int weight = scales.getWeight();
  const uint32_t adc = scales.getRawADC();
  const bool unitButtonPressed = scales.getBtnStatus();
  const uint8_t buttonCount = scales.getBtnPressedCount();
  const uint8_t longPressCount = scales.getBtnLongPressedCount();
  const uint32_t ledColor = scales.getLEDColor();

  canvas.drawCenterString("Unit Scales Status", 160, 5);
  canvas.drawString("WEIGHT: " + String(weight) + " g", 8, 28);
  canvas.drawString("RAW ADC: " + String(adc), 8, 50);
  canvas.drawString("UNIT BUTTON: " +
                        String(unitButtonPressed ? "PRESSED" : "RELEASED"),
                    8, 72);
  canvas.drawString("BUTTON COUNT: " + String(buttonCount), 8, 94);
  canvas.drawString("LONG PRESS: " + String(longPressCount), 8, 116);
  canvas.drawString("LED COLOR: 0x" + String(ledColor, HEX), 8, 138);
  canvas.drawString("LED SYNC: " + String(ledSync ? "ON" : "OFF"), 8, 160);

  drawButton(0, "LED SYNC", ledSync ? "ON" : "OFF",
             ledSync ? TFT_DARKGREEN : TFT_DARKGREY,
             ledSync ? TFT_GREEN : TFT_LIGHTGREY);
  drawButton(1, "SET", "OFFSET", TFT_DARKCYAN, TFT_CYAN);
  drawButton(2, "COLOR", colorNames[colorIndex], TFT_DARKGREY,
             colorBorders[colorIndex]);

  canvas.pushSprite(0, 0);
}

void handleTouch() {
  const auto touch = M5.Touch.getDetail();
  // Trigger an action only after a complete tap is released.
  if (!touch.wasClicked())
    return;

  switch (getTouchedButton(touch.x, touch.y)) {
  case 0: {
    // Toggle weight-based LED synchronization.
    const bool newLedSync = !ledSync;
    if (scales.setLEDSyncWeight(newLedSync)) {
      ledSync = newLedSync;
      if (!ledSync) {
        scales.setLEDColor(colorList[colorIndex]);
      }
      Serial.printf("LED Sync: %s\n", ledSync ? "ON" : "OFF");
    } else {
      Serial.println("Failed to change LED Sync");
    }
    break;
  }

  case 1:
    // Use the current ADC value as the zero offset.
    if (scales.setOffset()) {
      Serial.println("Offset set to current ADC value");
    } else {
      Serial.println("Failed to set offset");
    }
    break;

  case 2: {
    // Cycle through the predefined LED colors.
    const uint8_t newColorIndex = (colorIndex + 1) % COLOR_COUNT;
    if (scales.setLEDColor(colorList[newColorIndex])) {
      colorIndex = newColorIndex;
      Serial.printf("LED color: %s\n", colorNames[colorIndex]);
    } else {
      Serial.println("Failed to change LED color");
    }
    break;
  }

  default:
    return;
  }

  // Refresh the screen immediately after a successful touch action.
  forceScreenUpdate = true;
}

// Show a blocking startup error on the display.
void showConnectionError(const char *message) {
  canvas.fillSprite(TFT_BLACK);
  canvas.setFont(&fonts::FreeMonoBold9pt7b);
  canvas.setTextDatum(textdatum_t::middle_center);
  canvas.setTextColor(TFT_RED);
  canvas.drawString(message, canvas.width() / 2, canvas.height() / 2);
  canvas.pushSprite(0, 0);
}

void setup() {
  // Initialize CoreS3 display, touch, power, and internal peripherals.
  auto config = M5.config();
  config.clear_display = true;
  M5.begin(config);

  Serial.begin(115200);
  M5.Display.setRotation(1);

  // Render the complete UI in a 16-bit sprite to reduce flicker.
  canvas.setColorDepth(16);
  canvas.createSprite(M5.Display.width(), M5.Display.height());

  buttonWidth = (M5.Display.width() - BUTTON_MARGIN * 2 - BUTTON_GAP * 2) / 3;
  buttonY = M5.Display.height() - BUTTON_MARGIN - BUTTON_HEIGHT;

  Wire.end();
  while (!scales.begin(&Wire, EX_SDA, EX_SCL, M5_SCALES_DEFAULT_ADDR)) {
    showConnectionError("UNIT SCALES CONNECT ERROR");
    Serial.println("Unit Scales connect error");
    delay(1000);
  }

  // Apply the initial LED and onboard-button settings.
  bool initialized = true;
  initialized &= scales.setLEDSyncWeight(ledSync);
  initialized &= scales.setBtnOffsetControl(false);
  initialized &= scales.setLEDColor(colorList[colorIndex]);

  Serial.println(initialized ? "Unit Scales initialized"
                             : "Unit Scales initialization error");
  drawScreen();
}

void loop() {
  // Refresh touch state before checking screen input.
  M5.update();
  handleTouch();

  // Limit display and Unit Scales polling to the configured interval.
  const uint32_t now = millis();
  if (forceScreenUpdate ||
      now - lastScreenUpdate >= SCREEN_UPDATE_INTERVAL_MS) {
    drawScreen();
    lastScreenUpdate = now;
    forceScreenUpdate = false;
  }

  delay(10);
}4. 编译上传
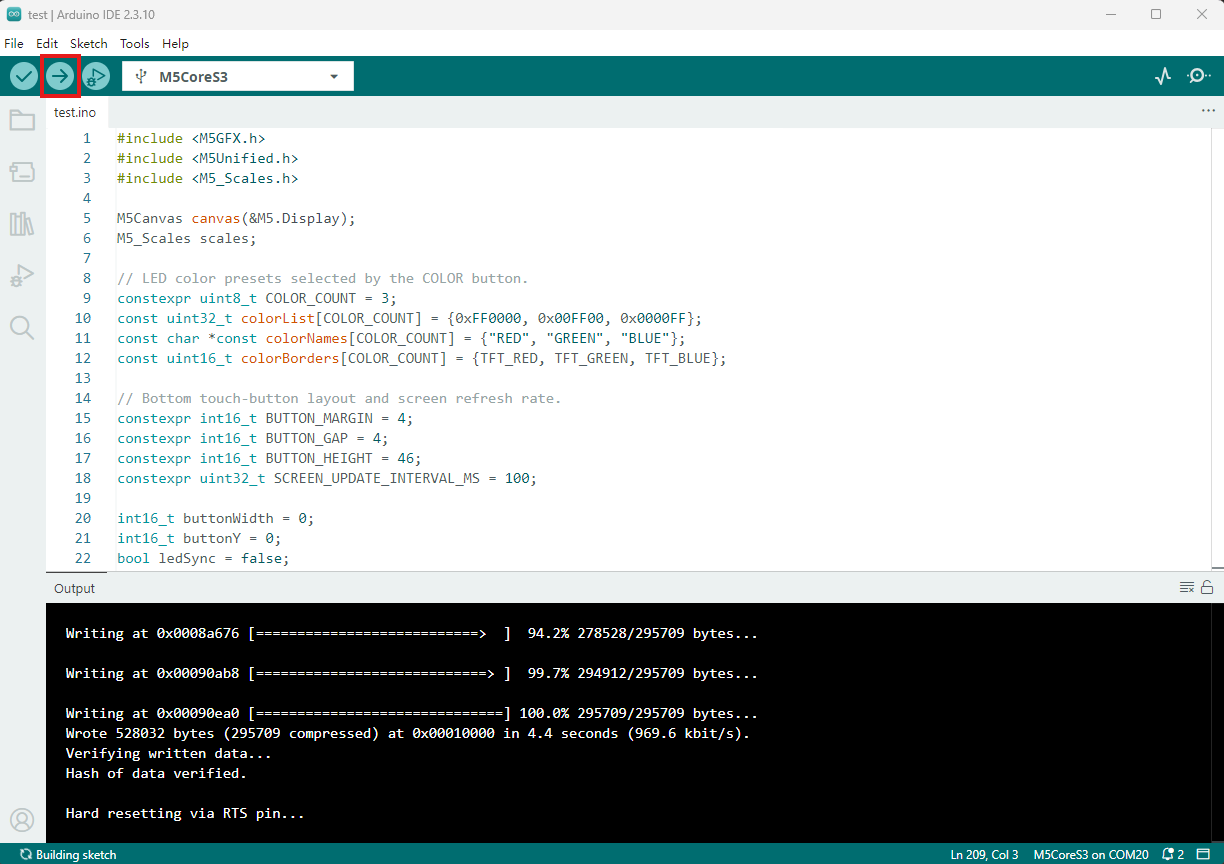
- 复制粘贴上述例程代码到项目代码区,选中设备端口(详情请参考 程序编译与烧录),点击 Arduino IDE 左上角编译上传按钮,等待程序完成编译并上传至设备。
5. 称重与触摸控制
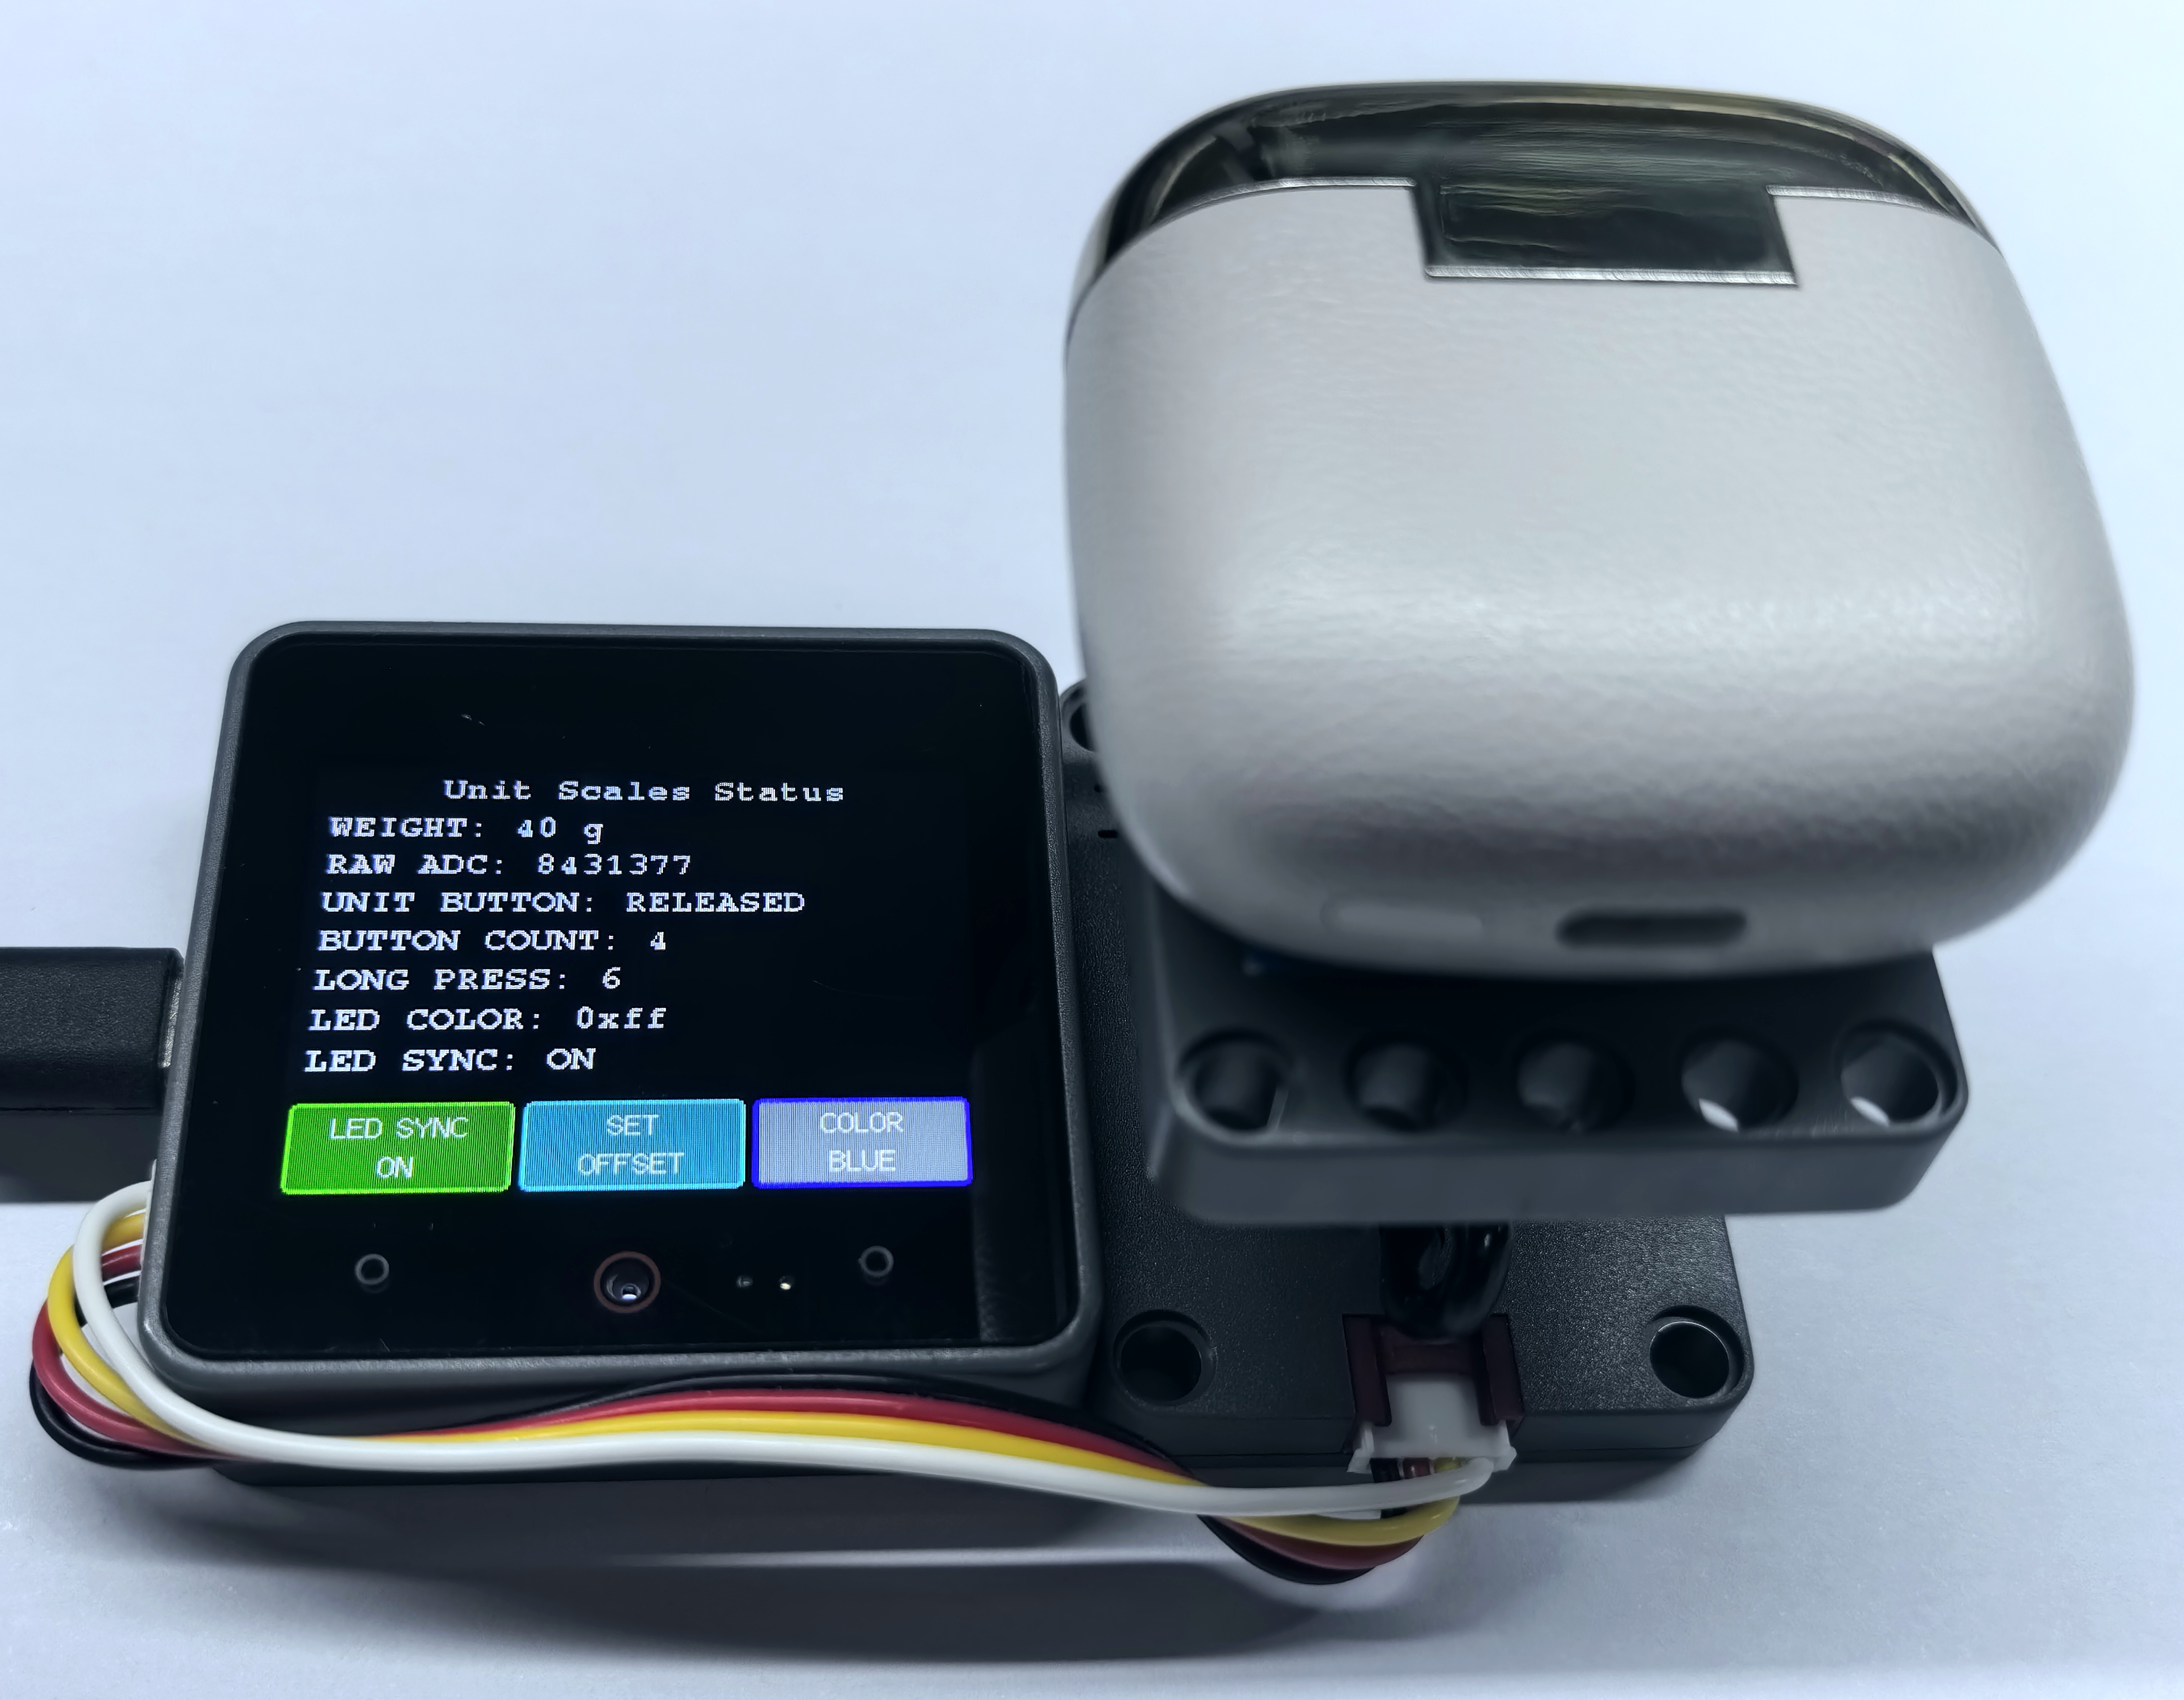
- 程序运行后,CoreS3 屏幕将显示重量、ADC 原始值、Unit Scales 按键状态、按键计数、LED 颜色和 LED 同步状态,并每
100ms更新一次。点击屏幕底部的LED SYNC可切换 LED 与重量同步状态,点击SET OFFSET可将当前 ADC 值设为零点,点击COLOR可依次切换红、绿、蓝三种 LED 颜色。
Page Tools