

Arduino Quick Start
2. Devices & Examples
Demo Board-SHT30
3. M5Unified
4. M5GFX
5. Extensions
Unit
Module
Atomic
Tab5
IoT
Accessories
StickC MIC Microphone
APIs and example programs related to the M5StickC microphone.
Example Program
Build Requirements
- M5Stack board package version >= 3.3.8
- Board selection = M5StickC
- M5Unified library version >= 0.2.18
- M5GFX library version >= 0.2.24
cpp
1 2 3 4 5 6 7 8 9 10 11 12 13 14 15 16 17 18 19 20 21 22 23 24 25 26 27 28 29 30 31 32 33 34 35 36 37 38 39 40 41 42 43 44 45 46 47 48 49 50 51 52 53 54 55 56 57 58 59 60 61 62 63 64
#include <M5Unified.h>
#include <atomic>

constexpr size_t SAMPLE_COUNT = 160;
constexpr uint32_t SAMPLE_RATE = 44100;
constexpr int GAIN_FACTOR = 3;

int16_t adcBuffer[SAMPLE_COUNT] = {0};
uint16_t oldy[SAMPLE_COUNT] = {0};
std::atomic<bool> dataReady {false};

void onMicData(void*, void*, size_t) {
    dataReady = true;
}

void showSignal() {
    for (int n = 0; n < SAMPLE_COUNT; n++) {
        int y = adcBuffer[n] * GAIN_FACTOR;
        y = map(y, INT16_MIN, INT16_MAX, 10, 70);

        M5.Display.drawPixel(n, oldy[n], TFT_WHITE);
        M5.Display.drawPixel(n, y, TFT_BLACK);
        oldy[n] = y;
    }
}

void setup() {
    auto cfg = M5.config();
    M5.begin(cfg);

    M5.Display.setRotation(1);
    M5.Display.fillScreen(TFT_WHITE);
    M5.Display.setTextColor(TFT_BLACK, TFT_WHITE);
    M5.Display.println("mic test");

    // The microphone and speaker share the same I2S peripheral.
    M5.Speaker.end();

    auto micCfg = M5.Mic.config();
    micCfg.sample_rate = SAMPLE_RATE;
    micCfg.over_sampling = 1;
    M5.Mic.config(micCfg);

    M5.Mic.setBufferReleaseCallback(nullptr, onMicData);
    M5.Mic.begin();
}

void loop() {
    M5.update();

    dataReady = false;
    if (M5.Mic.record(adcBuffer, SAMPLE_COUNT, SAMPLE_RATE)) {
        const uint32_t start = millis();
        while (!dataReady && millis() - start < 200) {
            delay(1);
        }

        if (dataReady) {
            showSignal();
        }
    }

    delay(100);
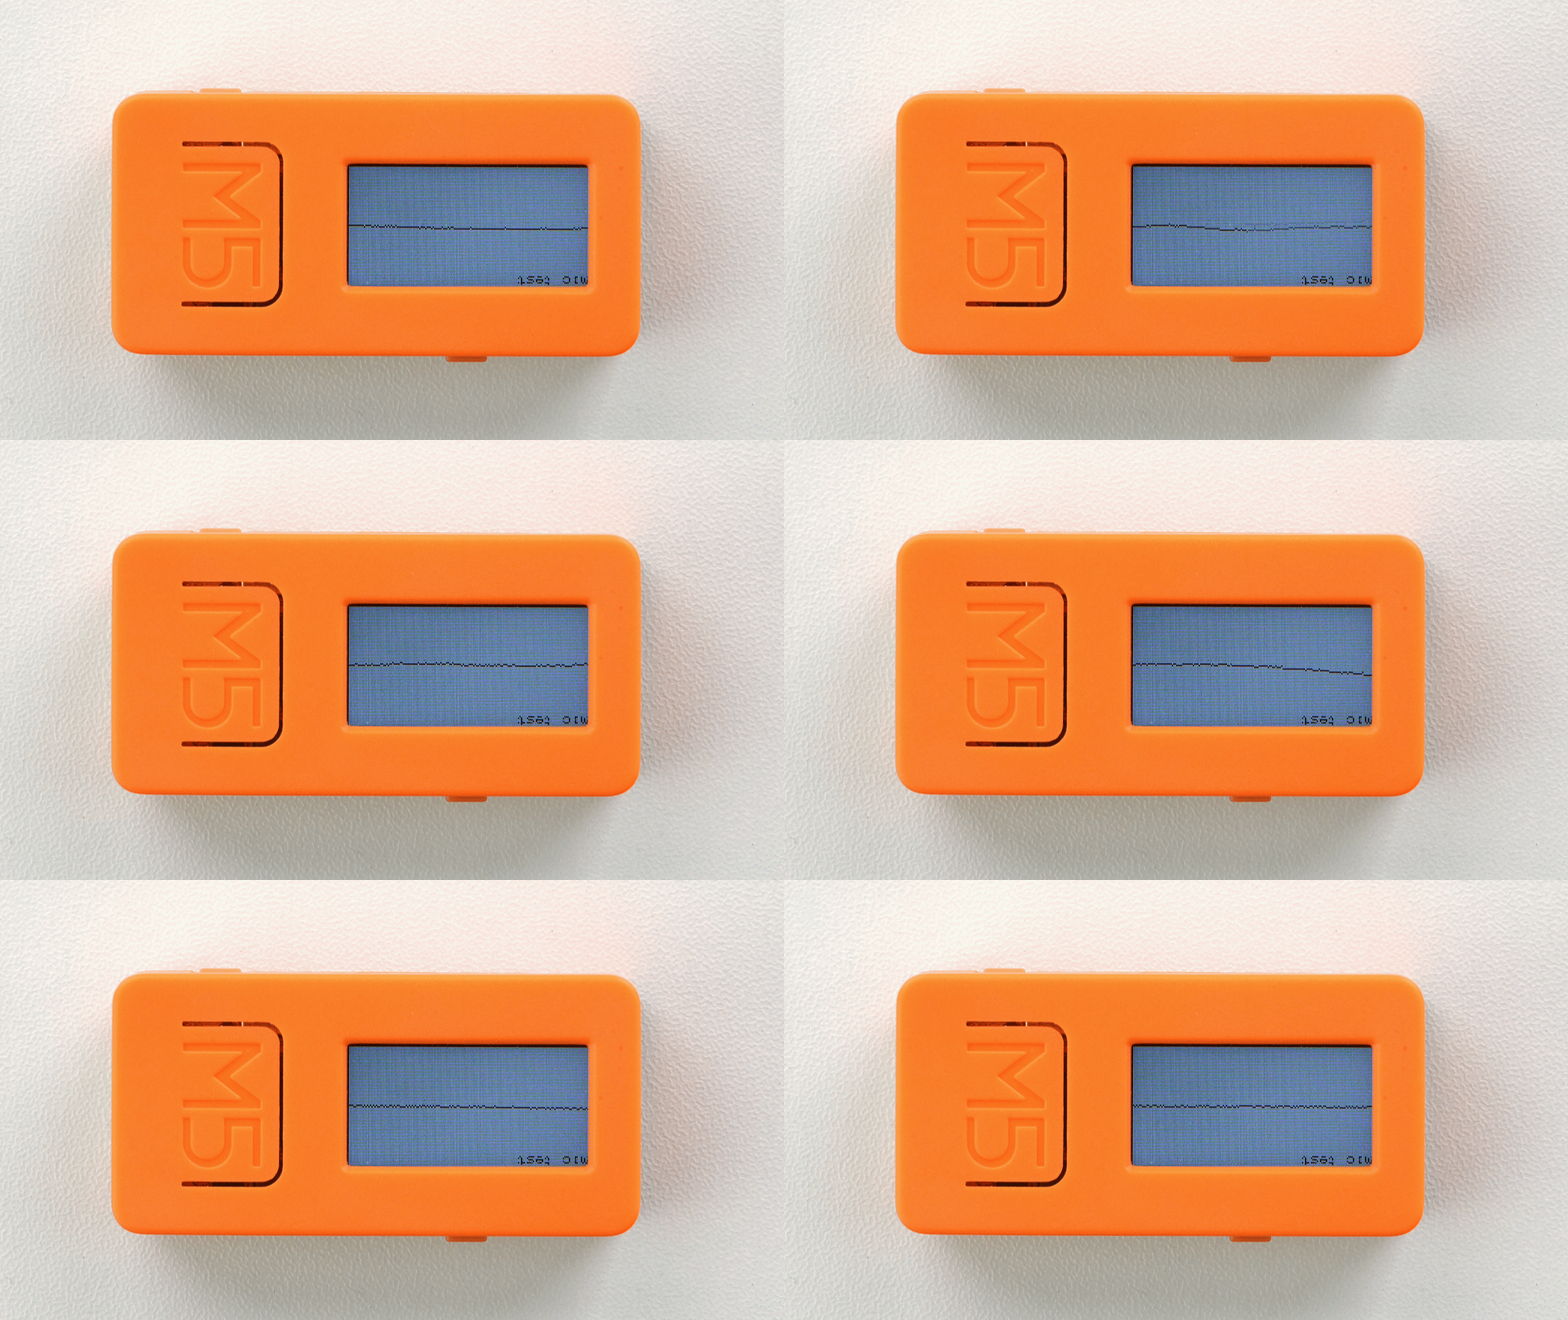
}The program uses the built-in microphone on StickC to capture audio and displays a 160-sample waveform in real time as black lines on a white background, refreshing approximately every 100 ms.
API
The StickC microphone uses Mic_Class from the M5Unified library. For more related APIs, refer to the documentation below:
Page Tools