

Arduino入門
2. デバイス&サンプル
3. M5Unified
4. M5GFX
5. 拡張モジュール&サンプル
Unit
Module
Atomic
Tab5
IoT
アクセサリー
StickC-Plus SE ボタン
StickC-Plus SE のボタン入力に関する API とサンプルプログラムです。
注意事項:
ボタン状態を更新するため、メインループに
M5.update() を含め、ブロッキング処理をできるだけ減らしてください。そうしないと、ボタンの状態変化を適時に取得できない場合があります。サンプルプログラム
コンパイル要件
- M5Stack ボードマネージャーバージョン >= 3.3.8
- ボードオプション = M5StickCPlus
- M5Unified ライブラリバージョン >= 0.2.18
- M5GFX ライブラリバージョン >= 0.2.24
cpp
1 2 3 4 5 6 7 8 9 10 11 12 13 14 15 16 17 18 19 20 21 22 23 24 25 26 27 28 29 30 31 32 33 34 35 36 37 38 39 40 41 42 43
#include "M5Unified.h"
#include "M5GFX.h"

static int32_t w;
static int32_t h;
static bool drawed = false;

void setup()
{
    auto cfg = M5.config();
    M5.begin(cfg);

    M5.Lcd.setRotation(1);
    w = M5.Lcd.width();
    h = M5.Lcd.height();
    M5.Lcd.setFont(&fonts::FreeMonoBold12pt7b);
    M5.Lcd.drawString("Button Released", 0, 0);
}

void loop()
{
    M5.update();
    if(M5.BtnA.isPressed() || M5.BtnB.isPressed())
    {
        if (!drawed){
            M5.Lcd.clear();
        }
        M5.Lcd.drawString("Button  Detail:", 0, 0);
        if (M5.BtnA.isPressed()) {
            M5.Lcd.drawString("ButtonA Pressed", 0, 30);
        }
        if (M5.BtnB.isPressed()) {
            M5.Lcd.drawString("ButtonB Pressed", 0, 60);
        }
        drawed = true;
    }
    else if (drawed){
        drawed = false;
        M5.Lcd.clear();
        M5.Lcd.drawString("Button Released", 0, 0);
    }
    vTaskDelay(1);
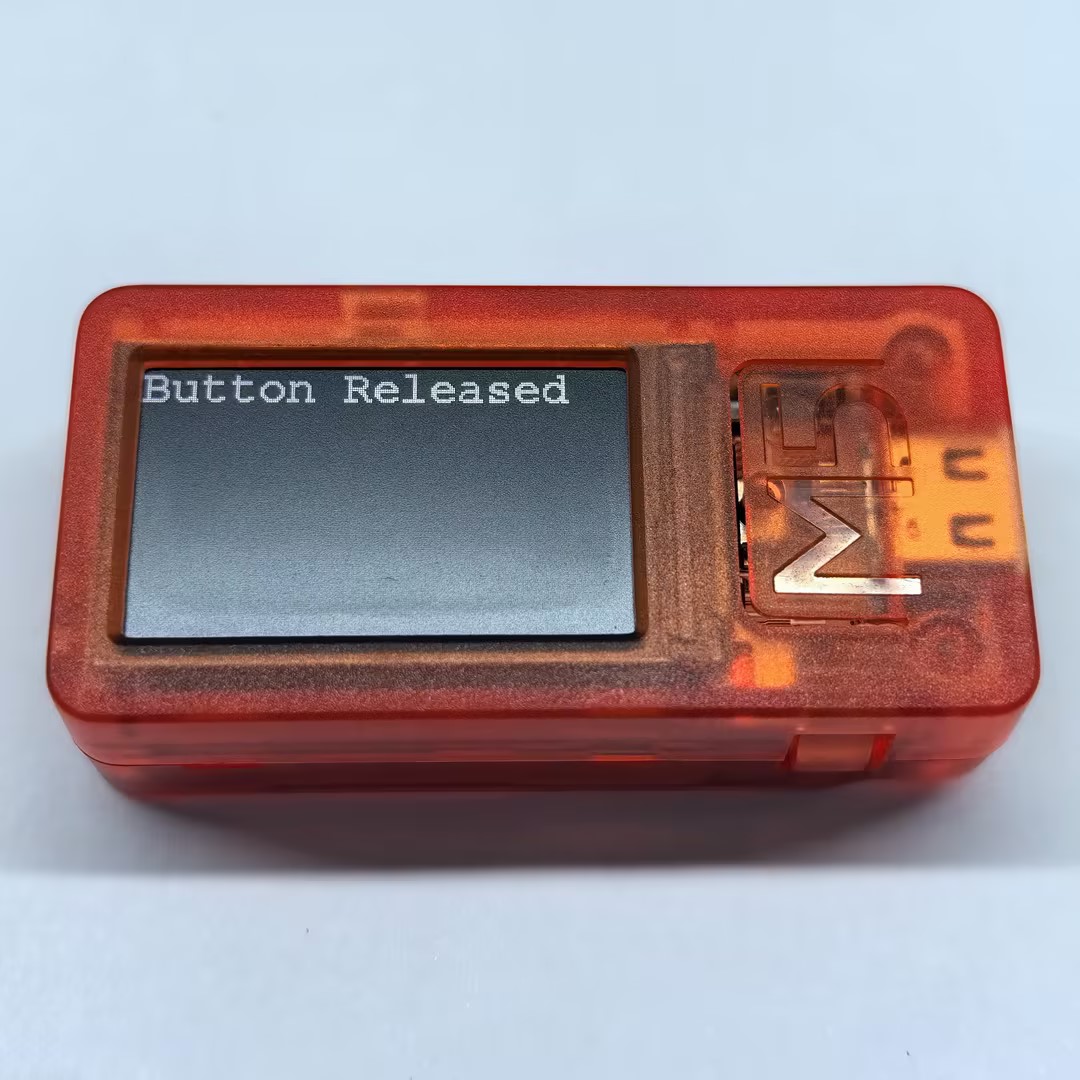
} ボタンを押すと、画面に現在のボタン状態が表示されます。
API
StickC-Plus SE のボタンには、M5Unified ライブラリの Button_Class を使用しています。その他のボタン関連 API については、以下のドキュメントを参照してください。
Page Tools