

Arduino入門
2. デバイス&サンプル
3. M5Unified
4. M5GFX
5. 拡張モジュール&サンプル
Unit
Module
Atomic
Tab5
IoT
アクセサリー
CoreMatrix Battery バッテリー状態
CoreMatrix のバッテリー状態関連 API とサンプルプログラムです。
サンプルプログラム
コンパイル要件
- M5Stack ボードマネージャーのバージョン >=
3.3.10-a - 開発ボードの選択 =
M5CoreMatrix - M5Unified ライブラリのバージョン >=
0.2.29 - M5GFX ライブラリのバージョン >=
0.2.36
CoreMatrix は M5PM1 を使用してバッテリー電圧と VBUS 電圧を取得します。充電電流は M5IOE1 IO3 / PYB_CHG_PROG で 180 mA と 650 mA の間から選択し、充電状態は M5IOE1 IO8 / PYB_CHG_STAT から読み取ります。Low は充電中を示します。
cpp
1 2 3 4 5 6 7 8 9 10 11 12 13 14 15 16 17 18 19 20 21 22 23 24 25 26 27 28 29 30 31 32 33 34 35 36 37 38 39 40 41 42 43 44 45 46 47 48 49 50 51 52 53 54 55 56 57 58 59 60 61 62 63 64 65 66 67 68 69 70 71 72 73 74 75 76 77 78 79 80 81
#include <M5Unified.h>

static uint16_t chargeCurrentMa = 180;
static uint32_t lastRefreshMs = 0;

static void drawBattery(int level, bool charging)
{
  M5.Display.startWrite();
  M5.Display.fillScreen(TFT_BLACK);

  M5.Display.drawRect(1, 3, 12, 10, TFT_WHITE);
  M5.Display.fillRect(13, 6, 2, 4, TFT_WHITE);

  if (level >= 0) {
    const int fillWidth = constrain((level * 10 + 50) / 100, 0, 10);
    if (fillWidth > 0) {
      M5.Display.fillRect(2, 4, fillWidth, 8, TFT_WHITE);
    }
  }

  if (charging && (millis() / 400) % 2 == 0) {
    M5.Display.drawRect(0, 0, 16, 16, TFT_WHITE);
  }

  M5.Display.endWrite();
  M5.Display.display();
}

static const char* chargeStateText(m5::Power_Class::is_charging_t state)
{
  switch (state) {
    case m5::Power_Class::is_charging: return "charging";
    case m5::Power_Class::is_discharging: return "not charging";
    default: return "unknown";
  }
}

void setup()
{
  auto cfg = M5.config();
  cfg.serial_baudrate = 115200;
  M5.begin(cfg);

  M5.Display.setColorDepth(8);
  M5.Display.setRotation(1);
  M5.Display.setBrightness(128);

  M5.Power.setChargeCurrent(chargeCurrentMa);
  Serial.printf("Initial charge current: %u mA\n", chargeCurrentMa);
}

void loop()
{
  M5.update();

  if (M5.BtnA.wasClicked()) {
    chargeCurrentMa = (chargeCurrentMa == 180) ? 650 : 180;
    M5.Power.setChargeCurrent(chargeCurrentMa);
    Serial.printf("Charge current: %u mA\n", chargeCurrentMa);
  }

  const uint32_t now = millis();
  if (now - lastRefreshMs >= 1000) {
    lastRefreshMs = now;

    const int level = M5.Power.getBatteryLevel();
    const int voltageMv = M5.Power.getBatteryVoltage();
    const int vbusMv = M5.Power.getVBUSVoltage();
    const auto chargeState = M5.Power.isCharging();
    const bool charging = chargeState == m5::Power_Class::is_charging;

    drawBattery(level, charging);

    Serial.printf("Battery: %d mV, level: %d%%, state: %s\n",
                  voltageMv, level, chargeStateText(chargeState));
    Serial.printf("VBUS: %d mV, charge current setting: %u mA\n",
                  vbusMv, chargeCurrentMa);
  }

  delay(20);
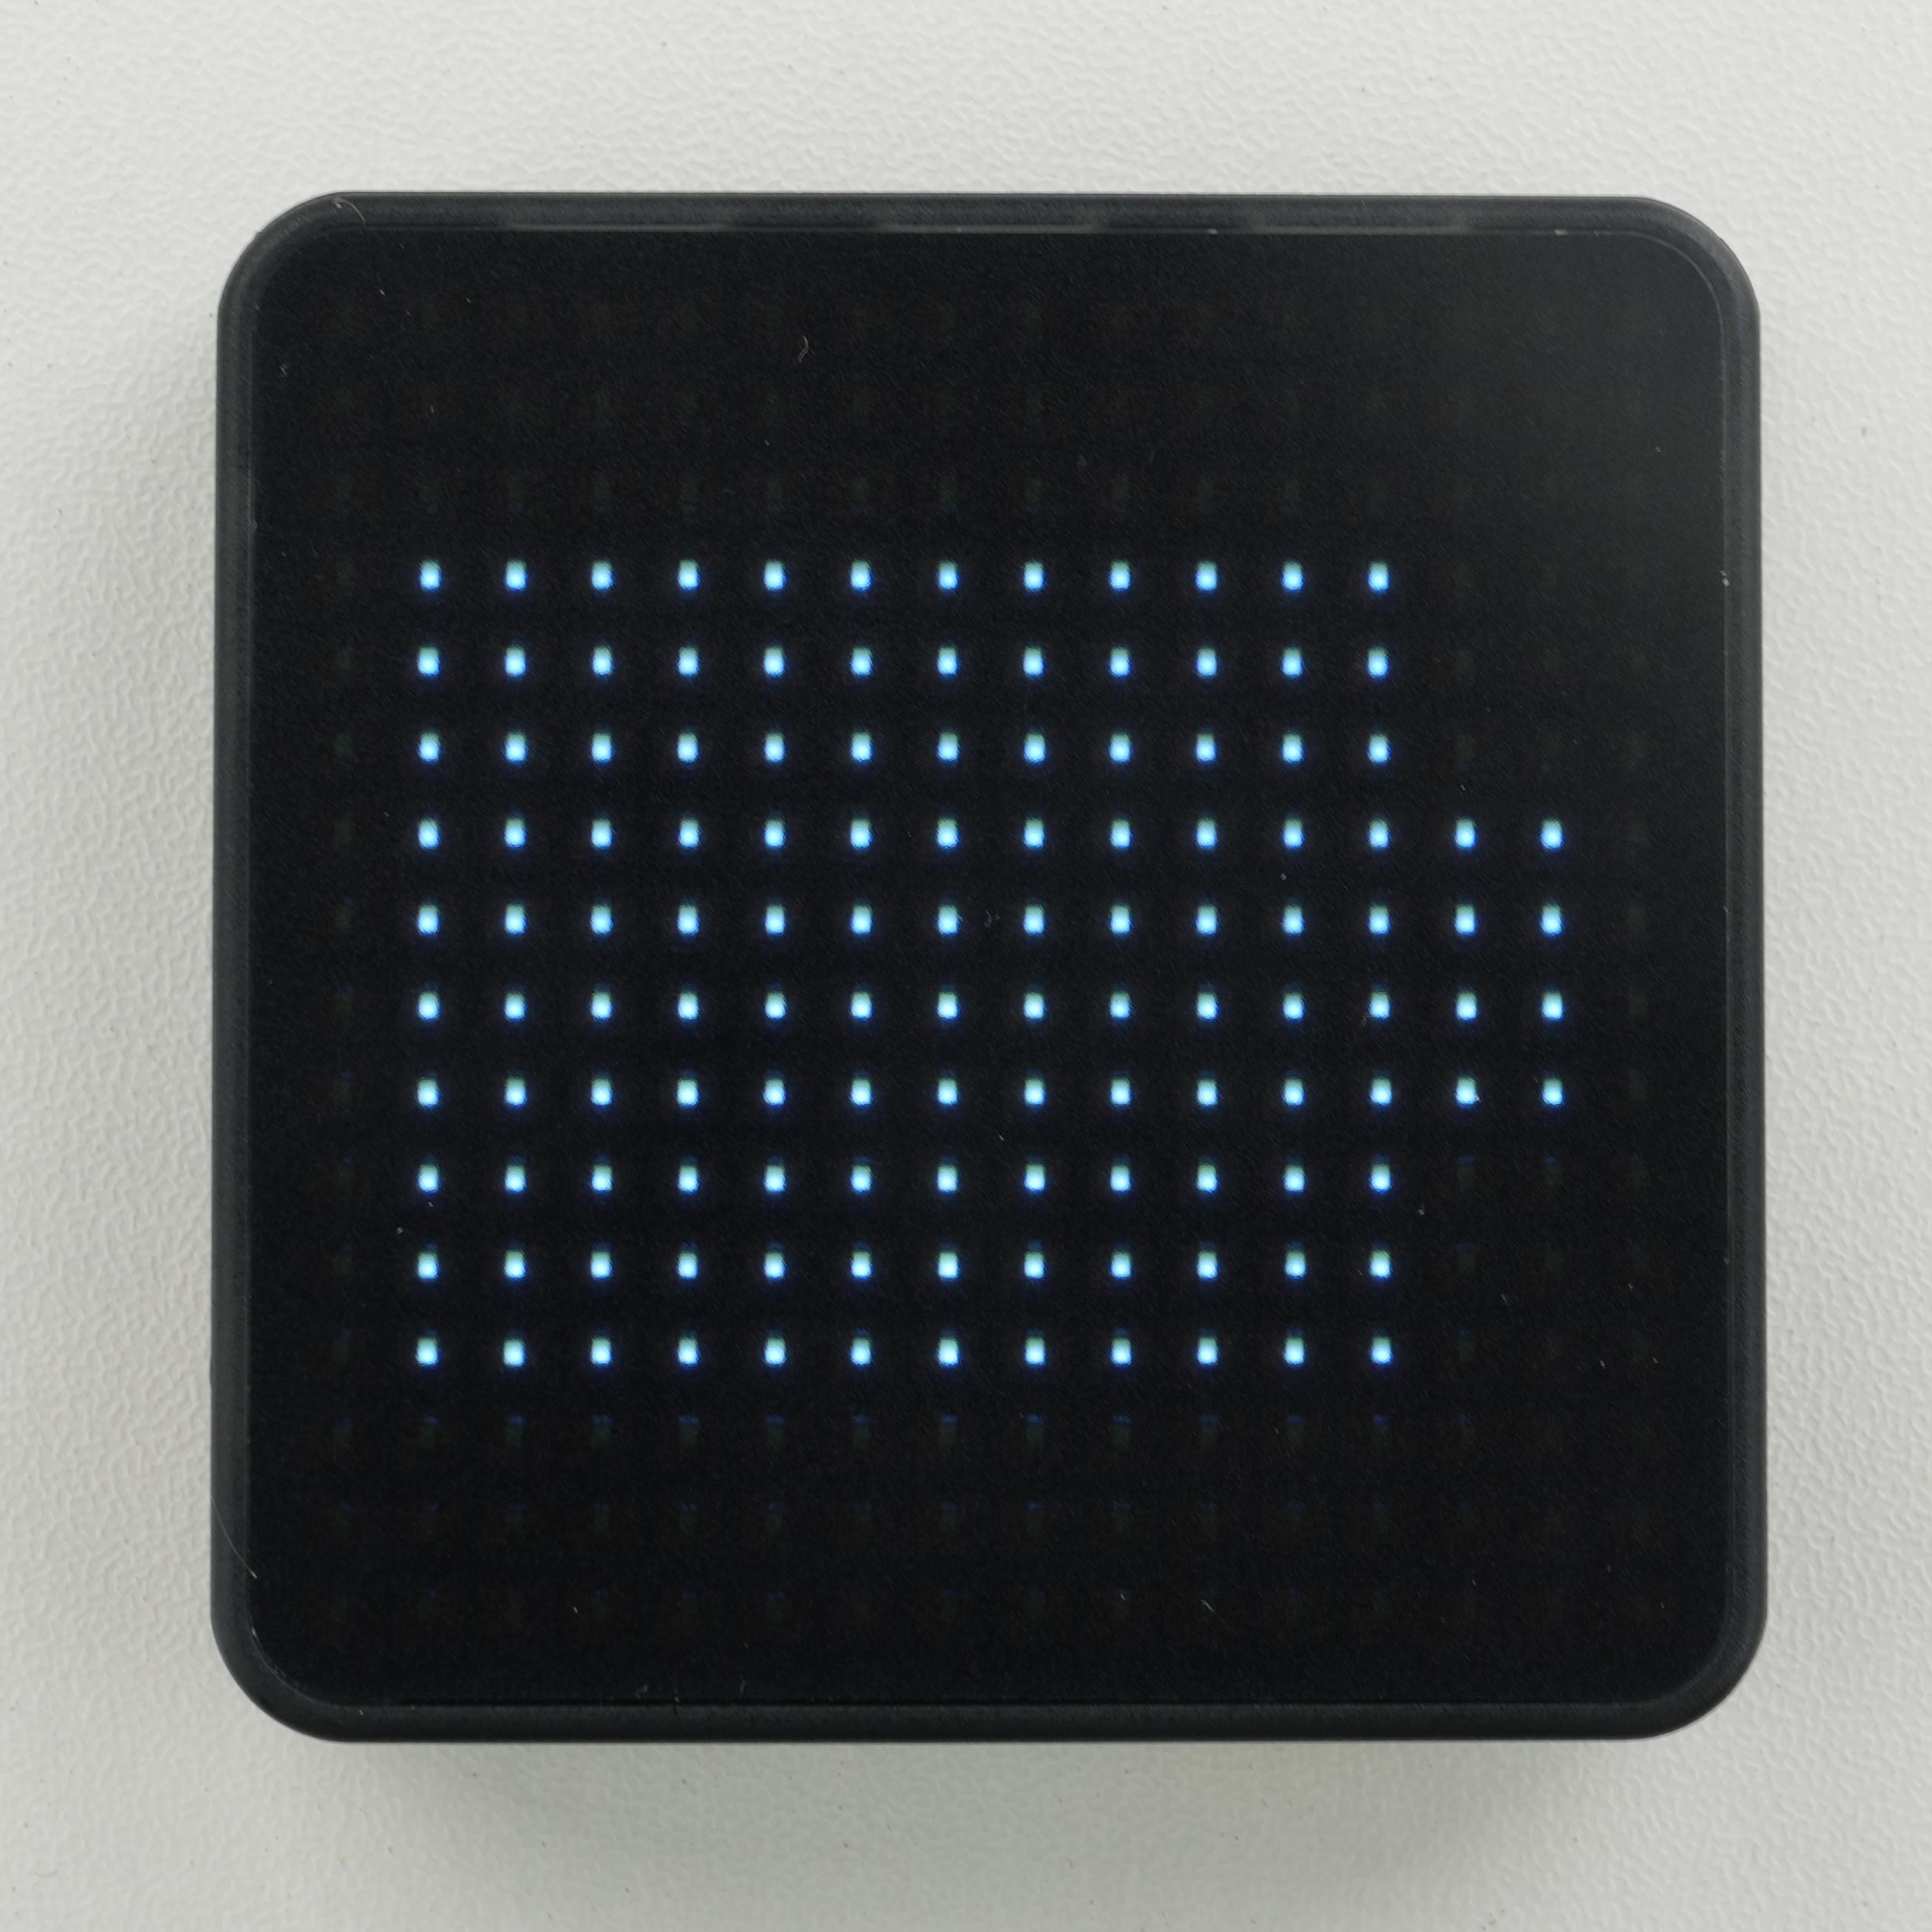
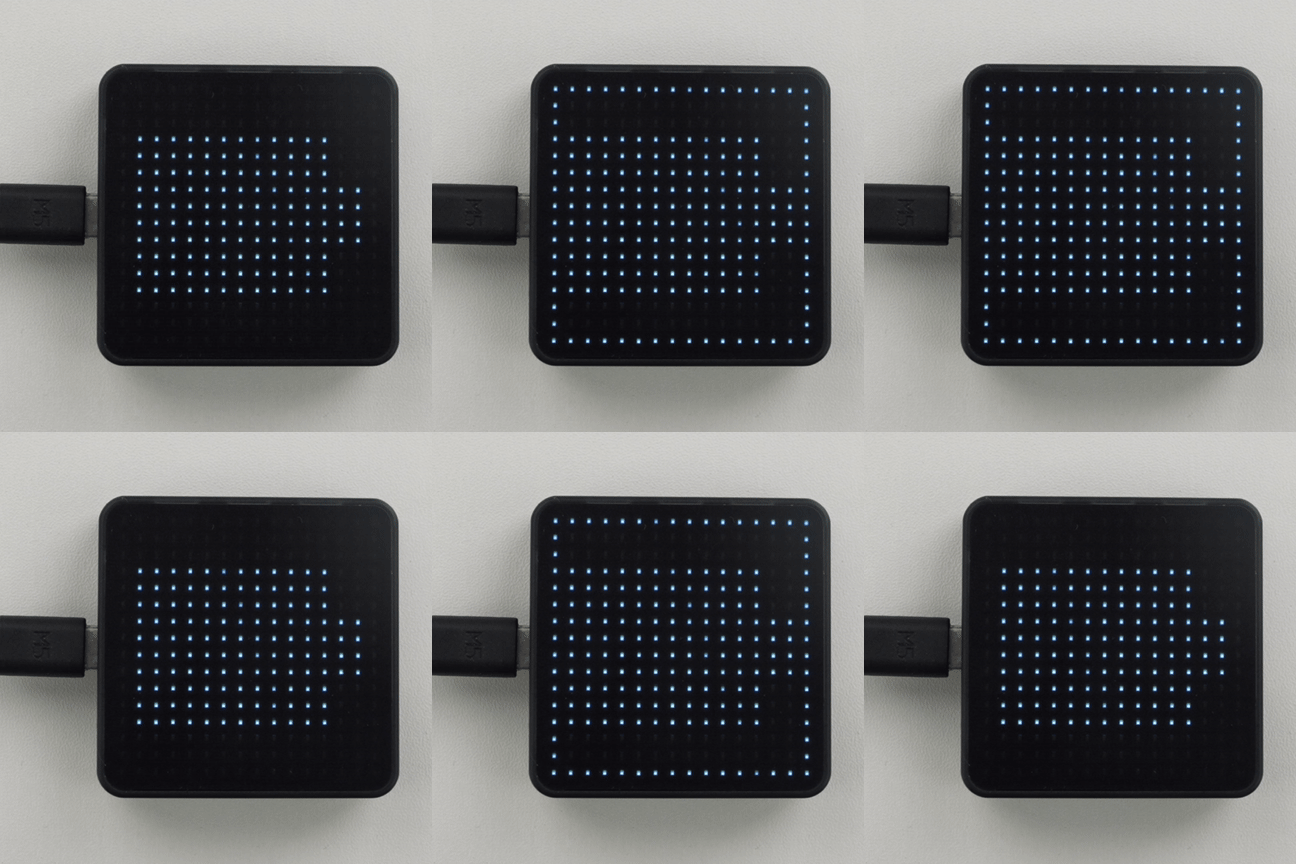
}ドットマトリクスにはバッテリーの外枠と現在の残量に応じた塗りつぶしが表示され、充電中は外枠が点滅します。KEY1(BtnA)を押すと 2 つの充電電流設定を切り替えられます。シリアルモニターにはバッテリー電圧、バッテリー残量の割合、充電状態、VBUS 電圧、現在の電流設定が出力されます。
API
CoreMatrix のバッテリー状態部分では、M5Unified ライブラリの Power_Class を使用しています。関連 API の詳細は以下のドキュメントを参照してください。
Page Tools