

Arduino 上手教程
2. 设备开发 & 案例程序
3. M5Unified
4. M5GFX
5. 扩展模块
Unit
Module
Atomic
Tab5
IoT
CoreMatrix Arduino 示例程序编译与烧录
1. 准备工作
- 1. Arduino IDE 安装:参考 Arduino IDE 安装教程,完成 IDE 安装。
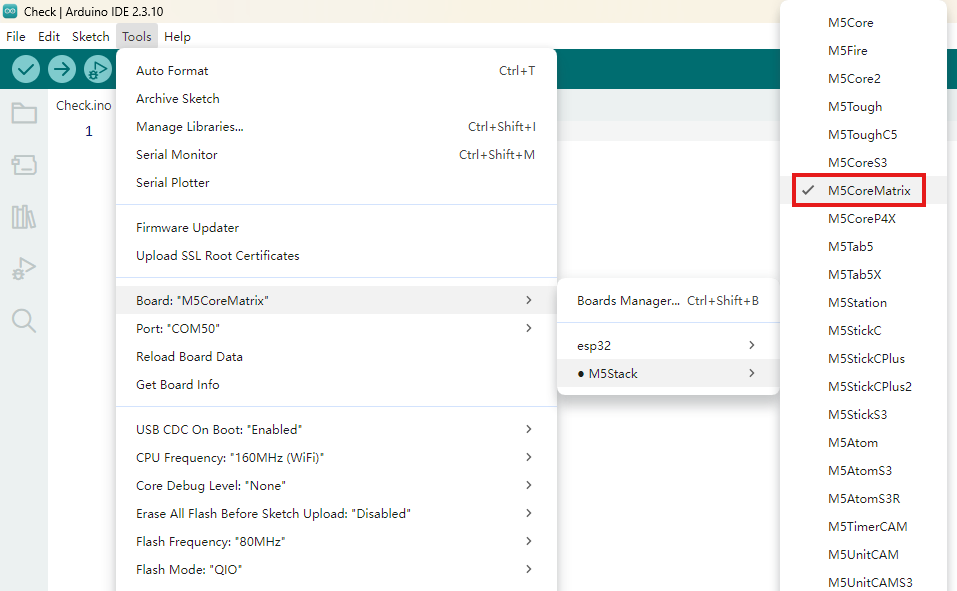
- 2. 板管理安装:参考 基本环境搭建教程,完成 M5Stack 板管理安装并选择开发板
M5CoreMatrix。
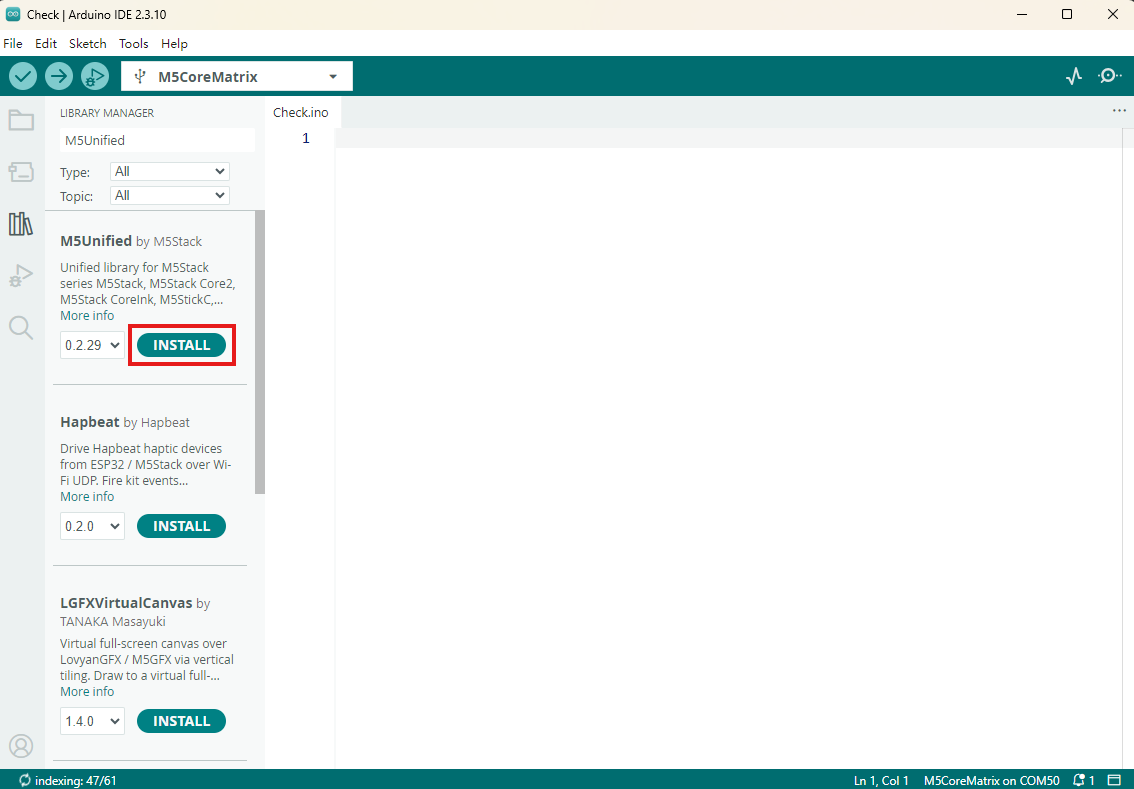
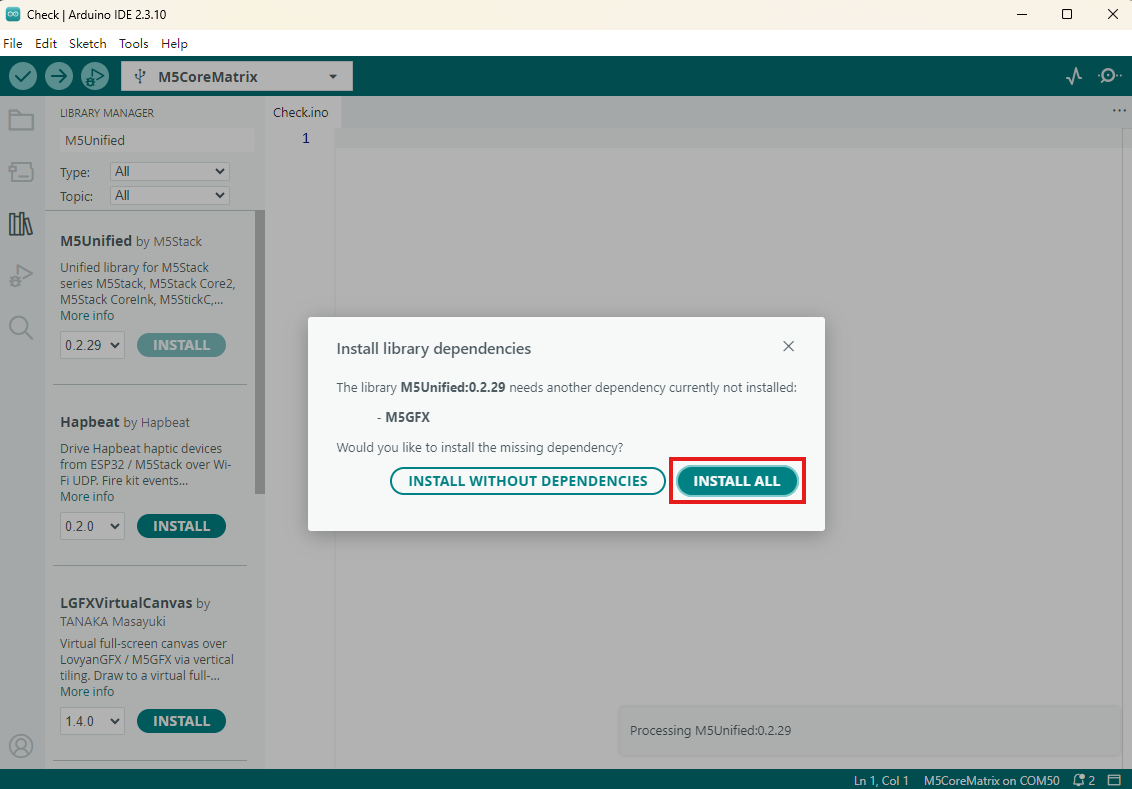
- 3. 依赖库安装:参考 库管理安装教程,完成
M5Unified、M5GFX驱动库安装,并根据提示安装全部依赖库。
2. 下载模式
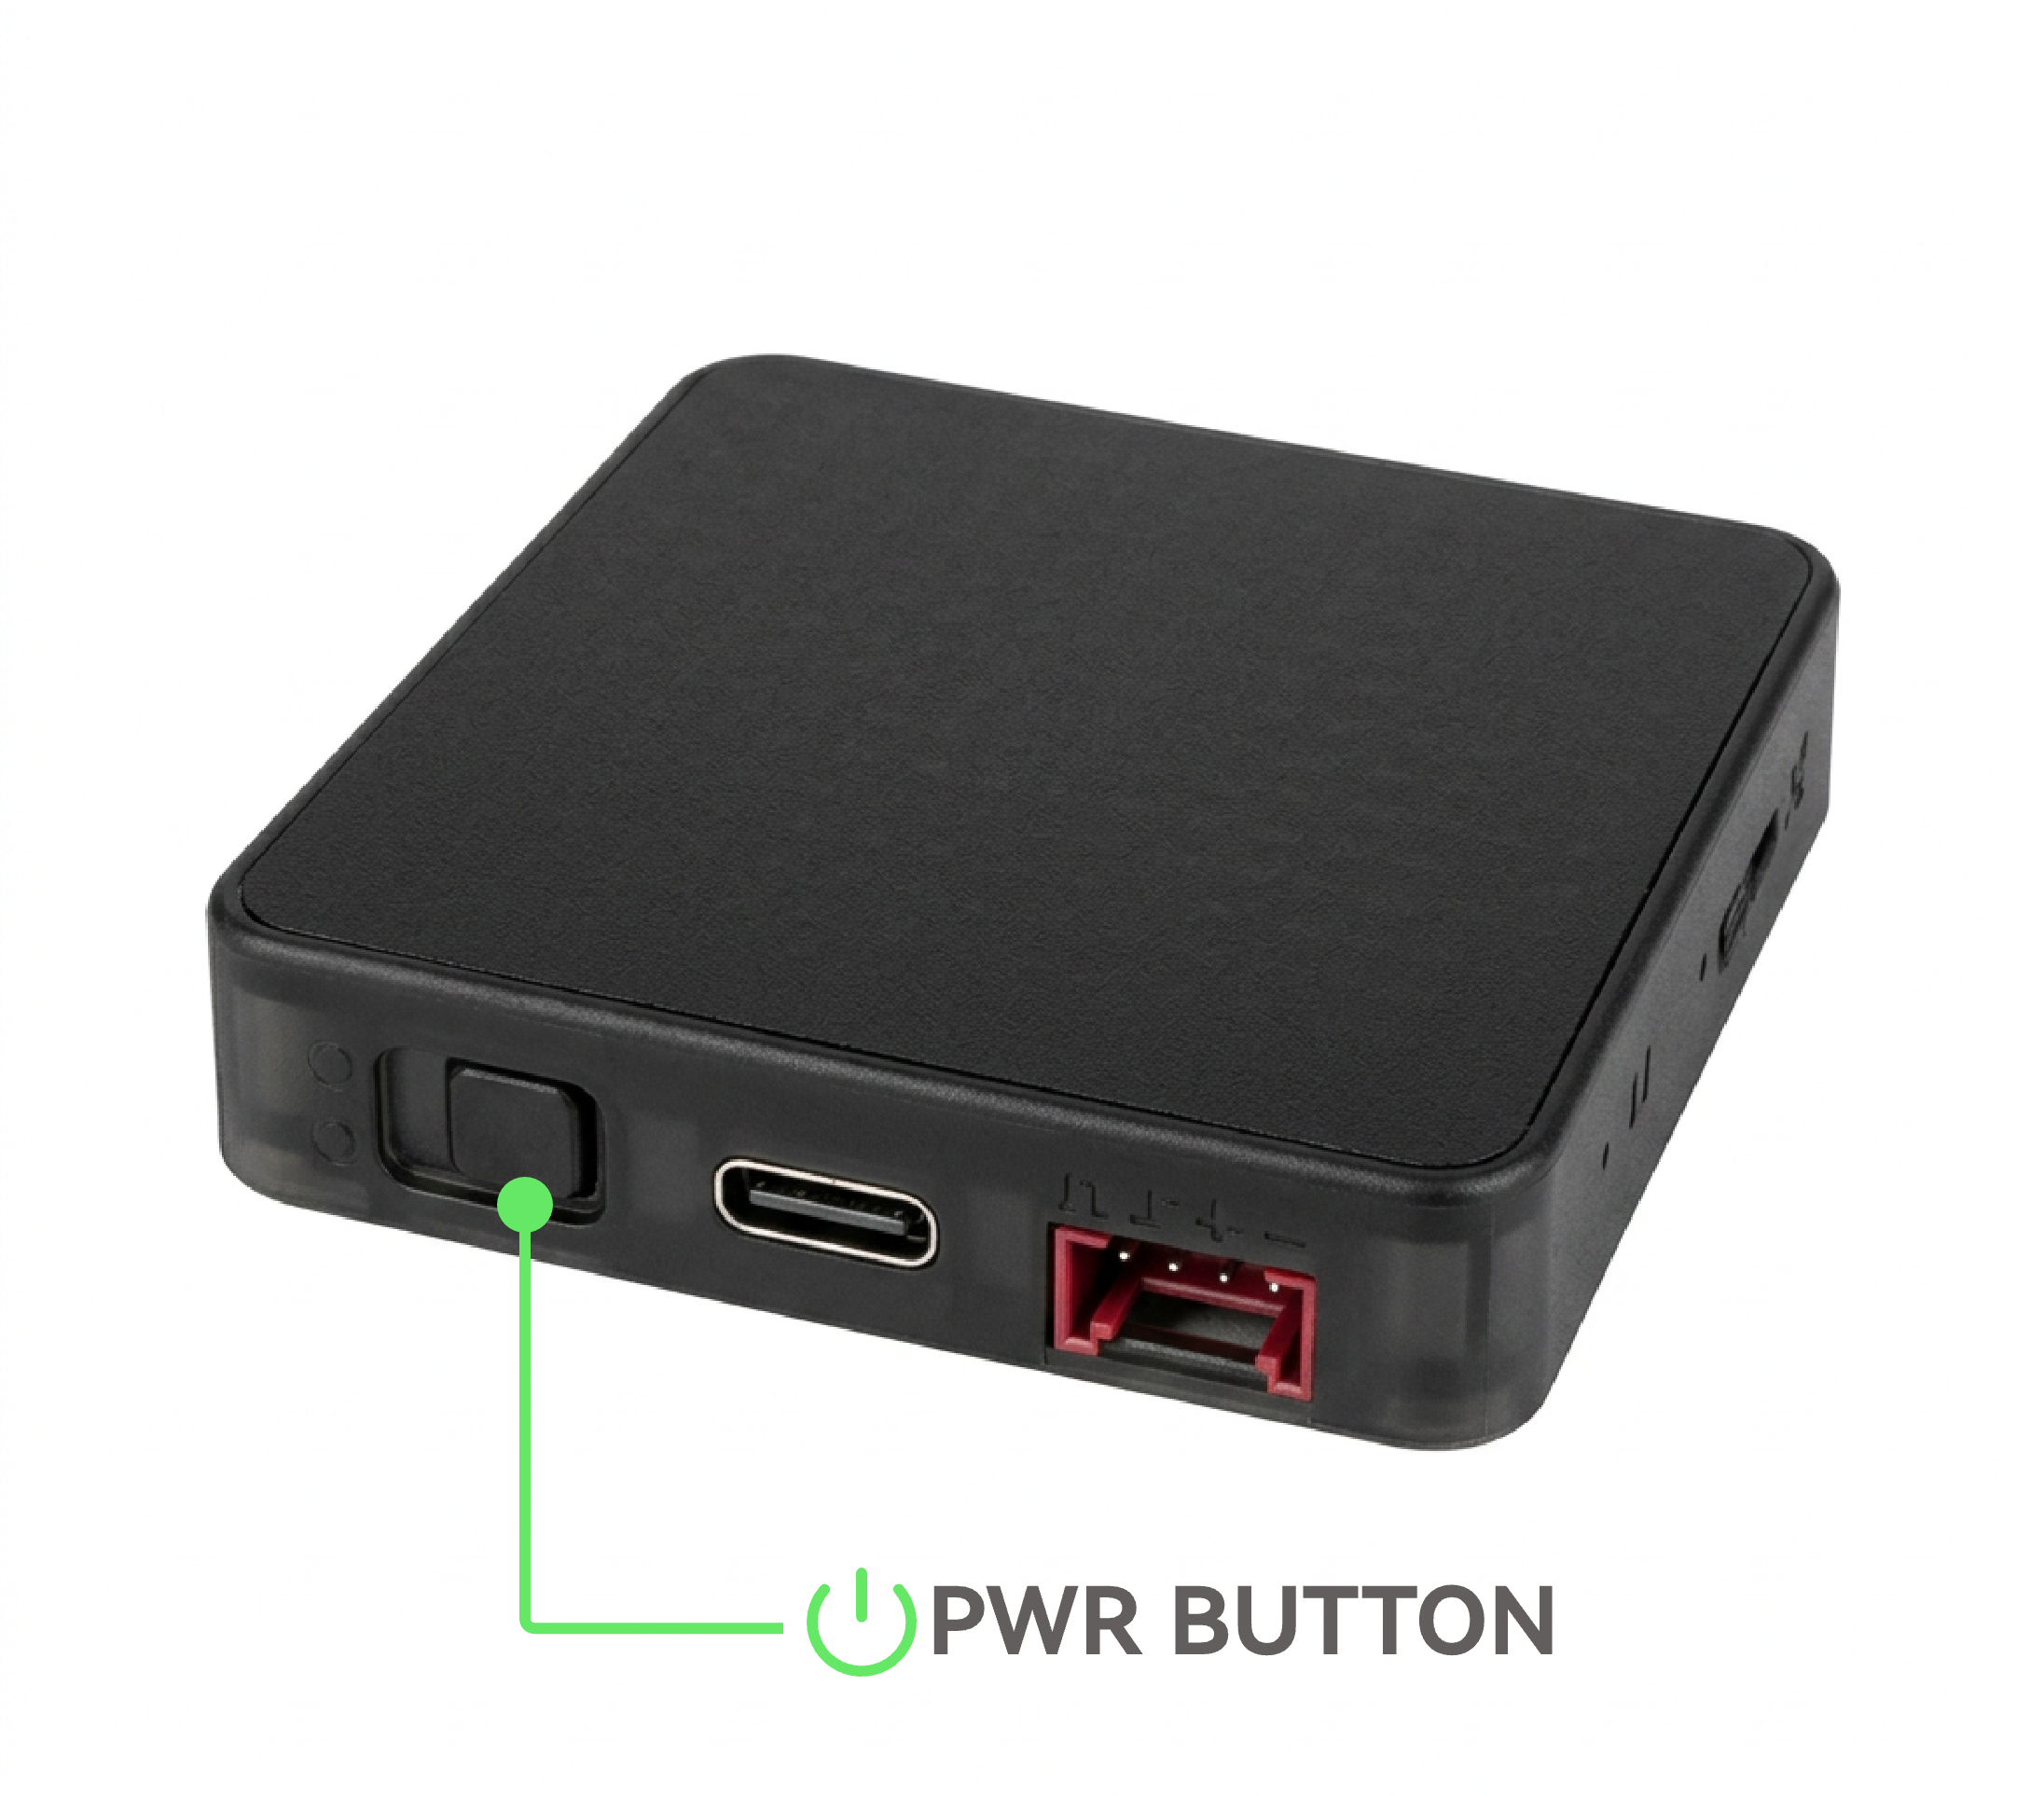
常规情况下,CoreMatrix 可通过 USB Type-C 数据线直接烧录程序。开发调试过程中,如遇程序烧录异常,可长按电源键强制进入下载模式。
3. 端口选择
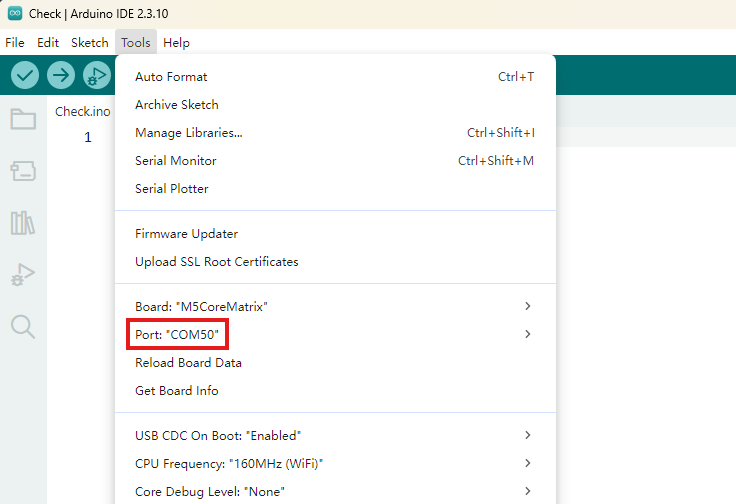
将设备通过 USB 数据线连接至电脑。在 Arduino IDE 中选择对应设备端口。
4. 程序编译 & 烧录
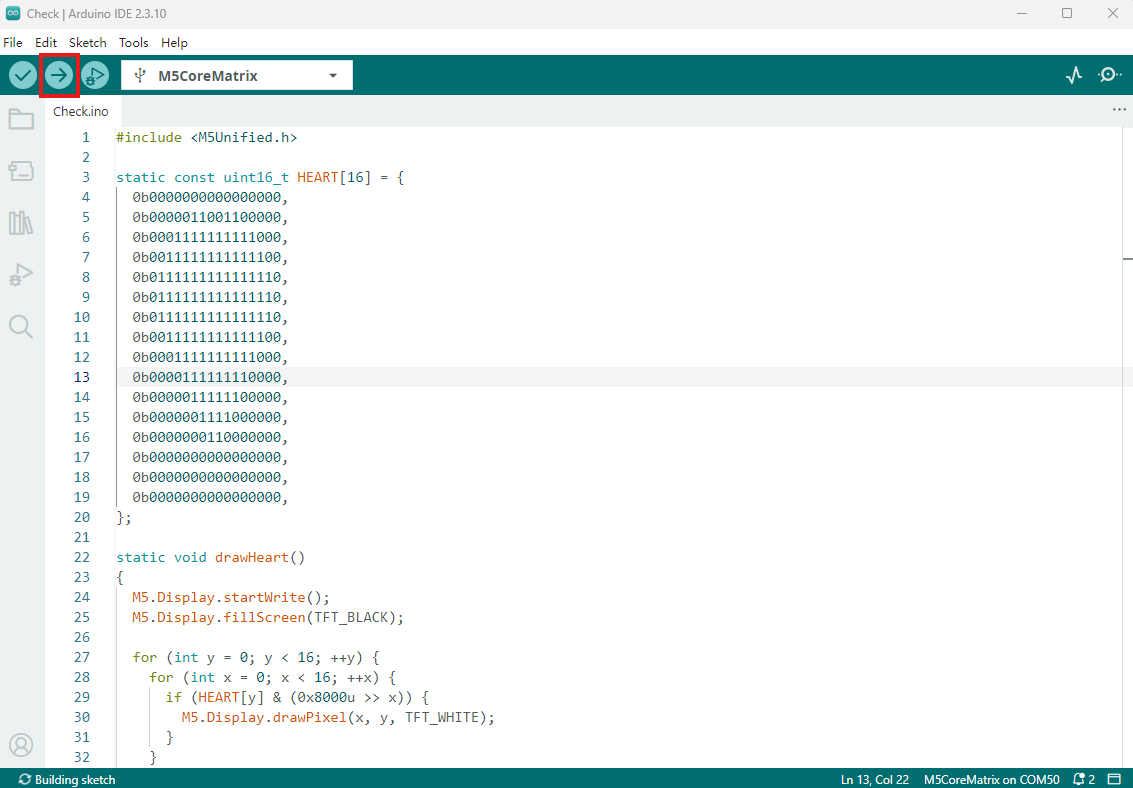
在 Arduino IDE 中新建程序,将下方代码复制到编辑器中,点击上传按钮进行编译与烧录。
cpp
1 2 3 4 5 6 7 8 9 10 11 12 13 14 15 16 17 18 19 20 21 22 23 24 25 26 27 28 29 30 31 32 33 34 35 36 37 38 39 40 41 42 43 44 45 46 47 48 49 50 51 52 53 54 55 56 57 58
#include <M5Unified.h>

static const uint16_t HEART[16] = {
  0b0000000000000000,
  0b0000011001100000,
  0b0001111111111000,
  0b0011111111111100,
  0b0111111111111110,
  0b0111111111111110,
  0b0111111111111110,
  0b0011111111111100,
  0b0001111111111000,
  0b0000111111110000,
  0b0000011111100000,
  0b0000001111000000,
  0b0000000110000000,
  0b0000000000000000,
  0b0000000000000000,
  0b0000000000000000,
};

static void drawHeart()
{
  M5.Display.startWrite();
  M5.Display.fillScreen(TFT_BLACK);

  for (int y = 0; y < 16; ++y) {
    for (int x = 0; x < 16; ++x) {
      if (HEART[y] & (0x8000u >> x)) {
        M5.Display.drawPixel(x, y, TFT_WHITE);
      }
    }
  }

  M5.Display.endWrite();
  M5.Display.display();
}

void setup()
{
  auto cfg = M5.config();
  cfg.serial_baudrate = 115200;
  M5.begin(cfg);

  M5.Display.setColorDepth(8);
  M5.Display.setRotation(1);
  M5.Display.setBrightness(128);

  Serial.printf("CoreMatrix display: %d x %d\n",
                M5.Display.width(), M5.Display.height());
  drawHeart();
}

void loop()
{
  M5.update();
  delay(100);
}
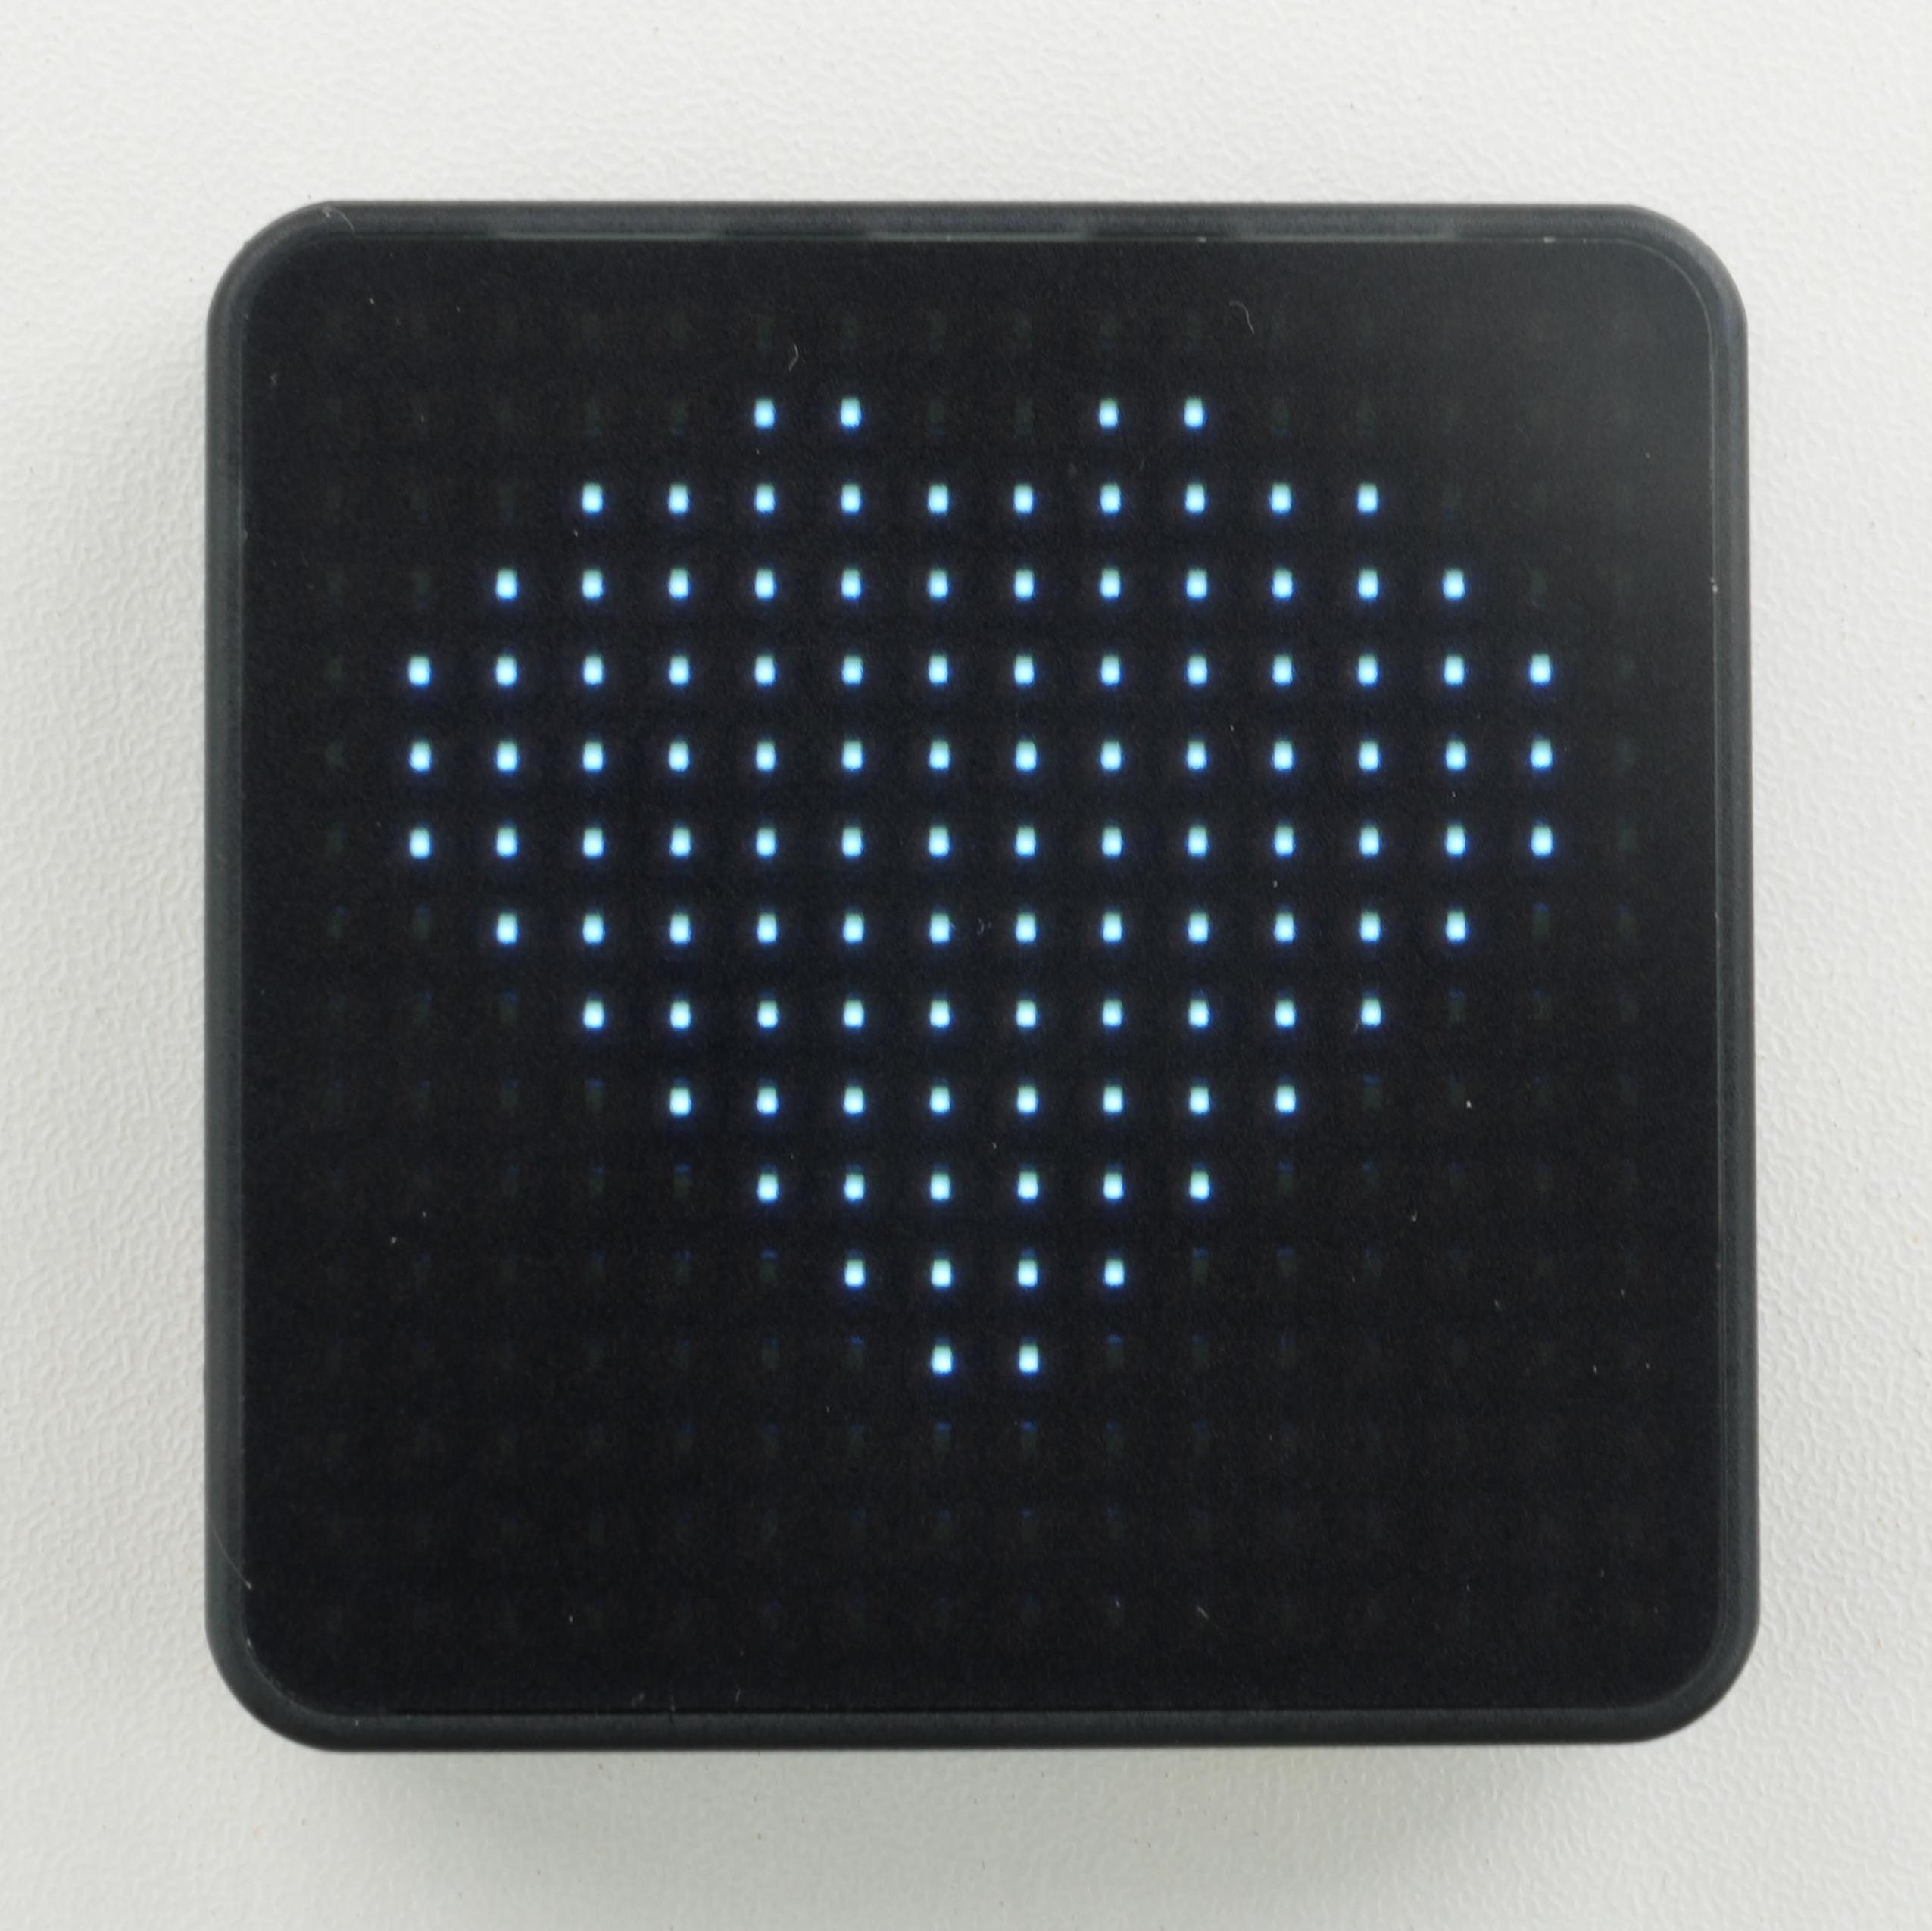
上传完成后,CoreMatrix 点阵屏会显示一个 16 x 16 爱心图案。
5. 相关资源
Page Tools